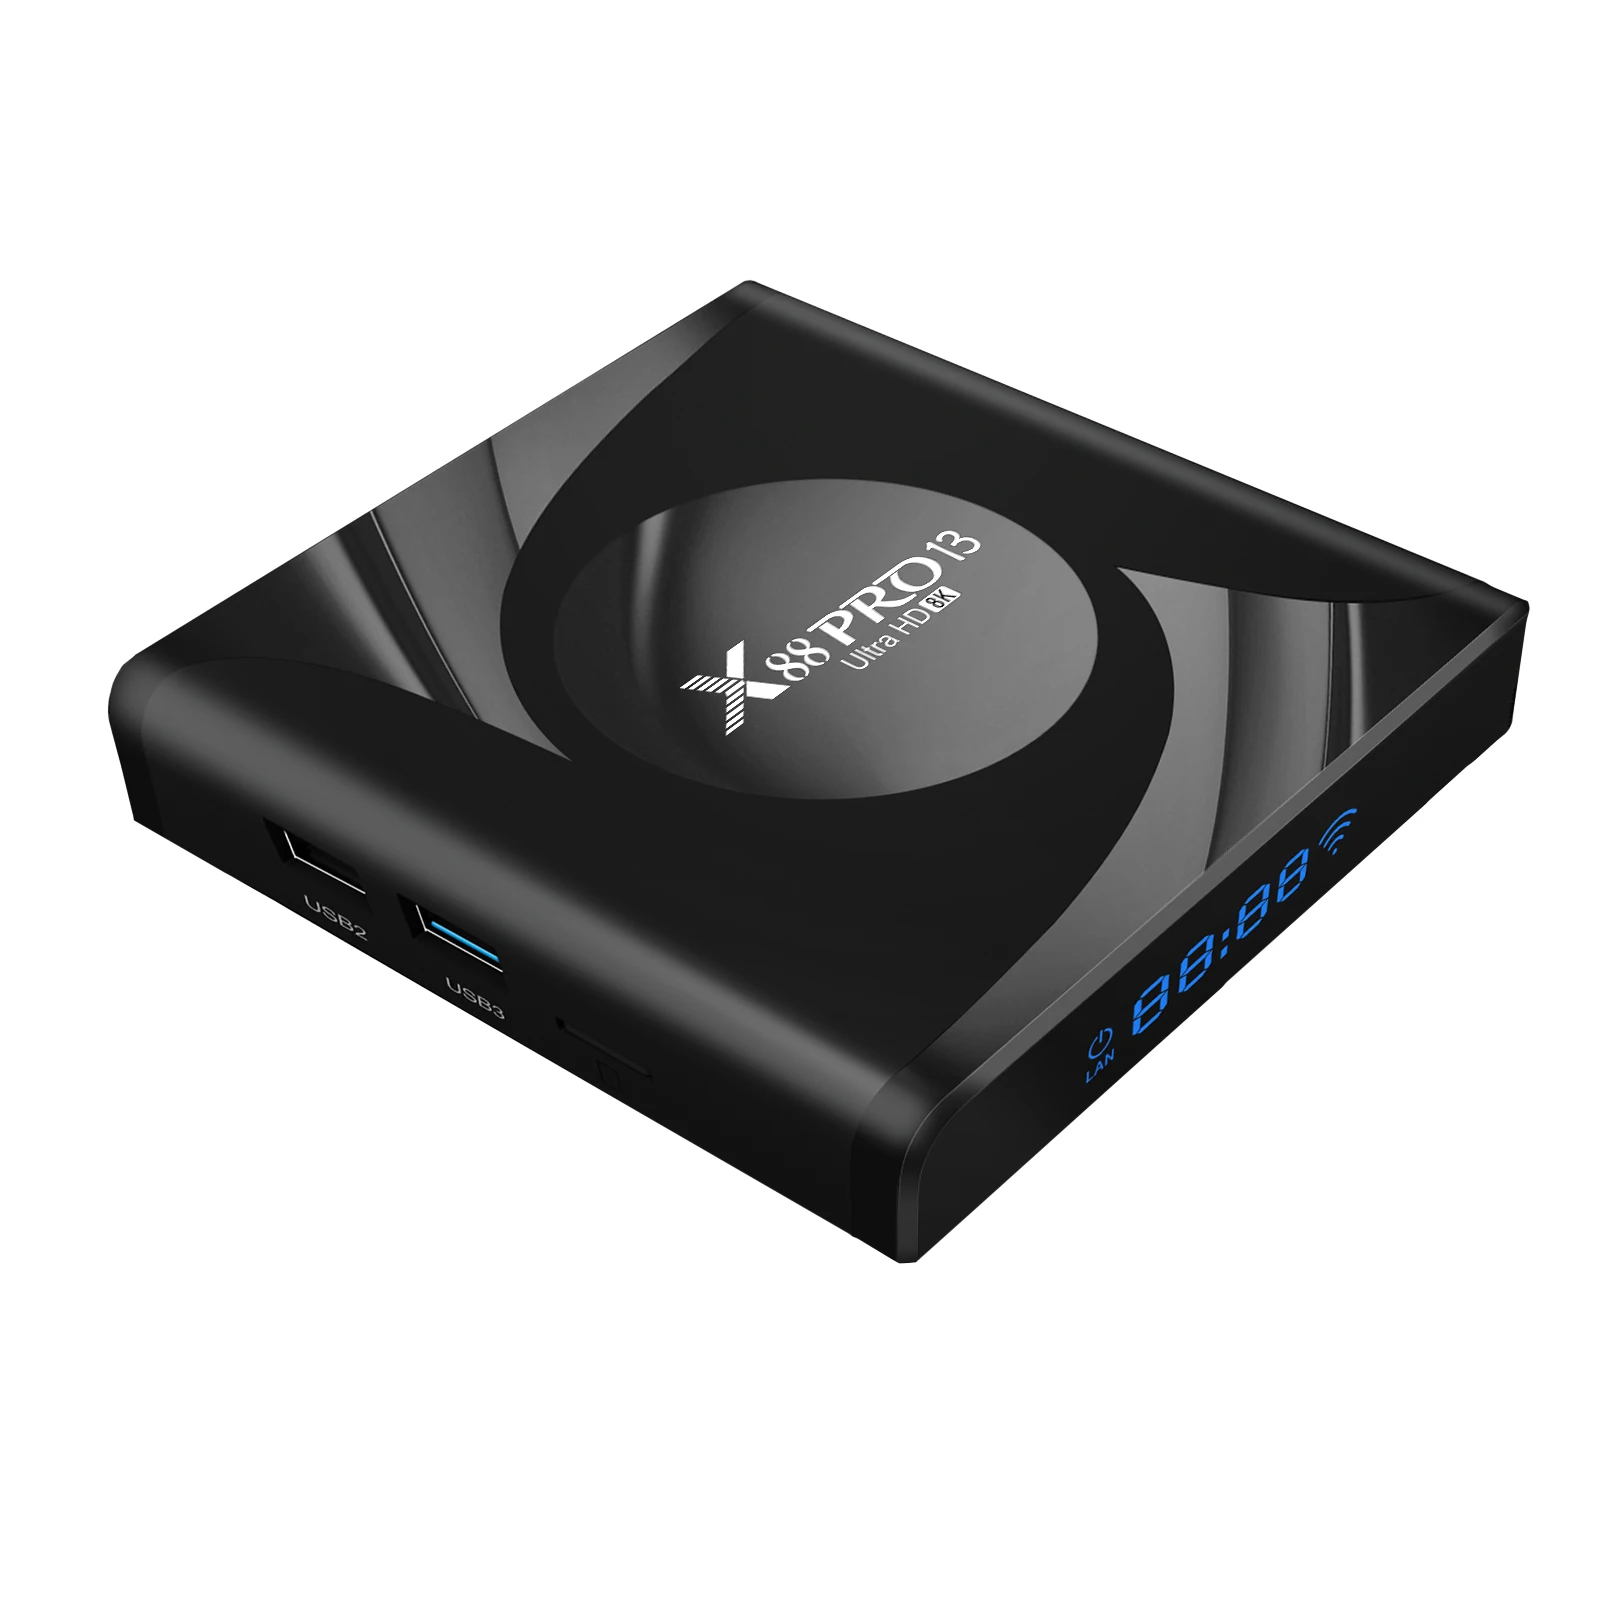
Updating your Android TV device ensures access to the latest security patches, app performance improvements, and user interface features. Most Android TV and Google TV devices update automatically over-the-air (OTA). You can manually check for and trigger updates by navigating to Settings > System > About > System Update (or Settings > Device Preferences > About > System Update on older interfaces) and selecting Check for Update.
The Architecture of Android TV Software Updates
Software updates on Android TV devices are more complex than simple app refreshes. Understanding the components of the operating system helps clarify what happens during an update and why specific steps are necessary.
Android TV software updates are split into four main operational categories:
- Android OS Core Updates: Major version upgrades (such as moving from Android TV 11 to Android TV 12 or later) update the underlying operating system kernel, system APIs, driver interfaces, and core hardware framework. These releases are prepared by Google and tailored by device manufacturers (such as Sony, Nvidia, TCL, or Hisense) to match their hardware chips.
- Google Play System Updates: Introduced through Google's system modularization initiatives (Project Mainline), these updates deliver critical security patches, media framework revisions, and privacy updates directly from Google without requiring a full system firmware release from the television manufacturer.
- Launcher and Interface Updates: The user interface on Android TV and Google TV operates as a system app (Android TV Home or Google TV Launcher). Google frequently pushes UI overhauls, recommendations engine changes, and navigation updates via the Google Play Store without altering the underlying Android OS version.
- Vendor Firmware Updates: Hardware manufacturers often release targeted firmware packages to address specific board-level issues, such as HDMI 2.1 eARC audio sync delays, panel backlight control algorithms, motion smoothing adjustments, and remote control Bluetooth connection stability.
Keeping these layers updated maintains digital rights management (DRM) certifications, such as Widevine L1, which streaming services like Netflix, Prime Video, and Disney+ require to deliver 4K HDR and Dolby Vision playback.
How to Perform an Over-the-Air (OTA) Software Update
Over-the-Air updates are the safest and most convenient way to keep your Smart TV or streaming box up to date. The process downloads verified, cryptographically signed update packages directly over your internet connection.
System Preparation Checklist
Before initiating any software update, complete these prerequisite checks to prevent installation failures or device bricking:
- Verify Storage Space: System updates require room to download the update package and expand temporary files. Ensure your TV has at least 1.5 GB to 3 GB of free internal storage.
- Maintain Power Stability: Ensure your television or streaming device is connected to a reliable power source. Never unplug a device or switch off a power strip during an active update.
- Confirm Network Connectivity: Use a stable Wi-Fi network or an Ethernet cable connection. Network drops during the download phase can cause corrupted file packages.
Method 1: Updating via the Standard Android TV Interface
For devices running traditional Android TV interfaces (common on older Sony BRAVIA models, Nvidia Shield TV, and budget Android TV boxes), follow these step-by-step instructions:
- Press the Home button on your remote control to open the main home screen.
- Select the Settings gear icon located in the upper-right corner of the screen.
- Scroll down and select Device Preferences (on some models, skip directly to About).
- Select About from the submenu.
- Click on System Update or Software Update.
- Choose Check for Update or Network Update.
- If an update is detected, select Download or Install Now.
- Allow the device to download the file. Once downloaded, the screen will go black, and an Android installation graphic will appear showing progress. Do not press any remote buttons until the TV restarts back to the home screen.
Method 2: Updating via the Google TV Interface
For modern televisions and streaming devices running the Google TV launcher interface (such as Chromecast with Google TV, recent Sony BRAVIA models, and modern TCL or Hisense series):
- Press the Home button on your Google TV remote.
- Navigate to your profile avatar in the upper-right corner and select Settings.
- Scroll down the left sidebar and select System.
- On the right panel, scroll down and select About.
- Select System update.
- The system will scan Google servers. If a software package is ready, click Install.
- The device will process the package and automatically reboot to finalize installation.
How to Manually Update Android TV Using a USB Flash Drive
When an Android TV cannot connect to the internet, fails to detect an OTA update, or is stuck in an update loop, performing a manual installation using a USB flash drive provides a reliable alternative.
Requirements for USB Updating
- A clean USB flash drive with a capacity between 4 GB and 32 GB.
- A computer (Windows, macOS, or Linux) with an active internet connection.
- The exact device model number (located on the rear sticker of the TV or within the System About menu).
Step 1: Formatting the USB Drive Correctly
Smart TVs often use basic file systems for recovery bootloaders. Prepare your USB drive with these specifications:
- Insert the USB flash drive into your computer.
- Open your disk management tool (File Explorer on Windows or Disk Utility on macOS).
- Format the drive using the FAT32 file system for drives 32 GB or smaller, or exFAT if specified by your manufacturer.
- Set the partition scheme to MBR (Master Boot Record) rather than GPT to ensure bootloader compatibility.
Step 2: Downloading the Official Firmware Package
Always source firmware directly from your hardware manufacturer's official support portal. Downloading files from third-party forums carries security risks and may corrupt your hardware.
- Sony Support: Visit the official Sony Electronics support portal, search for your TV model, locate the Downloads section, and retrieve the firmware
.zipor.pkgfile. - Nvidia Shield: Access the official Nvidia Shield developer and support pages for recovery images.
- TCL & Hisense: Search the official regional support websites for your television's precise software build.
Step 3: Extracting and Placing Files on the USB Drive
- Extract the downloaded zip file on your computer.
- Locate the primary update file. Depending on the manufacturer, this file will typically end in
.pkg,.zip, or.bin(for example,sony_dtv0FA80A0BA0B8_00004100.pkgorupdate.zip). - Copy the extracted file directly to the root directory of your USB drive. Do not place the file inside any folders or subdirectories.
- Safely eject the USB drive from your computer.
Step 4: Initiating the Local Update
- Disconnect any other USB devices (external hard drives, game controllers, USB tuners) from the TV.
- Insert the prepared USB flash drive into the primary USB 2.0 or USB 3.0 port on your TV.
- Turn on the television. Most modern TVs will automatically detect the firmware file and display an on-screen prompt reading "Software Update Found."
- If no prompt appears, navigate to Settings > System > About > System Update and select Update via USB or Local Update.
- Follow the on-screen prompts to confirm installation. The TV will restart and display an installation progress bar.
- Once complete, the TV will restart automatically. Unplug the USB drive after the boot sequence reaches the home screen.
Comparing Update Mechanisms Across Popular Platforms
Different hardware manufacturers implement custom update schedules, support lifecycles, and interface layouts. The table below compares software update management across prominent Android TV ecosystem hardware.
| Device / Platform | Typical OS Support Window | Manual USB Update Support | Primary Navigation Path | Key Update Requirement |
|---|---|---|---|---|
| Nvidia Shield TV | Extended (7+ Years) | Yes (via Fastboot / Micro USB) | Settings > Device Preferences > About > System Upgrade | Minimum 2 GB storage space |
| Sony BRAVIA (Google TV) | Moderate (3 to 5 Years) | Yes (via FAT32/exFAT USB) | Settings > System > About > System Update | Correct regional package matching TV suffix |
| Chromecast with Google TV | Standard (3 to 5 Years) | No (OTA Only) | Settings > System > About > System update | Minimum 1.5 GB free internal storage |
| TCL Android / Google TV | Moderate (2 to 4 Years) | Yes (via Root-level USB file) | Settings > System > About > Software Update | FAT32 format; strict filename compliance |
| Hisense Android TV | Moderate (2 to 3 Years) | Yes (via Service Port USB) | Settings > Device Preferences > About > System Update | Precise hardware revision match (VIDAA vs. Android OS) |
Troubleshooting Common Android TV Update Failures
Software updates can occasionally stall, throw error codes, or fail completely due to storage limits, network interruptions, or file mismatches.
1. Error: "Insufficient Storage Space Available"
Android TV devices, particularly budget models and dongles, often feature limited internal flash memory (8 GB total, with only 4 GB accessible to users). When storage runs low, system update packages cannot unpack.
- Clear App Cache: Go to Settings > Apps > See all apps. Select high-usage streaming apps (YouTube, Netflix, Prime Video), choose Clear cache, and return to the update menu.
- Uninstall Unused Applications: Delete heavy games or unused media apps under Settings > Apps.
- Setup Adoptable Storage: Format a high-speed USB 3.0 drive as internal storage via Settings > Storage & Reset > USB Drive > Format as Device Storage. Move installed applications to the external drive to free up primary internal flash memory.
2. Update Stuck or Frozen Progress Bar
If your software download freezes halfway or the installation wheel stops spinning for more than 45 minutes, the update service process may have stalled.
- Soft Reset / Power Cycle: Unplug the TV's power cord directly from the wall outlet. Wait 60 seconds to allow all circuit capacitors to discharge completely. Plug the power cord back in and attempt the update process again.
- Clear System Update Service Cache: Navigate to Settings > Apps > See all apps > Show system apps. Locate System Update or Google Play Services, select Clear Cache and Clear Data, then restart your device.
3. Time Synchronization Failures (NTP Network Errors)
Android TV relies on accurate Network Time Protocol (NTP) data to negotiate Secure Sockets Layer (SSL) certificates when downloading updates from server networks. If your system clock is incorrect, updates will fail silently or display network connection errors.
- Fix Manual Clock: Go to Settings > System > Date & Time (or Device Preferences > Date & Time).
- Toggle Automatic date & time to Off, set the correct current time zone and date manually, then toggle Automatic date & time back to Use network-provided time.
4. Device Stuck in a Boot Loop Post-Update
If a power loss occurs during an installation or an update corrupts system partitions, the TV may continuously restart showing only the manufacturer logo.
- Access Hardware Recovery Mode:
- Unplug the television from power.
- Locate the physical power button or volume down button directly on the TV panel chassis (not the remote).
- Press and hold the physical button on the TV chassis while plugging the power cord back in.
- Continue holding the button until the manufacturer logo changes or the Android Recovery screen appears.
- Perform Factory Reset via Bootloader:
- Use the TV's physical buttons to scroll through the recovery menu.
- Highlight Wipe data / factory reset and press the power button to select.
- Confirm by selecting Yes. Once wiped, select Reboot system now.
Google Play System Updates vs. Firmware Updates
A common point of confusion for Android TV owners is the difference between an Android OS Firmware Update and a Google Play System Update.
Android TV Core Software Architecture
- Vendor OS Firmware (Delivered by OEM: Sony, TCL, Nvidia)
- Kernel, Hardware Drivers, Audio/Video Codecs, HDMI-CEC
- Google Play System Updates (Delivered directly by Google via Mainline)
- Security Modules, DRM Framework, Media Parsers
- User Interface & Launcher Apps (Updated via Google Play Store)
- Google TV Launcher / Android TV Home, Assistant, Core Services
While hardware manufacturers control full firmware updates, Google independently pushes modular security patches via Google Play System Updates.
How to Check and Run Google Play System Updates
- Open Settings on your Android TV or Google TV.
- Select System (or Device Preferences) > About.
- Look for the entry labeled Google Play System Update.
- Click on this entry. The system will search Google's modular distribution servers.
- If an update is ready, click Restart to Update.
Regularly running Google Play System updates ensures your television remains secure against network vulnerabilities even after your TV manufacturer stops issuing full OS firmware upgrades.
Frequently Asked Questions
How long does an Android TV software update usually take?
An over-the-air (OTA) update typically takes between 10 and 20 minutes, depending on your internet connection speed and your device's internal processor. The file download phase relies on network bandwidth, while the system installation phase takes roughly 5 to 10 minutes, during which the screen may reboot multiple times.
Will updating my Android TV erase my apps, account logins, or settings?
Standard system updates (both OTA and USB update files) do not erase your personal data, installed applications, or user preferences. System files are updated in a separate system partition. However, if an update fails and requires a factory reset through recovery mode, all internal user data will be cleared.
Can I downgrade my Android TV to a previous operating system version?
Downgrading an Android TV system version is generally restricted by built-in security features called anti-rollback protection. Manufacturers block rollbacks to prevent security vulnerabilities from being reintroduced. While advanced users can flash older images using Android Debug Bridge (ADB) and unlocked bootloaders on select hardware (such as Nvidia Shield), doing so is risky and typically voids device warranties.
Why does my friend's Smart TV have a newer Android version than my TV?
Android OS distribution depends heavily on hardware manufacturers and system chipsets (such as MediaTek, Realtek, or Amlogic). Manufacturers customize the Android platform for each specific hardware layout. Budget TVs often receive fewer OS upgrades compared to flagship models or standalone streaming boxes like the Nvidia Shield TV or Chromecast with Google TV.
What happens if the power cuts off while my TV is installing an update?
A power interruption during the writing phase of a system update can corrupt the system partition, causing the TV to become unresponsive or get stuck in a boot loop. If this occurs, you must restore system functionality by accessing the TV hardware recovery menu using the physical power/volume buttons on the TV frame, or by performing a forced USB recovery flash provided by the manufacturer.
Final Recommendations and Maintenance Best Practices
To maintain performance, prevent system freezes, and extend the functional lifespan of your Android TV device:
- Enable Automatic Updates: Keep automatic updates active under Settings > System > About > System Update. This allows security updates to install during idle overnight hours.
- Perform Monthly Reboot Cycles: Modern Smart TVs are essentially low-power computers running background processes. Restart your TV once a month by going to Settings > System > Restart to clear temporary system memory.
- Monitor Internal Storage: Check free space quarterly under Settings > Storage. Keep at least 2 GB of internal flash memory free so system processes and background app updates run smoothly.
- Use Official Support Channels for Offline Flashing: If manual USB flashing becomes necessary, only download packages from official manufacturer domain names. Verify that the downloaded file matches your exact model number and regional suffix (such as NA, EU, or AP) to avoid flashing incompatible hardware files.