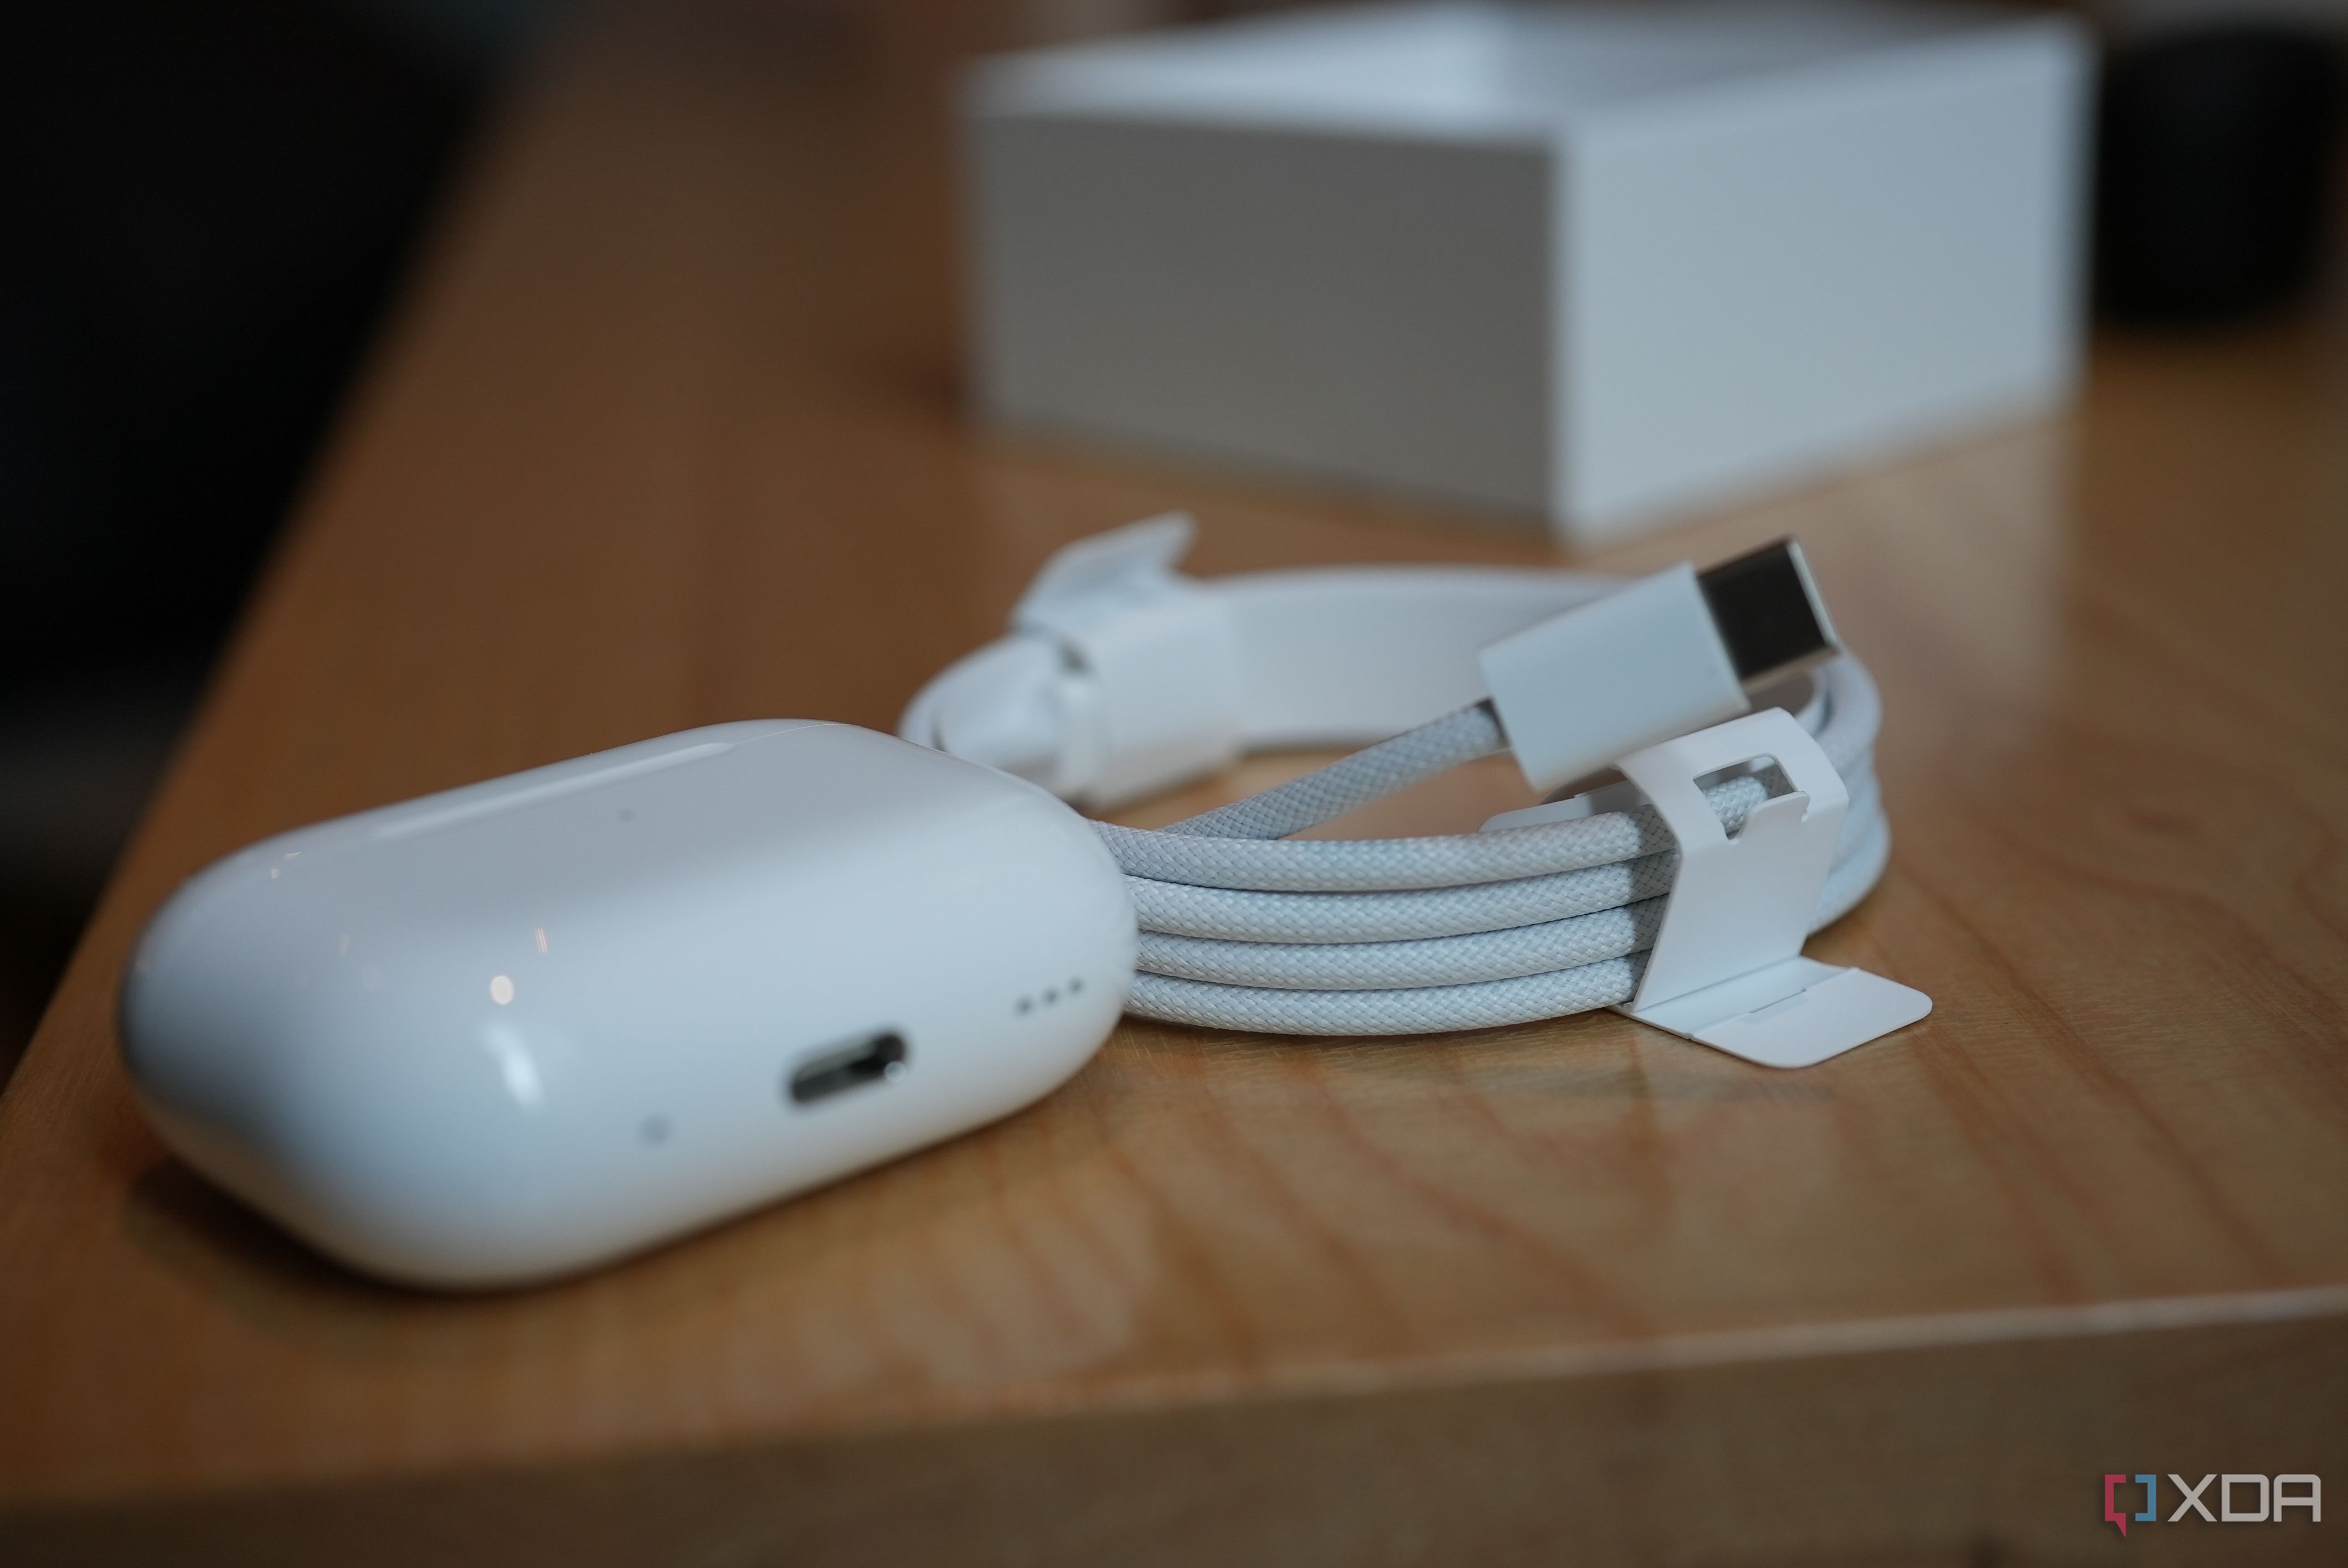
If your Apple AirPods or their charging case will not charge, the issue is typically caused by dirty contact pins, software synchronization failures, a dead charging cable, or temporary firmware freezes. You can resolve most charging problems by cleaning the metal contacts with a dry cotton swab, performing a hard factory reset, or swapping power accessories.
Understanding Why AirPods Stop Charging
AirPods rely on a precise electrical connection between the base of each earbud stem and the spring-loaded gold contact pins inside the charging case. When dirty, corroded, or misaligned, even a microscopic layer of earwax, lint, or oxidation can disrupt the low-voltage circuit required to charge the internal lithium-ion batteries.
Charging problems fall into three distinct categories:
- Single-Earbud Issues: One AirPod (left or right) charges normally while the other remains at zero percent or disconnects entirely from the iOS battery widget.
- Charging Case Failures: The case itself fails to store power or pass current through its Lightning or USB-C port, showing no status light even when plugged into wall power.
- Wireless & MagSafe Interruption: The case fails to charge on Qi-certified pads, MagSafe chargers, or Apple Watch charging pucks despite functioning over a wired connection.
Identifying whether the failure sits within the earbud stem, the case interior, the external port, or the system firmware saves time and prevents unnecessary hardware replacement.
Decoding AirPods Status Light Codes
The LED status light on your AirPods case—located inside the lid on original models or on the front exterior of wireless, MagSafe, and USB-C cases—provides immediate hardware diagnostics. Use this reference matrix to interpret your case's behavior:
| Status Light Display | Location / State | Diagnostic Meaning | Primary Action Required |
|---|---|---|---|
| Solid Green | Case plugged in or lid opened | Fully charged (Case or inserted AirPods) | No action required; device ready |
| Solid Amber / Orange | Case plugged in or lid opened | Less than one full charge remaining or currently charging | Allow case to complete charging cycle |
| Flashing Amber / Orange | Case lid open / Setup button pressed | Pairing error, memory mismatch, or corrupt connection | Perform hard factory reset of AirPods |
| Flashing White | Setup button held down | AirPods are in manual pairing mode | Pair device via iPhone/iPad Bluetooth settings |
| No Light (Blank) | Plugged into power cable or charger | Battery fully depleted, bad connection, or blown fuse | Clean port, verify adapter, leave plugged in 30 mins |
| Flashing Red / Amber (AirPods Max) | Noise Control button held | Firmware error or power delivery fault | Reset headband connection or charge via cable |
Fix 1: Clean the Stem and Case Charging Contacts
The most frequent cause of single-side charging failure is physical debris blocking the electrical contact pins inside the charging wells.
- AirPod Stem Bottom
- Silver Contact Ring
- Air Gap / Debris Zone
- Inside Case Bottom
- Gold Spring Pins
Cleaning the Earbud Stems
- Inspect the chrome-plated tail at the bottom of the AirPod stem.
- Wipe the metal contacts using a dry, lint-free microfiber cloth.
- For stubborn grime or skin oil buildup, slightly dampen the tip of a cotton swab with 70% or higher isopropyl alcohol. Ensure the swab is damp, not dripping.
- Gently polish the silver contact rings at the base until bright and clean. Allow to air-dry completely for 60 seconds.
Cleaning Inside the Charging Case Wells
- Direct a flashlight down into the deep cylindrical wells of the charging case.
- Look for accumulated pocket lint, dust clumps, or foreign debris packed around the gold contact springs at the bottom.
- Insert a clean, dry cotton swab down into each cavity and rotate gently to clear out surface dust.
- If lint is compressed at the base, use a dry foam swab or a non-conductive plastic dental pick to loosen the debris. Never insert metal objects (such as paperclips, safety pins, or needles) into the charging wells, as they can permanently bend spring terminals or cause a short circuit across internal battery pins.
- Apply a tiny drop of isopropyl alcohol to a swab for deep grime, carefully wiping the contact pads without saturating the case interior.
Fix 2: Resolve Single AirPod Charging Failures
When one AirPod charges to 100% while the other remains depleted, the cause is usually improper seating or software display desynchronization.
Re-seat the AirPod in the Case
When putting the affected AirPod into the charging well, verify that the magnetic pull pulls the stem firmly downward. If you feel resistance or a spongy bounce, lint is obstructing the bottom of the cavity. Once inserted, close the case lid. Opening and closing the lid triggers an internal handshake between the microcontrollers inside the case and the earbuds.
Force the iOS Battery Widget to Refresh
Sometimes an AirPod is charging correctly, but iOS displays an outdated or zero-percent reading due to a Bluetooth cache glitch.
- Place both AirPods inside the case and close the lid for 10 seconds.
- Bring the case close to your paired iPhone or iPad and open the lid.
- Watch the popup animation on the screen. If the battery percentage appears incorrect, toggle Bluetooth off and on in the iOS Settings menu to force a status update from the H1, H2, or W1 chip.
Fix 3: Troubleshoot Charging Case Power Delivery
If the status light remains completely dark when the case is connected to a charging cable, systematic troubleshooting of the external power path is necessary.
- Wall Outlet
- Power Adapter
- Cable
- Case Port
- Internal BMS
- Battery Cell
1. Clear the External Connector Port
Pocket lint frequently collects inside Lightning or USB-C ports on the bottom of the charging case. When a cable is inserted, the lint compresses, preventing the cable pins from fully mating with the internal connector.
- Use a bright light to inspect the bottom port.
- Use a dry wooden or plastic toothpick to carefully clear out compressed lint from the port.
- Gently blow compressed air into the opening to clear remaining particles.
2. Verify Cable and Power Adapter Compliance
- Swap out the cable for an original Apple cable or an official MFi (Made for iPhone/iPad/iPod) certified alternative. Non-certified third-party cables often lack power delivery ICs and fail to deliver adequate current to initialize a deeply discharged case battery.
- Avoid low-power USB ports on older computer keyboards or unpowered USB hubs. Plug the wall adapter directly into a known-working electrical wall outlet.
- Try an alternate power brick rated for at least 5W to 20W USB Power Delivery (USB-PD).
3. Recover from Deep Discharge
When an AirPods case is left fully uncharged for weeks or months, its internal lithium-ion protection board enters a high-impedance safety sleep mode.
- Connect the case to a verified fast-charging wall adapter and cable.
- Leave the case plugged in continuously for at least 30 to 60 minutes without opening the lid or removing the earbuds.
- The status light may take up to 20 minutes to illuminate while the battery slowly recovers past its minimum voltage threshold.
Fix 4: Address Wireless and MagSafe Charging Problems
For AirPods models equipped with Wireless or MagSafe Charging Cases (including AirPods Pro, AirPods 3rd Gen, and AirPods 4th Gen with ANC), wireless charging failures often result from physical alignment issues or thermal protection built into the case firmware.
Qi/MagSafe Pad
- Magnetic Alignment / Induction Coils
- AirPods Case
Remove Protective Cases: Thick silicone or plastic protective covers break the magnetic induction alignment between the wireless charging pad and the internal receiver coil. Remove third-party sleeves and place the naked case directly on the charger.
Center on Qi Chargers: Standard non-magnetic Qi charging pads require precise placement. Center the case directly over the charging coil icon on the pad. The status light on the case should turn amber for several seconds when initial power transfer begins before switching off to conserve energy.
Manage Thermal Levels: Wireless charging generates heat. If the internal temperature of the AirPods case exceeds safe operating thresholds, the onboard Battery Management System (BMS) temporarily pauses charging to preserve battery health. Move the charger away from direct sunlight, thick carpets, or warm electronic equipment.
Apple Watch Puck Compatibility: Note that only specific models—such as AirPods Pro 2 and AirPods 4 with Active Noise Cancellation—support charging via an Apple Watch magnetic charging dock. Standard wireless AirPods cases will not accept power from an Apple Watch charger due to different coil geometries.
Fix 5: Perform a Hard Factory Reset
A hard reset clears corrupted pairing memory, restores factory firmware handshakes between earbuds, and fixes loop errors where the case fails to supply power to connected AirPods.
Step-by-Step Reset Procedure (AirPods 1, 2, 3, Pro 1, Pro 2)
Step 1: Forget Device (iOS Bluetooth Menu)
Step 2: Place in Case (Close/Open Lid 30s)
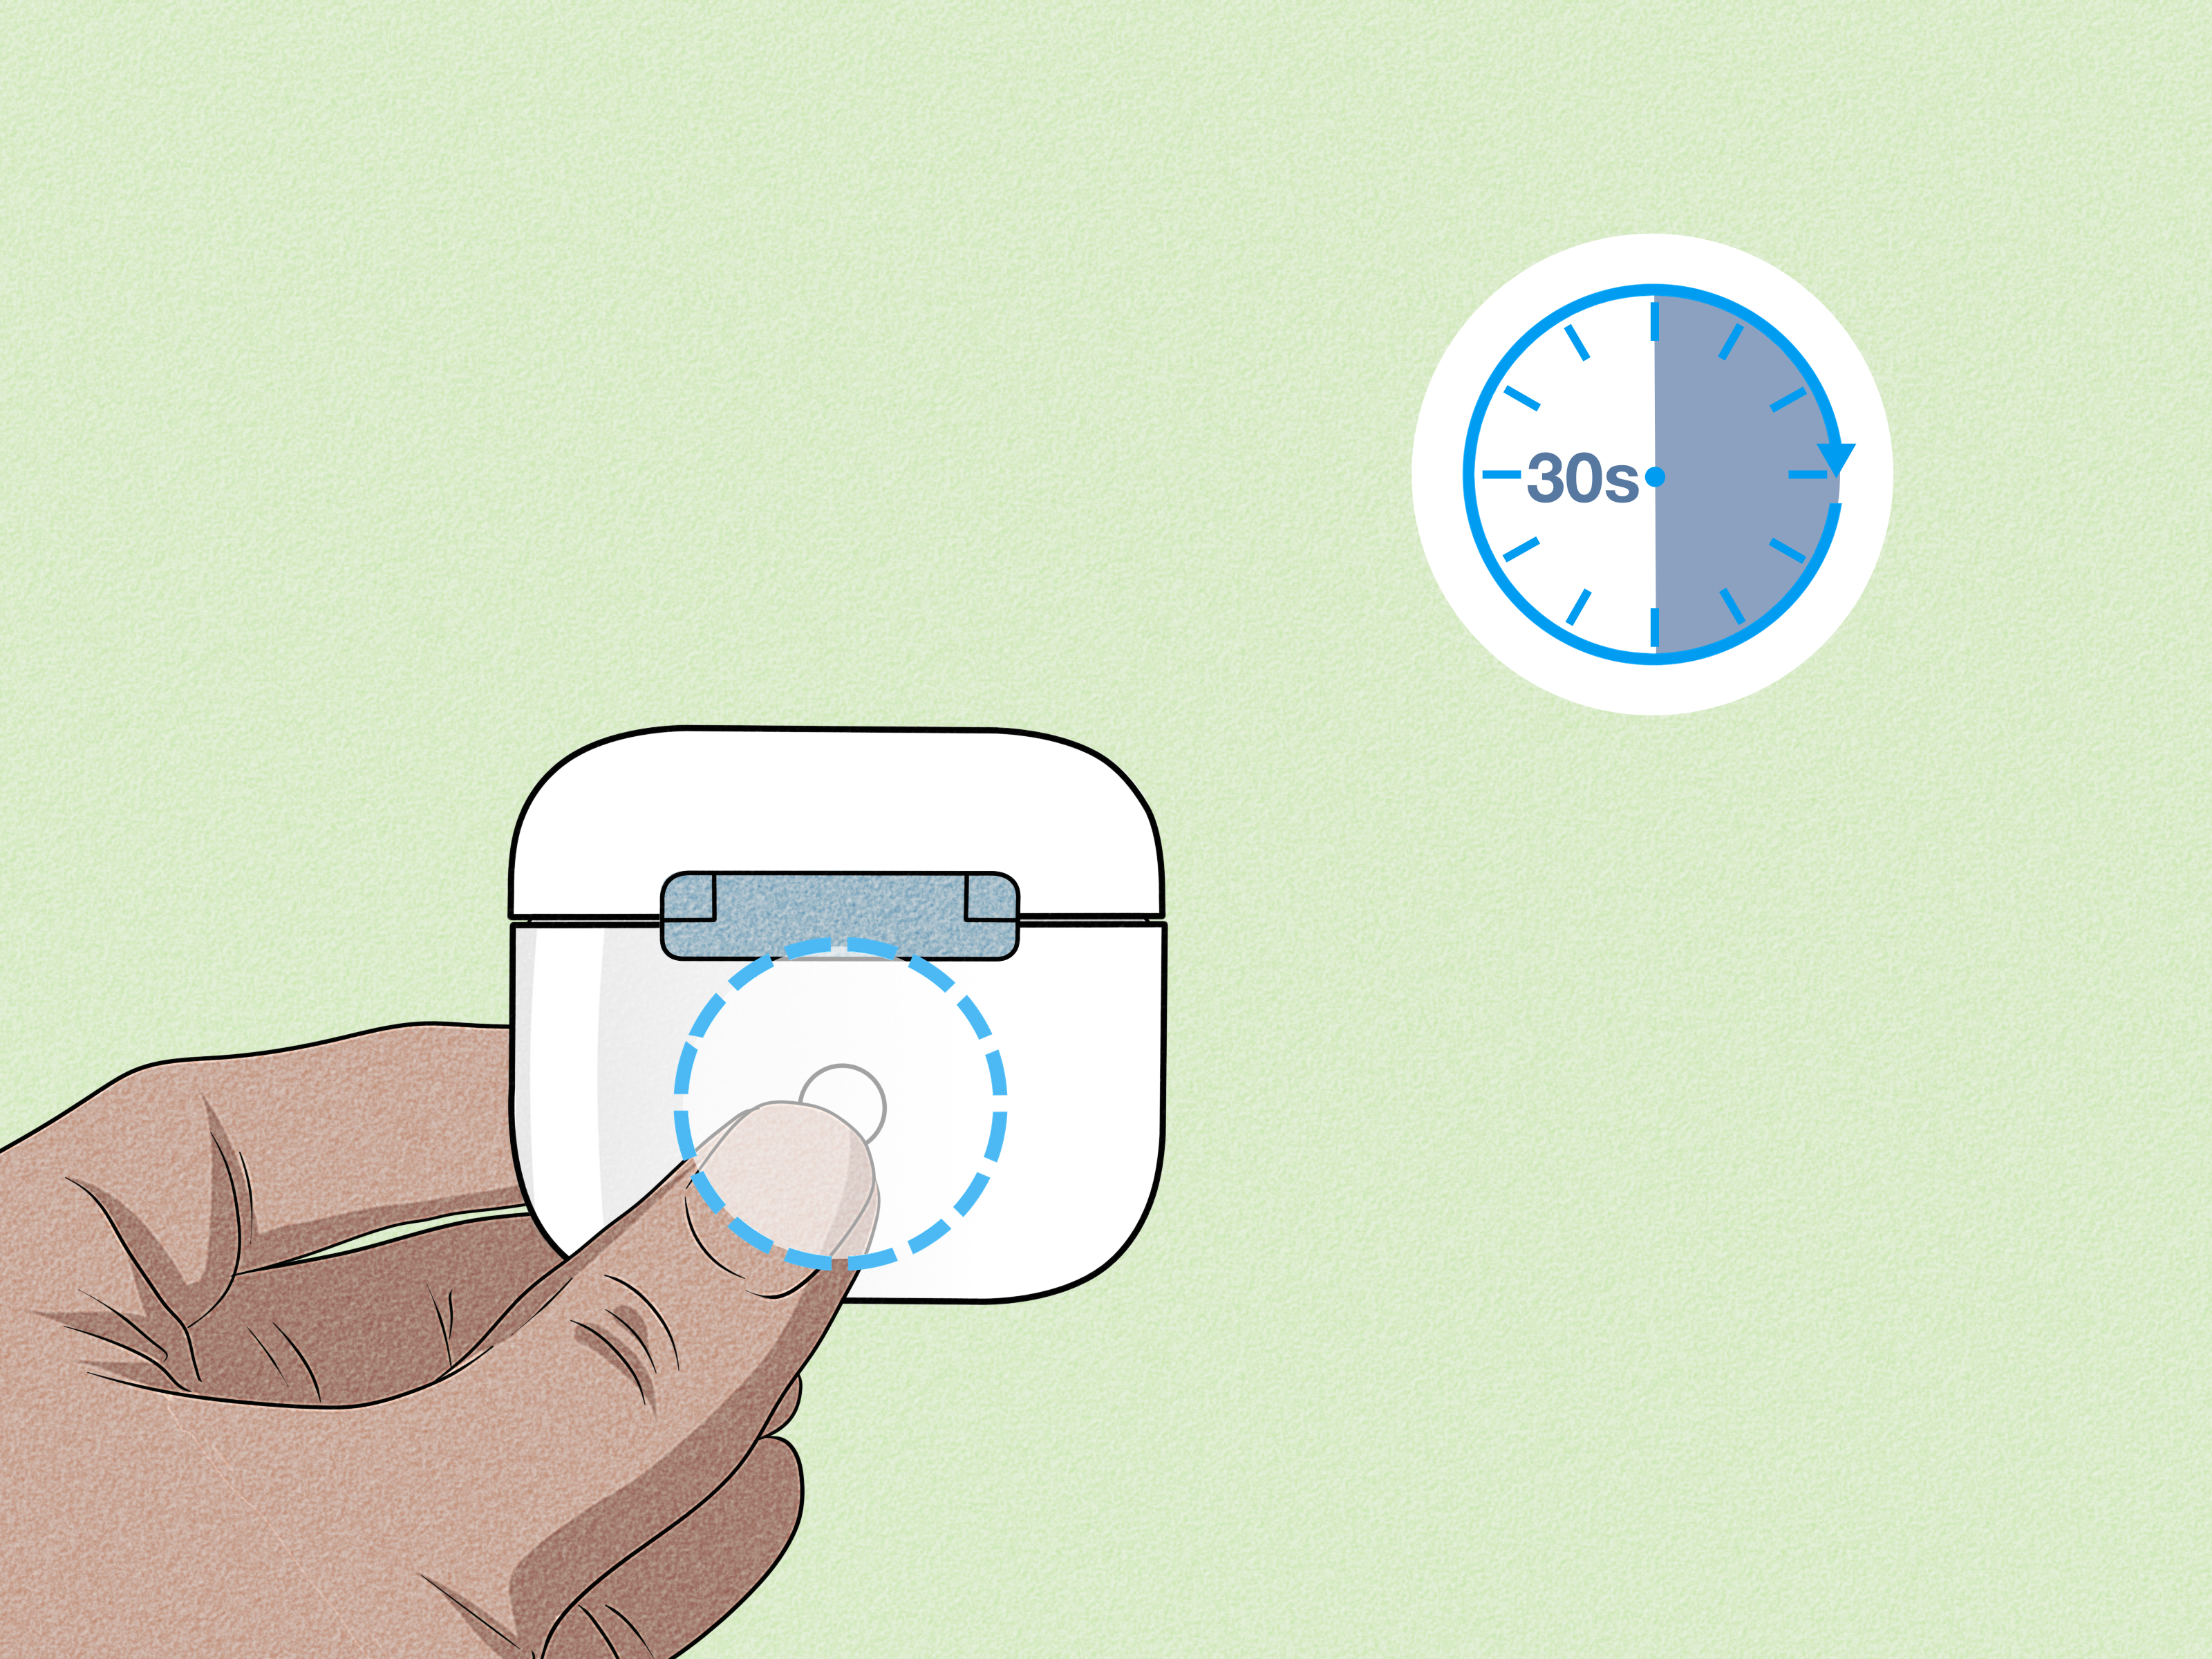
Step 3: Hold Button 15s (Wait for Amber Flash)
Step 4: Re-pair (Bring near iPhone)
Go to Settings > Bluetooth on your connected iPhone or iPad.
Locate your AirPods in the device list and tap the Info (i) icon next to their name.
Tap Forget This Device and confirm.
Place both AirPods inside your charging case and close the lid.
Wait 30 seconds to allow the earbuds to enter complete standby mode.
Open the lid of your charging case.
Locate the Setup Button on the back of the case.
Press and hold the Setup Button continuously for approximately 15 seconds.
Observe the status light on the case: it will flash amber/orange several times, then begin flashing white.
Release the button. Bring the open case near your iOS device and follow the on-screen setup prompts to re-pair.
Note for AirPods 4th Generation: To initiate a reset on AirPods 4 (which lack a physical back setup button), open the case lid and double-tap the front hidden capacitive area on the front of the case repeatedly while the status light flashes, or double-tap and hold as indicated in Apple's hardware update instructions.
Step-by-Step Reset Procedure (AirPods Max)
- Charge your AirPods Max for at least 10 minutes using a functional USB-C or Lightning cable.
- Press and hold the Noise Control Button and the Digital Crown simultaneously on the right earcup.
- Hold both controls for 15 seconds until the LED status light at the bottom of the earcup flashes amber, then flashes white.
- Release the buttons and re-pair the headphones with your device.
Battery Degradation vs. Hardware Failure
If cleaning and resetting fail to restore normal operation, determine whether your device has reached the end of its physical chemical lifespan or suffered structural component damage.
Lithium-Ion Battery Cycle Wear
AirPods micro-batteries (located in the earbud stems) carry capacities between 25 mAh and 40 mAh. Over 300 to 500 complete charge cycles (typically 18 to 24 months of heavy daily use), these small cells undergo natural chemical degradation.
- Symptom of Battery Exhaustion: An AirPod drops from 100% to 0% within 15–30 minutes of playback, or rapidly disconnects during high-power tasks like cellular phone calls.
- Diagnosis: Chemical wear cannot be repaired via software updates or cleaning. The tiny internal button cells are sealed with epoxy inside the housing, rendering them non-serviceable by users.
Internal Component Failure
If an AirPod fell into water or experienced physical drops, internal damage can disrupt charging logic:
- Corroded Internal Contacts: Water penetration causes microscopic corrosion on the flexible printed circuit (FPC) board connecting the stem contacts to the logic board.
- Depressed Spring Pins: Dropping the case with the lid open can cause the bottom spring pins inside the well to lock downward, breaking physical contact with inserted AirPods.
Official Repair and Service Options
When self-service troubleshooting fails to restore charging capability, official Apple service paths provide hardware replacements.
Warranty and AppleCare+ Coverage
- Standard 1-Year Limited Warranty: Covers defect-related charging faults, faulty charging case logic boards, and manufacturing defects. Does not cover accidental liquid damage, drop damage, or normal battery wear.
- AppleCare+ for Headphones: Covers up to two years of accidental damage protection (subject to a small excess fee) and includes zero-cost battery service if an AirPod or Case battery retains less than 80% of its original capacity.
Apple Out-of-Warranty Replacement Costs
If your device lacks active warranty coverage, Apple provides individual component replacement services directly through Apple Support:
- Individual AirPod Earbud Replacement: If a single AirPod has a dead battery or failed charging circuit, Apple offers individual left or right replacement units.
- Charging Case Replacement: Standard, Wireless, and MagSafe cases can be purchased individually as service parts through Apple Authorized Service Providers (AASPs).
To verify coverage status before visiting a store, retrieve your serial number printed under the charging case lid or under Settings > Bluetooth > [Your AirPods] > Info on your paired iPhone, then enter it into the official Apple Check Coverage portal.
Common Mistakes That Damage AirPods Charging Systems
Avoid these frequent mistakes when maintaining your AirPods charging accessories:
- Using Liquid Solvents Other Than Isopropyl Alcohol: Never clean contact points or case wells with acetone, window cleaners, hydrogen peroxide, or high-water-content rubbing alcohol. Acetone melts the case polycarbonate, while high water content causes electrical shorts and corrosion.
- Probing Wells with Metal Tools: Inserting metal paperclips, needles, or small screwdrivers inside the charging wells will short out the internal battery circuitry or bend the delicate gold spring pins out of alignment.
- Closing the Lid on Moisture: Inserting wet or sweat-drenched AirPods directly into the charging case causes galvanic corrosion on the stem contact rings. Always dry your earbuds thoroughly with a lint-free cloth before seating them into the case.
- Using Cheap Uncertified Wireless Charging Mats: Low-quality Qi pads without thermal regulation or foreign object detection (FOD) can transfer excess heat directly into the AirPods lithium-ion battery, triggering permanent thermal degradation.
Frequently Asked Questions
Why does one AirPod charge to 99% or stop at 80%?
This behavior is usually driven by Apple's Optimized Battery Charging feature. On iOS 14.2 and later, your device learns your daily charging routine and delays charging AirPods past 80% until just before you need to use them, reducing battery wear. If you need a full charge immediately, touch and hold the Optimized Battery Charging notification on your iPhone lock screen and tap Charge Now.
How do I know if my AirPods case is actually charging?
When you plug in your case or place it on a wireless charger, the LED status light turns on solid amber for approximately 8 seconds to confirm current delivery, then turns off. The light remaining off during active charging is normal behavior. To check charging progress, open the lid near a paired iPhone or swipe right to view the Batteries Widget on your iOS home screen.
Can I charge my AirPods with a higher-wattage iPad or Mac charger?
Yes. You can safely plug your AirPods charging case into high-wattage Apple USB-C power adapters (such as 20W, 30W, 67W, or 96W MacBook chargers). The charging management circuit inside the AirPods case controls the power flow, pulling only the exact amperage and voltage required (typically around 5V at 0.5A to 1A).
Why does the status light flash amber when I try to charge my AirPods?
A flashing amber light indicates a setup or pairing desynchronization error, meaning the case microcontrollers cannot verify the identity or software state of one or both earbuds. Perform a hard factory reset by placing both earbuds inside, keeping the lid open, and holding the rear setup button for 15 seconds until the light flashes amber then white.
Can I replace just the charging case if my old one stops charging completely?
Yes. Apple and Apple Authorized Service Providers sell standalone replacement charging cases. You do not need to buy an entirely new set of AirPods. Once you receive a replacement case, place your existing left and right earbuds into the new case, charge them together for 20 minutes, and hold the rear setup button for 15 seconds to sync the earbuds to the new case firmware.
Recommended Next Steps
- Perform Physical Contact Cleaning: Inspect both earbud stem rings and the deep interior case spring pins. Wipe thoroughly using a dry cotton swab or one lightly dampened with 70%+ isopropyl alcohol.
- Perform a Full System Reset: Unpair the AirPods from your iPhone Bluetooth menu, place them in the case, and hold the rear button for 15 seconds until the LED flashes amber, then white.
- Verify Cable and Adapter Integrity: Plug the case directly into a known-working Apple wall adapter using an official cable. Allow the system to rest undisturbed for 60 minutes to clear deep discharge states.
- Contact Apple Support: If the status light fails to illuminate or one earbud refuses to register after cleaning and resetting, schedule a hardware check at an Apple Store or Authorized Service Provider to evaluate replacement options under warranty or out-of-warranty battery service programs.