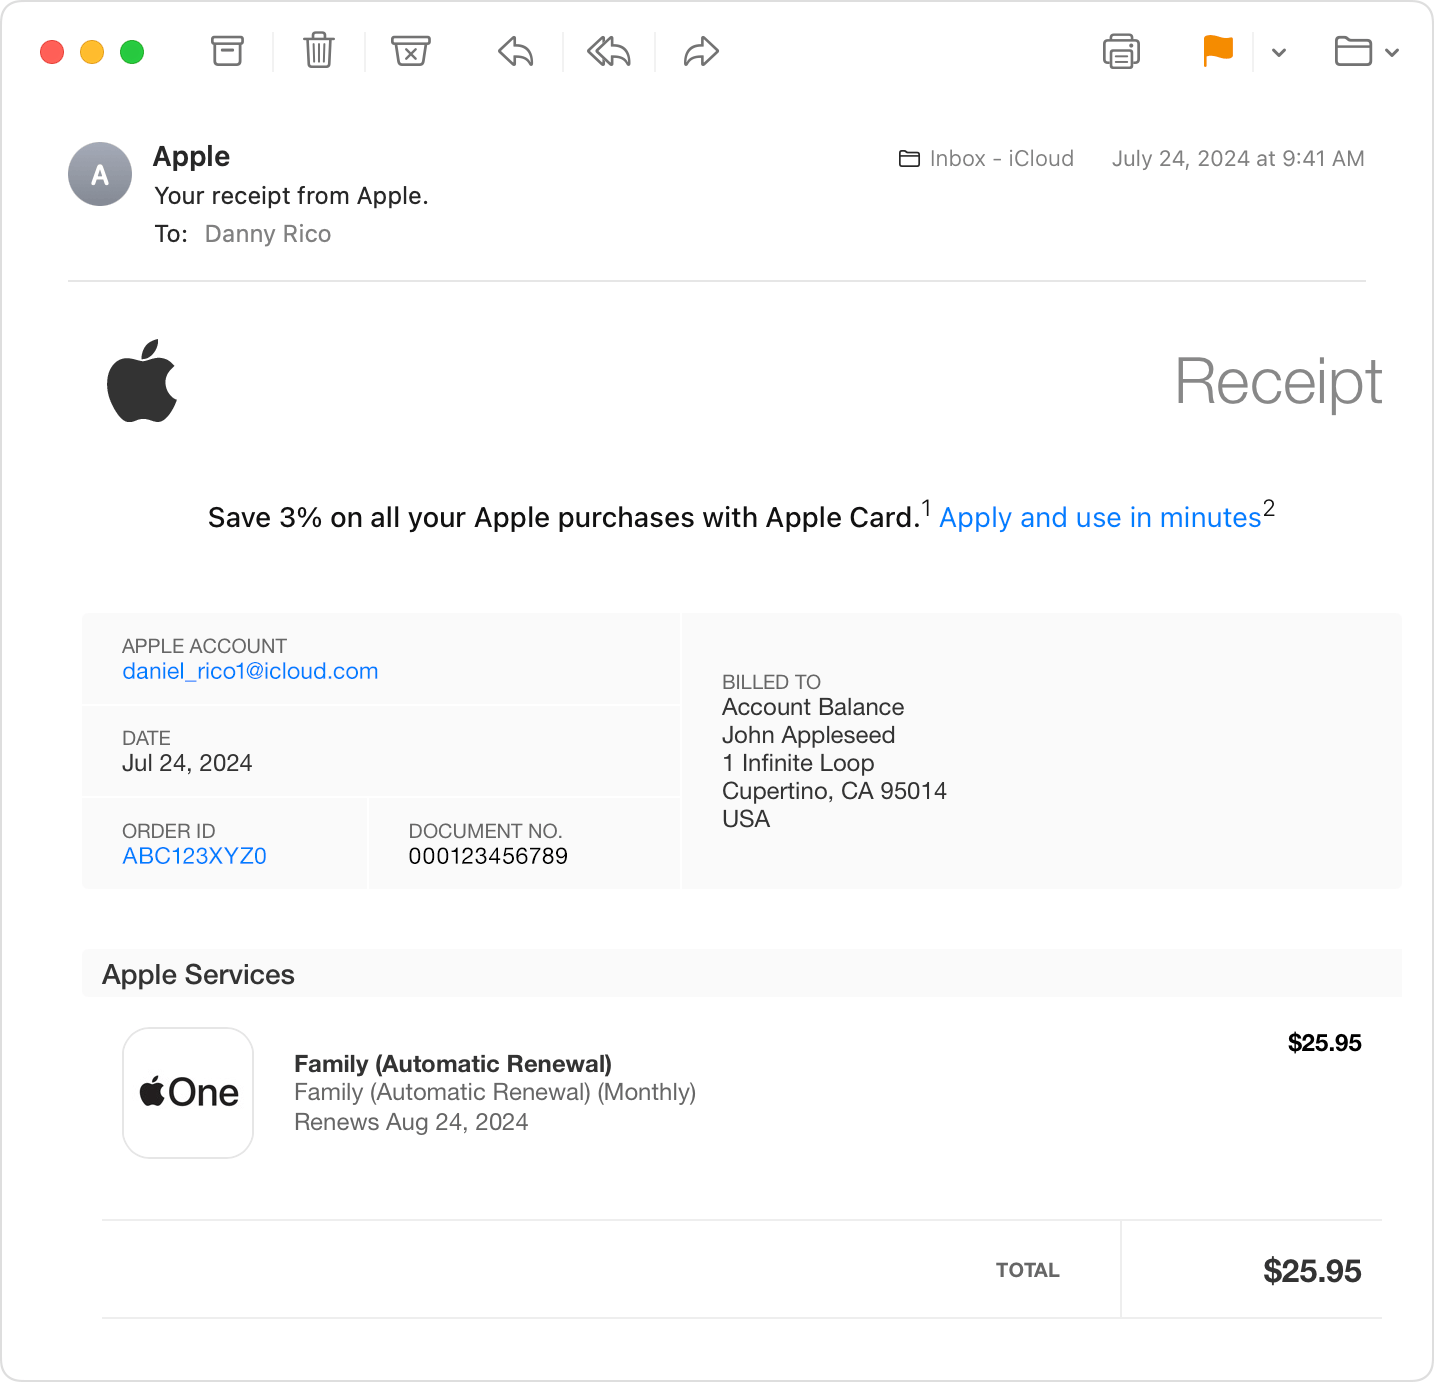
Requesting a refund for Apple digital purchases—such as apps, subscriptions, in-app items, or media—is primarily handled through Apple’s official web portal at reportaproblem.apple.com. By signing in with your Apple Account, choosing a valid claim reason, and selecting the impacted transaction, you can submit a refund request for evaluation by Apple's automated and manual review systems within minutes.
Understanding Apple’s Digital Refund Policy and Eligibility Criteria
Apple processes payments for millions of digital items daily across its global ecosystem, including the App Store, Apple Music, Apple TV+, Apple Books, iCloud+, and third-party in-app purchases. Because digital downloads and services are consumed immediately upon purchase, Apple maintains a dedicated refund framework distinct from its retail store policies for physical hardware like iPhones or Macs.
Understanding whether a purchase is eligible for a refund requires examining both Apple’s universal terms of service and local legal requirements. Apple evaluates claims based on purchase history, the nature of the content, the elapsed time since transaction, and the specific reason provided during the claim process.
Apple Media Services Purchase Flow
- Transaction Completed
- Standard Digital Purchase:
- Subject to Apple Terms
- Evaluated via Risk Model
- EU / UK Statutory Purchase:
- 14-Day Right of Withdrawal
- Statutory Consumer Protection
- Standard Digital Purchase:
- Submit at reportaproblem.apple.com
Valid Grounds for Requesting a Refund
Apple generally considers refund requests under several recognized circumstances:
- Accidental Purchases: Initiating a download or purchase unintentionally, such as accidentally tapping an in-app purchase prompt or choosing the wrong tier of an application.
- Unauthorized Minors: Purchases made by children or other unauthorized individuals using your unlocked device without permission.
- Faulty or Non-Functional Content: Apps or media that crash continuously, fail to load, contain corrupt assets, or lack advertised core features.
- Unfulfilled In-App Items: Virtual goods, coins, software keys, or subscription entitlements that were charged to your payment method but never credited to your account inside the application.
- Unintended Subscription Renewals: Auto-renewing subscriptions that billed unexpectedly, particularly when the cancellation request was submitted shortly after billing occurred.
Statutory Rights and Regional Variations
Refund eligibility varies significantly based on regional consumer protection mandates:
- Standard Global Policy: In most countries (including the United States, Canada, and Australia), all digital sales are technically final according to the Apple Media Services Terms and Conditions. However, Apple grants discretionary refunds when users provide valid claims through the official support channel.
- European Union and United Kingdom: Consumers residing in the EU, EEA, or UK possess a statutory Right of Withdrawal for digital content purchases. By default, consumers have up to 14 days from the purchase date to cancel the transaction without providing a reason. If you consent to immediate downloading or streaming during checkout, this right may be modified, but Apple's automated refund systems generally honor requests made within 14 days for users in these jurisdictions.
- Other Mandatory Local Protections: Certain jurisdictions, such as Taiwan and South Korea, enforce localized digital transaction laws requiring minimum withdrawal windows for digital goods, which Apple respects within those regional storefronts.
Subscriptions versus One-Time Digital Goods
It is essential to distinguish between canceling a subscription and requesting a subscription refund. Canceling an active auto-renewing subscription via your device's account settings ensures that you are not billed at the end of the current billing cycle, but it does not automatically refund the money already paid for the current period. To recover funds already billed for a subscription period, you must complete the explicit refund request process through the portal.
Step-by-Step Guide to Requesting a Refund via Report a Problem
The official, direct mechanism for requesting a refund on any transaction associated with your Apple Account is the "Report a Problem" self-service portal. Avoid third-party chargeback services or contacting individual app developers for payment returns, as app developers do not possess access to Apple’s centralized billing engines or payment processing tools.
Step-by-Step Apple Refund Submission
- Navigate to reportaproblem.apple.com & Sign In (2FA)
- Select "I'd like to..." and "Request a refund"
- Choose the Specific Reason from the Dropdown Menu
- Select Transaction(s) from Purchased Items List
- Submit Request & Note the Claim ID Number
Step 1: Navigate to the Portal and Authenticate
Open any modern web browser on your iPhone, iPad, Mac, or Windows PC, and navigate directly to reportaproblem.apple.com.
Log in using the primary Apple Account credentials (formerly known as Apple ID) that were used to make the purchase. If prompt authentication is required, complete the two-factor authentication (2FA) challenge by entering the six-digit verification code sent to your trusted Apple device or phone number.
Step 2: Select the Refund Action
Once signed in, the interface presents a main dashboard displaying recent transactions alongside a primary action bar at the top of the screen.
- Locate the drop-down menu labeled "I'd like to..."
- Click or tap the menu to expand the available actions.
- Select "Request a refund".
Step 3: Specify the Detail Reason
Directly below the action selector, a secondary menu labeled "Tell us more..." will activate. Selecting an accurate reason is vital because Apple’s automated evaluation system categorizes risk based on this input:
- Select “I didn't mean to buy this” for accidental taps.
- Select “A child/minor made purchase(s) without permission” for unauthorized family use.
- Select “I didn't intend to renew a subscription” for unexpected billing renewals.
- Select “My purchase doesn't work or function as expected” for software bugs or broken media assets.
- Select “In-app item was not received” for missing virtual goods.
After making your selection, click the blue Next button to proceed to the transaction list.
Step 4: Select the Specific Transactions
The portal will reload to show your purchase history filtered by eligible items. Scroll through the list to find the specific app, subscription tier, movie, album, or in-app item in question.
- Check the selection box next to each item you want refunded.
- If multiple unintended purchases occurred during a single session (such as multiple in-app coin packages), select all corresponding items.
- Verify that the purchase amount, date, and item names match your receipt email.
Step 5: Finalize and Submit
Click Submit at the top or bottom of the interface. Once submitted, the screen will display a confirmation message indicating that your request has been logged. You will also receive a automated notification sent to the primary email address linked to your Apple Account, providing a tracking reference number for the request.
Tracking Claim Status and Understanding Processing Timelines
Submitting a request does not instantly guarantee a credit. Apple processes incoming claims using automated rules backed by manual review teams when edge cases arise.
How to Check Claim Status
To monitor the status of an existing request:
- Return to reportaproblem.apple.com and sign in.
- Click on the "Check Status of Claims" link located near the top of the page.
- A list of submitted claims will appear with their current state:
- Pending: The request is undergoing automated analysis or manual review.
- Approved: Apple has granted the refund and issued the payment reversal command to the underlying processor.
- Refunded: The transaction processing is complete on Apple's side, and funds have been dispatched to your payment issuer.
- Denied: Apple evaluated the request and determined it does not meet policy guidelines for a return.
Decision Timelines
Apple typically renders a decision on refund requests within 24 to 48 hours. In complex cases—such as claims involving disputed high-value in-app purchases or account security breaches—the review process may take slightly longer while fraud prevention algorithms assess the account history.
Refund Processing Timelines and Payment Methods
Once Apple approves a refund claim, the speed at which the funds return to your usable balance depends entirely on the original payment method used during checkout. Apple dispatches payment reversals immediately upon approval, but financial institutions maintain their own clearing cadences.
| Payment Method | Apple Processing Time | Financial Institution Settlement | Total Expected Timeline |
|---|---|---|---|
| Apple Account Balance (Gift Cards/Store Credit) | Instant to 24 Hours | Internal Ledger Adjustment | Within 48 Hours |
| Credit Card (Visa, Mastercard, Amex, Discover) | 24 Hours | 2 to 5 Business Days | 2 to 30 Business Days |
| Debit Card (Linked to Bank Account) | 24 Hours | 5 to 10 Business Days | Up to 30 Days (varies by bank) |
| Apple Card / Apple Cash | Instant to 24 Hours | Goldman Sachs / Green Dot Bank | 24 to 48 Hours |
| Mobile Phone Billing (Carrier Direct Billing) | 24 to 48 Hours | Carrier Billing Cycle Processing | 1 to 2 Billing Cycles (Up to 60 Days) |
| PayPal / Venmo / Digital Wallets | 24 Hours | Wallet Clearing & Transfer | 3 to 5 Business Days |
Note: If your refund is approved but you do not see the credit posted to your card issuer after 30 business days, contact your bank directly with the transaction ARN (Acquirer Reference Number) provided by Apple Support.
What to Do If Your Refund Request Is Denied
If your refund request displays a "Denied" status on the portal, Apple has concluded that the request falls outside permissible policy parameters. Denials commonly occur when requests are submitted long after the purchase date, when account history shows a disproportionately high frequency of refund claims (flagged as potential system abuse), or when consumable digital goods have already been fully consumed within an app.
Step 1: Appeal the Decision via Apple Support
A denial at reportaproblem.apple.com is generated primarily by an automated decision system. You have the right to appeal this outcome by requesting human intervention:
- Visit official Apple Support.
- Navigate to Billing & Subscriptions > Subscriptions & Purchases > Request a Refund.
- Choose Chat or Call to speak directly with an Apple Support representative.
- Provide the representative with the original Order Number (found in your email receipt starting with
M) and your refund claim tracking number. - Clearly state compelling reasons why the automated system's decision should be reconsidered (e.g., persistent technical flaws that render the app unusable despite troubleshooting, or documented evidence of fraudulent access).
Step 2: Contact the App Developer for Technical Resolution
If Apple refuses to issue a refund for a non-functional third-party app, your next recourse is to contact the developer directly. While developers cannot process monetary refunds directly due to Apple’s closed payment system, they can:
- Issue server-side credits, virtual currency, or alternative subscription entitlements.
- Provide software patches or bug fixes that resolve the original technical failure.
- Provide written confirmation of software failure that you can submit to Apple Support to support a re-opened appeal.
To find developer contact details, open the app's listing page on the App Store, scroll down to the Information section, and select App Support or Developer Website.
The Critical Risks of Bank Chargebacks
When faced with a stubborn denial, users sometimes consider calling their bank or credit card company to initiate a dispute or chargeback. While a chargeback forcibly recovers funds from Apple through your credit issuer, doing so carries severe consequences for your digital identity.
Caution: Initiating an unauthorized financial chargeback against Apple for App Store purchases is considered a breach of the Apple Media Services Terms of Service. Apple’s risk engine automatically responds to chargebacks by placing security restrictions or permanent administrative bans on the associated Apple Account.
Potential repercussions of a chargeback include:
- Permanent Account Lock: Inability to download new apps, update existing software, or access cloud services across all your devices.
- Loss of Purchased Assets: Forfeiture of access to previous purchases, including movies, TV shows, music libraries, and software licenses associated with that Apple Account.
- Revocation of Services: Cancellation of active subscriptions tied to the account balance or billing profile.
Chargebacks should strictly be reserved for genuine identity theft scenarios where your card was stolen and used to create an entirely unauthorized Apple Account.
Preventing Unintended Apple Account Purchases
The most effective way to manage your digital transactions is to establish proactive safeguards on your devices. Apple provides comprehensive built-in parental and access controls within iOS, iPadOS, and macOS to block inadvertent or unauthorized spending.
Apple Account Purchase Safeguards
- Password Settings
- Set to "Require Immediately" for all digital purchases
- Screen Time Restrictions
- Toggle "In-App Purchases" to "Don't Allow" via PIN
- Family Sharing Controls
- Enable "Ask to Buy" for all child account members
1. Require Passwords Immediately for Purchases
By default, devices may allow a 15-minute window after entering your password where additional purchases can be authorized without re-authentication. You can eliminate this grace period:
- Open Settings on your iPhone or iPad.
- Tap your Apple Account Name at the top.
- Select Media & Purchases > Password Settings.
- Under When Purchasing, select Require Immediately.
- Enable Require Password for free downloads if you wish to prevent any unauthorized downloads.
2. Disable In-App Purchases via Screen Time
If children frequently use your primary device, you can completely disable in-app purchases using Content & Privacy Restrictions:
- Open Settings and tap Screen Time.
- If not already enabled, turn on Screen Time and set a unique Screen Time Passcode (different from your device unlock passcode).
- Select Content & Privacy Restrictions.
- Toggle the feature On, then tap iTunes & App Store Purchases.
- Tap In-app Purchases and set it to Don't Allow.
3. Use Family Sharing and "Ask to Buy"
For families managing multiple Apple devices, set up Family Sharing rather than sharing a single Apple Account. This allows parents to maintain central billing authority while granting children their own sub-accounts.
- Ensure the child's Apple Account is created within your Family Sharing group.
- As the Family Organizer, tap Settings > Family > [Child's Name].
- Turn on Ask to Buy.
When "Ask to Buy" is active, any attempt by the child to download an app, rent media, or trigger an in-app purchase sends a real-time permission alert to the parent's primary device. The purchase cannot complete until approved by the administrator.
Frequently Asked Questions
How long does Apple take to approve and process a refund request?
Apple's automated systems typically process and render an initial decision on refund claims within 24 to 48 hours. Once approved, actual money delivery depends on your payment method: Apple Account balance refunds generally clear within 48 hours, while standard credit or debit card reversals take between 2 and 30 business days depending on your banking provider.
Can I get a refund for an automatically renewed app subscription?
Yes, provided you submit the request promptly after the unexpected charge occurs. If you forgot to cancel a subscription before its renewal date, visit reportaproblem.apple.com, select "Request a refund," and choose "I didn't intend to renew a subscription." Be sure to cancel the active subscription in your Account Settings as well so it does not bill again in the next cycle.
What happens to my app data or access when a refund is granted?
When Apple approves a refund for a one-time purchase app or media item, the license is revoked from your Apple Account. The app will no longer open or update on your device, and downloaded media files will be rendered unplayable. For in-app purchases or consumable virtual items (like game currency), the app developer's server is notified of the refund, which typically results in the removal of the unearned virtual items or a deduction from your in-game balance.
What should I do if my refund request is denied online?
If the self-service web portal declines your request, contact Apple Support directly by phone or live chat through supportaproblem.apple.com. Request a manual appeal with a senior advisor. Be prepared to explain the technical issues or circumstances surrounding the transaction clearly, referencing your original order number and claim ID.
Why can't I see a specific purchase on reportaproblem.apple.com?
A purchase may not appear on the portal for three main reasons:
- Pending Status: The charge has not fully settled with your financial institution yet. Wait until the final email receipt arrives before attempting to claim.
- Different Apple Account: The item was bought using a secondary Apple Account or a family member's independent profile.
- Time Limit Exceeded: The purchase is too old to be surfaced by the automated self-service system. Older billing issues must be escalated manually to Apple Support.
Next Steps for Managing Your Apple Account Purchases
To maintain a secure and easily managed Apple Account, audit your current digital subscriptions and security configurations today:
- Audit Active Billing: Open Settings on your iOS device, tap your Apple Account Name, and select Subscriptions. Review all active recurring items, canceling any services or apps you no longer actively use.
- Verify Receipt Emails: Check your email inbox for receipts originating from
no_reply@email.apple.com. Save or star these receipts; they contain the exact Order IDs required if you ever need to file an appeal. - Lock Down Authentication: Navigate to Password Settings and enforce immediate password prompts or Touch ID / Face ID validation for every media transaction.
- Bookmark Official Channels: Keep reportaproblem.apple.com bookmarked for fast access in the event an accidental purchase or broken software update occurs.