Adding a gas line to a house is a significant infrastructure improvement that requires meticulous planning, strict adherence to local building codes, and professional execution. The process involves evaluating your current gas service capacity, securing necessary permits, selecting appropriate piping materials, and ensuring that all installations are pressure-tested and inspected to guarantee residential safety.
Understanding the Scope of Gas Line Installation
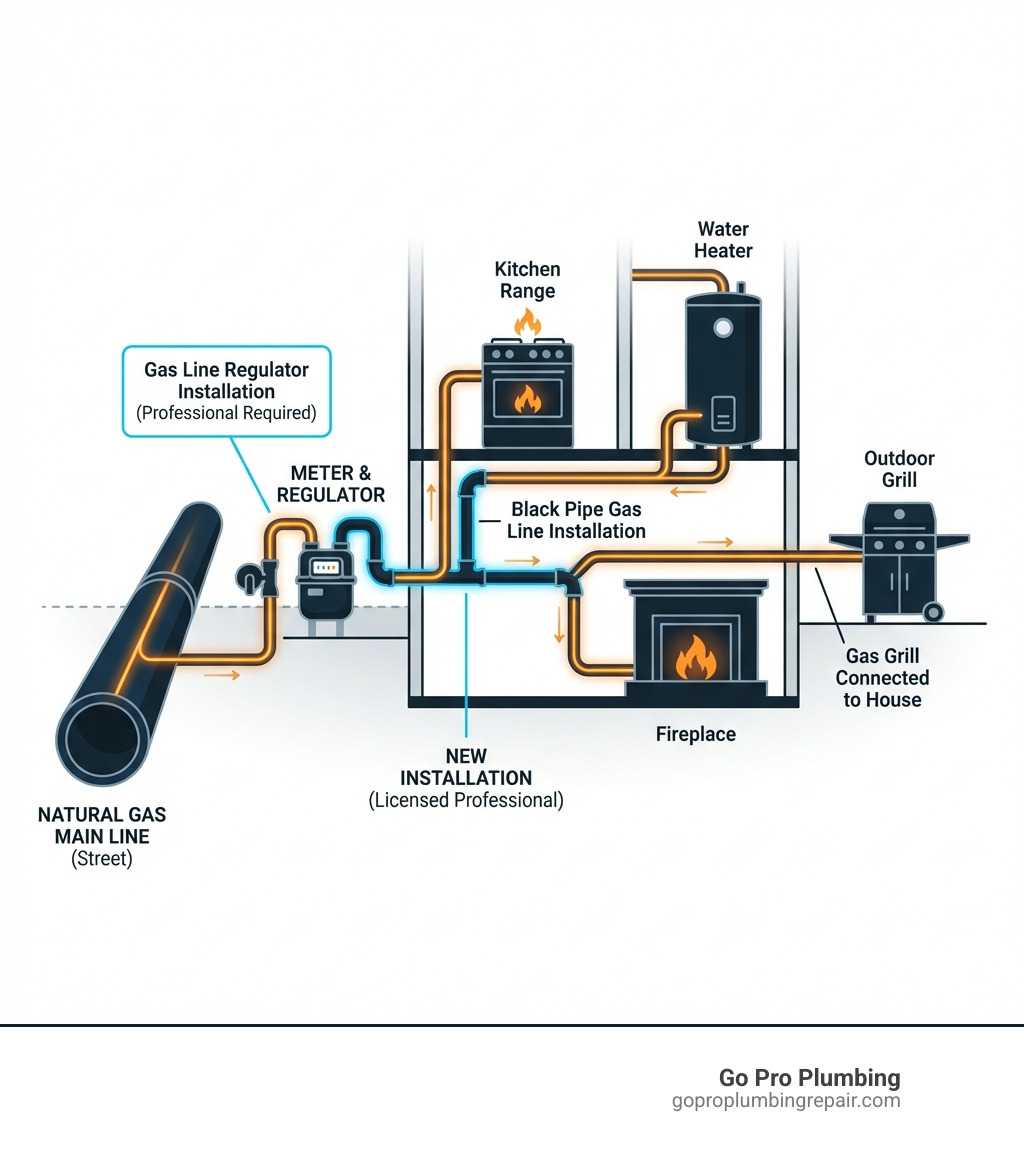
Integrating a new gas line into an existing residential structure is rarely a simple "do-it-yourself" project. Natural gas and propane systems operate under specific pressure requirements, and even minor leaks can lead to catastrophic consequences, including fire or carbon monoxide poisoning. When you decide to add a gas line—whether to power a new kitchen range, a high-efficiency furnace, or an outdoor fire pit—you are fundamentally altering your home’s utility grid.
The process begins with an assessment of your home’s total "gas load." Every gas-burning appliance consumes a specific amount of BTUs (British Thermal Units). Your gas meter and the supply line leading to your house are sized based on the total potential consumption of all connected devices. Adding a high-demand appliance like a tankless water heater may necessitate an upgrade to your meter or the main supply line itself, a task that must be coordinated with your local utility provider.
Prerequisite: Assessing Capacity and Legal Requirements
Before purchasing materials or hiring a contractor, you must determine if your existing infrastructure can handle the additional demand. Contact your local gas utility provider to discuss your plans; they can provide information regarding your current meter capacity and whether it requires an upgrade to accommodate the new load.
Simultaneously, you must consult your local building department. Most jurisdictions require a plumbing or mechanical permit for any modification to gas piping. Obtaining a permit is not merely a bureaucratic hurdle; it is a mandatory safety process that ensures the work is reviewed by a municipal inspector. Attempting to install gas lines without a permit can lead to significant fines, voided homeowners' insurance policies, and extreme difficulty when you attempt to sell your home in the future.
Selection of Piping Materials
The choice of material for your gas line is dictated by local codes, the application (indoor vs. outdoor), and the type of gas being transported. As of 2026, the following materials are the industry standards for residential projects:
- Black Iron Pipe (Steel): The traditional standard for indoor natural gas lines. It is rigid, durable, and highly resistant to physical impact. It requires threaded connections and specialized joint compound rated for gas.
- CSST (Corrugated Stainless Steel Tubing): A flexible, yellow-jacketed piping system that is increasingly popular due to its ease of installation in tight spaces. Because it is flexible, it reduces the number of fittings required. Note that modern building codes require CSST to be properly bonded and grounded to prevent damage from lightning strikes.
- PE (Polyethylene) Pipe: Primarily used for underground, exterior applications. It is corrosion-resistant and joined using heat fusion or mechanical couplings. It is never permitted for indoor use.
The Installation Process: A Step-by-Step Overview
While a licensed professional should perform the actual installation, understanding the sequence of operations allows you to better manage your project and verify that the work meets safety standards.
- System Shut-Down: The gas supply to the house or the specific branch line must be shut off at the main valve or the meter.
- Route Planning: The installer plots the most efficient path from the existing gas source to the new appliance. This route must avoid areas where the pipe could be crushed or subject to extreme heat.
- Pipe Sizing: Using tables defined by the National Fuel Gas Code (NFPA 54), the contractor calculates the required pipe diameter based on the length of the run and the BTU rating of the appliance to ensure sufficient pressure reaches the destination.
- Installation and Support: The pipe is installed, typically secured with hangers or straps at regular intervals to prevent sagging or vibration. All joints are sealed using gas-rated pipe dope or approved tape.
- Pressure Testing: Once the piping is in place, the system is capped and pressurized with air (usually to a level significantly higher than the operating pressure) for a set duration, often 15 to 30 minutes, to ensure the gauge shows no drop in pressure, indicating a leak-free system.
- Final Inspection: A municipal inspector reviews the work, verifies the permit, and confirms that the piping is correctly supported, properly grounded (in the case of CSST), and that all connections are secure.
- System Re-pressurization: Only after the inspector approves the work is the gas line connected to the appliance and the main gas supply turned back on.
Comparison of Piping Solutions
| Feature | Black Iron Pipe | CSST (Flexible) | PE (Underground) |
|---|---|---|---|
| Primary Use | Indoor/Residential | Indoor/Hard-to-reach | Exterior/Underground |
| Flexibility | Rigid | High | Moderate |
| Labor Cost | High (threading required) | Low (faster install) | Moderate |
| Corrosion Risk | Subject to rust | Resistant | Highly Resistant |
| Grounding Req. | Standard | Yes (Mandatory) | N/A |
Safety Hazards and Common Mistakes
The most dangerous error in gas line installation is failure to detect leaks. Even a pinhole leak can lead to the accumulation of gas in wall cavities or crawlspaces. Professionals utilize combustible gas leak detectors or soapy water solutions on every single joint to verify integrity.
Another common mistake is "oversizing" or "undersizing" the pipe. If the pipe is too small, the appliance will be "gas-starved," leading to poor performance, incomplete combustion, and the production of soot or excess carbon monoxide. Conversely, while oversized pipe is generally safe, it represents an unnecessary expense and more difficult installation.
Furthermore, improper transition between materials is a frequent cause of code violations. For example, transitioning from an exterior underground PE pipe directly to an indoor appliance without a proper riser or transition fitting is a direct violation of safety protocols and can lead to structural failure at the joint.
Managing Costs and Professional Services
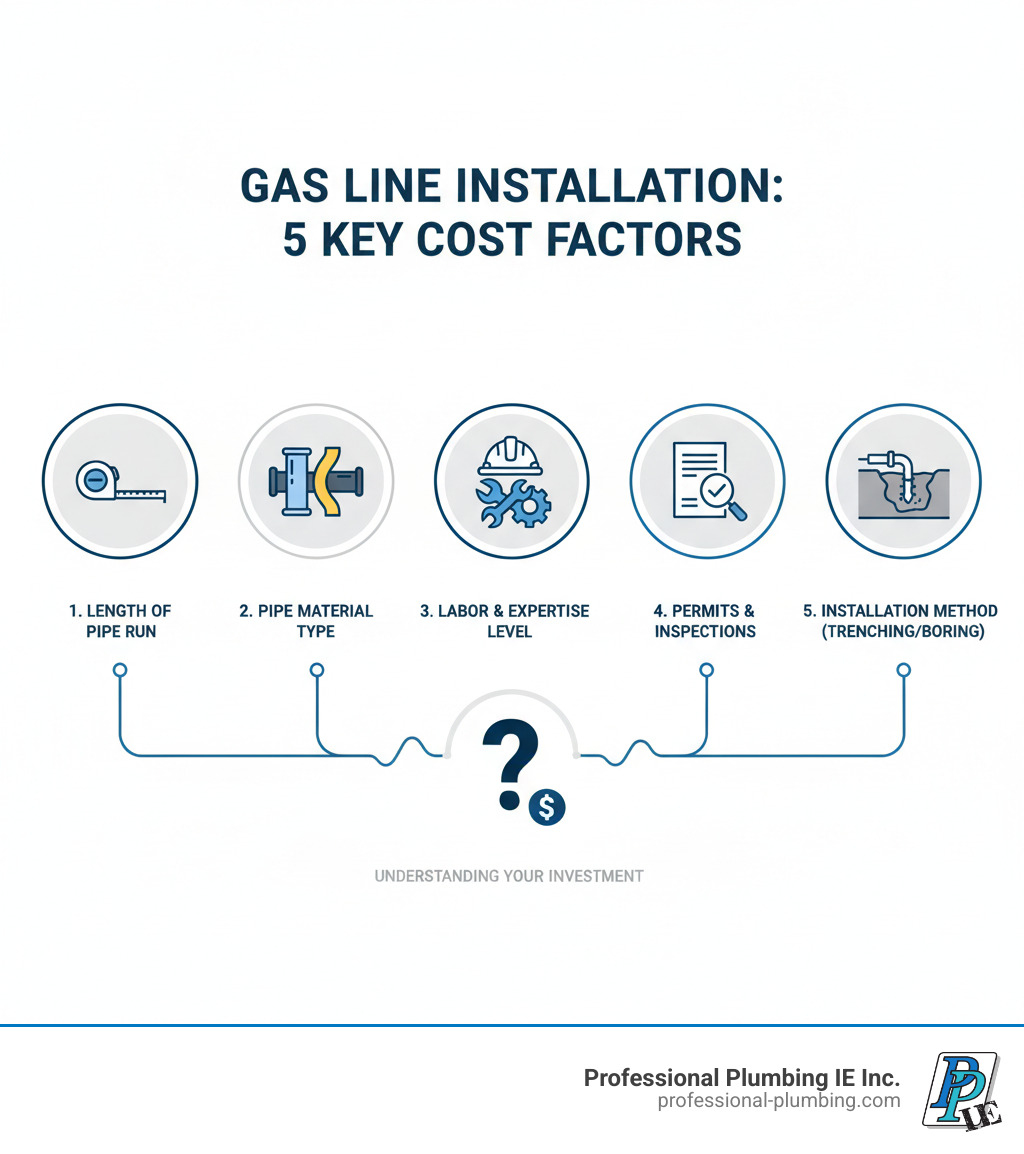
The cost of adding a gas line varies widely based on geographic location, the accessibility of the existing pipes, and the length of the new run. In 2026, homeowners should expect to pay a premium for labor due to the specialized nature of the certification required for gas work.
When vetting a contractor, prioritize those who carry specific licensing for gas work. Do not hesitate to ask for their license number and verify it through your state’s contractor board. Ensure they are insured for gas work, as general liability may not always cover the unique risks associated with fuel lines. Obtain at least three quotes, but emphasize that the lowest bid may not always include the necessary permit fees or the cost of post-installation inspection and testing.
Frequently Asked Questions
Can I install a gas line myself? In most jurisdictions, no. While some regions allow homeowners to perform their own plumbing with a permit, gas work is strictly regulated because of the immediate risk of explosion. Insurance companies and local authorities almost universally require a licensed professional to perform and sign off on gas piping.
How do I know if my current gas meter is big enough? You must consult the "demand load" of your existing appliances and the rating of your current meter. Your local gas utility can provide you with the specifications of your meter. If the total BTUs of all appliances, including the new one, exceed the meter's rating, the utility will need to replace the meter.
What is the difference between natural gas and propane piping? While the installation procedures and materials are similar, natural gas and propane have different energy densities and pressure requirements. Propane systems often require specific pressure regulators and different piping sizes compared to natural gas systems. Always ensure your installer knows which fuel source you are using.
How long does a gas line inspection take? Once the rough-in (piping) is complete and the system is under pressure, the physical inspection usually takes between 30 and 60 minutes. The inspector will check the pipe support, the type of material, the connections, and the pressure gauge reading to ensure compliance with the NFPA 54 code.
What happens if a gas leak is detected after installation? If you suspect a leak, evacuate the home immediately and contact your gas utility provider from a safe distance outside. Do not attempt to turn light switches on or off, do not use electronic devices inside, and do not use a telephone in the house. A professional will need to locate the leak, repair the fitting, and re-test the entire system.
Recommended Next Steps
Before moving forward with your project, create a detailed plan. Identify the exact location of the new appliance and the location of your existing gas main. Contact your gas utility to verify your current meter capacity and then reach out to your local building department to obtain a permit application. By following the legal and technical requirements, you ensure that your home remains both safe and fully compliant with current safety regulations.