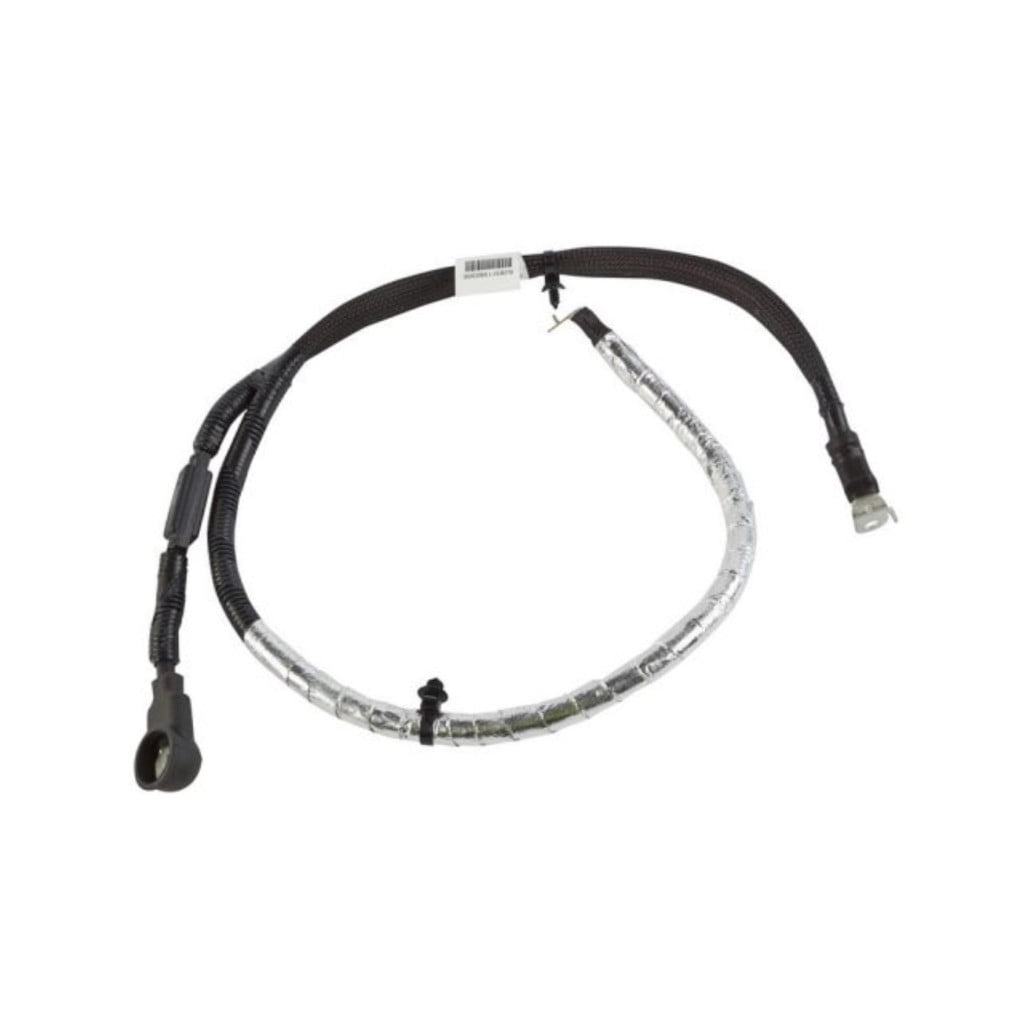
Replacing the battery in a 2015 GMC Acadia requires navigating a unique under-floor storage compartment mounting location, choosing the correct BCI group size, and managing electronic system resets after installation. This comprehensive guide covers physical access, specifications, safety precautions, step-by-step removal and installation instructions, and post-replacement procedures.
Understanding the 2015 GMC Acadia Battery Location and Specifications
Unlike many vehicles that place the starter battery directly under the hood, the 2015 GMC Acadia houses its battery inside the passenger cabin. Specifically, the battery is located beneath the floor panel just forward of the second-row passenger-side seat. This unconventional placement protects the battery from extreme under-hood engine temperatures, but it does introduce unique challenges regarding access, heavy lifting, and ventilation.
When the time comes for a 2015 GMC Acadia battery replacement, sourcing the correct specifications ensures proper fitment and electrical performance. The vehicle relies heavily on a robust 12-volt starting and charging infrastructure to power standard accessories, advanced safety modules, and the onboard infotainment system.
Battery Group Size and Technical Requirements
The original equipment manufacturer (OEM) battery for a 2015 GMC Acadia generally falls under BCI Group Size 49 (also known as H8) or occasionally Group Size 94R (H7) depending on factory options and regional configurations, though Group 49 / H8 is the dominant standard.
- Voltage: 12 Volts
- Chemistry: Lead-Acid (Flooded) or AGM (Absorbed Glass Mat)
- Cold Cranking Amps (CCA): Typically between 730 and 900 CCA, with higher ratings recommended for extreme cold-weather environments.
- Ventilation Requirement: Because the battery resides inside the passenger compartment, any replacement battery must feature a dedicated port for a vent tube. This tube safely channels corrosive gases and hydrogen vapors outside the vehicle via a floor drain hole. Installing a non-vented battery or failing to reconnect the vent hose poses a severe safety hazard.
Tools and Safety Equipment Required
Before starting the replacement process, gather the appropriate tools to protect yourself, the vehicle's interior trim, and the sensitive electrical architecture.
- Safety Glasses and Gloves: Essential protection against acid residue and corrosion.
- Memory Saver (OBD-II Keep-Alive Memory Device): Optional, but highly recommended to preserve radio presets, seat memory positions, and engine control module (ECM) learned parameters.
- Ratchet and Socket Set: You will typically need a 10mm socket for the battery terminal clamps and a 13mm socket with a long extension for the battery hold-down clamp. A trim removal tool helps release plastic floor clips without damaging them.
- Side-Terminal Adapters or Correct Post Configuration: Ensure the replacement battery terminal posts match the top-post layout of the original equipment.
- Clean Rags and Wire Brush: For cleaning terminal corrosion before attaching the new cables.
Preparation and Safety Precautions
Working with automotive electrical systems inside a confined cabin space demands adherence to strict safety protocols.
- Park on Level Ground: Engage the parking brake firmly and ensure the ignition is completely switched off with the key removed.
- Protect the Cabin Interior: The battery compartment features plastic trim pieces and carpeting that can be stained or scratched by battery acid or heavy tools. Lay down protective moving blankets or clean towels around the second-row floor area.
- Ventilation: Keep vehicle doors open during the procedure to ensure proper airflow, especially when disconnecting or handling the old battery.
- Avoid Short Circuits: Never allow metal tools (such as a wrench) to bridge the gap between the positive battery terminal and any grounded metal components of the vehicle body, as this will cause dangerous sparking and potential electrical damage.
Step-by-Step Replacement Procedure
Executing a 2015 GMC Acadia battery replacement requires careful disassembly of the interior floor trim to reach the power source safely.
| Step | Action | Tools / Notes |
|---|---|---|
| 1 | Gain Access to the Compartment | Move the front passenger seat all the way forward. Open the second-row passenger-side door and locate the plastic floor cover panel forward of the seat. |
| 2 | Remove the Floor Trim Panel | Use a panel removal tool or your fingers to unclip the plastic access cover. Lift the carpet flap to expose the metal battery compartment lid. |
| 3 | Unbolt the Access Lid | Remove the retaining bolts securing the metal battery compartment cover to the floor pan. Lift the cover away to reveal the battery. |
| 4 | Disconnect the Vent Tube | Locate the plastic vent elbow on the side of the battery and pull it straight out. Do not discard this tube; it must be installed on the new battery. |
| 5 | Disconnect the Negative Terminal | Loosen the nut on the negative (-) black terminal using a 10mm socket. Once loose, lift the cable off the terminal and tuck it safely aside away from metal contact. |
| 6 | Disconnect the Positive Terminal | Open the protective plastic cover on the positive (+) red terminal, loosen the 10mm nut, and lift the cable free. |
| 7 | Remove the Hold-Down Clamp | Use a 13mm socket with an extension to remove the bolt and wedge clamp securing the base of the battery to the floor tray. |
| 8 | Lift the Battery Out | Carefully lift the heavy battery (often weighing 40 to 50 pounds) straight up and out of the cabin floor well. Avoid tilting it excessively to prevent acid spills. |
| 9 | Install the New Battery | Place the new Group 49/H8 battery into the compartment, secure the base hold-down clamp, reconnect the positive cable first, then the negative cable, and firmly attach the vent tube to the side port. Reinstall the covers in reverse order. |
Post-Replacement System Resets and Relearning
Modern crossover SUVs feature computerized modules that require a brief recalibration period after a complete power interruption. Once you reconnect the new battery and start the 2015 GMC Acadia, several systems may require normalization:
- Power Windows: Automatic one-touch up and down features may temporarily cease to function. To reset them, roll each window completely down, hold the switch for two seconds, then roll it completely up and hold the switch for two seconds.
- Electronic Stability Control / Traction Control: Dashboard warning lights for StabiliTrak or Traction Control may illuminate upon initial startup. This is normal and typically self-corrects after driving the vehicle in a straight line for a short distance above 10 mph.
- Idle Relearn: The engine control computer loses its idle trim memory when power is cut. Allow the engine to idle in Park with the air conditioning turned off for 3 to 5 minutes so the computer can relearn proper idle parameters.
Choosing Between Standard Flooded and AGM Batteries
When selecting a replacement battery, vehicle owners frequently weigh the benefits of traditional flooded lead-acid units versus Absorbed Glass Mat (AGM) alternatives.
- Flooded Lead-Acid Batteries: These represent the traditional, cost-effective choice. They offer reliable starting power and generally meet factory specifications at a lower initial purchase price.
- AGM Batteries: AGM batteries suspend the electrolyte in fiberglass mats rather than free liquid acid. They offer superior vibration resistance (critical for interior cabin mounting), a longer overall lifespan, faster recharging capabilities, and enhanced resistance to deep-cycling damage. If your Acadia runs heavy aftermarket electronics or experiences short trip cycles, upgrading to an AGM battery provides substantial long-term performance dividends.
Frequently Asked Questions
Can I replace the battery in a 2015 GMC Acadia myself?
Yes, a DIY replacement is entirely feasible with basic hand tools. However, because the battery is heavy and located inside the passenger cabin, you must exercise caution to avoid spilling acid, damaging interior trim, or short-circuiting the electrical system against the metal floor pan.
What happens if I forget to reconnect the battery vent tube?
Failing to reconnect the vent tube allows hydrogen gas and acid fumes generated during charging to accumulate inside the passenger cabin. This creates an unpleasant odor, accelerates localized corrosion around the battery box, and presents a safety hazard. Always ensure the vent tube is firmly attached to the designated port on the replacement battery.
Do I need to register or program a new battery in a 2015 GMC Acadia?
Unlike some modern European luxury vehicles, the 2015 GMC Acadia does not feature an advanced battery registration system that requires a diagnostic scan tool to clear or program a new serial number. The vehicle's charging system automatically adapts to the new battery over standard driving cycles.
How long does a factory battery last in this vehicle?
Original equipment and quality aftermarket replacement batteries in a 2015 GMC Acadia typically last between 3 and 5 years. Factors such as extreme ambient temperatures, frequent short-trip driving, and leaving accessories plugged in while the engine is off can significantly shorten this lifespan.
What are the primary warning signs of a failing battery?
Common indicators include slow engine cranking during startup, flickering interior or dashboard lights, electronic accessories resetting spontaneously, or a battery warning light illuminating on the instrument cluster. If your Acadia struggles to start after sitting overnight, have the charging system and battery load-tested immediately.
Professional-Advice Limitation and Final Recommendation
Disclaimer: Automotive repair tasks involve inherent safety risks, including heavy lifting, electrical short circuits, and exposure to corrosive chemicals. If you are uncomfortable working with vehicle electrical systems or lack the appropriate tools, consult a certified automotive technician or local service center.
For the best results during a 2015 GMC Acadia battery replacement, select a high-quality BCI Group 49 (H8) battery matching or exceeding the original cold cranking amperage specifications, verify that the side vent tube is properly reattached before closing the access panel, and complete the simple window and idle relearn procedures immediately after installation.