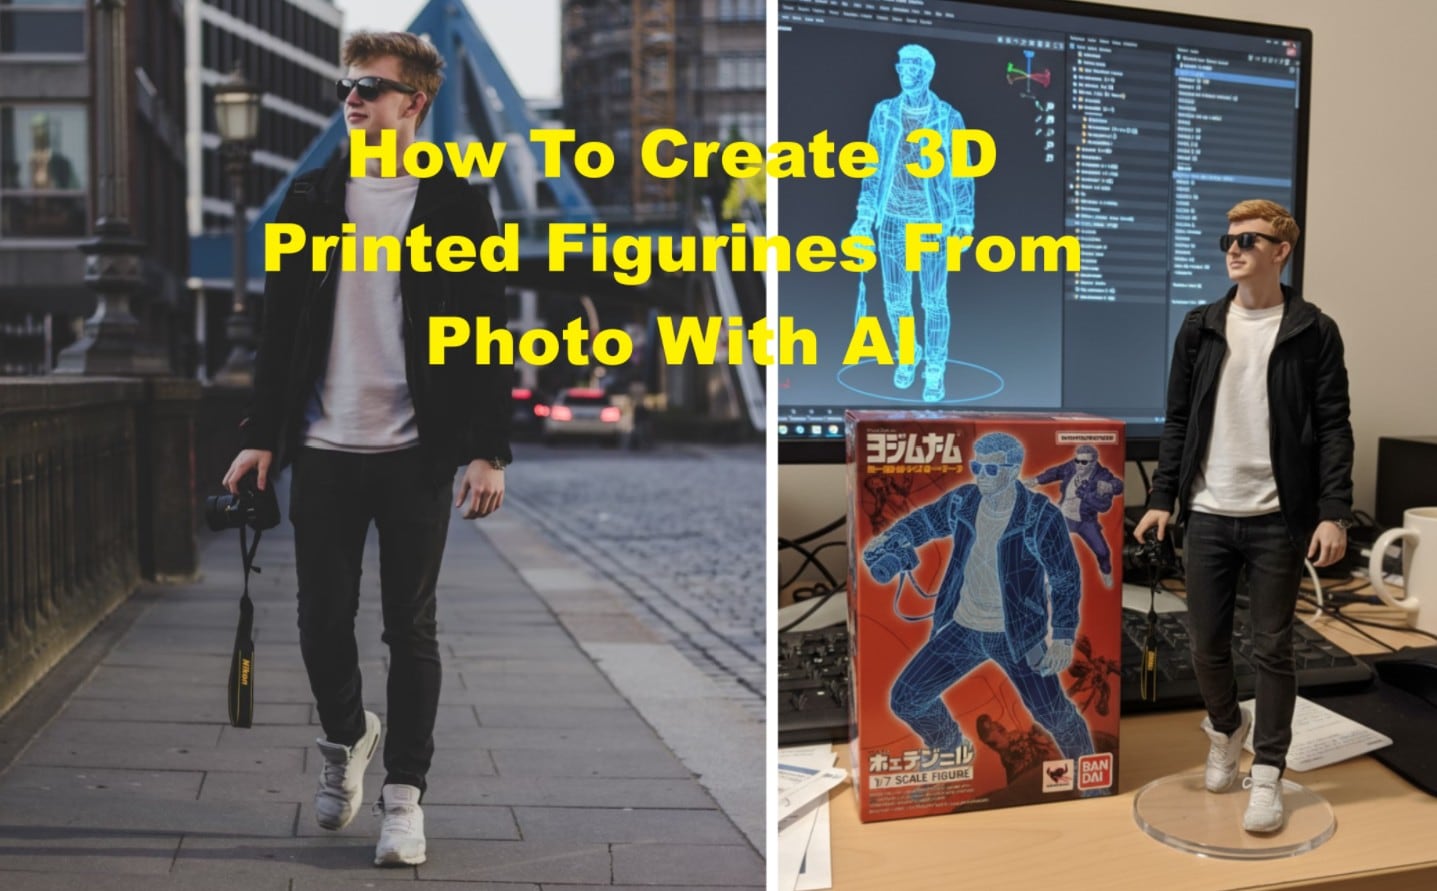
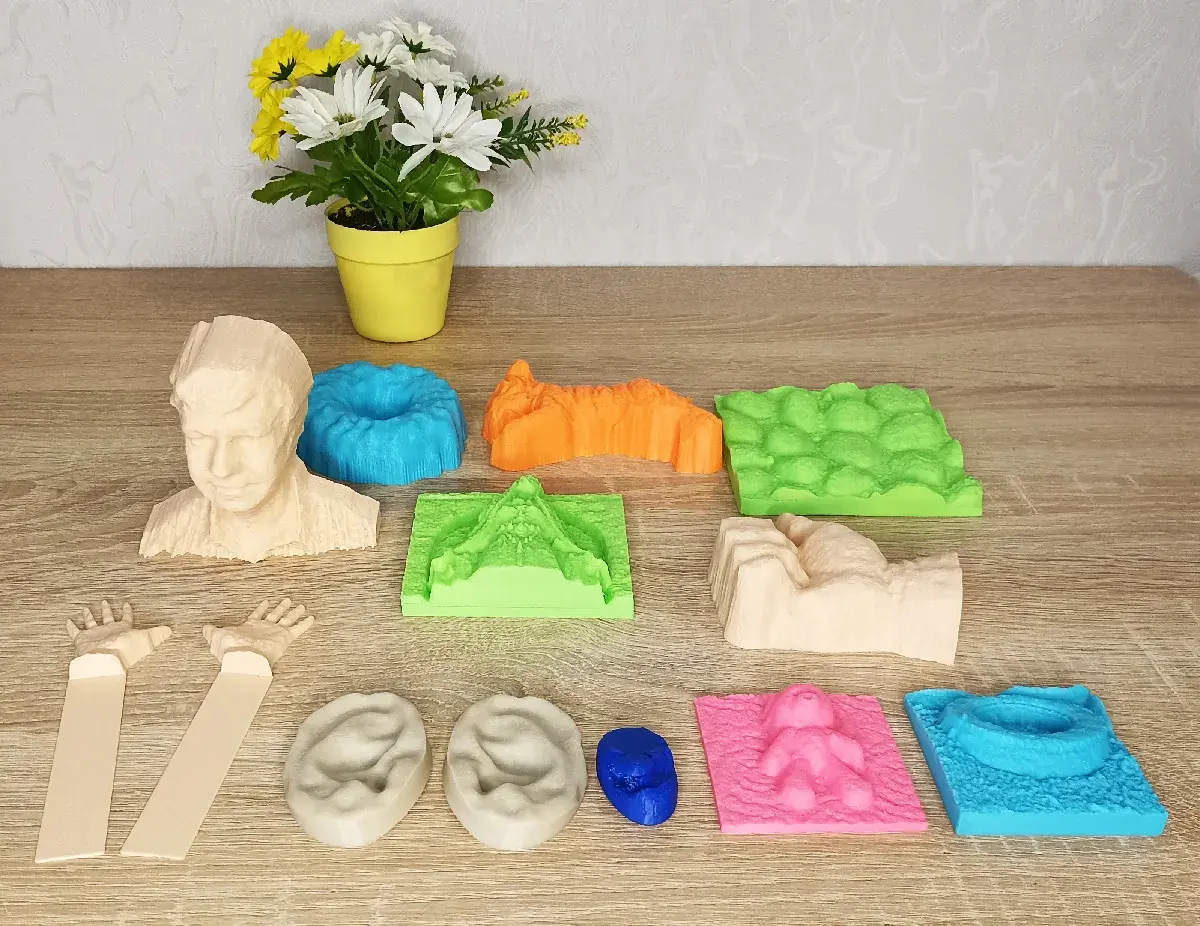
The most efficient and accessible way to transform a 2D photograph into a 3D printable model is through lithophane generation. This process converts the brightness values of your image into varying thicknesses of a translucent material. By using an online lithophane generator, you can upload a standard image file and instantly receive a 3D mesh ready for slicing and printing.
Understanding the Lithophane Concept
A lithophane is a historical art form—traditionally etched into thin porcelain—that reveals an image only when backlit. In the context of modern additive manufacturing, a lithophane uses a 3D printer to create a physical object where thinner areas allow more light to pass through and thicker areas appear darker.
This is the "1 simple way" because it requires no complex 3D modeling skills. You do not need to learn CAD software like Fusion 360 or Blender. Instead, you rely on specialized algorithms that perform a "height map" conversion. When you upload a photograph, the software maps pixels to specific height values along the Z-axis of your printer. The resulting STL (STereoLithography) file represents the relief map of your photo, which your slicer interprets as a physical surface.
Prerequisites for Success
Before you begin, you must ensure your source material and hardware are capable of producing a high-quality result. Not every photograph translates perfectly into 3D geometry.
- Image Quality: Use high-contrast photos. Images with a strong difference between light and shadow translate best because the software needs clear variance to define the "depth" of the print. Avoid overly busy backgrounds or low-resolution files that may introduce noise.
- Translucent Filament: The choice of material is non-negotiable. Standard opaque PLA (Polylactic Acid) will not function correctly. You must use white, natural, or a specialized "lithophane" filament. These materials are formulated to be slightly translucent, allowing the light to pass through the thin layers effectively.
- Slicer Software: You will need a slicer—such as PrusaSlicer, Cura, or OrcaSlicer—to convert your 3D model into G-code. The slicer is the bridge between your computer and the printer, dictating the layer height, print speed, and infill settings.
Step-by-Step Execution
To convert your photo, follow this standardized workflow used by creators in 2026.
- Prepare the Image: Crop your photo to the desired aspect ratio. A simple square or 4x6 ratio is standard for most frames. Ensure the image is in a common format like JPEG or PNG.
- Use a Generator: Utilize a reputable web-based generator. Tools such as 3DProRocks or similar browser-based lithophane makers are the industry standard. Upload your file and select the shape (flat, curved, or cylindrical).
- Adjust Parameters:
- Maximum Thickness: Set this to roughly 3.0mm to 4.0mm to ensure enough contrast.
- Minimum Thickness: Set this to 0.4mm or 0.6mm (usually equivalent to two perimeters) to ensure structural integrity while maintaining light transmission.
- Layer Height: Choose a low layer height, such as 0.12mm or 0.16mm. Lower layer heights result in smoother transitions between light and dark, creating a more detailed image.
- Download and Slice: Export the STL file and import it into your slicer. Orient the print vertically (standing up) to maximize the detail along the Z-axis, which is the axis with the highest resolution on most FDM (Fused Deposition Modeling) printers.
Essential Technical Settings
When printing a lithophane, your printer settings are more critical than the printer model itself. Because you are printing a thin, vertical wall, stability is the primary concern.
| Setting | Recommended Value | Why It Matters |
|---|---|---|
| Layer Height | 0.12mm - 0.16mm | Finer layers create better light diffusion. |
| Infill | 100% | Ensures the plastic density remains consistent. |
| Print Speed | Slow (20-30 mm/s) | High speeds cause vibrations that ruin vertical thin prints. |
| Perimeters | 3 to 4 | Essential for structural rigidity of a thin wall. |
| Cooling Fan | 100% | Essential to prevent plastic curling on fine details. |
If your print is tall, consider adding a "brim" in your slicer settings to increase the surface area contact with the build plate. Without a brim, a tall, thin lithophane is prone to detaching mid-print due to the lever force created by the print head moving against the thin wall.
Troubleshooting Common Issues
Even with a simple process, several variables can affect the final output.
- The Print Detaches: This is common with lithophanes because the footprint is very small. Always use a brim and ensure your build plate is cleaned with isopropyl alcohol.
- The Image Looks "Washout": This happens if the maximum thickness is too low or the filament is too opaque. Try a thicker setting or switch to a more translucent white PLA.
- Layer Lines are Visible: If you see distinct, horizontal lines that look like "stripes," your layer height is too high for the resolution of the printer. Lower your layer height in the slicer to 0.1mm if your printer supports it.
- Ghosting or Echoes: If you see "shadows" next to sharp edges, your print speed is likely too high, causing the print head to vibrate. Lower your acceleration and print speed settings significantly.
Selecting the Right Hardware and Material
In 2026, most desktop FDM printers are capable of high-quality lithophane production. You do not need an expensive SLA (resin) printer, although resin printers can achieve higher resolution. For standard photographs, a 0.4mm nozzle on an FDM printer is sufficient.
Regarding filament, "natural" PLA is often preferred over "white" PLA because it is slightly more translucent, which enhances the depth effect. However, white PLA is more forgiving and hides minor defects better. Avoid matte finish filaments, as they tend to block light absorption rather than diffusing it.
Frequently Asked Questions
Can I use a color photo for a lithophane? While you can upload a color photo, the 3D print will be monochrome. The printer only changes the physical depth, not the color. The "colors" you see in the final print are simply the result of light being blocked or allowed through. Converting your photo to black-and-white in image editing software beforehand often yields better results, as it allows you to adjust the contrast manually.
Do I need special software installed on my computer? No. Most effective lithophane generation happens through browser-based tools. You do not need to install complex CAD suites. You only need a web browser and a standard slicer to prepare the file for your printer.
What is the best printer orientation for a lithophane? Always print lithophanes standing upright (vertically). FDM printers have a much higher resolution along their vertical Z-axis compared to the horizontal X and Y axes. Printing vertically ensures that the light-diffusing details are captured with the highest possible precision.
Can I print a lithophane with a resin printer? Yes. Resin printers (SLA/DLP) are excellent for lithophanes because they offer much higher detail than FDM printers. The settings are similar, but you must ensure your resin is sufficiently translucent. Note that resin prints can be more brittle and prone to yellowing over time if exposed to intense, prolonged UV light.
Moving Forward with Your Print
Once your print finishes, remove it carefully from the build plate. Do not hold it up to a point-source light like a flashlight immediately, as this will create a glare. Instead, place it in a light box or behind a simple diffuse light source, such as a LED panel or a window. The improvement in image clarity when backlit will confirm the effectiveness of your settings.
If your first attempt is not perfect, treat it as a calibration test. Use the "test print" to check for warping or insufficient contrast. Adjust your minimum and maximum thickness settings by 0.2mm increments until you achieve the desired balance of depth and transparency. This iterative process is the standard path to mastery for 3D printing enthusiasts.