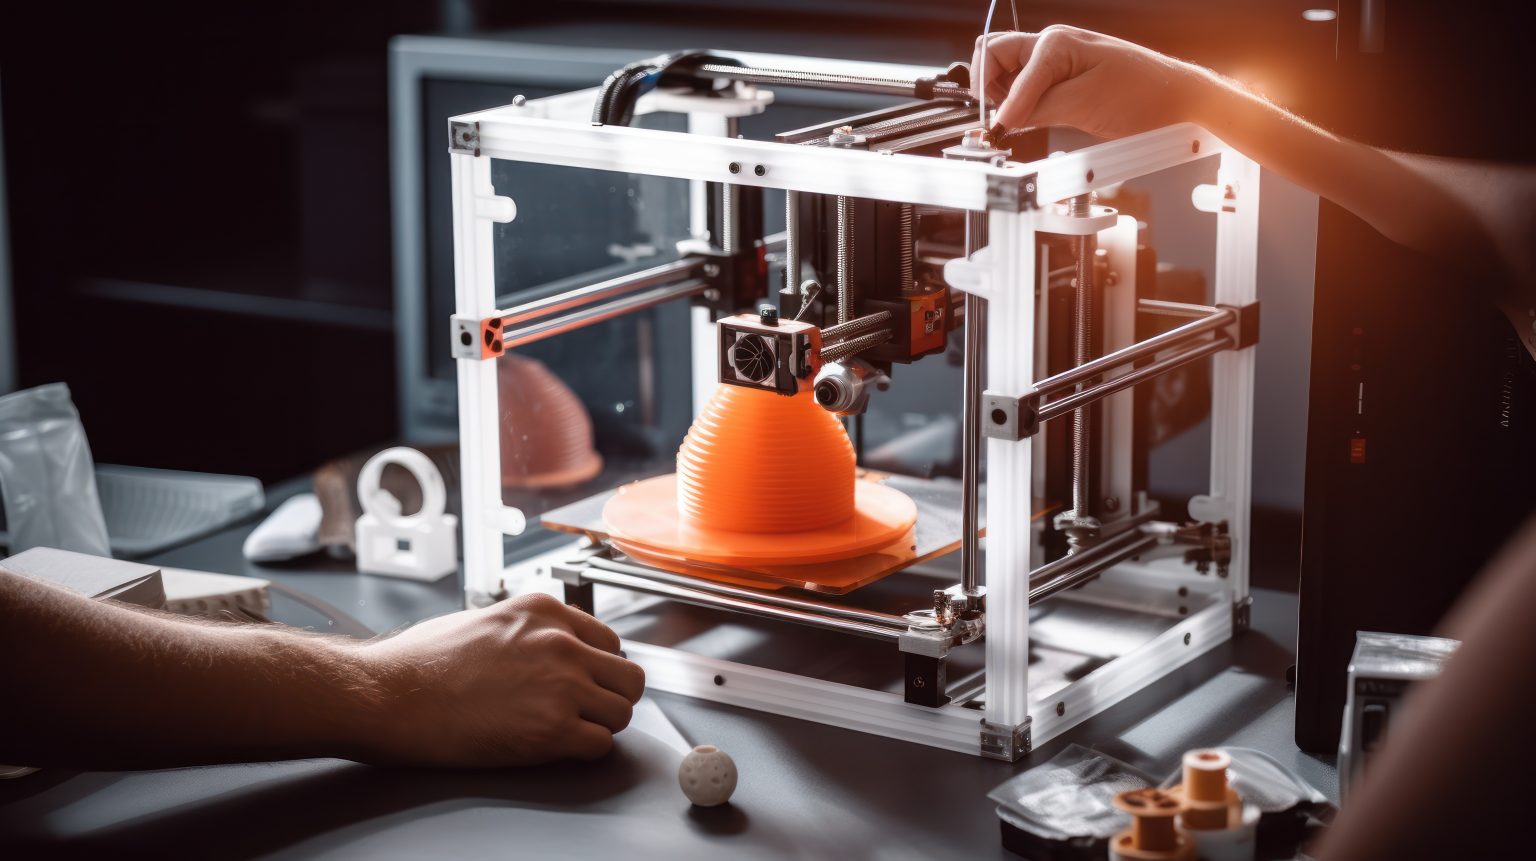
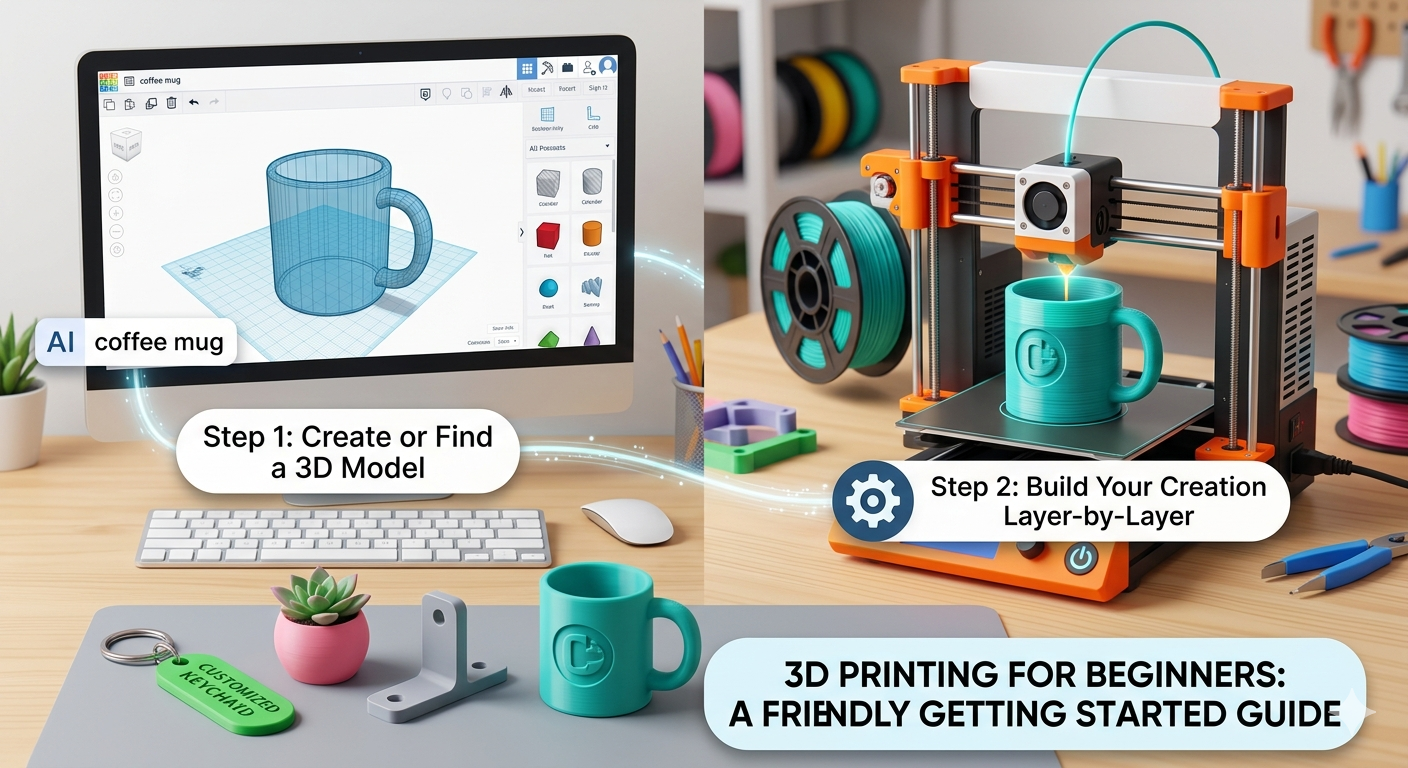
A comprehensive 3D printing tutorial requires understanding the symbiotic relationship between digital computer-aided design, slicer parameter configuration, mechanical calibration, and material properties. By systematically navigating file preparation, machine setup, first-layer adhesion, and post-processing, users transform raw thermoplastic filaments or liquid resins into structurally sound, highly accurate physical objects.
Introduction to Modern 3D Printing
Additive manufacturing, commonly known as 3D printing, has evolved from an industrial rapid-prototyping niche into an accessible desktop technology. Whether you are fabricating mechanical replacement parts, artistic sculptures, or intricate architectural models, mastering this craft requires a methodical approach. This tutorial covers the foundational pillars of desktop 3D printing, focusing primarily on Fused Deposition Modeling (FDM)—the most widespread and approachable technology for makers, engineers, and hobbyists.
To achieve consistent success, you must master the complete workflow: sourcing or designing a 3D model, processing it through slicing software to generate machine code (G-code), properly preparing the hardware, executing the print safely, and performing necessary post-processing steps.
Phase 1: Understanding the Core Technologies and Hardware
Before pressing print, you must understand how your hardware operates. Desktop 3D printing is broadly split into two primary methodologies: Fused Deposition Modeling (FDM) and Stereolithography (SLA). Selecting the correct technology depends on your functional requirements, budget, and workspace ventilation.
FDM vs. SLA: Which Technology Fits Your Needs?
FDM printers melt thermoplastic filament and deposit it layer by layer through a heated nozzle. They excel at mechanical parts, large prints, and functional prototypes using affordable materials like PLA, PETG, and ABS.
SLA printers utilize a UV laser or an LCD screen to cure liquid photopolymer resin layer by layer. They offer exceptional surface finish and microscopic detail, making them ideal for miniatures, jewelry masters, and dental applications. However, resins require chemical post-processing (washing in isopropyl alcohol and curing under UV light) and demand strict safety precautions regarding skin contact and ventilation.
| Feature / Specification | Fused Deposition Modeling (FDM) | Stereolithography (SLA Resin) |
|---|---|---|
| Primary Material Form | Solid Thermoplastic Spooled Filament | Liquid Photopolymer Resin |
| Surface Finish | Visible layer lines; requires sanding for smoothness | Ultra-smooth; near injection-molded quality |
| Mechanical Strength | High, especially with engineering filaments | Brittle standard resins; strong engineering resins available |
| Post-Processing | Support removal, filing, optional sanding | Isopropyl alcohol wash, UV post-cure, toxic waste disposal |
| Safety and Environment | Minimal odor (PLA); good ventilation needed for ABS | Strong chemical fumes; mandatory nitrile gloves and eye protection |
| Ideal Application | Functional enclosures, brackets, large prototypes | Miniatures, fine jewelry casting models, detailed figurines |
Anatomy of an FDM 3D Printer
Understanding your machine's core subassemblies simplifies troubleshooting. Every standard Cartesian or CoreXY FDM printer relies on the following components:
- The Extruder and Hotend: The extruder pushes the filament forward, while the hotend melts it at precise temperatures (typically 190°C to 260°C).
- The Print Bed: The build surface where the model adheres during printing. Beds can be glass, spring steel sheets coated with PEI, or magnetic mats.
- Motion System: Stepper motors, belts, and lead screws drive the print head along the X and Y axes, and the bed or gantry along the Z-axis.
- The Control Board and Firmware: The computer running Marlin, Klipper, or proprietary firmware that interprets G-code instructions into physical motor movements.
Phase 2: Sourcing and Preparing 3D Models
A 3D printer cannot read raw design files like .step, .iges, or raw .obj files directly. It requires a polygonal mesh file—most commonly an STL (Standard Triangle Language) or 3MF file—which is then converted by a slicer into machine instructions.
Where to Find 3D Models
- Thingiverse & Printables: Massive repositories offering community-contributed functional prints, brackets, and artistic models.
- MakerWorld & Thangs: Modern platforms featuring advanced search indexing and model verification.
- CAD Software (Fusion 360, FreeCAD, SolidWorks): Ideal for designing precise, functional mechanical components from scratch.
- Blender & ZBrush: Exceptional tools for sculpting organic shapes, miniatures, and artistic assets.
Mastering the Slicer Software
The slicer is the translator between your digital model and the physical printer. Popular slicers include PrusaSlicer, OrcaSlicer, UltiMaker Cura, and Bambu Studio. When you import a model, the slicer slices the virtual object into hundreds of horizontal cross-sections (layers).
Key parameters you must configure in your slicer include:
- Layer Height: Controls vertical resolution. A standard setting is
0.2mmfor a balanced mix of speed and quality. Fine detail prints use0.12mm, while draft or structural prints use0.28mmor0.32mm. - Infill Density and Pattern: Solid plastic uses excessive material and takes too long to print. Slicers fill the interior with a supportive lattice structure. An infill density of 15% to 25% in a grid, gyroid, or cubic pattern provides optimal strength-to-weight ratios.
- Print Speed: Measured in millimeters per second (mm/s). Beginners should maintain conservative speeds (e.g.,
50 mm/sto60 mm/sfor outer walls) until calibration is verified. - Support Structures: Overhangs exceeding 45 degrees typically require supports. Configure overhang thresholds and choose between tree/organic supports (easy to remove, saves material) or traditional grid supports.
- Adhesion Types: Choose between a Skirt (a line traced around the model to prime the nozzle), a Brim (flat lines attached to the base to prevent warping), or a Raft (a thick platform underneath the print for problematic surfaces).
Phase 3: Material Selection and Handling
Selecting the appropriate filament dictates how your printed object behaves under environmental stress, temperature fluctuations, and mechanical load.
Common Thermoplastics Explained
- PLA (Polylactic Acid): The premier beginner filament. Derived from renewable resources like corn starch, PLA has a low printing temperature (190°C–220°C), minimal warping, and no harsh odors. It is brittle and has a low glass transition temperature (~60°C), meaning it softens in hot cars.
- PETG (Polyethylene Terephthalate Glycol): A step up in durability. PETG offers superior chemical resistance, higher temperature tolerance, and greater impact strength than PLA. It strings more easily and requires proper drying.
- ABS / ASA (Acrylonitrile Butadiene Styrene / Acrylonitrile Styrene Acrylate): Engineering plastics designed for high-strength, weather-resistant outdoor applications. They require an enclosed printer to prevent severe thermal warping and emit hazardous styrene fumes, necessitating active carbon filtration or robust ventilation.
Filament Storage and Moisture Control
Filaments are hygroscopic—they absorb moisture from ambient air. Wet filament causes steam bubbles inside the hotend, resulting in popping sounds, weak layer adhesion, stringing, and rough surface textures. Always store spools in airtight plastic storage boxes containing rechargeable silica gel desiccant packs. If filament absorbs moisture, dry it using a dedicated filament dryer or a food dehydrator at 45°C–50°C for 4 to 6 hours before printing.
Phase 4: Machine Calibration and Setup
A beautifully sliced file will fail instantly if the physical machine is incorrectly calibrated. Follow this pre-flight checklist before every critical print:
1. Bed Leveling and Z-Offset Calibration
The single most common cause of print failure is improper distance between the nozzle and the build plate during the first layer.
- Manual Leveling: Heat your bed and nozzle to operating temperatures. Use a piece of standard printer paper ($0.1\text{mm}$ thick) and adjust the leveling knobs under the bed corners until you feel slight, uniform friction as you slide the paper back and forth beneath the nozzle.
- Automatic Bed Leveling (ABL): If your printer features a BLTouch, CR-Touch, or strain-gauge sensor, run the automatic bed mesh routine. Afterward, meticulously calibrate your Z-Offset using a live calibration print to ensure the first layer squishes slightly into the build plate without sealing the nozzle completely shut.
2. Clean the Build Surface
Finger oils, dust, and manufacturing residues prevent plastic from adhering to the print bed. Remove the print surface and wash it thoroughly with warm water and original blue Dawn dish soap. Dry it with a lint-free microfiber towel, and wipe it down with 90%+ isopropyl alcohol (IPA) immediately before starting a print. Avoid touching the clean surface with your bare hands.
Phase 5: Executing and Monitoring the Print
Transfer your sliced G-code file to the printer via an SD card, USB drive, or network connection (such as OctoPrint or Klipper web interfaces).
Watch the First Layer
Never walk away immediately after starting a print. The first layer dictates the success of the entire job. Watch the first perimeter loop and infill lines lay down. The plastic lines should appear slightly flattened, bonding seamlessly to adjacent lines. If the lines are rounded cylinders sitting loosely on the bed, your nozzle is too high. If the nozzle scrapes the bed or leaves transparent tracks, your nozzle is too close and risks scratching the PEI sheet.
Common First-Layer Failure Modes
- Warping: The corners of the print lift off the bed as the plastic cools and contracts. Solution: Increase bed temperature by 5°C, apply a thin layer of glue stick (as a release agent/adhesion promoter for PETG), or enable a brim.
- Under-Extrusion: Gaps appear between extrusion lines. Solution: Check for tangled filament spools, clean a partially clogged nozzle with a cleaning needle (Acupuncture needle), or verify your extruder gear tension.
- Layer Shifting: The print abruptly shifts horizontally mid-print, ruining the geometry. Solution: Tighten loose X and Y timing belts and ensure mechanical axes move freely without binding.
Phase 6: Post-Processing Techniques
Once your print finishes, safely remove it from the build plate. For magnetic spring-steel plates, let the bed cool down completely; most prints will detach on their own as the steel contracts. Flex the sheet gently if needed, avoiding sharp metal scrapers that gouge PEI surfaces.
Refining Your Prints
- Support Removal: Use flush cutters and needle-nose pliers to carefully snap away support structures. Support interfaces designed in the slicer make this easier.
- Sanding: Begin with coarse sandpaper (120-grit) to remove prominent layer lines or scarring from supports, progressing through 240, 400, and 800-grit for a smooth finish. Wet sanding prevents plastic dust from floating into the air.
- Smoothing and Painting: PLA can be primed with filler primer and painted with acrylics. ABS can be smoothed chemically using acetone vapor chambers in specialized, well-ventilated setups.
Frequently Asked Questions
Why won't my filament stick to the print bed?
Poor bed adhesion is usually caused by a contaminated build surface, incorrect Z-offset (nozzle too high), or printing on a cold bed. Wash your build plate with dish soap and warm water, wipe with high-purity isopropyl alcohol, re-level your bed, and ensure your heated bed is set to the correct temperature for your filament type (e.g., 60°C for PLA, 70°C for PETG).
What causes stringing and oozing between prints?
Stringing occurs when molten plastic leaks from the nozzle while traveling across open air. This is mitigated by properly tuning your slicer's Retraction Settings—increasing retraction distance and speed—and ensuring your filament is completely dry, as wet plastic flows too easily and oozes constantly.
How often do I need to level my 3D printer bed?
If your printer features rigid bed spacers (solid silicone mounts instead of weak factory springs) and an automatic bed-leveling probe, you may only need to verify the mesh every few dozen prints. Standard spring-mounted beds require manual verification every 5 to 10 prints, or whenever the machine is physically relocated.
Is 3D printing safe to run inside a bedroom or living space?
FDM printing with PLA is generally safe in well-ventilated rooms, though fine ultrafine particles (UFPs) are emitted during heating. Printing with ABS, ASA, or printing resins inside unventilated living spaces is strongly discouraged due to toxic volatile organic compounds (VOCs) and hazardous chemical fumes. Use an enclosure equipped with a HEPA and activated carbon filtration system.
Next Actions for Continued Success
To advance your 3D printing proficiency, begin by calibrating your specific machine using specialized calibration prints (such as temperature towers, flow rate cubes, and retraction test lines) available on calibration hubs like Ellis' Print Tuning Guide. Document your successful slicer profiles for each filament brand, maintain a clean workspace, and join community forums to share troubleshooting logs and project designs.