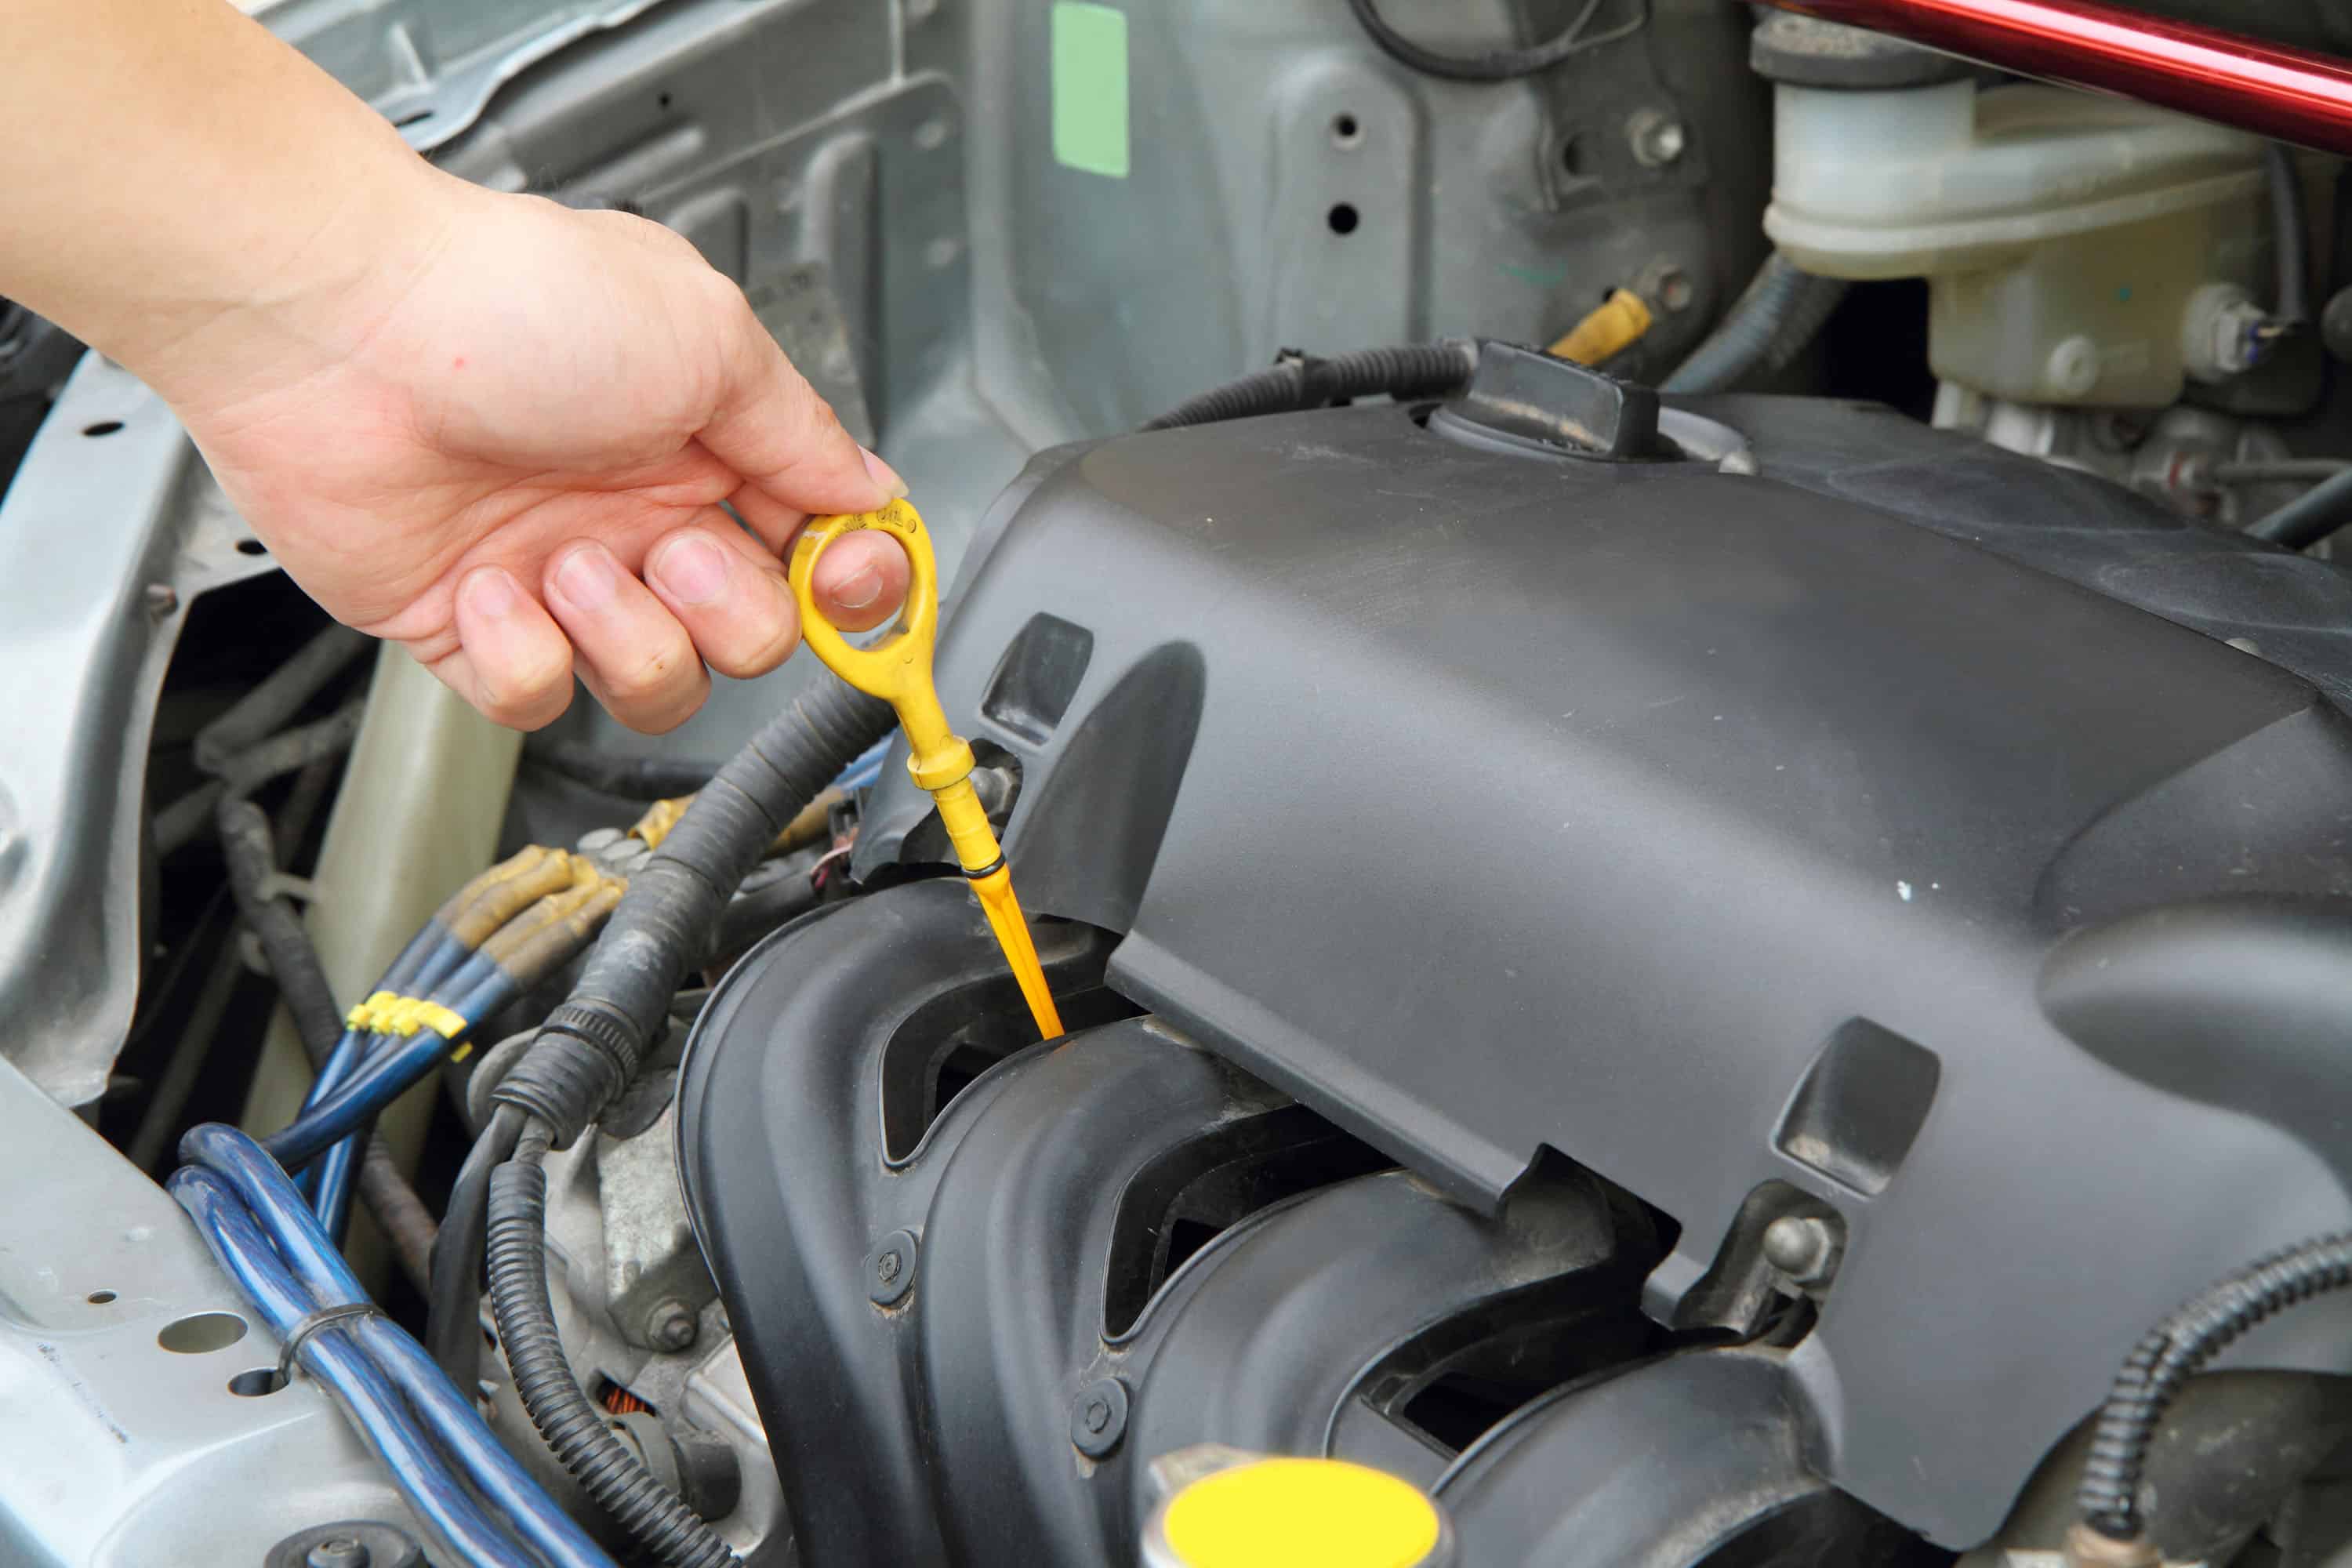
If your car is leaking oil after an oil change, immediately check the oil level using the dipstick to ensure it is within the safe operating range. The most common causes are a loose or improperly seated oil filter, a missing or damaged drain plug crush washer, or residual oil spilled during the service. If the oil level is low, do not drive the vehicle; instead, identify the source of the leak, clean the area to verify the flow, and either tighten the components to specification or return the car to the service center for a warranty correction.
Discovering a puddle of amber or black fluid on your driveway shortly after a professional service is frustrating and concerning. While many post-service leaks are minor and result from simple technician errors, some can lead to catastrophic engine failure if the oil pressure drops while driving. In 2026, modern engines utilize increasingly thin oils—such as 0W-8 or 0W-16—which can escape through even the smallest gaps in a seal or gasket. Understanding how to diagnose the source and determine the severity is essential for protecting your vehicle's longevity and your safety.
Immediate Safety Actions and Initial Assessment
The moment you notice oil under your vehicle, the priority shifts from convenience to engine preservation. Before attempting to drive the car back to the shop or even moving it a short distance, you must perform a static check of the oil volume.
Checking the Oil Level Correctly
Park the vehicle on a level surface and turn off the engine. Wait approximately five to ten minutes to allow the oil to drain from the upper engine galleries back into the oil pan. Pull the dipstick, wipe it clean with a lint-free rag, reinsert it fully, and pull it again. If the oil level is below the "Minimum" or "Low" mark, do not start the engine. Operating an engine with insufficient oil can cause oil starvation, leading to friction-induced heat that can weld bearings to the crankshaft or seize pistons within seconds.
Assessing the Leak Magnitude
Distinguish between a "seep" and a "leak." A seep is characterized by a damp or "sweating" appearance on the engine block or oil pan without active dripping. A leak involves consistent dripping that forms a puddle. If you see a steady stream or a large puddle (larger than a dinner plate) after only a few hours of parking, the vehicle is likely unsafe to drive. In 2026, many roadside assistance programs through manufacturers or insurance providers cover towing for service-related failures, which is always the safer alternative to risking a total engine replacement.
Identifying the Source of the Leak
Identifying where the oil is coming from is the first step in determining if the issue is a minor cleanup job or a mechanical failure. Most post-oil-change leaks originate from one of three specific locations.
The Oil Filter
The oil filter is the most common culprit. During an oil change, the old filter is unscrewed and replaced with a new one. Several things can go wrong here. The technician might have under-tightened the filter, allowing oil to spray out under pressure. Conversely, over-tightening can crush the gasket, causing it to deform and leak.
A particularly notorious issue is known as "double-gasketing." This occurs when the rubber O-ring from the old oil filter sticks to the engine's mating surface instead of coming off with the filter. When the new filter is installed on top of it, the two gaskets cannot form a high-pressure seal. Once the engine reaches operating temperature and pressure, oil will gush out from between the two gaskets.
The Drain Plug and Crush Washer
The drain plug is the bolt located at the bottom of the oil pan. Most manufacturers require a "crush washer"—a soft metal or composite ring—to be replaced every time the plug is removed. If a shop reuses an old, flattened washer, it may fail to provide a liquid-tight seal. Furthermore, if the plug was cross-threaded (screwed in at an angle) or stripped, it will not sit flush against the pan, leading to a persistent drip.
Residual Oil and Spillage
Not every spot on the ground indicates a functional leak. During an oil change, oil can easily spill onto the subframe, engine splash guards, or the exhaust manifold. As the car moves and the engine heats up, this residual oil can drip onto the ground or produce a burning smell. While messy, this is not a mechanical failure. To verify this, use an automotive degreaser or brake cleaner to wipe down the underside of the engine. If the spot returns after a short drive, you have an active leak.
Common Mechanical Causes and Technical Details
Understanding the technical reasons behind these leaks helps in communicating effectively with mechanics or performing a DIY fix.
Torque Specifications and Thread Integrity
Modern oil pans are often made of lightweight aluminum or even composite plastics to save weight. These materials are much softer than the steel bolts used for drain plugs. If a technician uses an impact wrench or excessive force rather than a calibrated torque wrench, they can easily strip the threads within the oil pan. In 2026, the standard torque for most passenger vehicle drain plugs remains between 20 and 30 foot-pounds. Exceeding this can lead to hairline cracks in the pan that only expand when the oil is hot and thin.
Cartridge vs. Spin-On Filters
Depending on your vehicle, you may have a traditional "spin-on" metal canister or a "cartridge" filter housed inside a permanent plastic or metal cap. Cartridge filters are more prone to leaks if the large O-ring on the housing cap is not seated in the correct groove. If the O-ring is placed too high or too low on the threads, the cap may feel tight, but it will leak profusely once the oil pump begins circulating fluid.
| Component | Common Failure Mode | Typical Symptom | Suggested Fix |
|---|---|---|---|
| Oil Filter | Double-gasketing or loose fit | Heavy dripping near the front/side of engine | Remove filter, check for old gasket, reinstall hand-tight |
| Drain Plug | Reused or missing crush washer | Slow, consistent drip from the bottom of the pan | Replace crush washer and torque to spec |
| Oil Pan | Stripped threads or hairline crack | Drip from the plug that won't stop after tightening | Install oversized plug or replace oil pan |
| Filler Cap | Left loose or missing | Oil spray over the top of the engine | Tighten cap or replace if missing |
| Residual Spill | Spilled oil on the subframe | Random drips that eventually stop | Clean underside with degreaser |
Step-By-Step Troubleshooting for Car Owners
If you have the tools and the inclination to check the leak yourself, follow this systematic approach to isolate the problem.
- Clean the Workspace: Use a clean rag and an automotive degreaser to wipe down the oil filter, the oil pan, and the drain plug area. Removing the grime allows you to see exactly where fresh oil emerges.
- Dry the Area: Use a paper towel to ensure the surfaces are bone-dry.
- Run the Engine: Start the car and let it idle for 3 to 5 minutes while parked. If you have a safe way to observe the underside (such as using ramps, but never a jack alone), watch the filter and plug.
- The "Paper Towel Test": Place a clean piece of cardboard or white paper towels directly under the engine. If a leak is active, the color and location of the spot on the paper will point you to the source. Amber/Brown fluid is fresh engine oil; Red is typically transmission or power steering fluid; Green/Blue/Pink is usually coolant.
- Check Component Tension:
- Filter: Attempt to turn it by hand. It should be "hand-tight." If it moves easily, it was too loose.
- Drain Plug: Use a wrench to check if it is snug. Do not "muscle" it; if it feels firm but is still leaking, the washer is likely the problem, not the tightness.
Dealing with a Service Center Error
If you had your oil changed at a dealership or a quick-lube shop, you have consumer protections. Most reputable shops provide a warranty on their labor (typically 30 to 90 days or 3,000 miles).
Documenting the Evidence
Before returning to the shop, take photos of the oil on the ground and the dipstick level. If you see visible damage—such as a rounded-off drain plug or a dented filter—photograph that as well. This documentation is vital if the leak leads to engine damage and you need to file a claim.
Contacting the Management
Call the shop and explain that you have a leak immediately following their service. A professional shop will often offer to tow the vehicle back to their facility at their expense if the leak appears significant. Once there, insist that they show you the source of the leak. If they claim it was a "faulty part," ensure they provide a written report. If the leak was caused by technician error (like a double gasket), they should not only fix the leak but also top off your oil and clean the undercarriage for free.
Long-Term Risks of Unaddressed Oil Leaks
Ignoring a post-oil-change leak is a high-stakes gamble. Beyond the obvious risk of engine seizure, there are several other consequences to consider.
- Fire Hazard: If oil leaks onto a hot exhaust manifold or catalytic converter, it can ignite. While engine oil has a high flash point, the pressurized spray from a loose filter can create a fine mist that catches fire easily.
- Environmental Impact: In 2026, environmental regulations regarding automotive fluids are stricter than ever. A single quart of oil can contaminate up to 250,000 gallons of drinking water. Spilling oil onto public roads can also create slick spots that are hazardous to motorcyclists and other drivers.
- Degradation of Rubber Components: Engine oil is chemically aggressive toward certain types of rubber. If a leak is allowed to spray onto suspension bushings, CV boots, or coolant hoses, it will cause the rubber to swell and soften, leading to premature failure of those parts.
Frequently Asked Questions
Can I drive my car if it's leaking just a little bit of oil?
It depends on the rate of the leak and the current oil level. If the dipstick shows the level is full and you only see a few drops (the size of a coin) after parking overnight, you can likely drive it directly to a repair shop. However, you must monitor the oil pressure light on your dashboard. If that light flickers or stays on, pull over immediately and shut off the engine.
Is it normal for a car to smell like burning oil after an oil change?
It is relatively common, though not "ideal." If a small amount of oil was spilled on the exhaust during the filter removal, it will burn off as the exhaust heats up, creating a distinct acrid smell and perhaps a small amount of smoke. This should dissipate within 20 to 30 minutes of driving. If the smell persists for days, you have an active leak hitting a hot surface.
Should I tighten my oil filter with a wrench to stop a leak?
Generally, no. Most oil filters are designed to be tightened by hand—usually three-quarters of a turn to one full turn after the gasket makes contact with the base. Using a filter wrench to "crank" it down can deform the gasket or make the filter nearly impossible to remove during the next service. If it is leaking while hand-tight, it's more likely a gasket issue than a tightness issue.
Why is my car leaking oil even though the plug is tight?
The most likely reason is the crush washer. These are one-time-use components designed to deform and fill the microscopic gaps between the plug and the pan. If the washer is missing, cracked, or was reused from the previous service, the plug can be as tight as possible and still allow oil to seep through the threads.
What should I do if the shop stripped my oil pan threads?
If a shop strips your oil pan, they are responsible for the repair. In 2026, the standard of care requires shops to use torque sticks or manual torque wrenches. If they strip the threads, they may try to use a "temporary" oversized plug. You should insist on a proper repair, which usually involves a "Heli-Coil" thread insert or, preferably, the replacement of the entire oil pan to ensure long-term reliability.
Practical Recommendation
If you detect an oil leak after an oil change, the most practical next step is to verify the oil level immediately. If the level is safe, clean the underside of the engine and drive the vehicle for ten minutes, then re-inspect. If the leak persists, return to the service provider immediately. Do not attempt to "fix" a professional's mistake yourself unless you are experienced, as this may void your ability to claim damages if the engine fails later. Always insist on a new crush washer and a hand-tightened filter to prevent these issues in future services.