Apple Maps has evolved from a basic navigational tool into a sophisticated, visually rich platform that bridges the gap between digital cartography and real-world visualization. By moving from the traditional, top-down 2D perspective to the highly detailed immersive 3D and "Look Around" features, users can gain a much deeper understanding of their environment before ever setting foot outside. Mastering this transition requires an understanding of the interface gestures, hardware prerequisites, and the specific viewing modes available in modern iOS and macOS environments.
Understanding the Evolution of Apple Maps Visualization
Historically, digital maps relied on flat, vector-based 2D representations. These were efficient for storage and data transmission but lacked spatial context. Apple’s shift toward immersive 3D, often powered by the integration of high-resolution aerial imagery and proprietary metal-based rendering, allows for a more intuitive sense of scale, elevation, and architectural detail.
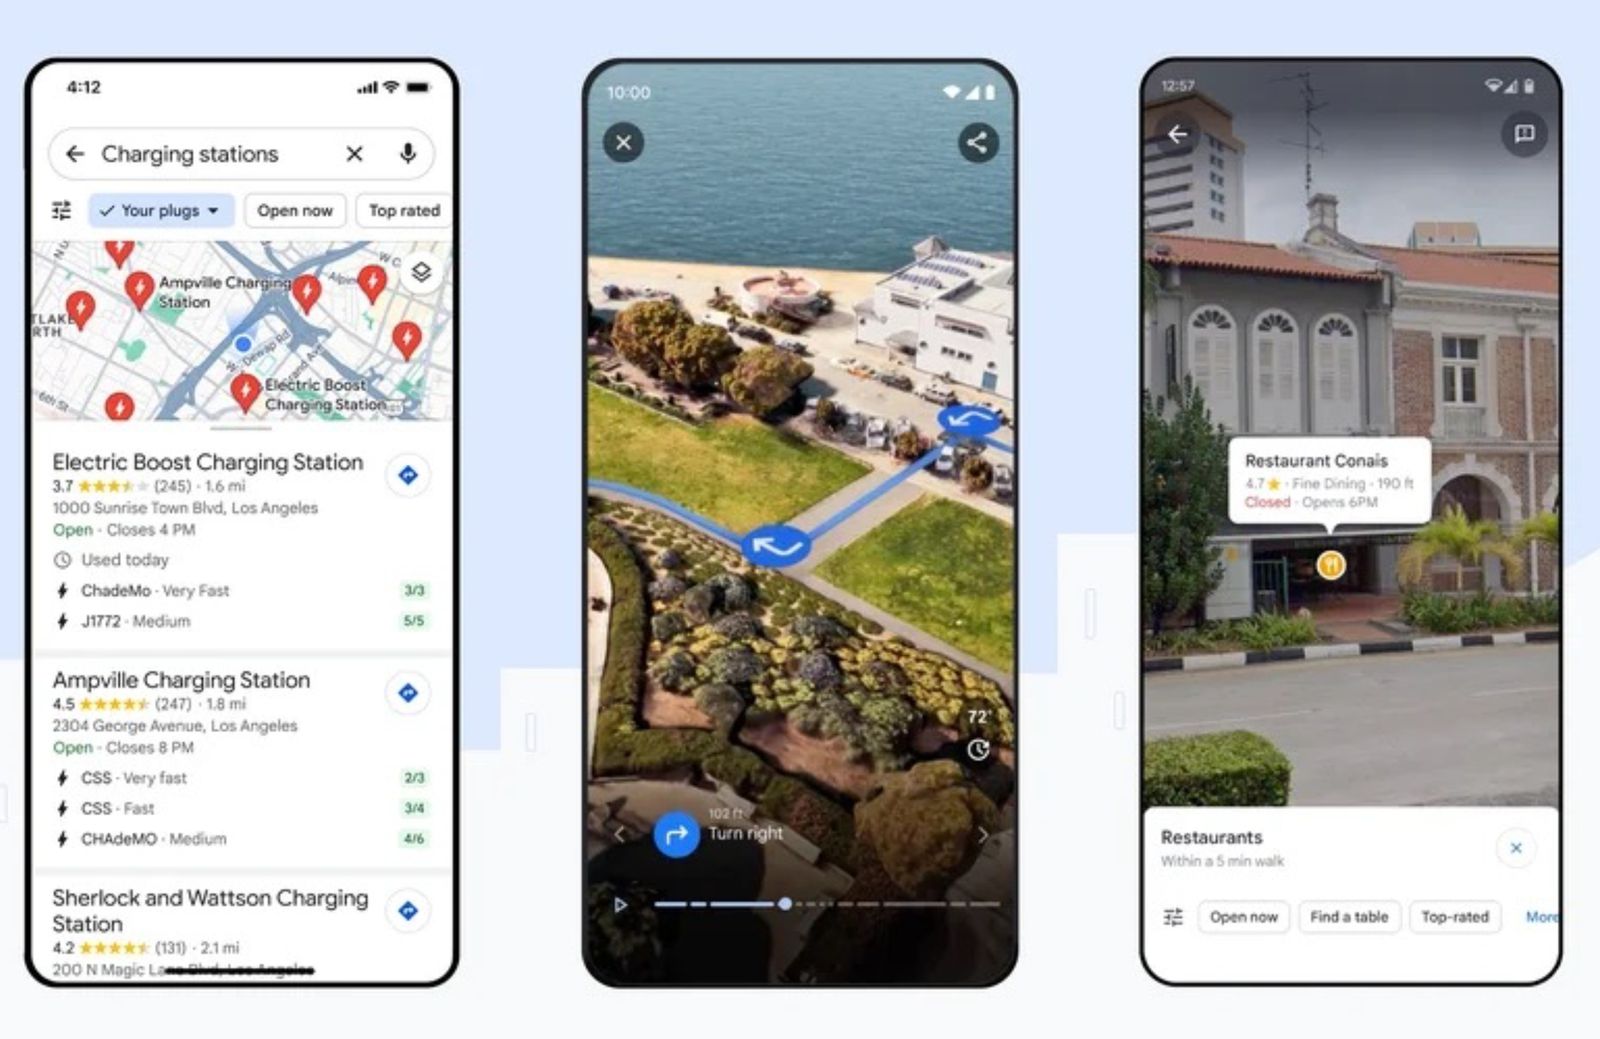
The "3D" experience in Apple Maps is not a single feature; it is a spectrum of interactions. It ranges from the standard "3D View," which provides a tilted, perspective-based look at terrain and building outlines, to the "Look Around" feature, which offers a ground-level, interactive street-view experience. Understanding how to toggle between these modes is the first step in leveraging the full potential of your device’s mapping capabilities.
Hardware and Software Prerequisites
To access the most advanced visual features of Apple Maps in 2026, your hardware must be capable of rendering complex graphical data. While basic 2D maps run on almost any device, immersive experiences are optimized for hardware with dedicated GPU resources.
- iOS/iPadOS Devices: Modern iPhones (iPhone 12 and newer) and iPads with A-series chips provide the smoothest transition into 3D.
- macOS Requirements: Macs running Apple Silicon or high-end Intel configurations with discrete graphics cards are required for the "Flyover" and detailed city-scale 3D rendering.
- Network Connectivity: Immersive 3D data is massive. High-speed Wi-Fi or 5G connectivity is essential for the smooth loading of high-fidelity textures. Attempting to load immersive 3D in low-bandwidth environments may cause the map to default back to a static 2D state or a low-polygon wireframe to preserve performance.
Navigating from 2D to 3D: A Step-by-Step Approach
The transition from a flat interface to an immersive one involves specific multi-touch gestures that have become standard across the Apple ecosystem.
Activating the 3D Perspective
When you open Apple Maps, the default view is a North-up 2D map. To enter the 3D perspective:
- The Two-Finger Drag: Place two fingers side-by-side on the map screen.
- The Vertical Swipe: Simultaneously drag your fingers upward in a smooth, continuous motion. This tilts the map, shifting your perspective from top-down to an angled view.
- Rotation: Once in 3D mode, you can use two fingers to rotate the map in a circular motion, allowing you to examine structures from various cardinal directions.
Engaging the "Look Around" Feature
If you need to see a location as if you were standing on the street, use the Look Around feature:
- Locate the Binoculars: When you tap on a location or drop a pin in a supported city, look for the binoculars icon (the Look Around interface) in the information card.
- Transitioning: Tapping the icon creates an immersive, high-resolution street-level view.
- Interaction: You can navigate by tapping further down the street to "move" your virtual camera. You can look up, down, and around by panning your finger across the screen.
Comparing Map View Modes
| Feature | Primary Use Case | Perspective | Interactivity Level |
|---|---|---|---|
| Standard 2D | Route planning, broad orientation | Top-down (North-up) | Low (Pan and Zoom) |
| 3D View | Understanding topography/height | Tilted perspective | Moderate (Tilt and Rotate) |
| Look Around | Visual confirmation, exploration | Ground-level (Street view) | High (Virtual locomotion) |
| Flyover | Sightseeing, urban planning | Aerial 3D mesh | High (Automated/Manual path) |
The Role of Apple’s Detailed City Experience
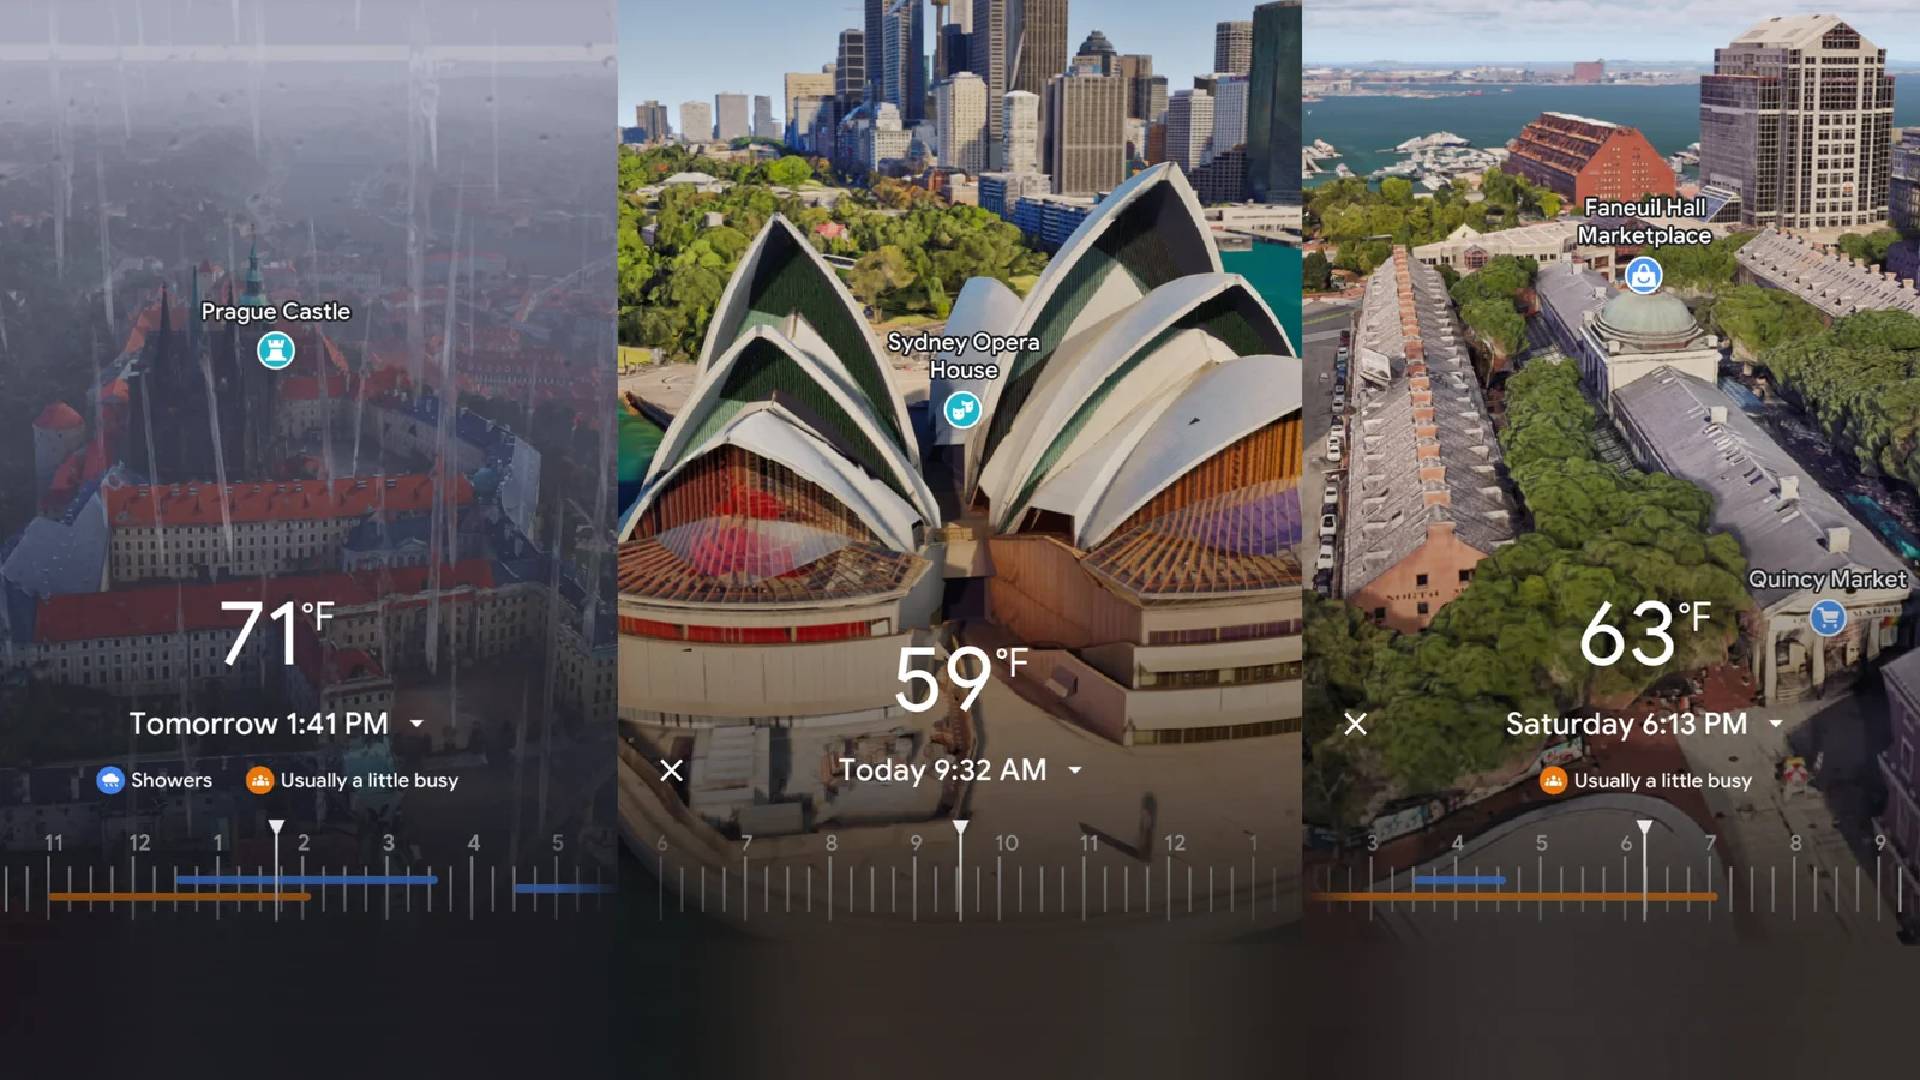
Apple has introduced a "Detailed City Experience" in select metropolitan areas. This feature represents the pinnacle of Apple Maps' immersive evolution. In these zones, the transition from 2D to 3D is not just a tilt—it is a visual overhaul. Buildings are rendered with custom detail, including landmarks such as the Golden Gate Bridge or the various monuments in Washington, D.C.
This mode activates automatically when you zoom into these specific, high-definition areas. You do not need to perform manual gestures to see this detail; the map essentially "wakes up" as you zoom in, showing elevation changes, vegetation, and intricate road textures that are invisible in the standard 2D view.
Troubleshooting Common Issues During View Transitions
Even with high-end hardware, you may encounter issues during the transition from 2D to 3D. Common frustrations and their fixes include:
Map Stays in 2D
If you attempt to tilt the map and it "snaps" back to 2D, check your orientation settings. Sometimes, the map is locked to "North-up," which can restrict the ability to tilt. Tap the compass icon in the upper-right corner of the map to ensure the map is in "Heading" mode, which generally enables better 3D tilt control.
Graphical Glitches or "Blurry" Textures
If buildings appear as simple grey blocks without detail, your device is likely throttling data to save bandwidth or battery.
- Check Battery: Low Power Mode on iOS often disables high-fidelity graphics.
- Clear Cache: Occasionally, the local map cache can become corrupted. If you frequently view the same area, try restarting the app to force a fresh pull of data from Apple's servers.
Missing "Look Around" Access
Look Around is not globally available. Apple rolls this out on a city-by-city basis. If the binoculars icon does not appear, it is likely that the current location has not yet been processed with the high-resolution photography required for the feature.
Practical Scenarios for Using 3D Maps
Transitioning to 3D is more than a aesthetic choice; it serves specific, functional purposes:
- Urban Navigation: In dense cities with complex overpasses and tunnels, 3D mode helps clarify which level of a road network you are on, reducing the likelihood of missing a turn.
- Property Assessment: Before visiting a rental or purchasing a property, using the 3D and Flyover views can provide a clear understanding of the surrounding tree cover, building proximity, and general neighborhood density.
- Outdoor Planning: For hikers or cyclists, the 3D perspective helps identify steep inclines that appear flat on a 2D topographic map, allowing for better route preparation.
Future-Proofing Your Mapping Habits
As we move through 2026, the reliance on augmented reality (AR) and more granular 3D data will increase. Apple is consistently pushing toward a future where the map is indistinguishable from a digital twin of the world. To stay ahead, make it a habit to use the "3D" tilt even for short, local trips. This builds the spatial awareness necessary to interpret these complex, high-fidelity environments quickly.
If you are a frequent user of Apple Maps, consider exploring the "Collections" feature to save your favorite 3D-optimized locations. By saving a location while in 3D mode, the app will often prioritize that perspective when you navigate back to the saved entry, saving you the effort of manual tilting in the future.
Frequently Asked Questions
Why does my Apple Maps look flat even when I tilt it?
The map may be locked in a 2D-only mode or you may be zoomed out too far. In some regions, high-fidelity 3D data is not available, resulting in a flat "extruded" building effect rather than a textured 3D environment. Ensure you are zoomed in close enough to urban centers to trigger the higher level of detail.
Can I turn off the 3D effects to save battery?
Yes. Apple Maps does not have a single "Disable 3D" switch, but keeping your device in "Low Power Mode" or simply ensuring your map remains at a high zoom level (top-down) will minimize the GPU usage required for rendering 3D meshes.
What is the difference between Flyover and 3D View?
"3D View" is a manual, user-controlled tilt of the map surface. "Flyover" is a guided, pre-rendered 3D animation sequence designed for sightseeing, often available for major landmarks.
Is Look Around available in all countries?
No. Look Around availability is subject to strict privacy and mapping data collection schedules. While it covers most major global cities, it is not currently exhaustive. Check the official Apple Maps feature availability page to see if your region is supported.
How do I return to a standard 2D view quickly?
Simply tap the compass icon in the corner. Tapping it once often resets the orientation to North-up and snaps the perspective back to a flat 2D view, provided you are at an appropriate zoom level.
Final Recommendation: Integrating 3D into Your Workflow
To maximize the value of Apple Maps, do not treat 3D as a secondary gimmick. Start your next trip planning session by immediately tilting the map to 3D. By consistently viewing your route in this manner, you train your brain to recognize landmarks and terrain elevation before you arrive, creating a seamless transition from your digital screen to the physical world. For the best experience, always keep your operating system updated, as Apple frequently optimizes the rendering engines that support these high-detail views.