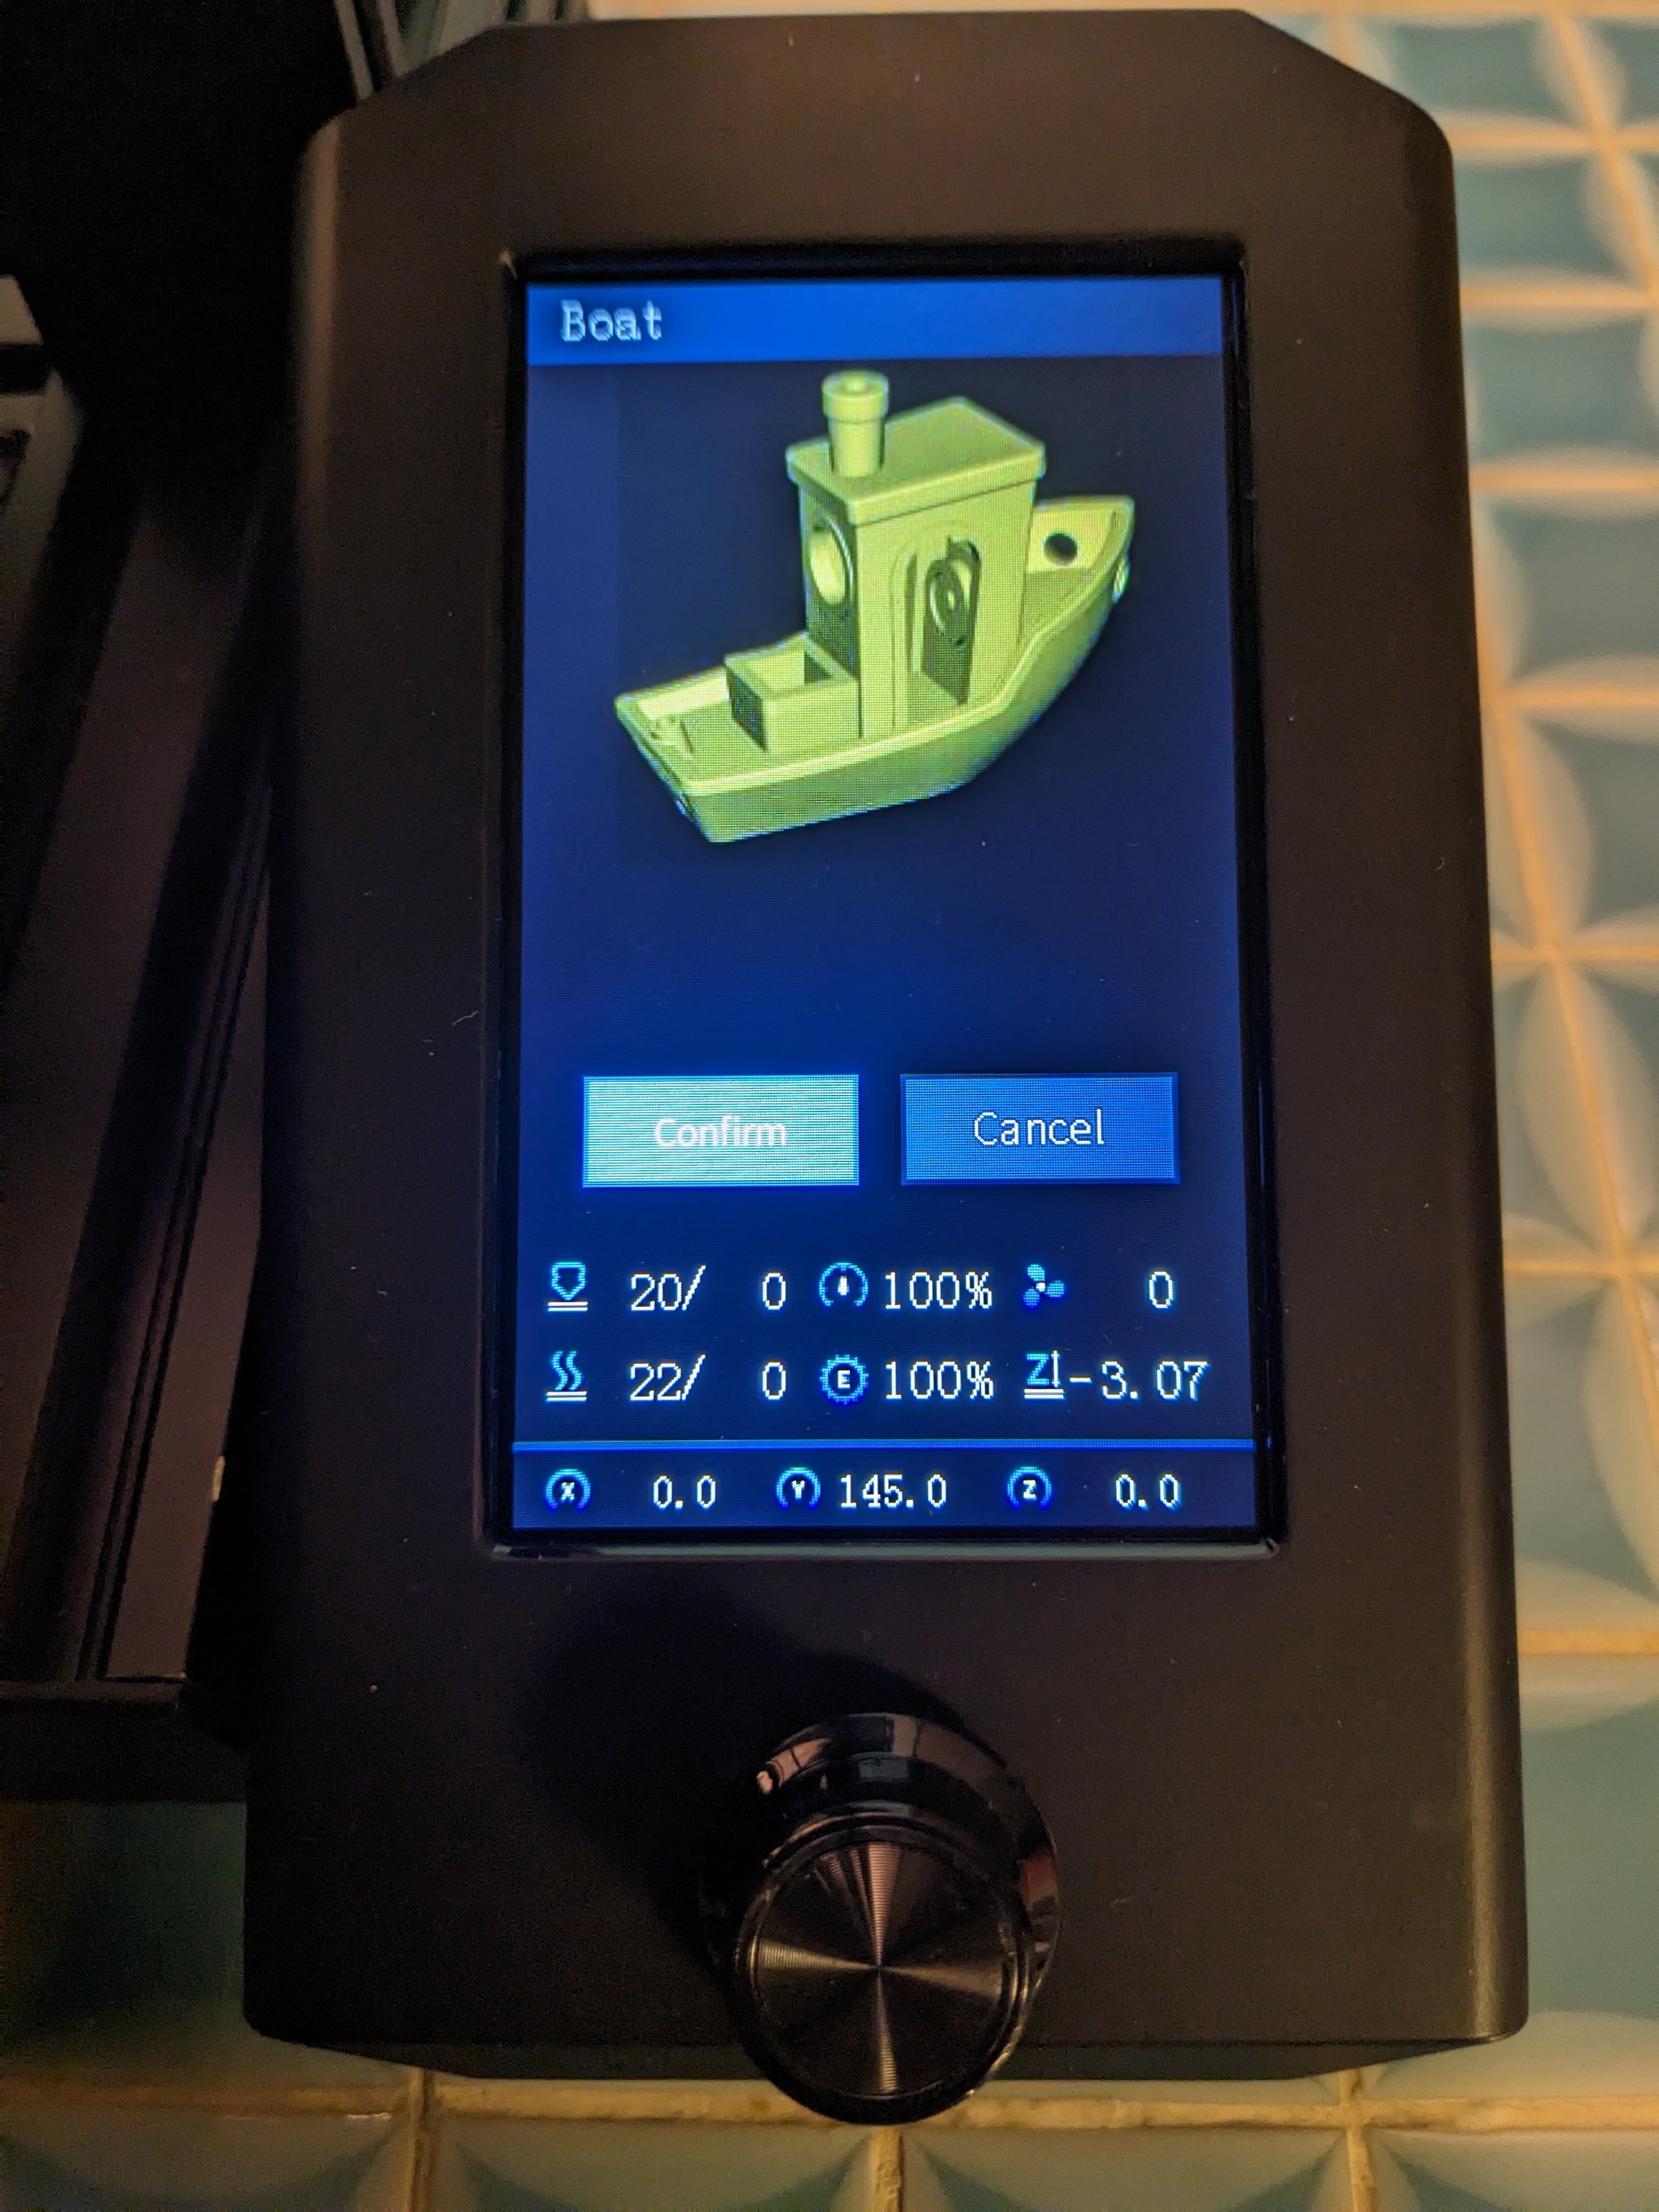
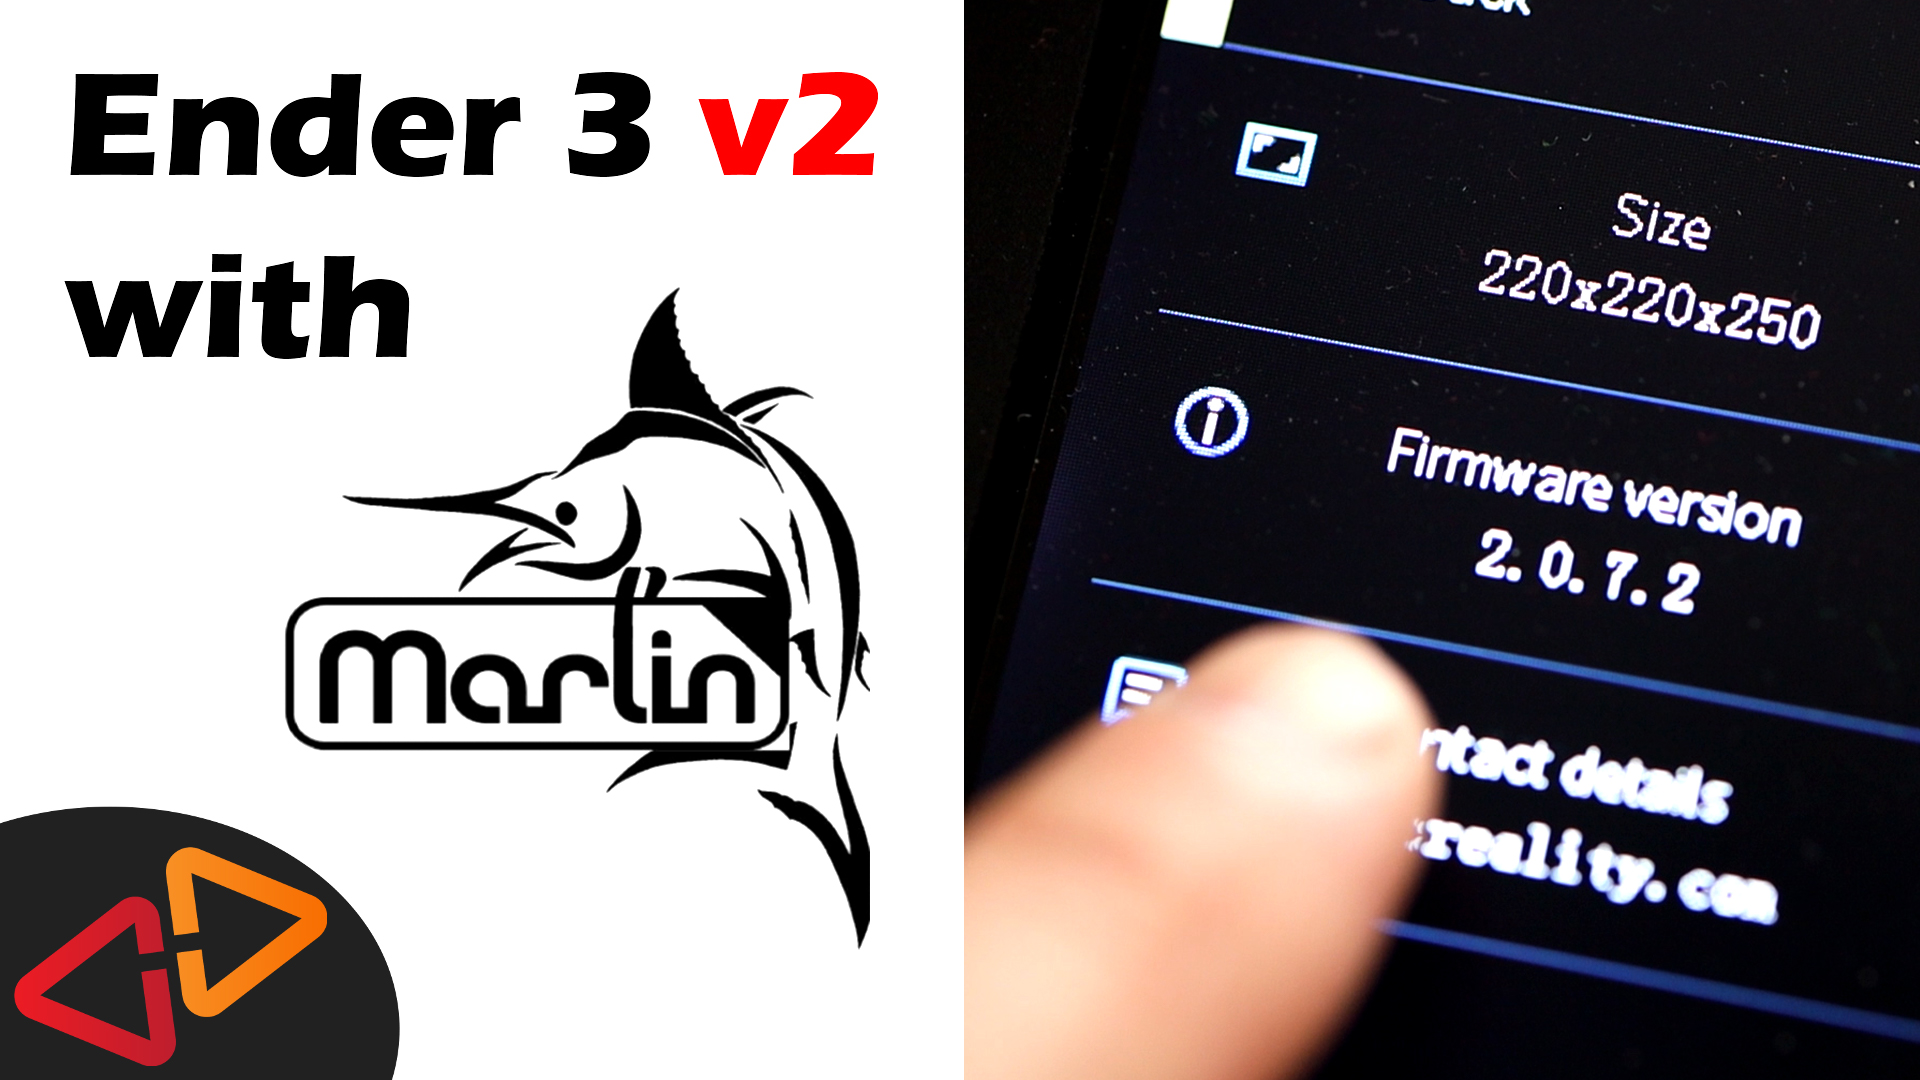
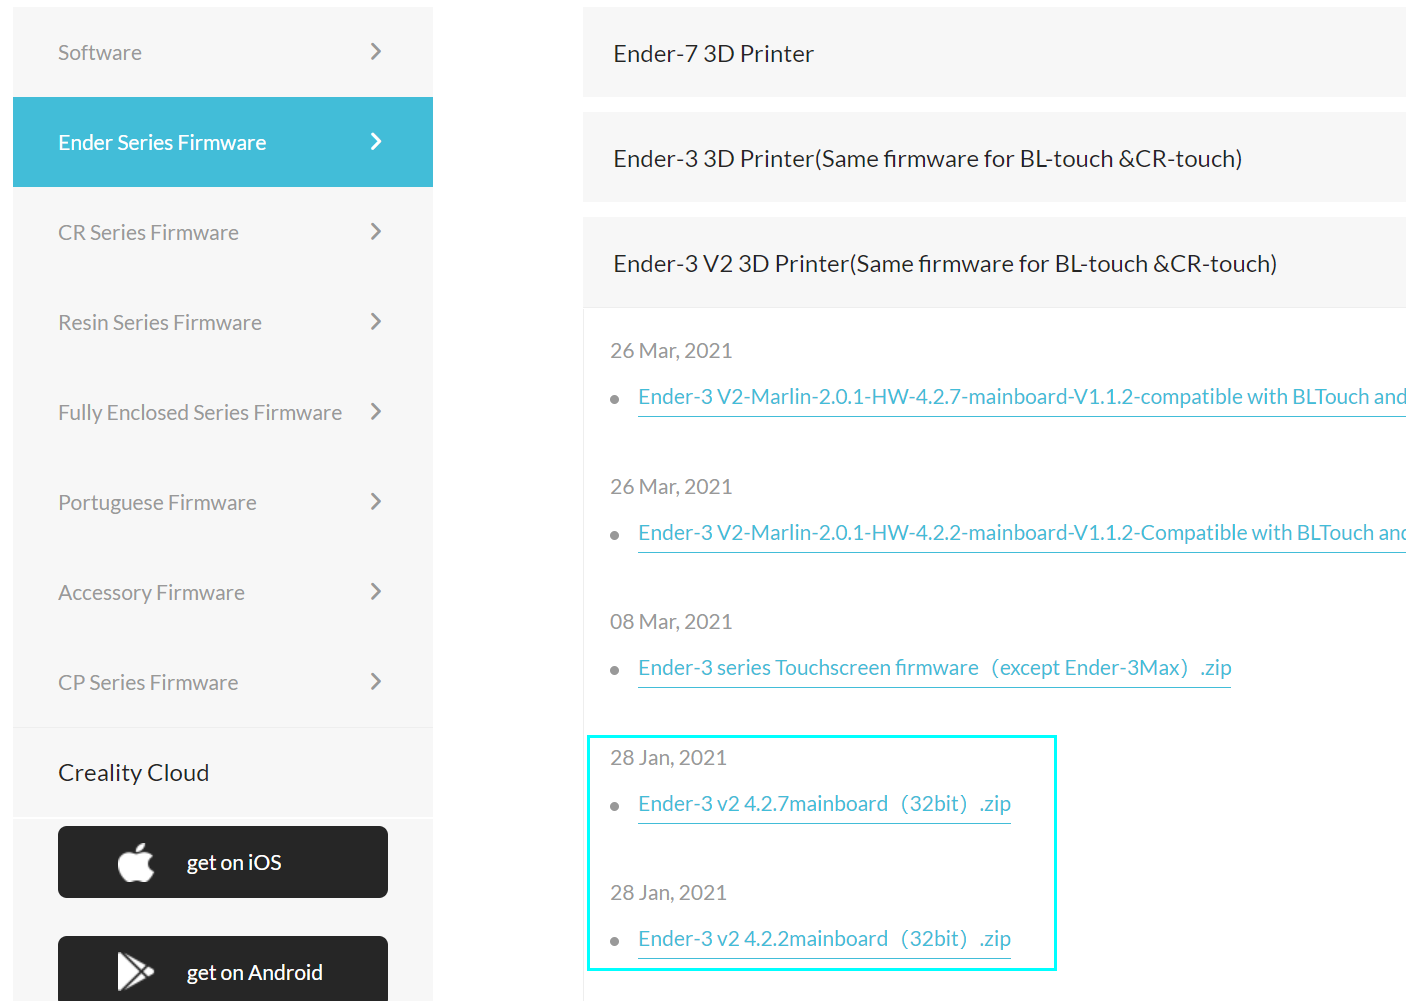
Updating the firmware on your Creality Ender 3 V2 is an essential maintenance task that unlocks advanced safety features like thermal runaway protection, fixes persistent software bugs, and prepares your machine for hardware upgrades such as a CR Touch or BLTouch auto-bed leveling sensor.
Understanding the Ender 3 V2 Firmware Ecosystem
Before downloading files and inserting a MicroSD card into your machine, you must understand what firmware is and how Creality designed the Ender 3 V2 mainboard architecture. Firmware is the low-level operating system stored on the printer's mainboard read-only memory (ROM). It interprets G-code commands from your slicer, controls stepper motor movements, regulates heating elements, and manages the user interface (UI) displayed on the LCD screen.
Unlike newer 32-bit printers with modern bootloaders that allow straightforward over-the-network updates, the Ender 3 V2 requires you to flash firmware via a removable MicroSD card. This process requires strict attention to detail regarding hardware versions. Creality has produced multiple iterations of the Ender 3 V2 mainboard, most notably the v4.2.2 and v4.2.7 boards. Furthermore, these boards utilize different microcontroller chips—such as the ST Microelectronics STM32F103 or GD Microelectronics GD32F103 chips—as well as different stepper motor drivers (such as TMC2208 or TMC2225).
Flashing the wrong version or mismatching your mainboard architecture will cause a permanent black screen, freezing during boot, or loss of motor control. Consequently, verifying your hardware before starting is the most critical step in this entire procedure.
Phase 1: Identifying Your Printer Specifications
Never skip physical verification. Assuming your printer has a specific mainboard version based solely on its purchase date or online specifications can lead to a bricked system.
Checking the Mainboard Version
To check your mainboard version, unplug the printer from the wall power outlet and wait at least two minutes for capacitors to discharge. Lay the printer gently on its side or back. Using the appropriate hex key, unscrew the screws securing the plastic mainboard cover underneath the printer chassis. Remove the cover to expose the green circuit board.
Look directly at the surface of the mainboard for silkscreened text. You will typically see a version number printed near the center or edges, such as CR-V4.2.2 or CR-V4.2.7. Take note of this number. Next, look closely at the primary square or rectangular processing chip (the MCU). It will have text stamped directly onto its surface. Note whether it features an STM prefix or a GD prefix, as some community builds and stock firmwares behave differently depending on the specific chip manufacturer.
Checking the Display Screen Version
The Ender 3 V2 uses a separate display board with its own internal firmware. When you update the mainboard, you often need to update the display screen firmware as well to ensure compatibility between the UI icons and the mainboard instruction set.
To check your screen, unscrew the back housing of the LCD display unit. Look for a sticker or silkscreen label on the circuit board indicating the screen chip manufacturer (e.g., DWIN, TJC, or Huada / DAC). The firmware file you place on the MicroSD card for the screen must match this chip manufacturer; otherwise, your display may show scrambled graphics, missing text, or an unresponsive interface.
Phase 2: Choosing Your Firmware Source
When selecting firmware for your Ender 3 V2, you generally have two main paths: official stock firmware or community-driven third-party firmware. Each option has distinct advantages and trade-offs.
| Firmware Type | Pros | Cons | Best For |
|---|---|---|---|
| Creality Official Stock | Direct from manufacturer; reliable baseline; simple installation. | Lacks advanced features; slow bug fixes; limited bed-leveling support. | Beginners who want a pure factory experience. |
| Marlin / JyersUI / Professional | Advanced mesh bed leveling; better safety features; custom UI options. | Requires careful matching of hardware variants; unofficial support. | Intermediate to advanced users seeking enhanced performance. |
Official Creality firmware can be downloaded directly from the Creality Official Download Center. Navigate to the Ender 3 V2 product page, locate the firmware section, and match your mainboard version (v4.2.2 or v4.2.7) along with your configuration (such as standard stock setup versus BLTouch/CR Touch setup).
If you choose community firmware, projects like Marlin or forks such as the popular Ender 3 V2 Professional Firmware by mriscoc offer vastly superior features. These include manual tramming assistants, linear advance tuning, live Z-offset adjustments, and comprehensive bed mesh generation. Always download community firmware from trusted repositories like GitHub.
Phase 3: Preparing the MicroSD Card
The method by which you format and prepare your MicroSD card is the primary reason firmware updates fail. The Ender 3 V2 bootloader is notoriously picky about storage media.
- Capacity Limit: Use a MicroSD card with a capacity of 8GB or smaller. While some users report success with larger cards, the printer's bootloader often fails to read cards formatted above 32GB, and 8GB or smaller cards have the highest success rate.
- File System Formatting: Format the card using the FAT32 file system with an allocation unit size (cluster size) of 4096 bytes (4KB). If you are using Windows, right-click the drive in File Explorer, select Format, choose FAT32, set the allocation size to 4096 bytes, and perform a quick format. On macOS, use Disk Utility to format the card as MS-DOS (FAT) with the Master Boot Record scheme.
- File Placement: Ensure that only the firmware file is present on the root directory of the MicroSD card. Do not place the file inside a folder.
- File Naming Convention: The mainboard firmware file must end with a
.binextension. To prevent flashing errors, give the file a short, unique alphanumeric name without special characters or spaces (e.g.,firmware123.bin). The bootloader checks the file name hash upon startup; if it detects an identical file name to a previously flashed version, it may skip the update entirely.
Phase 4: Step-by-Step Mainboard Firmware Installation
With your properly formatted MicroSD card and correct .bin file in hand, execute the following procedure carefully.
- Turn off your Ender 3 V2 and unplug the USB cable if you have it connected to a computer or Raspberry Pi running OctoPrint.
- Insert the MicroSD card into the printer's MicroSD card slot. The card should click into place with the gold contact pins facing upward (depending on your printer orientation, verify the notch alignment).
- Turn on the printer via the power switch on the back.
- Observe the screen: Do not touch any buttons. The screen should remain completely black or display the Creality loading screen for approximately 5 to 10 seconds while the mainboard reads the
.binfile from the card and flashes its internal EEPROM memory. - Once the update completes, the standard Ender 3 V2 user interface will appear.
- Turn off the printer, eject the MicroSD card, and plug it into a computer to verify that the file extension has automatically changed (often appending
.curto signify that the firmware was successfully executed and consumed by the bootloader). Delete the firmware file from the card before using it for printing.
Phase 5: Updating the Display Screen Firmware
If your chosen firmware package included a separate display firmware folder (often labeled as private, DWIN_SET, or screen assets), you must update the LCD panel as well.
- Turn off the printer and remove the back cover of the LCD display unit.
- Insert a properly formatted FAT32 MicroSD card (with 4096 allocation size) containing only the
DWIN_SETfolder into the MicroSD card slot located directly on the back of the LCD circuit board. - Turn on the printer power switch.
- Watch the indicator light on the LCD board. It will typically flash blue or red, and the screen will display a loading process accompanied by text such as "Updating..." or progress bars turning orange or blue.
- Wait until the screen indicates success (often displaying "END" or turning entirely blue).
- Power off the printer, remove the MicroSD card from the LCD slot, reassemble the display casing, and power the machine back on.
Post-Update Verification and Calibration
Never start a print immediately after updating your firmware. The update process resets your printer's memory to default factory settings, clearing out vital calibration parameters.
- Reset EEPROM: Navigate to the printer menu, go to Configuration, and select Reset EEPROM to clear out residual configuration data from the previous firmware version.
- Check Thermal Safety: Heat your hotend to 200°C and your print bed to 60°C. Verify that the temperatures stabilize accurately without thermal runaway warnings. You can test thermal runaway protection by gently disconnecting the thermistor wire (with the printer off, then turning it back on briefly) or by trusting that modern Marlin builds have it enabled natively.
- Re-level the Bed: Because firmware updates reset home offsets, you must manually level your print bed using the paper test across all four corners, followed by setting your Z-offset if you use an auto-leveling probe.
- Run a Test Print: Slice a simple calibration cube or small model using your slicer and watch the first layer closely to confirm proper adhesion and axis movement.
Troubleshooting Common Update Failures
Even with careful preparation, users occasionally encounter roadblocks. Here is how to diagnose and resolve the most frequent issues.
- Black Screen of Death: If your screen remains permanently black after turning on the printer with the MicroSD card inserted, your mainboard could not read the file. This is almost always caused by a card larger than 32GB, an incorrect file system format, or placing the file inside a folder. Reformat the card to FAT32 with a 4096-byte allocation size and try a different, smaller MicroSD card (2GB or 4GB cards pulled from old cameras often work best).
- Firmware Fails to Install (Version Skipped): If the printer boots normally without updating, the bootloader is ignoring the file name. Rename the
.binfile to a completely unique alphanumeric string (e.g.,update_v2_99.bin) to force the bootloader to recognize it as a new file. - Inverted Axis or Strange Stepper Noise: If your motors move in reverse or make grinding noises, you have installed firmware compiled for a different stepper driver configuration (e.g., TMC2208 drivers on a board configured for TMC2225, or vice versa). Re-verify your mainboard chip markings and download the precise firmware variant matching your hardware revision.
Frequently Asked Questions
Do I need to update my Ender 3 V2 firmware if my printer is working fine?
No. If your printer is operating reliably and producing high-quality prints, updating the firmware is unnecessary. The golden rule of 3D printer maintenance is that if it is not broken, you should not risk interrupting a stable workflow. Only update when adding new hardware accessories, resolving specific software bugs, or requiring critical safety updates like thermal runaway protection.
What should I do if my screen shows Chinese characters or scrambled graphics after an update?
This happens when your display screen chip manufacturer does not match the firmware asset you installed on the LCD. Open the back of your screen, identify the specific chip brand (such as DWIN or TJC), and download the exact screen asset package corresponding to that manufacturer from the official repository or community release page.
Can I damage my printer mainboard by installing the wrong firmware?
It is extremely rare to permanently destroy or "brick" a 3D printer mainboard via a firmware update. Even if you install completely incorrect firmware, the hardware bootloader is hard-coded into a protected region of the microchip. You can almost always recover the printer simply by formatting a card correctly, placing the proper verified firmware file on it, and repeating the flash procedure.
How do I know if thermal runaway protection is active?
You can verify thermal runaway protection by inspecting the source code if you compile your own Marlin firmware (Configuration.h), or by checking release notes from reputable community builders. Alternatively, you can test it safely by observing how the printer reacts if a thermistor becomes dislodged, though software inspection is the safest verification method.
Why does my Ender 3 V2 keep saying "Printing" or freezing on the splash screen?
This freezing behavior is typically caused by a mismatch between the mainboard firmware version and the LCD screen firmware version. Ensure that both the mainboard .bin file and the display screen assets are updated simultaneously using matching release versions from the same developer or manufacturer.
Final Recommendations
Updating your Ender 3 V2 firmware bridges the gap between factory limitations and modern 3D printing performance. Take your time during the preparation phase, double-check your mainboard version and MCU chip markings, use a small, correctly formatted FAT32 MicroSD card, and always re-calibrate your bed leveling and Z-offset immediately after the flash is complete.