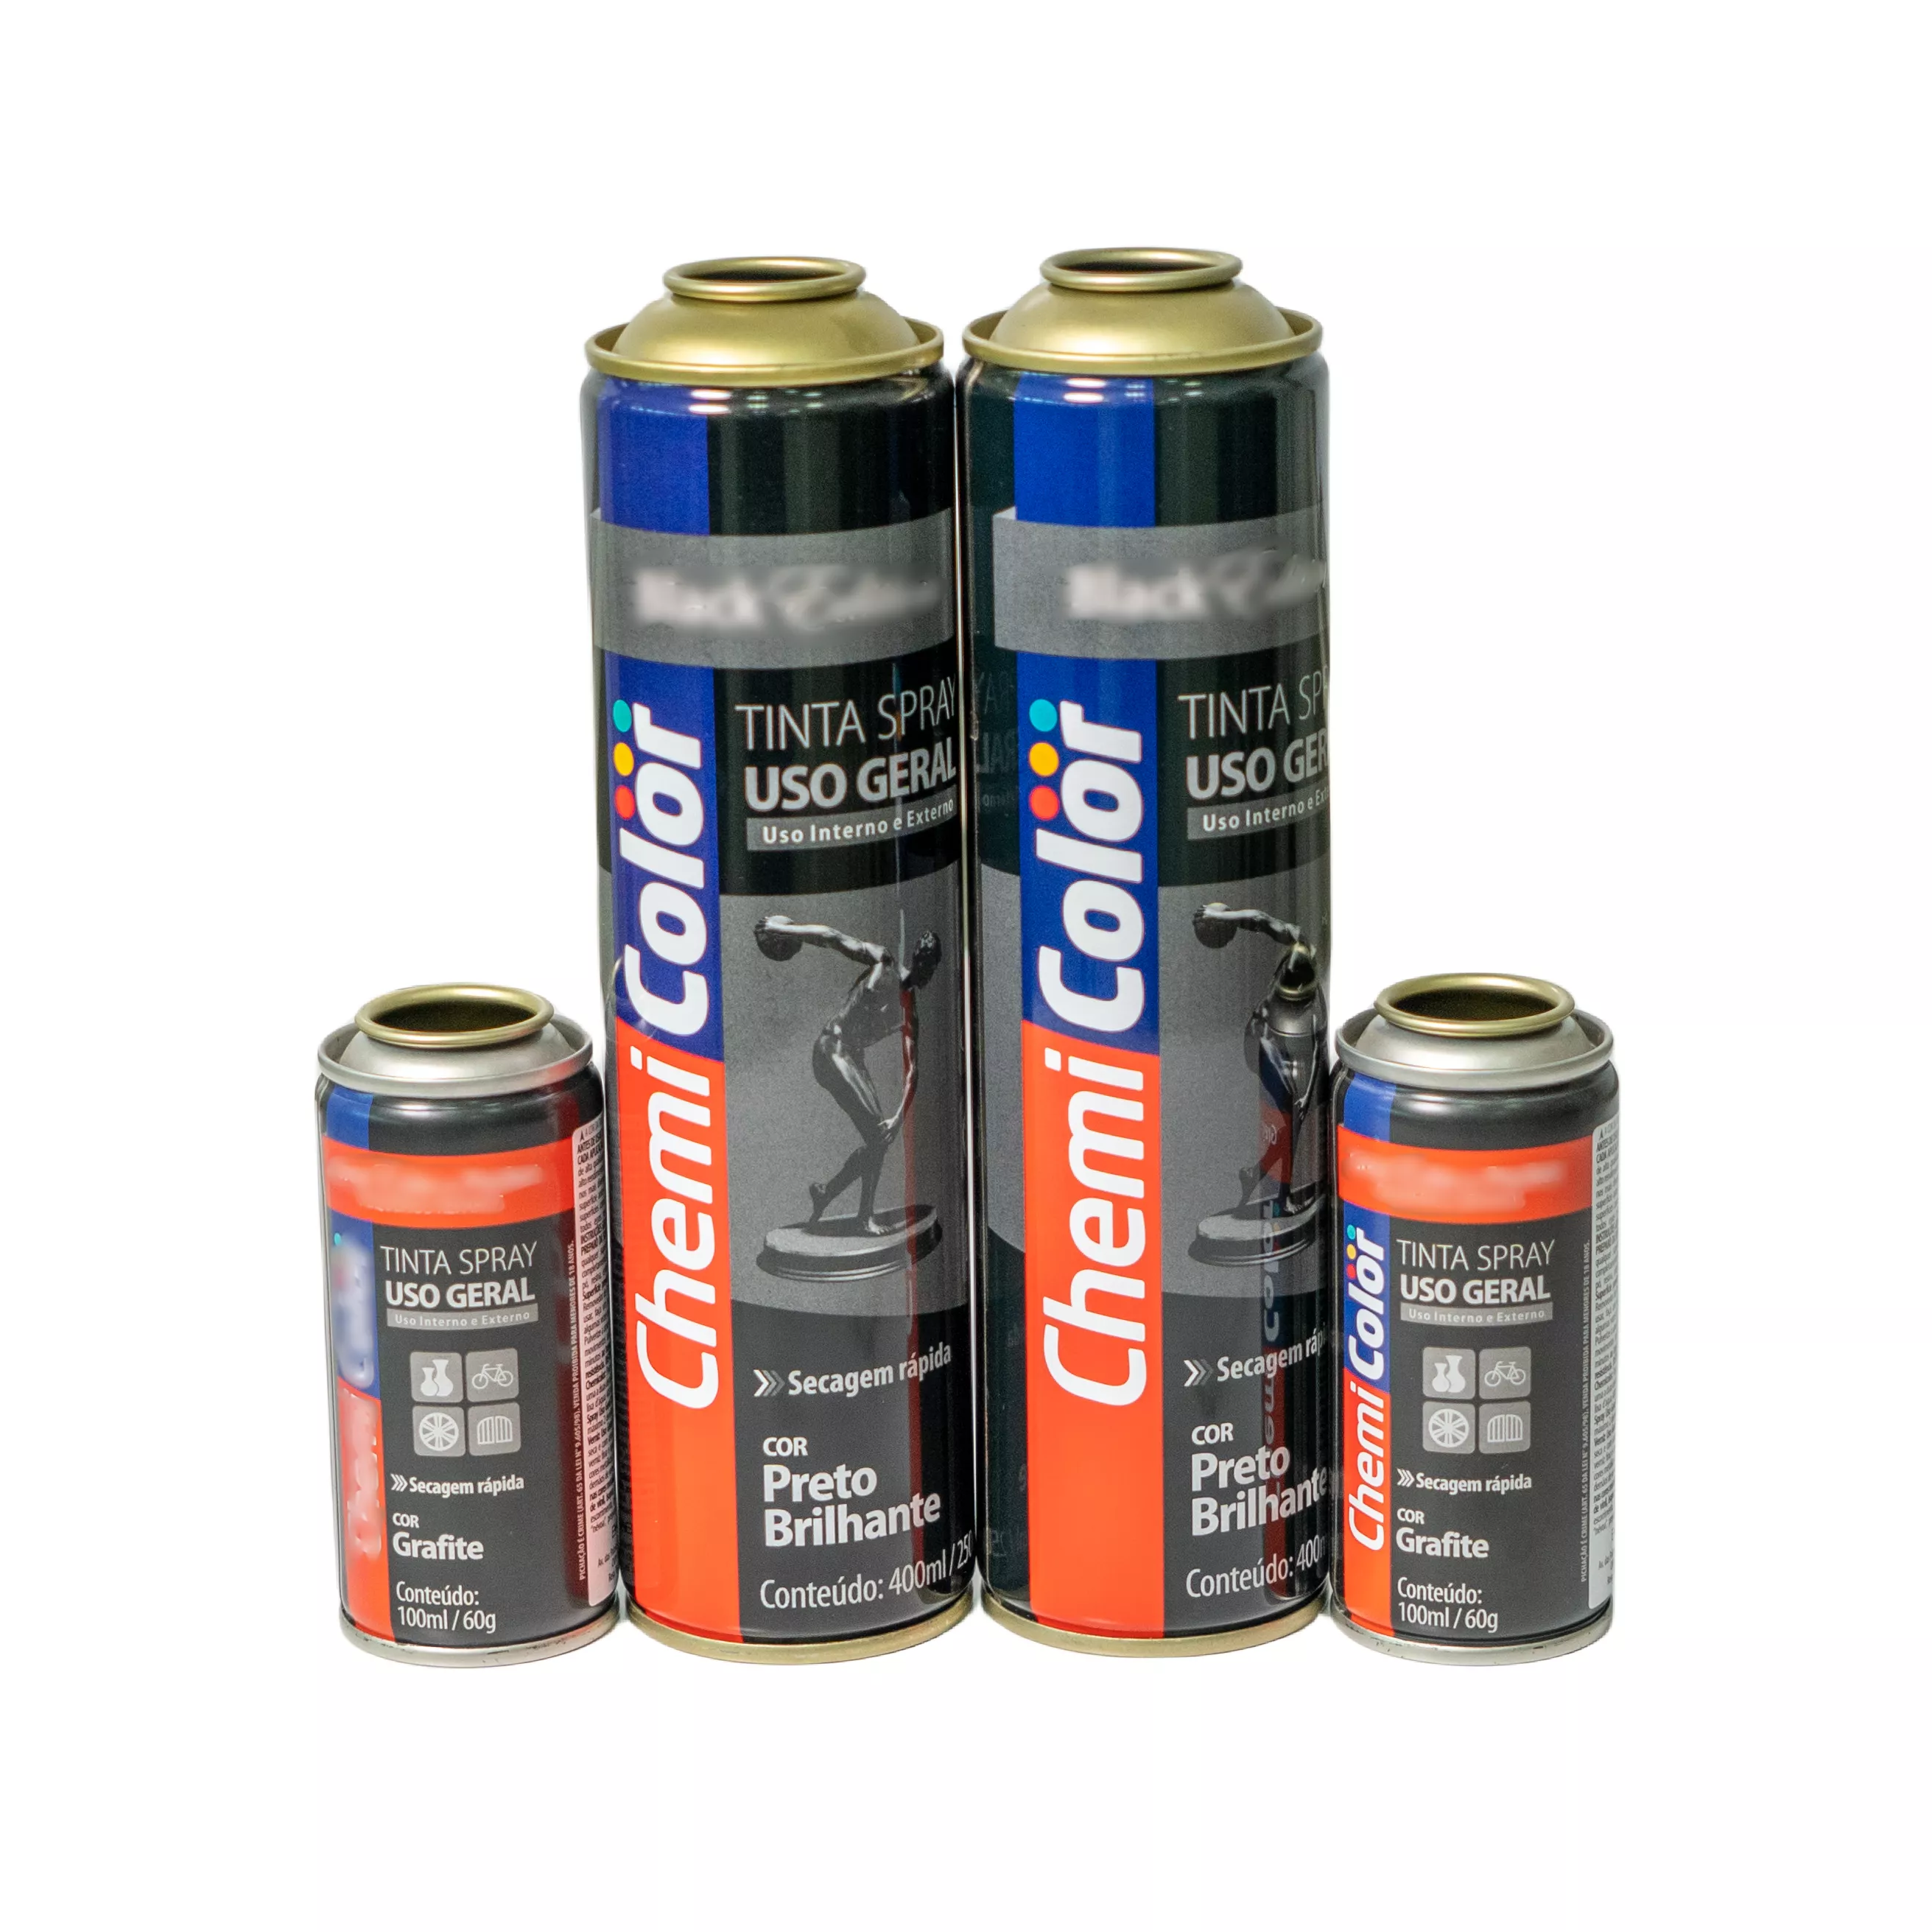
When an aerosol can fails to spray, the issue is usually caused by a clogged nozzle orifice, a misaligned valve stem, low ambient temperature, or premature propellant depletion. You can safely restore most cans by clearing dried product from the removable actuator cap using warm water or an appropriate solvent, realigning the stem, or gently warming the container in warm water.
Understanding Aerosol Can Anatomy and Mechanical Failures
To troubleshoot a malfunctioning aerosol spray can safely and effectively, you must first understand how its internal mechanics function. An aerosol container is a self-contained pressurized system that relies on a precise balance between internal liquid pressure, gas propellant, and mechanical valve movement. When any single component fails or becomes blocked, the system stops dispensing product correctly.
- Actuator (Nozzle Button)
- Valve Stem
- Gasket & Spring
- Vapor Space (Propellant Gas Phase)
- Liquid Phase (Product + Liquefied Gas)
- Dip Tube
- Agitator Ball (Paints)
- Gasket & Spring
- Valve Stem
Internal Components and How Spraying Works
An aerosol container consists of seven primary mechanical components:
- Can Body: A sealed tinplate steel or aluminum container engineered to withstand internal pressures ranging from 30 to 140 pounds per square inch (psi) at standard room temperature.
- Propellant: A pressurized gas that drives the liquid payload outward. Propellants exist in either a liquefied gas state (such as propane, butane, or hydrofluoroolefins) or a compressed gas state (such as nitrogen, carbon dioxide, or nitrous oxide).
- Product Payload: The active liquid formulation, such as paint, lubricant, hairspray, insecticide, or cleaning solution.
- Dip Tube: A plastic tube extending from the bottom of the container to the top valve assembly. It draws the liquid product upward when internal pressure forces it into the tube opening.
- Valve Assembly: A spring-loaded valve mechanism beneath the top rim that controls fluid flow. When depressed, the valve opening aligns with internal channels, allowing pressurized fluid to flow up the dip tube.
- Actuator (Nozzle): The push-button top that the user depresses. It contains an internal orifice designed to atomize the liquid stream into a fine mist, fan, or stream.
- Agitator Ball: A small metal, glass, or ceramic marble found inside spray paint and heavily pigmented products that breaks up settled solids when shaken.
Male vs. Female Valve Systems
Aerosol cans utilize one of two primary valve architectural styles, which affects how nozzles can be cleaned or swapped:
- Male Valve Systems: The valve assembly inside the top rim features a protruding plastic stem (the male stem). The actuator button has a female socket that slips over this stem. These are standard in many paint and technical aerosol products across North America and Europe.
- Female Valve Systems: The valve assembly has an opening or cup (the female socket), and the actuator button features a hollow plastic pin protruding from its base that fits down into the cup. Female valves are common in consumer cosmetic products, European paint sprays, and specialized spray adhesives.
Recognizing whether your container features a male or female valve design is essential when replacing a broken actuator or clearing a clogged stem, as swapping components between mismatched valve types will damage the internal seal and cause uncontrolled leaks.
Primary Reasons an Aerosol Can Stops Spraying
When an aerosol can stops delivering product, the failure typically falls into one of five distinct categories. Pinpointing the exact breakdown prevents unnecessary safety hazards and saves usable product from premature disposal.
Aerosol Can Failure Diagnostic Flow:
- Can Feels Heavy
- Nozzle/Stem Clogged (Warm water/solvent)
- Propellant Lost (Cannot be refilled)
- Can Feels Light
- Propellant & Product Exhausted (Empty)
1. Clogged Actuator Orifice
The most common cause of aerosol spray failure is dried product blocking the tiny exit hole (the orifice) in the actuator cap. Products containing film-forming polymers, resins, or solids—such as acrylic paints, clear coats, polyurethane foams, and hairsprays—evaporate quickly when exposed to air. If product remains in the tip after use, it hardens and forms a solid plug, preventing fresh fluid from escaping even under full pressure.
2. Depleted or Escaped Propellant (Heavy Can, No Spray)
A frustrating scenario occurs when the container feels heavy (indicating liquid product remains inside), but pushing the actuator produces only a weak hiss or no sound at all. This happens when the gas propellant has escaped while leaving the liquid payload behind.
Propellant loss commonly occurs when:
- The can was operated upside down or tilted beyond a 45-degree angle (for non-360-degree valve designs), allowing the gaseous propellant above the liquid level to escape through the dip tube without pushing out the liquid payload.
- A micro-puncture or microscopic failure in the valve gasket slowly leaked propellant gas during long-term storage.
Once gaseous propellant has fully escaped, the container loses its working internal pressure. Standard consumer aerosol cans cannot be re-pressurized safely at home.
3. Dislodged, Misaligned, or Broken Valve Stem
If an aerosol can is dropped or stored under heavy objects, the valve stem beneath the actuator button can bend, fracture, or shift out of alignment with the valve gasket. When this occurs, pressing the actuator fails to depress the internal valve spring fully, leaving the fluid channel closed. Alternatively, a cracked stem can cause liquid to leak around the base of the cap rather than spraying outward through the orifice.
4. Temperature-Induced Pressure Drops
Aerosol propellants depend on internal vapor pressure, which drops significantly in cold environments. In freezing temperatures, liquefied propellants (like butane or propane) remain in liquid form rather than vaporizing into the head space of the can. This drop in vapor pressure leaves insufficient force to push thick liquids up the dip tube, causing the aerosol to sputter, spit coarse droplets, or fail entirely.
5. Stuck Agitator Ball and Settled Pigments
In aerosol products containing suspended solids (such as spray paints, primers, and liquid coatings), heavy pigments settle to the bottom during extended storage, forming a dense sludge. If this sludge encases the intake port of the dip tube or locks the agitator ball at the bottom, the dip tube becomes blocked instantly upon actuation, preventing fluid from moving upward.
Critical Safety Rules Before Repairing Pressurized Cans
Working with pressurized containers involves inherent safety risks. Igniting propellants or rupturing pressurized vessels can cause physical injury, toxic exposure, or fire hazards. Always follow these precautions before attempting any diagnostic or repair steps:
- Never Apply Direct Heat: Do not use open flames, heat guns, torches, stovetops, or boiling water to heat an aerosol can. Temperatures exceeding 120°F (49°C) can cause internal pressure to rise beyond the container's structural limits, leading to catastrophic rupture.
- Never Puncture or Drill: Under no circumstances should you puncture, cut, drill, or crush an aerosol container, even if you suspect the propellant is completely exhausted. Puncturing can ignite residual propellants or eject chemical payloads into your face and eyes.
- Work in Well-Ventilated Areas: Spray paints, solvent cleaners, and volatile propellants emit volatile organic compounds (VOCs). Perform all cleaning operations outdoors or near active exhaust ventilation to avoid vapor inhalation.
- Wear Personal Protective Equipment (PPE): Wear safety glasses or a full face shield and chemical-resistant gloves (such as nitrile or neoprene) when handling jammed aerosol valves. If a jammed valve releases unexpectedly, high-pressure streams can strike eyes or skin.
- Avoid Excessive Force: Never hammer, pry, or force a jammed valve stem with sharp metal tools. Prying against the valve cup can damage the crimped seal around the top seam, triggering an uncontrollable release of pressurized contents.
Step-by-Step Troubleshooting and Safe Fixes
Method 1: Cleaning a Clogged Actuator Nozzle
If the container is fully pressurized but product will not discharge, clean the removable plastic actuator cap first.
Step 1: Pull actuator straight up off valve stem
Step 2: Inspect intake cavity and outer orifice
Step 3: Soak cap in warm water (water-based) or solvent (oil-based)
Step 4: Clear softened debris with fine wire or nylon bristle
Step 5: Re-align with stem and press firmly straight down
Remove the Actuator: Grip the plastic button cap firmly and pull it straight up away from the top of the container. Do not twist forcefully on male valve stems, as twisting can snap the hollow plastic tube.
Identify the Product Chemistry:
- Water-Soluble Products (hairspray, starch, water-based acrylic paints, cleaning foams): Place the plastic actuator button in a cup of hot (not boiling) tap water. Allow it to soak for 10 to 15 minutes to dissolve dried film.
- Solvent-Based Products (alkyd enamel paints, clear coats, automotive primers, spray adhesives): Soak the actuator cap in a small glass container filled with acetone, mineral spirits, or lacquer thinner for 5 to 10 minutes.
Clear the Exit Orifice: After soaking, examine the tiny spray hole on the side of the actuator and the mounting hole at the bottom. Use a fine nylon brush bristle, a thin sewing needle, or a delicate soft-wire tool to clear softened residue from the orifice.
- Caution: Do not force a large needle or metal tool into the tiny orifice. Enlarging or distorting the precision-molded hole will ruin the spray pattern, turning a fine mist into an uneven stream.
Flush the Actuator: Run warm tap water through the bottom socket of the actuator button to flush away loose debris. Blow through the socket to ensure air flows freely out of the spray nozzle.
Reinstall and Test: Push the cleaned actuator button back onto the valve stem. Point the nozzle away from your face into a waste container or drop cloth, then press straight down firmly.
Method 2: Clearing a Blocked Valve Stem (Female Valves)
Sometimes the clog is located inside the valve stem attached to the top of the can rather than inside the removable actuator cap.
- Remove the Actuator: Pull the actuator straight off to expose the top valve housing.
- Inspect the Stem Opening: Look down into the stem opening (on female valve systems) or around the male stem tip for hardened paint crusts or debris.
- Apply Solvent Externally: Dip a cotton swab into warm water (for water-based products) or acetone/lacquer thinner (for solvent paints). Dab the saturated swab onto the top of the valve stem, allowing the fluid to dissolve dried buildup on the outer lip.
- Avoid Inserting Metal Objects: Never push pins, paper clips, or hard wire down inside the central valve stem hole. Inserting metal objects into the stem can pierce the internal neoprene gasket or jam the spring valve open, causing a continuous, uncontrollable leak.
Method 3: Swapping Actuator Nozzles Safely
If cleaning the original actuator fails to clear the issue, the internal channel of the plastic cap may be cracked or permanently blocked. You can swap the cap with a functional nozzle from another aerosol container if key parameters match.
Nozzle Swap Compatibility:
| Original Can | Replacement Can | Compatible? |
|---|---|---|
| Male Valve | Male Valve | YES |
| Female Valve | Female Valve | YES |
| Male Valve | Female Valve | NO (Mismatched) |
| Enamel Paint | Solvent Cleaner | YES (Clean stem) |
| Water-based Spray | Solvent Paint | NO (Solvents melt) |
- Verify Compatibility: Ensure both cans use the exact same valve format (male to male, or female to female). The stem diameter and socket depth must match precisely.
- Verify Solvent Compatibility: Do not use an actuator cap from a water-based product on a solvent-heavy aerosol unless the plastic cap is rated for harsh solvents. Corrosive solvents can dissolve thin plastic actuator housings internally, leading to failure.
- Swap Procedure:
- Pull the functional actuator from a donor can (e.g., a can of solvent cleaner or light lubricant).
- Align the donor actuator directly over the target valve stem.
- Press straight down firmly until it snaps onto the stem seat.
- Test spray into a disposable cardboard box in a well-ventilated area.
Method 4: Warming a Cold Aerosol Can
If an aerosol spray sputters or stops working during cold weather, low temperature is likely dropping the internal propellant pressure.
- Prepare a Warm Water Bath: Fill a bucket or sink with warm tap water measured between 90°F and 100°F (32°C to 38°C). The water should feel comfortably warm to the touch, similar to bathwater.
- Submerge the Can: Place the closed aerosol container into the warm water for 10 to 15 minutes. Ensure the water level stays below the top valve crimp ring to prevent water from intruding into the spray mechanism.
- Do Not Exceed Safe Temperatures: Never use boiling water or heating elements. Rapid heating elevates internal pressure unpredictably and risks container wall deformation or rupture.
- Shake and Test: Remove the container, dry the outside thoroughly with a towel, shake vigorously for 60 seconds, and test the spray stream outdoors.
Method 5: Freeing a Stuck Agitator Ball
For paints and pigmented sprays that have sat undisturbed for months, the internal agitator ball can become stuck in thick sediment at the bottom of the can.
- Invert and Tap: Turn the container upside down. Tap the bottom edge of the metal can firmly against the heel of your hand or a padded wood block.
- Vigorous Shaking: Shake the container in an inverted position using strong, vertical strokes. Listen for the distinct metallic clicking of the agitator ball breaking free from settled sludge.
- Continued Mixing: Once the ball moves freely, continue shaking the container upright and upside down for at least two full minutes to fully homogenize settled pigments and solvents before spraying.
Troubleshooting Matrix by Product Type
Different aerosol formulations present distinct failure patterns due to their unique chemical compositions:
Spray Paint and Automotive Primers
- Primary Culprit: Rapidly drying alkyd or acrylic resins clogging the tiny spray orifice; settled pigments blocking the dip tube inlet.
- Best Remediation: Soak the actuator in acetone or lacquer thinner. Clear paint solids by clearing inverted valve stems. Shake the can thoroughly to free the internal mixing ball.
Hairsprays and Cosmetic Aerosols
- Primary Culprit: Water-soluble polymers forming hard crystalline deposits over the outer nozzle orifice when exposed to ambient humidity.
- Best Remediation: Remove the plastic spray head and submerge it in hot tap water for 5 minutes. Wipe away dissolved residue with a soft cloth. Avoid using harsh chemical solvents like acetone on delicate cosmetic spray caps, as solvents can melt cosmetic-grade plastics.
Penetrating Oils and Mechanical Lubricants
- Primary Culprit: Dust, grime, and debris accumulating inside the plastic actuator socket, or misaligned straw extensions.
- Best Remediation: Remove the red extension tube (straw), clean the straw channel with isopropyl alcohol, and flush dirt out of the main actuator cavity with compressed air or warm water.
Expanding Polyurethane Foams
- Primary Culprit: Moisture-curing polyurethane resins reacting inside the valve assembly once exposed to ambient air.
- Best Remediation: Polyurethane foam aerosols generally use single-use, moisture-reactive chemistry. If the valve cures solid after initial use, mechanical clearing is rarely successful. Soak removable plastic applicator straws in specialized acetone-based foam cleaner immediately after use before curing finishes.
Diagnostic Table: Aerosol Can Malfunctions and Remediation
Use this diagnostic matrix to match observed symptoms to safe, effective troubleshooting actions.
| Observed Symptom | Primary Cause | Verification Step | Safe Remediation Step | Safety / Risk Precaution |
|---|---|---|---|---|
| No spray, can feels light/empty | Propellant and product fully exhausted | Shake can; no liquid movement felt inside | Dispose of can properly; container is empty | Do not puncture or incinerate container |
| No spray, can feels heavy, no sound when pressed | Complete loss of gaseous propellant | Press valve stem; no hiss or air escape heard | Unfixable at home; product cannot be discharged | Never attempt to drill or manually pressurize can |
| Can feels heavy, faint hiss, no liquid stream | Low ambient temperature or low propellant pressure | Can surface is cold to the touch | Warm can in 90°F–100°F (32°C–38°C) water bath for 15 min | Never use boiling water, open flames, or heat guns |
| Sputtering stream, large droplets spit out | Partially clogged actuator orifice or improper mixing | Liquid stream breaks into uneven drops | Clean nozzle cap in solvent/warm water; shake 2 full minutes | Wear eye protection during testing |
| Liquid leaks around actuator base during spraying | Split stem, cracked actuator, or misaligned cap socket | Inspect plastic cap for hairline fractures | Replace broken cap with compatible donor actuator | Stop using immediately if fluid leaks onto hands |
| Actuator button completely jammed / stuck down | Internal valve stem bent or jammed in housing valve | Button stays depressed without returning up | Gently wiggle actuator sideways while pulling up | Do not force with pliers; stem can break |
| Paint can lacks metallic rattle sound when shaken | Agitator ball trapped in settled bottom sludge | Shake can upside down near your ear | Tap bottom rim on padded surface to dislodge ball | Avoid striking metal body with hard steel tools |
Best Practices to Prevent Aerosol Can Clogs and Pressure Loss
Preventive care ensures aerosol products remain usable throughout their intended shelf life.
Post-Use Preventive Cycle:
- Turn container completely upside down
- Point nozzle into safe waste area
- Depress actuator for 2 to 3 seconds
- Stop when spray transitions from color/payload to clear gas propellant
- Wipe exterior orifice clean and cap container
- Perform Inverted Clearing Strokes (Paint and Coatings): After every use of spray paint or clear coat, invert the container completely. Point the nozzle away from your face into a waste box and depress the actuator button for 2 to 3 seconds. The dip tube will draw gas from the top space of the can, flushing residual liquid out of the internal valve and orifice until clear gas emerges.
- Store at Ambient Room Temperatures: Store aerosol cans indoors between 50°F and 75°F (10°C to 24°C). Avoid storing aerosol containers in cold outdoor sheds, unheated garages in winter, or direct sunlight inside hot vehicle trunks. Extreme cold reduces working pressure, while high heat can elevate pressure to dangerous levels.
- Store Containers Upright: Keep aerosol cans standing upright on their bases during storage. Storing cans horizontally or upside down can cause heavy pigments or resin precipitates to settle directly into the valve stem mechanism, increasing the likelihood of clogs next time you spray.
- Maintain Protective Dust Caps: Keep the plastic dust cap securely fastened over the top of the can when not in use. This protects the actuator and open valve assembly from workshop sawdust, dirt, and ambient moisture.
Frequently Asked Questions
Why is my spray paint can full of liquid but won't spray?
If a spray paint can is heavy with liquid but fails to spray, the cause is either a clogged actuator nozzle or a loss of internal propellant. If you hear a faint hissing sound when depressing the button, the problem is a clog in the plastic nozzle or valve stem. Cleaning the nozzle cap in acetone or mineral spirits usually resolves this issue. If no sound occurs when pressing the stem, the gaseous propellant has escaped, and the remaining paint cannot be pressurized out safely.
Can you re-pressurize an aerosol can at home?
No, you should never attempt to re-pressurize a standard consumer aerosol can at home. Aerosol cans are sealed under strict industrial quality standards with specific pressure thresholds. Attempting to force compressed air or secondary propellants back through the valve using homemade adapters can rupture the container seams, causing severe injury or structural failure.
How do you unclog an aerosol spray paint nozzle safely?
To safely unclog a spray paint nozzle, remove the plastic actuator button from the valve stem by pulling straight up. Submerge the plastic cap in a small container of acetone, lacquer thinner, or mineral spirits for 5 to 10 minutes to dissolve dried resin. Use a fine nylon bristle to clean the exit orifice, blow air through the bottom socket to verify it is clear, and snap the cap back onto the stem.
Is it safe to put an aerosol can in hot water?
It is safe to submerge an aerosol container in comfortably warm water between 90°F and 100°F (32°C to 38°C) to restore pressure in cold weather. However, it is extremely dangerous to place an aerosol container in boiling water, near open flames, or under direct heating devices. Exceeding safe temperature thresholds causes rapid expansion of the internal propellant, which can lead to a violent container explosion.
How do you know if an aerosol can valve is broken or just clogged?
A valve is typically clogged if clearing or swapping the plastic actuator button restores a clean spray pattern, or if soaking the cap removes hardened product buildup. A valve is mechanically broken if fluid leaks uncontrollably around the brass or plastic crimp ring at the top of the can, if the stem stays stuck completely down without springing back, or if the stem has snapped off inside the valve socket.
Final Recommendations and Safe Disposal
Troubleshooting an aerosol can that is not working requires balancing basic mechanical maintenance with strict adherence to safety rules. Always begin with the safest and simplest fixes: warm the container if ambient temperatures are low, and soak removable plastic actuators in warm water or acetone to dissolve hardened product deposits. Never insert sharp metal objects into internal central valve stems, force stuck mechanisms, or subject pressurized containers to open flames or high heat.
If these safe troubleshooting steps fail to restore performance—or if the container has lost its gaseous propellant despite being full of product—the aerosol assembly has reached the end of its functional life. Do not attempt to puncture or force open damaged aerosol containers. Dispose of unserviceable aerosol cans at your local municipal household hazardous waste (HHW) collection facility in accordance with local environmental regulations.