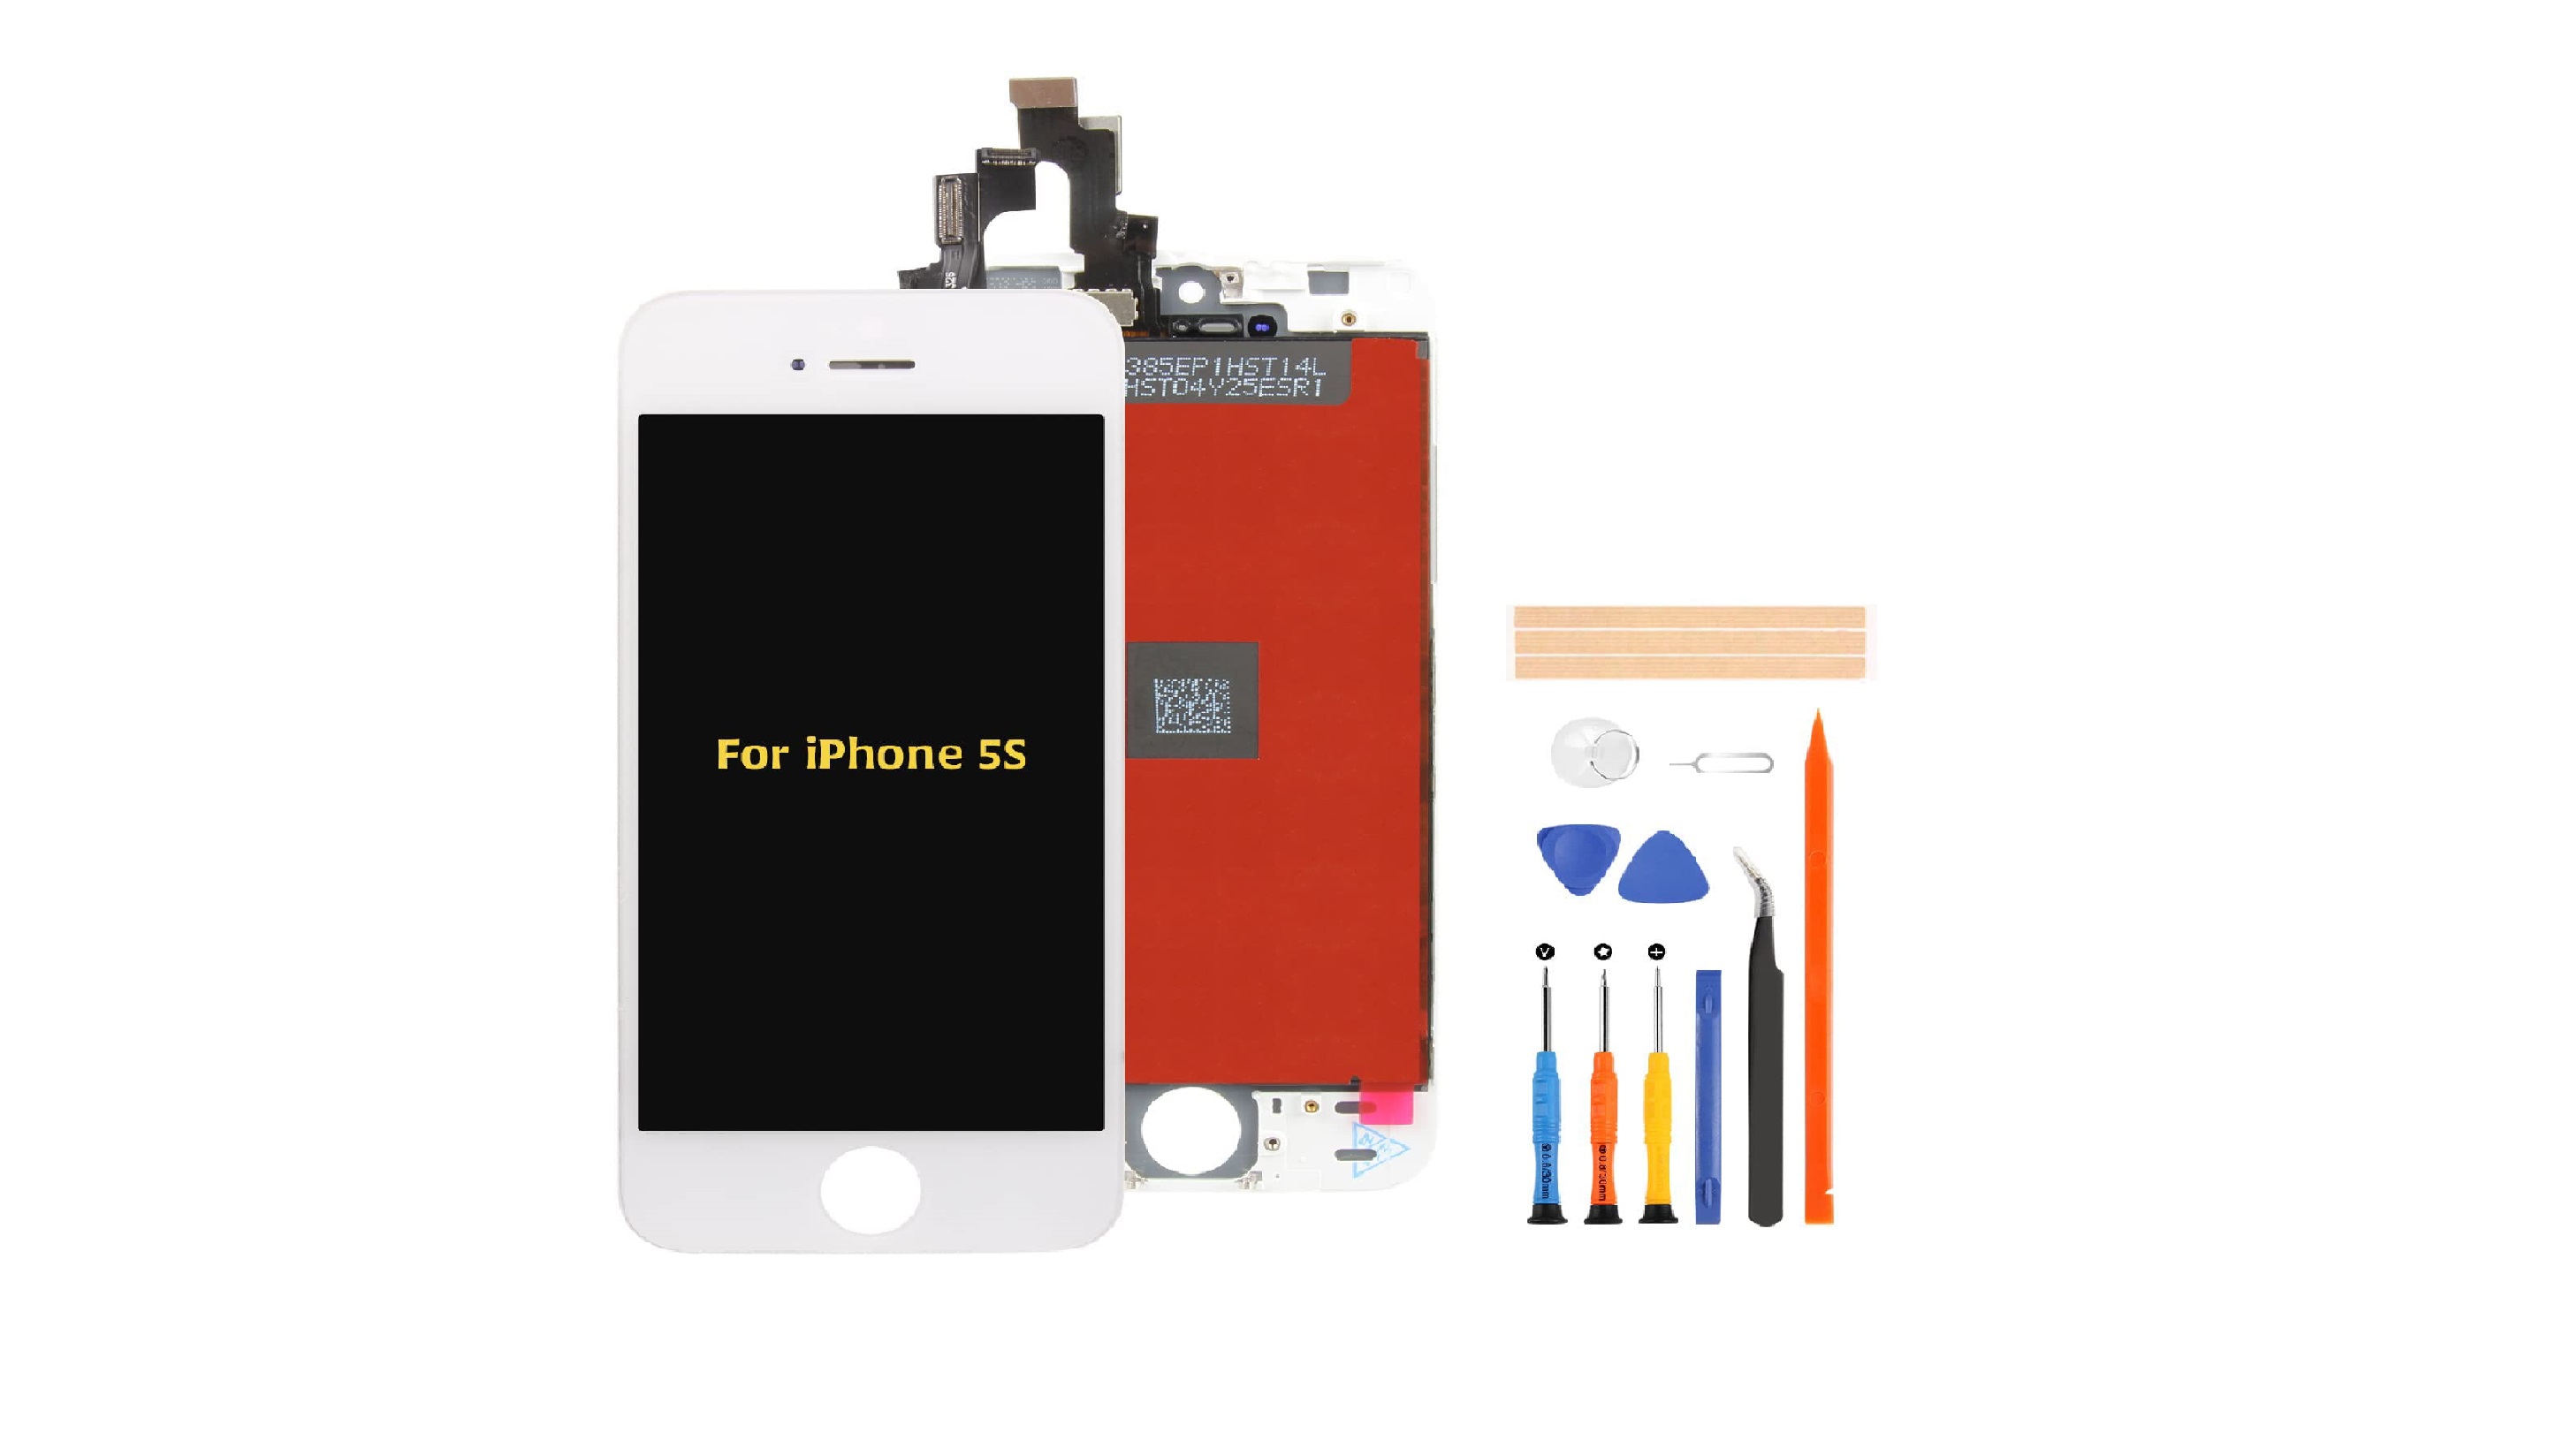
Replacing an iPhone 5s screen involves a systematic seven-step process: preparation, removing the Pentalobe screws, opening the display assembly, disconnecting the Home button cable, isolating the battery and display connectors, transferring internal components, and final reassembly. This repair restores functionality to cracked or unresponsive displays while preserving the device’s biometric security features.
The iPhone 5s, while a legacy device in 2026, remains a significant piece of hardware for collectors, those performing data recovery, or users who prefer its compact 4-inch form factor. As the first iPhone to introduce Touch ID, the repair process is more complex than its predecessor, the iPhone 5. A single mistake during the opening process can permanently disable the fingerprint sensor. This guide provides a professional-grade walkthrough of the procedure, emphasizing the technical precision required to maintain device integrity.
Prerequisites: Tools and Workspace
Before initiating the repair, you must assemble the correct technical apparatus. The iPhone 5s uses proprietary screws and delicate internal connectors that require specialized tools. Using the wrong screwdriver will strip the screw heads, making the repair nearly impossible.
- Pentalobe P2 Screwdriver: Required for the two security screws at the base of the phone.
- Phillips #000 Screwdriver: For all internal screws holding shields and components.
- Plastic Spudger and Opening Tools: These non-conductive tools are essential for prying connectors without causing electrical shorts.
- High-Quality Suction Cup: Necessary for creating the initial gap between the display and the frame.
- Tweezers (Fine-tipped): Used for handling small screws and the delicate Home button bracket.
- Magnetic Project Mat: Crucial for organizing screws. The iPhone 5s uses several screws of varying lengths; placing a long screw into a short hole can cause "long-screw damage," destroying traces on the logic board.
Ensure your workspace is clean, well-lit, and grounded. Static electricity can damage the A7 chip or the Secure Enclave responsible for Touch ID.
Step 1: Preparation and Safety Protocols
Safety is the primary concern when dealing with lithium-ion batteries and cracked glass. If the iPhone 5s screen is severely shattered, the suction cup will not adhere properly. In this case, cover the entire front of the phone with a piece of clear packing tape. This prevents glass shards from falling into the internal components and allows the suction cup to create a vacuum.
The battery should be discharged below 25% if possible. A charged lithium-ion battery can catch fire or explode if accidentally punctured during the repair. Power down the device completely before the first screw is removed. In 2026, many iPhone 5s batteries may be degraded or slightly swollen; if you notice the screen "lifting" or a spongy feel to the display, exercise extreme caution as this indicates a compromised battery.
Step 2: Removing the Pentalobe Screws
The iPhone 5s is secured by two 3.9 mm Pentalobe P2 screws located on either side of the Lightning charging port. These screws are the first line of defense against unauthorized entry.
Insert the P2 driver firmly into the screw head and apply downward pressure while turning counter-clockwise. Because these screws are often exposed to pocket lint and moisture, they can be stubborn. Once removed, place them in a dedicated section of your magnetic mat. Do not mix these with the internal Phillips screws, as the thread pitch and head shape are distinct.
Step 3: Opening the Display Assembly
This is the most dangerous step for the iPhone 5s. Unlike newer models that use heavy adhesives, the 5s is held in place by metal clips and a slight friction fit.
Attach the suction cup to the lower half of the screen, just above the Home button. Hold the edges of the phone’s rear casing firmly with one hand and pull up on the suction cup with a steady, controlled force. Your goal is to create a gap of only 2 to 3 millimeters.
Caution: Do not pull the screen off entirely. The Home button (Touch ID sensor) is connected to the Lightning port assembly via a very short, delicate ribbon cable. If you pull the screen up more than an inch, you will snap this cable. Once snapped, Touch ID functionality is lost forever, as the sensor is cryptographically paired to the original logic board.
Step 4: Disconnecting the Home Button Cable
Once you have a small gap, use your plastic spudger to peer inside the bottom of the phone. You will see a small metal bracket covering the Home button cable connector.
- Use the tip of the spudger to flick the metal bracket off the connector.
- Gently pry the cable connector out of its socket.
- Once the cable is free, you can swing the display assembly upward, using the top of the phone as a hinge.
Position the screen at a 90-degree angle. You may want to prop it up against a steady object (like a box) or use a rubber band to hold it upright. Do not let the screen flop backward, as this will strain the three cables at the top of the device.
Step 5: EMI Shield Removal and Battery Isolation
The logic board is protected by several Electromagnetic Interference (EMI) shields. To remove the screen, you must first remove the shield covering the display cables.
The display shield is held by four Phillips #000 screws. Note their positions carefully:
- Two 1.7 mm screws.
- One 1.2 mm screw.
- One 1.3 mm screw (which is non-magnetic).
After removing the shield, the first priority is to disconnect the battery. Even if the phone is off, there is "standby" power on the board. If you touch the display connectors with a metal tool or even a conductive plastic tool while the battery is connected, you risk blowing the backlight fuse. Use the spudger to pop the battery connector off the board. Then, proceed to disconnect the three cables at the top: the front camera/sensor cable, the LCD cable, and the digitizer cable.
Step 6: Component Transfer
Most replacement iPhone 5s screens are "bare," meaning they do not include the Home button, earpiece speaker, or front-facing camera. You must transfer these from the old screen to the new one.
- The Home Button: Remove the two screws holding the Home button bracket. Gently peel the Home button and its ribbon cable away from the glass. If the adhesive is strong, use a tiny amount of 90% isopropyl alcohol or a hair dryer on a low setting to soften it.
- Earpiece and Front Camera: Remove the screws holding the earpiece bracket at the top. Lift the earpiece out and carefully peel the front camera and proximity sensor assembly away from the frame.
- The Heat Shield: There is a large metal plate behind the LCD. Remove the screws along the side of the frame to transfer this plate to the new screen.
Install these components onto the new screen in the reverse order. Ensure the Home button is centered and the gasket is flush against the glass to maintain a tactile "click."
Step 7: Final Reassembly and Testing
With the components transferred, it is time to reconnect the screen to the logic board. This is a delicate process of "feeling" the connectors click into place.
- Connect the digitizer, LCD, and front camera cables. You should feel a distinct snap. If the connector feels "mushy," do not press harder; align it and try again.
- Crucial Test: Before screwing the shields back in, reconnect the battery and power on the phone. Check for touch responsiveness and ensure there are no lines or discolorations on the LCD. If the screen is black but the phone vibrates, the LCD connector is likely loose.
- Once verified, power the phone back off. Reinstall the EMI shields, reconnect the Home button cable and its bracket at the bottom, and gently press the screen back into the frame. Start at the top (near the earpiece) and work your way down. Finally, reinstall the two Pentalobe screws.
Technical Comparison of Repair Options (2026 Data)
| Feature | DIY Replacement | Independent Repair Shop | Apple Authorized (Legacy Support) |
|---|---|---|---|
| Estimated Cost | $20 - $35 | $50 - $80 | $129+ (If available) |
| Time Required | 45 - 90 Minutes | 30 Minutes | 3 - 5 Days |
| Risk Level | High (Touch ID damage) | Moderate | Low |
| Part Quality | Aftermarket (Varies) | Refurbished / Aftermarket | OEM (Limited Stock) |
| Warranty | None (Self-guaranteed) | 30 - 90 Days | 90 Days |
Frequently Asked Questions
Will I lose Touch ID after replacing the screen?
You will only lose Touch ID if you break the original Home button ribbon cable or if you replace the Home button with a generic one. The Touch ID sensor is uniquely paired to your phone's logic board. As long as you successfully transfer the original Home button assembly to the new screen, fingerprint functionality will be preserved. If the cable is torn, the button will still function as a "Home" button if replaced, but the biometric scanning will be disabled.
Why are there vertical lines on my new screen?
Vertical lines (often white or multicolored) usually indicate that the LCD connector is not seated properly on the logic board or that there is dust/debris inside the socket. Power down the device, disconnect the battery, and reseat the display cables. In some cases, this can also be caused by "long-screw damage" if the wrong screw was placed in the EMI shield, piercing the logic board traces.
Can I use an iPhone 5 or iPhone SE screen on a 5s?
No. While the iPhone 5, 5s, and SE (1st Gen) look nearly identical, their internal connectors are different. The iPhone 5 lacks the Touch ID connector, and the iPhone SE (2016) has a different pin configuration for the display. You must use a screen specifically manufactured for the iPhone 5s (Model A1533, A1453, A1457, A1530).
What should I do if my screen is lifting after the repair?
If the screen is lifting from the frame, first check if the metal clips at the top are properly tucked under the rear casing. If the screen is bulging in the center, this is a sign of a swollen battery. This is a common issue for iPhone 5s units in 2026. If the battery is swollen, stop using the device immediately and replace the battery, as it poses a fire hazard and will eventually crack your new screen from the inside.
The Home button feels "mushy" after the transfer. How do I fix it?
A mushy Home button is usually caused by a misaligned bracket or a worn-out rubber gasket. When transferring the button, ensure the small black spacer (a tiny plastic nub) on the back of the button is centered on the actual switch. If the gasket is torn, you can apply a tiny drop of adhesive or replace the gasket to restore the tactile click.
Final Recommendation
If you are performing this repair in 2026, the iPhone 5s is likely a secondary device or a nostalgic project. Given the low cost of aftermarket parts, the DIY route is highly cost-effective. However, the technical difficulty is high due to the Touch ID cable. If the data on the device is irreplaceable and you do not have a backup, consider seeking a professional with experience in legacy hardware. For those proceeding with the DIY method, the most important advice is to stay organized with your screws and never force a connector. Precision and patience are the keys to a successful restoration.