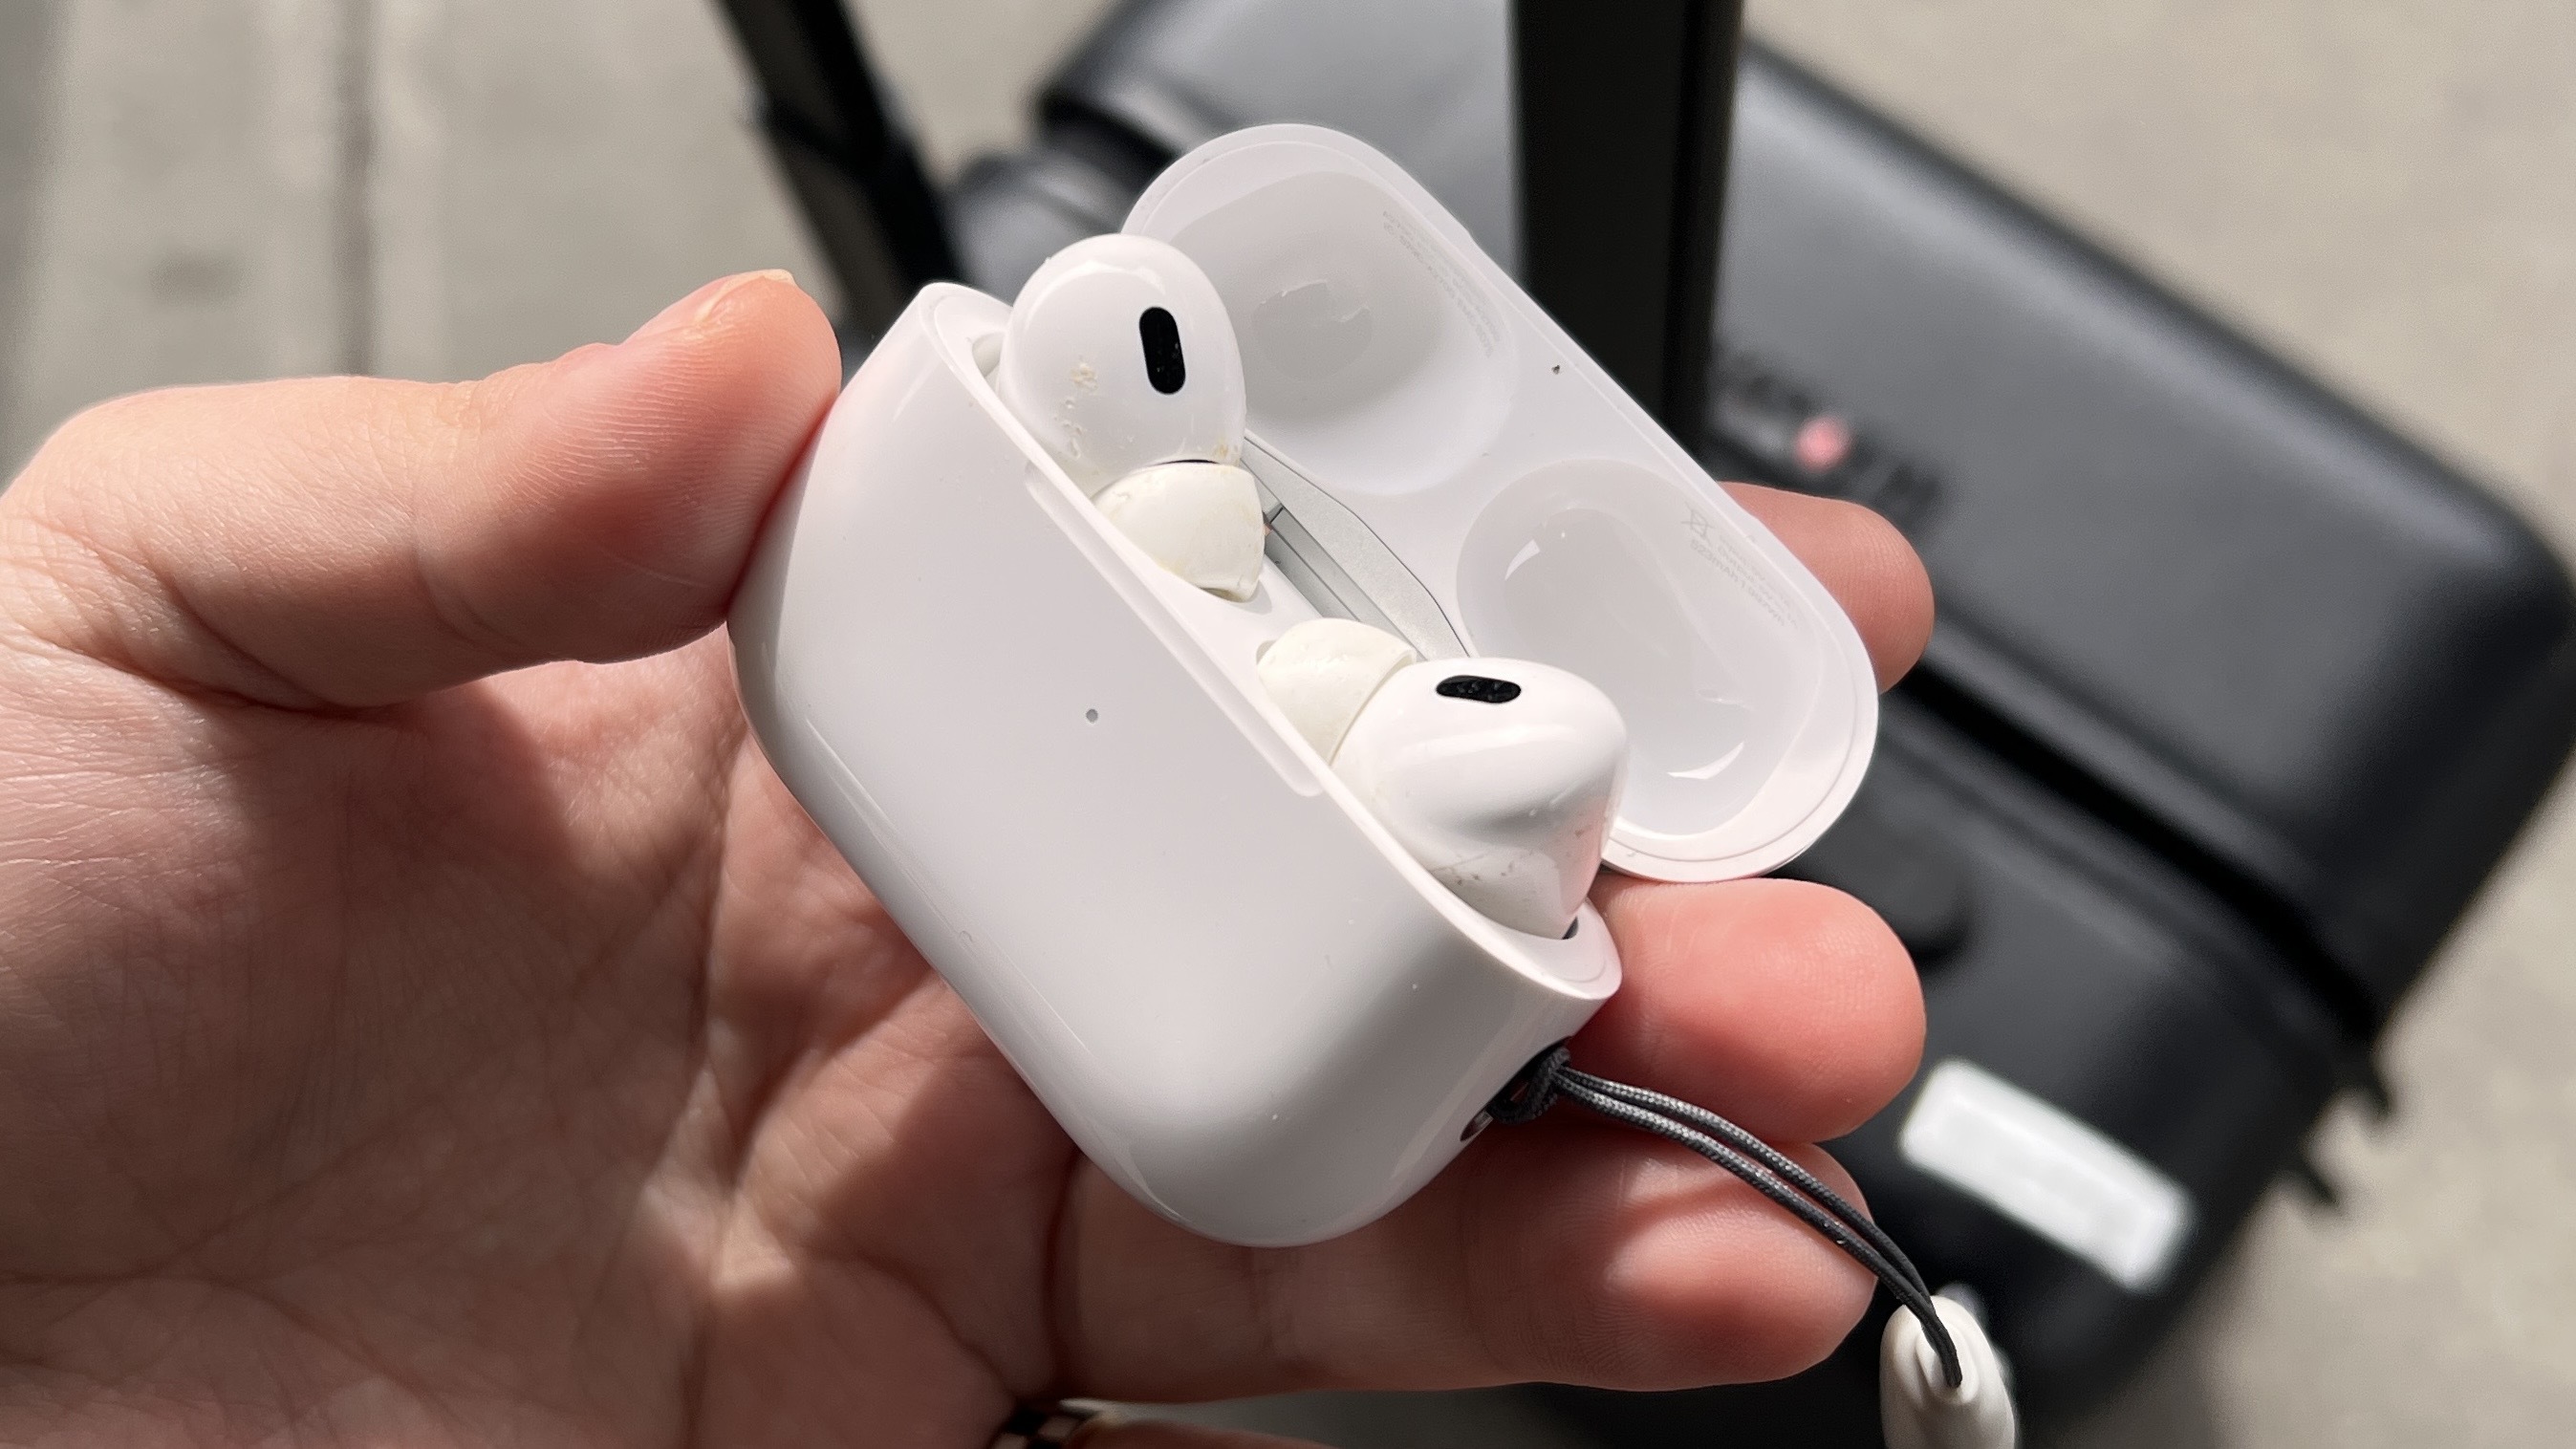
If one AirPods Pro earbud refuses to charge, it is typically caused by debris blocking the metallic charging contacts, a software synchronization error between the buds and the case, or a depleted battery in the charging case itself. Most instances can be resolved through thorough cleaning or a factory reset.
The frustration of pulling your AirPods Pro out of their case only to find that the left or right earbud is at 0% while the other is fully charged is a common issue for many users. As we move through 2026, the AirPods Pro (both the first and second generations) remain the gold standard for many mobile users, but their compact design makes them susceptible to environmental factors and battery wear.
To resolve this, you must systematically address the physical connection, the software handshake between the devices, and the health of the hardware itself. This guide provides a comprehensive walkthrough for troubleshooting a single non-charging earbud.
Immediate Diagnosis: Why One AirPod Pro Stops Charging
Before diving into complex fixes, it is essential to understand the mechanism of how these devices receive power. Each AirPod Pro earbud features a metallic ring at the bottom of the stem. This ring must make direct, uninterrupted contact with two small "pogo pins" located at the bottom of the charging case well.
The most frequent reason for charging failure is interference at the contact point. Because AirPods Pro are frequently handled and placed in ears, they accumulate skin oils (sebum), earwax (cerumen), and sweat. When an earbud is placed back in the case, these substances can transfer to the pins or create a thin, insulating film on the earbud's contact ring. This film creates electrical resistance, preventing the low-voltage current from flowing into the earbud’s internal battery.
Another common culprit is a software desync. The charging case and the earbuds communicate via a proprietary firmware protocol. Occasionally, the case may fail to recognize that an earbud has been "seated" in the cradle. In 2026, with the prevalence of multi-device switching and updated firmware versions, these "handshake" errors can sometimes occur after a firmware update or if the AirPods have been paired with multiple iCloud accounts.
Step 1: The Essential Cleaning Protocol for Charging Contacts
Cleaning is the most effective solution for approximately 90% of "one-side" charging issues. However, because the charging pins are delicate, you must use the correct materials to avoid permanent hardware damage.
Cleaning the Earbud Stem
The silver or gold-colored contact at the bottom of the AirPod Pro stem is where the power transfer occurs.
- Use a Dry Cotton Swab: Initially, use a clean, dry cotton swab to vigorously but carefully wipe the circular contact at the base of the stem.
- Apply Isopropyl Alcohol: If a dry swab does not work, lightly dampen the swab with 70% isopropyl alcohol. Do not use "rubbing alcohol" that contains scents or oils. The alcohol acts as a solvent to break down skin oils.
- Polish the Metal: Use the dampened swab to clean the contact ring until it shines. Ensure no lint from the swab is left behind.
Cleaning the Case Internals
The charging wells in the case are deep and narrow, making them magnets for pocket lint and debris.
- Inspect with a Flashlight: Use a light to look down into the charging well. You should see two small metallic pins at the very bottom. Even a single strand of lint can prevent the earbud from sitting deep enough to touch these pins.
- Use Compressed Air: A quick blast of canned air can often dislodge loose debris that a swab cannot reach.
- The "Interdental Brush" Method: If there is visible gunk at the bottom, a clean, dry interdental brush (designed for braces) or a specialized "AirPods cleaning tool" can be used to gently sweep around the pins. Never use a metal object like a needle or paperclip, as this can short-circuit the case or bend the pins.
According to Apple’s official cleaning guidelines, you should avoid getting any liquid in the charging ports or the mesh of the earbuds themselves.
Step 2: Resetting the AirPods Pro and Case Connection
If cleaning the contacts does not restore the charging function, the issue likely lies within the software or the "handshake" between the earbuds and the charging case. A factory reset forces the earbuds to re-establish their connection with each other and the case.
How to Perform a Full Factory Reset
- Place both AirPods in the case: Even if one isn't charging, both must be inside for the reset to trigger. Close the lid and wait 30 seconds.
- Unpair from your Device: On your iPhone or iPad, go to Settings > Bluetooth. Find your AirPods Pro in the list, tap the "i" icon, and select "Forget This Device." Confirm the action.
- The Reset Button: Open the lid of the charging case. Locate the small setup button on the back of the case.
- Hold and Watch the LED: Press and hold the setup button. Watch the status light (which is on the front of the case for Pro models). The light will flash amber, and then eventually turn white. This indicates the reset is complete.
- Re-pair: With the lid still open, bring the case close to your iPhone and follow the on-screen setup instructions.
This process clears the internal cache of the AirPods and often fixes the "ghosting" issue where the case thinks an earbud is fully charged when it is actually empty.
Step 3: Inspecting the Charging Case for Hardware Issues
Sometimes the problem isn't the earbud, but the case itself. In 2026, many users are using the second-generation AirPods Pro case with USB-C or MagSafe. If the case's internal battery is extremely low (below 10%), it may prioritize keeping its own circuitry alive rather than transferring the remaining milliwatts to the earbuds.
Checking Case Power Levels
Ensure the case is plugged into a known working power source. A faulty Lightning or USB-C cable can lead to a situation where the case appears to be charging but isn't actually taking in enough current to pass through to the earbuds.
If the status light on the case does not turn on at all when the button is pressed, the case battery may have failed. Conversely, if the light flashes amber when only one earbud is inserted but not when the other is, that specific earbud may have a short circuit that is triggering a safety shutoff in the case.
| Symptom | Probable Cause | Fix Difficulty | Recommended Action |
|---|---|---|---|
| One side at 0%, other at 100% | Dirty contact pins | Low | Clean with 70% Isopropyl alcohol |
| LED flashes amber when resetting | Sync error | Medium | Perform factory reset and "Forget Device" |
| Case doesn't show lightning bolt icon | Faulty cable/port | Low | Swap USB-C/Lightning cable and brick |
| Earbud charges only when pressed down | Bent pogo pin | High | Professional repair or case replacement |
| Rapid battery drain after charging | Battery degradation | High | Battery service or replacement |
Software and Firmware Considerations in 2026
By 2026, firmware management for AirPods has become more automated, yet it remains a "black box" for users because there is no manual "Update" button. AirPods Pro update automatically when they are in the charging case, connected to power, and near a paired iPhone or Mac.
If you are experiencing one-sided charging issues, check your firmware version:
- Go to Settings > Bluetooth.
- Tap the "i" next to your AirPods.
- Scroll down to the About section to see the Version.
If your firmware is several versions behind, it may contain a bug related to power management that was resolved in a later patch. To force an update, leave the AirPods in the case, plug the case into a charger, and keep your iPhone nearby for at least 30 minutes.
Optimized Battery Charging
Apple’s "Optimized Battery Charging" feature can sometimes be confused with a charging failure. This feature learns your daily routine and waits to finish charging past 80% until you need them. However, this should affect both earbuds equally. If only one is stuck at 80% while the other is at 100%, this is more likely a hardware calibration issue than the optimization feature itself.
Battery Degradation and Long-Term Health
Lithium-ion batteries have a finite lifespan, typically measured in charge cycles. If you have been using the same pair of AirPods Pro daily since 2022 or 2023, the battery in one earbud may have reached its end-of-life state.
Battery failure often manifests as "one side not charging," but what is actually happening is the battery has lost its ability to hold a charge entirely. When you place it in the case, it may briefly show a charging icon, but because the internal resistance is too high, the charging controller shuts down to prevent overheating.
Testing for Battery Failure
If you have cleaned the contacts and performed a reset, but the earbud still won't hold a charge:
- Charge the set for two hours.
- Take them out and use them.
- If the "bad" earbud drops from 100% to 0% in a matter of minutes while the other remains at 95%, the battery is chemically depleted.
In 2026, battery replacement for AirPods remains difficult due to their glued construction. Most users will find it more cost-effective to utilize AppleCare+ for a "Battery Service" replacement or to purchase a single replacement earbud from Apple.
When to Contact Apple Support
If none of the DIY steps work, there may be a component failure within the earbud's stem or the case's logic board.
- Under Warranty/AppleCare+: If your AirPods are still covered, do not attempt to disassemble them. Apple usually replaces the offending earbud or the case after a quick diagnostic test at a Genius Bar.
- Out of Warranty: You can purchase a single left or right AirPod Pro earbud. This is significantly cheaper than buying a whole new set. Ensure you buy the correct generation (Gen 1 vs. Gen 2), as they are not cross-compatible.
Identifying Your Model
To ensure you get the right replacement, check the model number in Settings > Bluetooth > [Your AirPods] > About.
- AirPods Pro (2nd Gen, USB-C): Models A2968, A3047, A3048, A3049.
- AirPods Pro (2nd Gen, Lightning): Models A2700, A2698, A2699.
- AirPods Pro (1st Gen): Models A2190, A2083, A2084.
FAQ
Why does my AirPod Pro only charge when I push it down into the case?
This indicates a physical obstruction or a weakened pogo pin. Over time, the springs inside the case pins can lose their tension. Cleaning the bottom of the well with compressed air usually helps. If it doesn't, a small piece of foam or paper placed inside the lid of the case (to apply downward pressure when closed) is a temporary "hack," but a replacement case is the permanent solution.
Can I charge my AirPods Pro with one earbud missing?
Yes. The charging case is designed to charge whichever earbud is present. If you have lost one side, the remaining side will continue to charge and function normally. You can also mix and match a replacement earbud, provided it is the exact same generation and model as your original.
Why is there a green light on the case but the earbud is still dead?
A green light on the case indicates the case's battery is full, not necessarily the earbuds. When you first insert the earbuds, the light should flash briefly to indicate it has detected them. If it doesn't flash at all when you drop the "dead" earbud in, it means the case doesn't know the earbud is there.
Does 70% Isopropyl Alcohol damage the AirPods?
No, as long as it is applied to a swab and not poured directly onto the device. Alcohol evaporates quickly and is excellent for removing the oils that cause charging failures. Avoid using 100% acetone (nail polish remover), as this will melt the plastic housing of the AirPods.
How do I know if my charging case pins are broken?
Use a smartphone camera with the zoom function or a magnifying glass to look at the two pins at the bottom of the case well. They should both be the same height and appear shiny. If one is recessed, bent, or blackened, the case will need to be replaced.
Final Recommendation
To resolve the "one side not charging" issue, your first and most effective action should be a deep clean of the stem contacts and case wells using 70% isopropyl alcohol. If physical cleaning fails to bridge the connection, proceed with a factory reset to rule out software glitches. In 2026, if your device is several years old, be prepared for the possibility that the lithium-ion battery has simply reached the end of its functional life, in which case a single-earbud replacement via Apple is the most sustainable path forward.