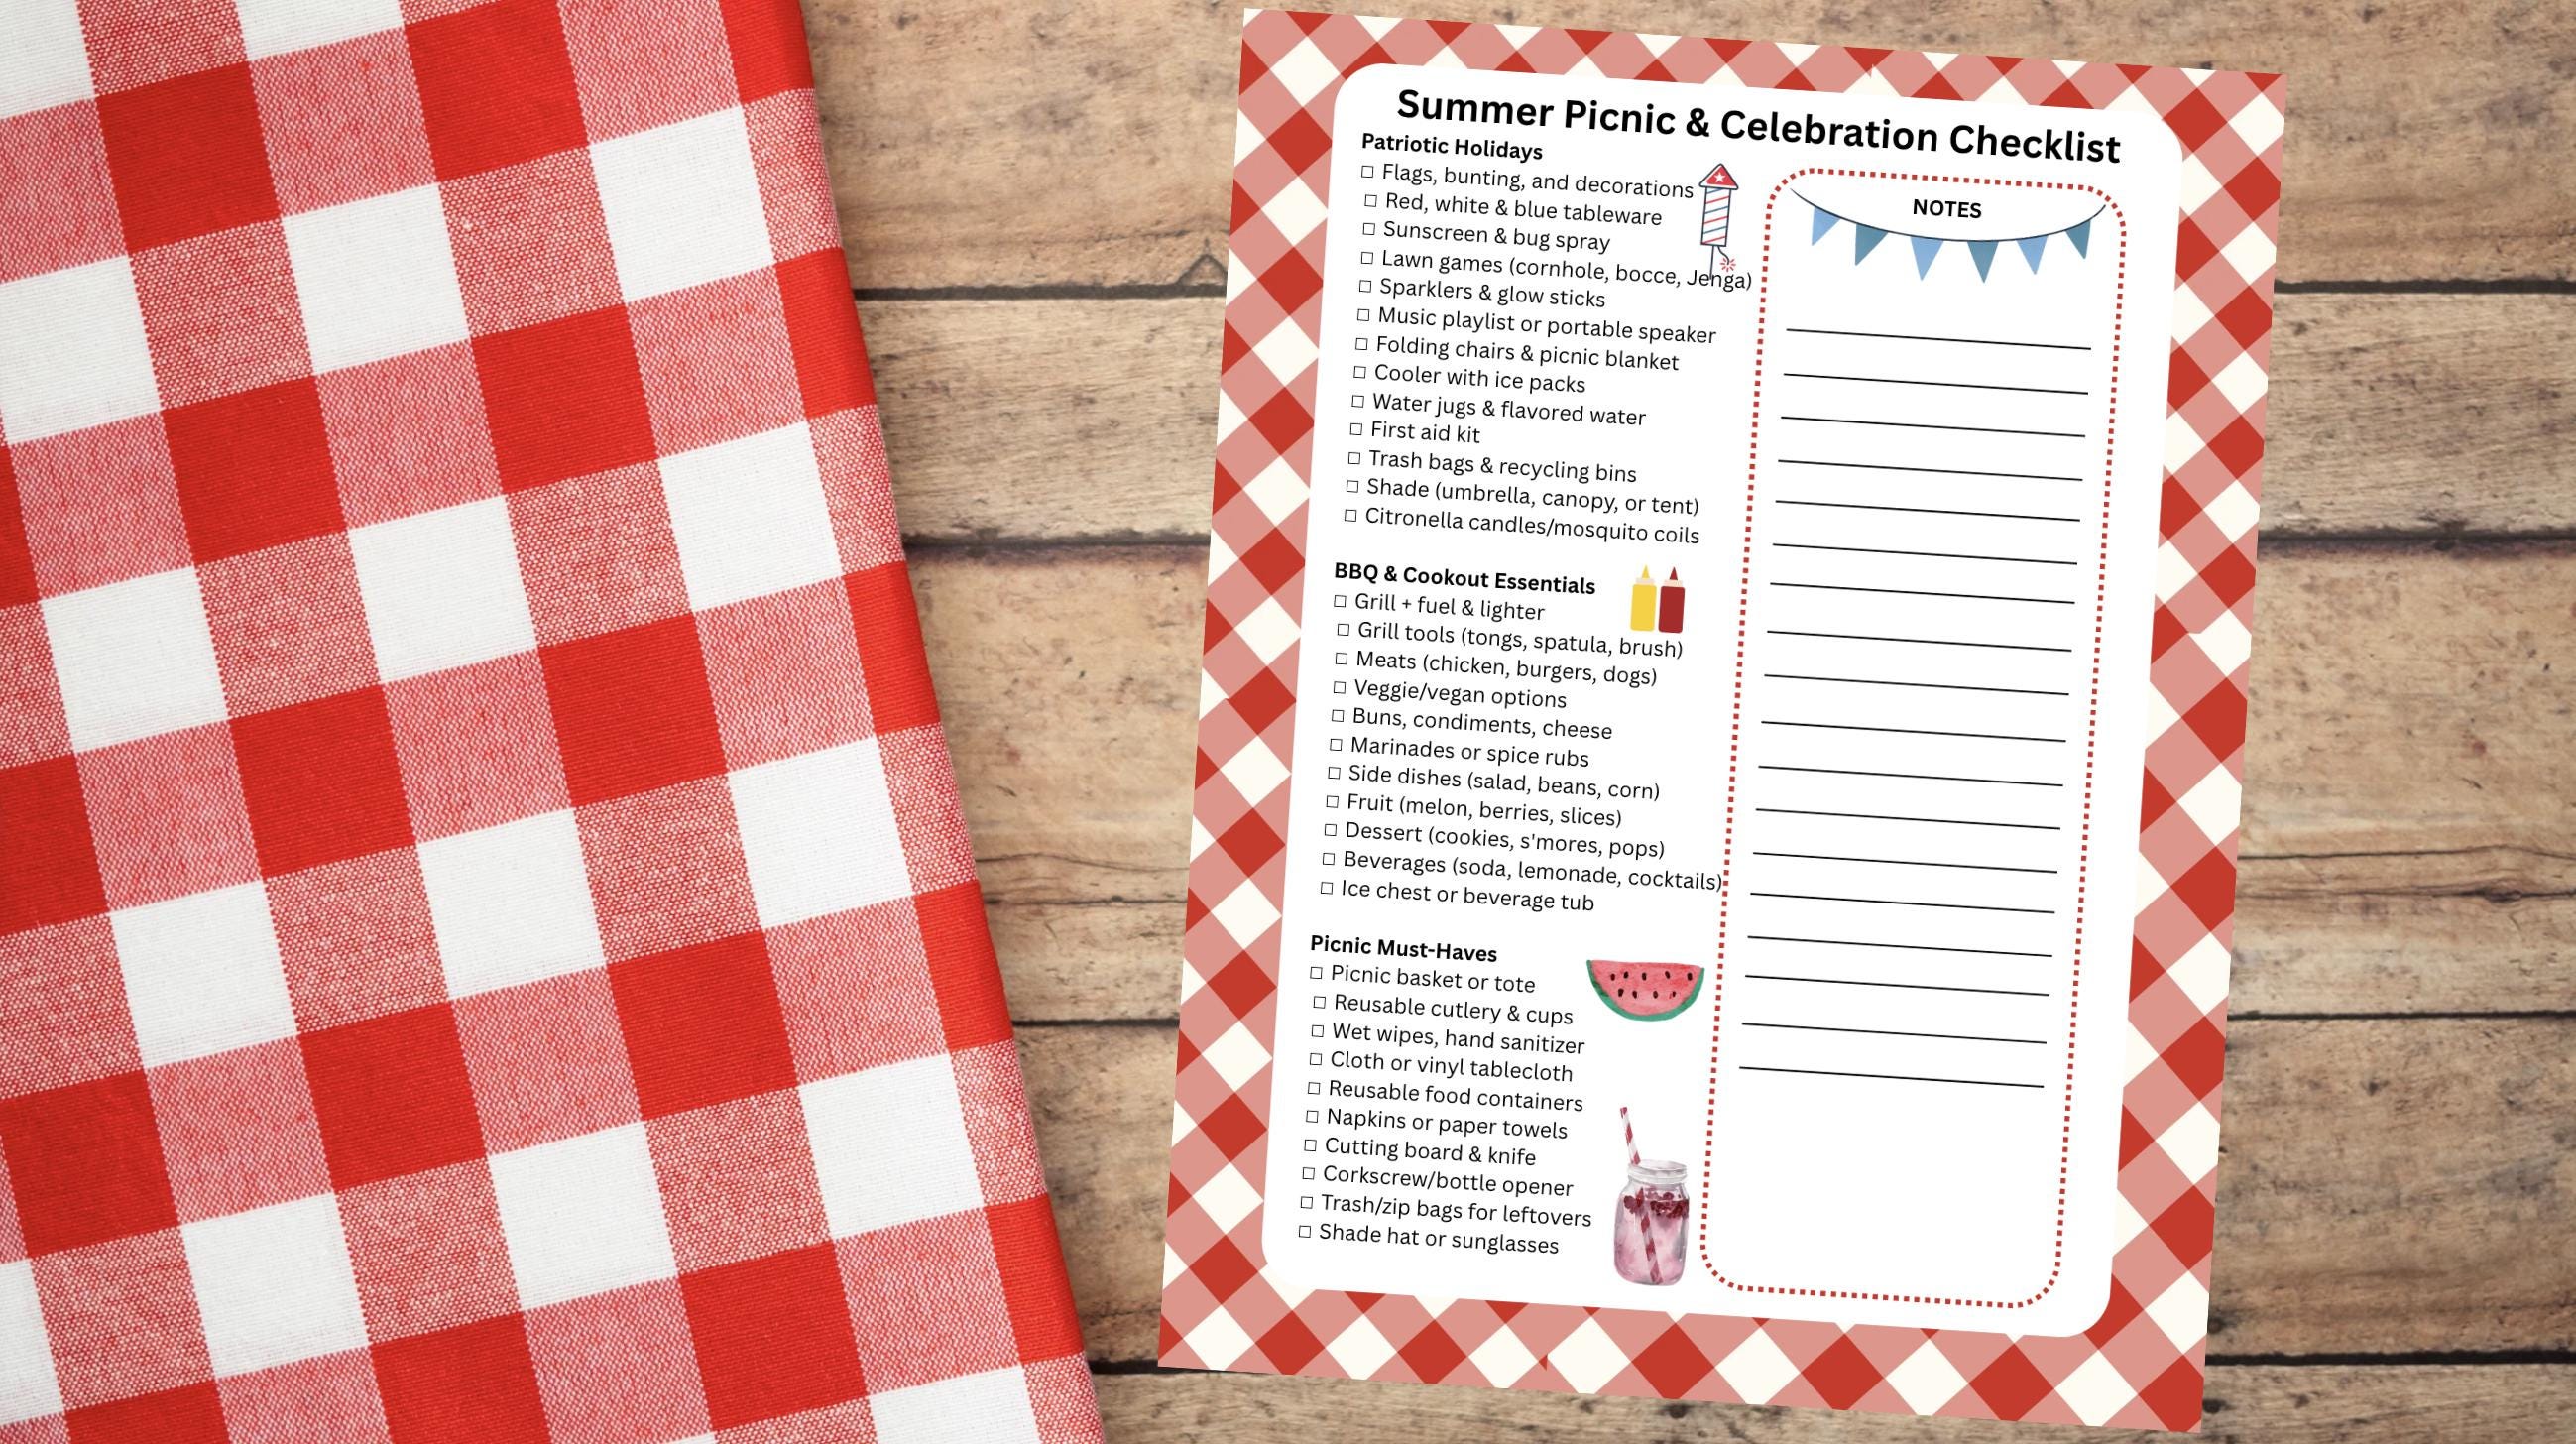
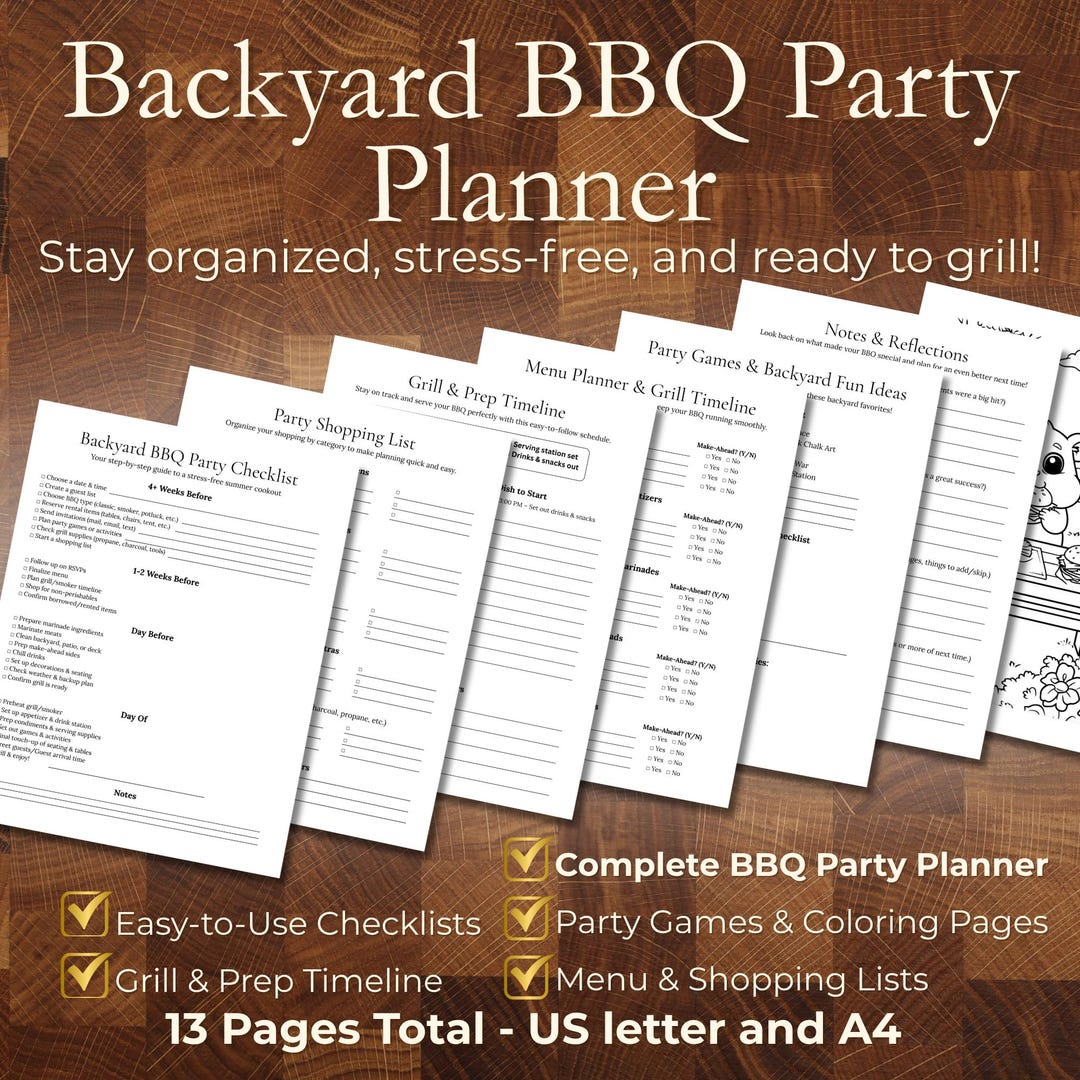
Mastering backyard cooking requires more than just high-quality meat and an expensive grill; it demands meticulous preparation, proper equipment organization, and systematic execution. By following a structured approach to inventory management, food safety, fire control, and post-cook maintenance, backyard pitmasters can eliminate common pitfalls and consistently deliver exceptional meals.
Introduction: Why Every Griller Needs a Structured Checklist
Achieving barbecue success on a consistent basis is rarely a matter of luck. Whether you are searing steaks over a direct hardwood fire or low-smoking a beef brisket for fourteen hours, the margin between perfection and disaster often comes down to preparation. A practical BBQ checklist serves as your operational blueprint, ensuring that essential tools, fuel sources, seasonings, and safety items are accounted for before the fire is even lit.
Without a reliable system, crucial steps are easily overlooked. Realizing you are out of propane halfway through preheating, discovering that your meat thermometer is uncalibrated while a ribeye rests, or searching for heat-resistant gloves while flames flare up can compromise the entire meal. By breaking the grilling process down into logical phases—preparation, execution, and cleanup—you transform outdoor cooking from a chaotic scramble into a streamlined, enjoyable craft.
Phase 1: Essential Equipment and Hardware Audit
Before acquiring any food, you must ensure that your hardware is clean, structurally sound, and fully operational. Skipping this step often leads to uneven heating, flare-ups from old grease, or equipment failure mid-cook.
Grill and Smoker Inspection
Depending on your cooking style, your hardware setup will vary, but the foundational requirements remain consistent. For charcoal and wood-burning units, check the ash collection pan and clean out accumulated ash to ensure proper airflow. For gas grills, inspect the burner tubes for blockages caused by spiders or debris, and verify that the igniter sparks correctly. Pellet grills require an empty hopper check to ensure no moisture has caused the hardwood pellets to clump and jam the auger feed system.
Tooling and Utensils
Having the right tools within arm's reach prevents frantic kitchen runs with messy hands. Your baseline hardware kit should include:
- Long-handled stainless steel tongs (avoid short tools that keep your hands too close to the heat).
- A sturdy, heavy-duty metal spatula for flipping burgers and delicate fish.
- A stiff-bristled grill brush (inspect the bristles regularly to ensure they do not shed onto the cooking grates).
- A sharp slicing knife and a dedicated cutting board with a juice groove.
- Heavy-duty aluminum foil and butcher paper for wrapping meats during the stall phase.
Temperature Monitoring Gear
Relying on visual cues or cooking times alone is a recipe for overcooked or undercooked food. An accurate digital instant-read thermometer is non-negotiable for spot checks, while a multi-probe ambient and internal thermometer allows you to monitor long smokes without lifting the lid.
Phase 2: Fuel Management and Fire Control
The heart of any barbecue is the heat source. Managing your fuel effectively dictates temperature stability, smoke quality, and cooking duration.
Selecting the Right Fuel Source
Different fuels impart distinct characteristics and require specific management strategies:
- Hardwood Lump Charcoal: Burns hot and clean with minimal ash, but burns faster than briquettes. Excellent for high-heat searing and natural wood flavor.
- Charcoal Briquettes: Compressed from wood byproducts, these provide a steady, uniform, and long-lasting heat output, making them ideal for long smoking sessions.
- Propane and Natural Gas: Offers immediate ignition and precise temperature control, though it lacks the authentic smoke flavor associated with wood fires.
- Wood Pellets: Designed specifically for pellet grills, these provide automated temperature regulation and consistent smoke output when sourced from food-grade hardwoods.
Fire-Starting Gear
Eliminate chemical lighter fluids whenever possible, as they can impart a foul petroleum taste to your food. Instead, utilize a metal chimney starter paired with untreated paraffin wax cubes or natural fire starters. Keep a reliable utility lighter or long matches nearby, and always maintain a secondary fuel backup—such as an extra propane tank or an extra bag of charcoal—to prevent running out mid-cook.
Phase 3: Food Safety, Sourcing, and Prep Checklist
Food safety is paramount when handling raw proteins outdoors. Establishing a clean workspace before food touches the grill protects your guests and streamlines your workflow.
Sourcing and Thawing
Procure your meats from reputable butchers or grocers, ensuring proper packaging integrity. If your proteins are frozen, allow adequate time for safe thawing in the refrigerator. Never thaw meat on a kitchen counter at room temperature, as this invites rapid bacterial growth.
Cross-Contamination Prevention
Designate separate cutting boards and utensils for raw meats and cooked foods. Prepare a wash station nearby with warm water, anti-bacterial soap, and paper towels. Never place cooked meat back onto the unwashed platter that held the raw protein unless it has been thoroughly sanitized.
Seasoning and Rubs
Apply dry rubs or marinades according to your recipe schedule. While some marinades require hours of refrigeration, simple salt, pepper, and garlic blends can be applied immediately before cooking or left to dry-brine in the refrigerator for a few hours to enhance moisture retention and bark formation.
| BBQ Phase | Key Action Items | Critical Safety / Quality Check |
|---|---|---|
| Preparation | Audit grill, clean grates, gather tools, check fuel. | Inspect gas lines for leaks; check for shed wire bristles on grates. |
| Ignition | Light chimney or start grill; establish target temperature. | Avoid petroleum lighter fluids; ensure proper ventilation. |
| Execution | Monitor internal temps, manage smoke, baste/wrap as needed. | Use separate cutting boards for raw and cooked proteins. |
| Post-Cook | Scrape grates, empty ash/grease, cover equipment. | Ensure coals are completely extinguished before leaving unattended. |
Phase 4: The Execution and Cooking Phase
Once the fire is stabilized at your target temperature—whether that is 225°F for low-and-slow brisket or 450°F for direct-heat grilling—you are ready to execute the cook.
Managing Temperature Zones
Create a two-zone cooking setup on your grill. Bank your charcoal or turn on burners on one side to establish a direct high-heat searing zone, leaving the other side unlit or unheated to create an indirect convection zone. This allows you to sear meats quickly and finish them gently, or move items away from sudden flare-ups caused by dripping fats.
Monitoring Internal Temperatures
Insert your meat thermometer into the thickest part of the meat, avoiding bone, fat pockets, and gristle. Familiarize yourself with standard safe minimum internal temperatures:
- Poultry (chicken, turkey): 165°F (74°C)
- Ground meats (burgers, sausage): 160°F (71°C)
- Steaks, chops, and roasts (beef, pork, lamb): 145°F (63°C) with a three-minute rest time
- Fish and seafood: 145°F (63°C) or until flesh is opaque and flakes easily
The Resting Period
Never slice meat immediately upon removing it from the grill. Resting allows muscle fibers to relax and redistributed juices to settle throughout the cut. Large cuts like briskets and pork shoulders benefit from a thermal rest wrapped in butcher paper inside an insulated cooler for one to two hours, while steaks require a modest 5 to 10-minute rest on a warm cutting board.
Phase 5: Post-Cook Maintenance and Cleanup
A proper BBQ checklist does not end when the food is served. Cleaning your equipment immediately after cooking protects your investment and ensures your next cook starts without hassle.
Grate Cleaning
While the grill grates are still warm—not scorching hot—use a stiff grill scraper or brush to remove caramelized residues and food particles. For stubborn buildup, wipe down the grates with a damp cloth or apply a light coat of high-smoke-point cooking oil to prevent rust formation.
Ash and Grease Management
Allow charcoal and wood ashes to cool completely for at least 24 hours before disposal, or douse them thoroughly with water. Empty grease cups and drip pans regularly to prevent grease fires during subsequent high-heat cooks. Finally, secure a weather-resistant, heavy-duty grill cover over your equipment to protect it from rain, UV degradation, and environmental debris.
Frequently Asked Questions
How do I stop food from sticking to the grill grates?
Food typically sticks when the grates are dirty or when the protein has not formed a natural sear. Ensure your grates are thoroughly brushed clean and lightly oiled with a paper towel dipped in high-smoke-point oil (such as canola or grapeseed oil) just before placing food on the grill. Allow proteins to sear naturally; they will typically release from the grates on their own once a crust forms.
Is it better to use lump charcoal or briquettes?
The choice depends on your cooking method. Lump charcoal lights faster, burns hotter, and contains no chemical binders, making it ideal for high-heat grilling and quick cooks. Briquettes burn longer, produce a more consistent and predictable heat output, and stack uniformly, making them the preferred choice for long, low-and-slow smoking sessions.
Why did my meat dry out during a long smoke?
Dryness in smoked meat is usually caused by cooking at excessively high temperatures, overcooking past the target internal temperature, or failing to wrap the meat during the "stall" phase when moisture evaporation cools the surface. Ensure you use an accurate leave-in thermometer, maintain steady low temperatures, and consider wrapping large cuts in butcher paper or foil to preserve internal moisture.
How can I prevent sudden flare-ups while grilling?
Flare-ups occur when rendered fats drip directly onto open flames or searing hot coals. You can minimize flare-ups by trimming excess surface fat from meats before cooking, utilizing a two-zone setup so fats drip away from direct heat sources, and keeping a spray bottle of water nearby to gently tame stray flames without dousing your coals.
When is the safest time to empty my grill ash?
Always wait a minimum of 24 hours after cooking before disposing of charcoal ashes, as live embers can remain buried beneath seemingly cold ash for days. Store cooled ashes in a dedicated metal container away from combustible structures like wooden decks or siding.
Practical Next Actions
Start your next barbecue endeavor by printing or saving this checklist to your mobile device. Review the equipment audit and fuel inventory at least 24 hours before your planned cooking time, allowing ample opportunity to source missing supplies, thaw frozen proteins, and verify thermometer calibration. By approaching backyard cooking with structured preparation, you ensure consistent culinary results and a stress-free hosting experience.