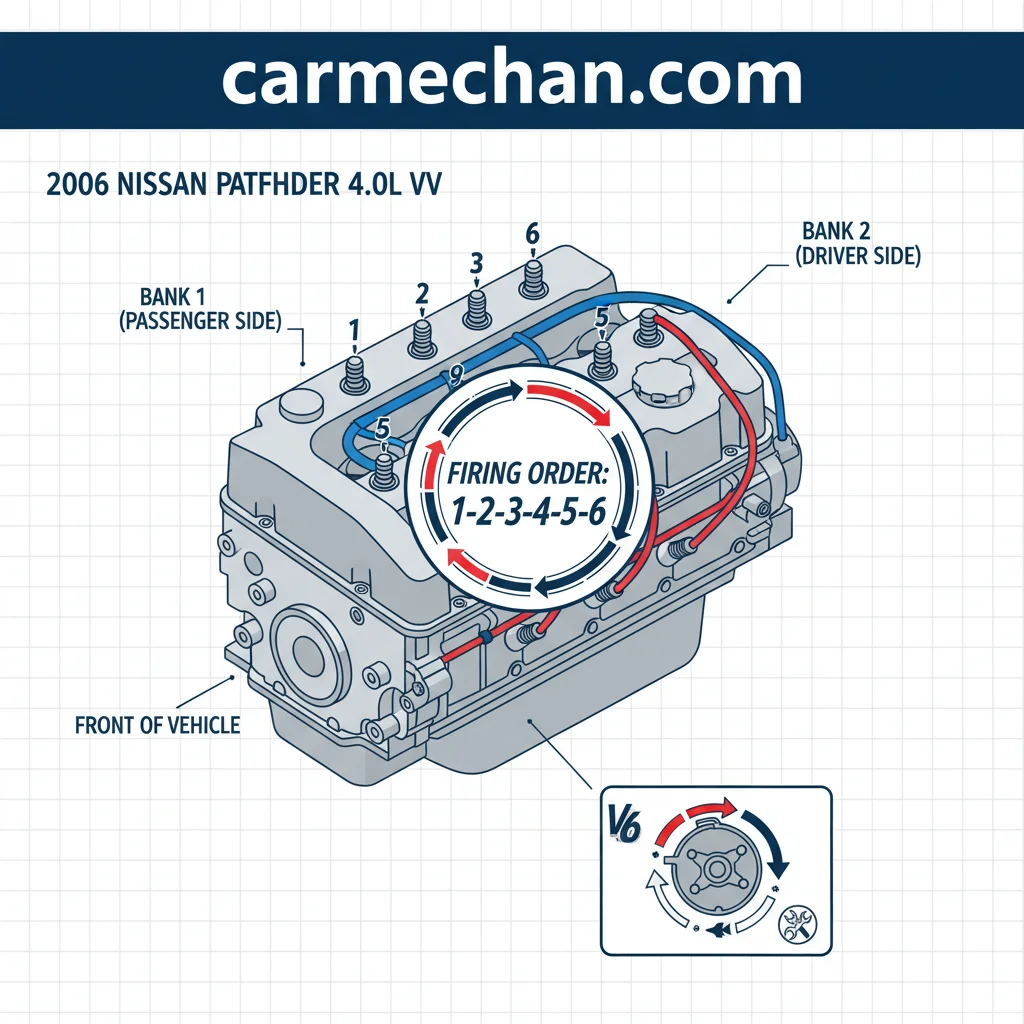
The 2003 Nissan Xterra firing order is 1-2-3-4-5-6 for the 3.3L V6 engine (VG33E) and 1-2-3-4-5-6 across its respective cylinder banks, with cylinder one located at the front passenger side. Knowing this sequence is crucial for diagnosing engine misfires, replacing spark plugs and ignition wires, and ensuring smooth performance during routine maintenance tasks.
Introduction to the 2003 Nissan Xterra and Its Powertrain
Maintaining an aging sport utility vehicle requires absolute precision regarding basic mechanical specifications. For owners of the first-generation 2003 Nissan Xterra, understanding the ignition system and cylinder layout is a foundational requirement. Whether you are tracking down an intermittent engine stumble, replacing worn spark plug wires, or completing a major tune-up, getting the firing order right prevents severe engine damage and restores lost efficiency.
The 2003 model year sits squarely in the middle of the first generation of Nissan's rugged compact SUV lineup. It was offered with two primary engine options depending on the trim level: a naturally aspirated 2.4-liter inline-four (KA24DE) found primarily in base two-wheel-drive models, and a robust 3.3-liter V6 (VG33E) available in both naturally aspirated and supercharged configurations for four-wheel-drive and higher trim models. Because the V6 configuration represents the overwhelming majority of enthusiast and diagnostic queries regarding ignition layout, this guide focuses primarily on the VG33E V6 powerplant while keeping inline-four specifics in perspective.
Before picking up a wrench, mechanics and DIY enthusiasts must understand how these engines manage spark timing, how cylinders are numbered from the factory, and what safety precautions are required when handling high-voltage ignition components.
Engine Options Overview: 4-Cylinder vs. V6
The 2003 Nissan Xterra utilized two distinct engine platforms. Misidentifying your engine is the single most common reason for botched spark plug wire installations.
| Engine Type | Displacement | Induction | Firing Order |
|---|---|---|---|
| KA24DE (Inline-4) | 2.4 Liters | Naturally Aspirated | 1-3-4-2 |
| VG33E (V6) | 3.3 Liters | Naturally Aspirated | 1-2-3-4-5-6 |
| VG33ER (Super V6) | 3.3 Liters | Supercharged | 1-2-3-4-5-6 |
The inline-four KA24DE engine is a dual-overhead-cam design with a traditional firing order of 1-3-4-2. On the other hand, the VG33E is a single-overhead-cam (SOHC) 12-valve V6 engine renowned for its durability and torque delivery at low RPMs. Both the standard V6 and its factory-supercharged variant share the exact same internal mechanical layout, cylinder numbering convention, and firing order sequence.
Decoding the 3.3L V6 (VG33E) Firing Order
The firing order of an internal combustion engine dictates the precise sequence in which the spark plugs ignite the air-fuel mixture inside each cylinder. For the 2003 Nissan Xterra 3.3L V6, the firing order is 1-2-3-4-5-6.
While this sequence looks deceptively simple—counting sequentially from one to six—understanding how those numbers map to the physical layout of the engine block requires careful attention. On many modern V-engines, firing orders cross back and forth between banks in complex patterns (such as 1-4-2-5-3-6). The Nissan VG33E design utilizes a sequential firing pattern that aligns with how the engine management computer and distributor cap distribute the high-voltage spark.
Cylinder Identification and Numbering Layout
Nissan utilizes a standard automotive convention for numbering the cylinders of its V6 engines, though it differs slightly from some American manufacturers.
- Bank 1 (Right / Passenger Side): Contains cylinders 1, 3, and 5. Cylinder 1 is closest to the front of the vehicle (radiator), cylinder 3 is in the middle, and cylinder 5 is at the rear near the firewall.
- Bank 2 (Left / Driver Side): Contains cylinders 2, 4, and 6. Cylinder 2 is at the front, cylinder 4 is in the middle, and cylinder 6 is at the rear near the firewall.
This means the passenger side houses the odd numbers (1-3-5) running front to back, while the driver side houses the even numbers (2-4-6) running front to back.
Distributor Setup and Spark Plug Wire Routing
The 2003 Nissan Xterra 3.3L V6 relies on a traditional distributor-based ignition system rather than a modern coil-on-plug (COP) setup. High voltage travels from the ignition coil to the distributor cap, where a rotating rotor spins to direct the spark down the correct plug wire at the exact microsecond required.
Because spark plug wires on a V6 engine run across the intake manifold and around the back of the engine bay, they are prone to crossing paths. Getting the routing wrong causes cross-firing, where electrical energy jumps between adjacent wires, leading to severe engine misfires, rough idling, and catalytic converter damage.
How to Verify Distributor Cap Orientation
When replacing spark plug wires, mechanics should never remove all the wires at once unless they have a clear reference diagram or service manual.
- Locate the Distributor: The distributor is mounted on the rear of the driver's side (Bank 2) of the engine block, driven directly by the camshaft.
- Identify Terminal Positions: Look closely at the distributor cap. Nissan typically stamps or casts small cylinder numbers onto the plastic housing of the cap near each tower.
- Trace and Match: Ensure that the wire originating from spark plug 1 connects to the corresponding terminal on the distributor cap marked for cylinder 1, and follow the rotational direction of the rotor for the remaining cylinders.
Step-by-Step Guide to Inspecting and Replacing Ignition Wires
If your Xterra is experiencing a rough idle, hesitation under acceleration, or a persistent Diagnostic Trouble Code (DTC) such as P0300 (Random/Multiple Cylinder Misfire) or specific codes like P0301 through P0306, inspecting the ignition wires and firing order is a mandatory first step.
Tools and Materials Required
- Basic metric socket set (10mm, 12mm)
- Spark plug wire puller pliers (to avoid damaging boots)
- Dielectric grease
- Permanent marker and masking tape (for labeling wires if replacing one by one)
- Multimeter (for resistance testing)
- Factory Service Manual or reliable repair reference
Replacement Procedure
- Ensure Safety: Disconnect the negative battery terminal to prevent accidental electrical short circuits or fuel ignition while working around the engine bay.
- Work One Wire at a Time: To eliminate any chance of mixing up the firing order, replace the spark plug wires individually. Remove one old wire, measure a new wire of matching length from your replacement set, apply a small dab of dielectric grease inside the rubber boots to prevent moisture intrusion and sticking, and snap it securely into place.
- Inspect the Distributor Cap and Rotor: Unclip the distributor cap and inspect the internal brass terminals for excessive corrosion, carbon tracking, or pitting. Check the tip of the rotor for burning. Replace these components if they show signs of wear, as even a correct firing order will fail to perform if the distributor cap cannot properly route the spark.
- Secure the Wires: Use factory-style plastic wire separators and looms to keep the spark plug wires routed safely away from hot exhaust manifolds and sharp metal edges. Loose wires can melt against the exhaust, grounding out the spark.
- Reconnect and Test: Reattach the negative battery terminal, start the engine, and listen for a smooth, consistent idle. Use an OBD-II scanner to verify that no new misfire codes are generated.
Common Mistakes and Diagnostic Pitfalls
Working on older ignition systems invites several common errors that can frustrate DIY mechanics. Avoiding these pitfalls saves time and prevents unnecessary parts replacement.
- Crossing Wires Due to Visual Guesswork: Never assume that wires should plug into the distributor cap in a neat geometric pattern. Always follow the numerical terminal markings on the cap and verify against the 1-2-3-4-5-6 sequence.
- Ignoring the Boot Seating Click: When pushing spark plug wires onto the spark plugs or distributor towers, mechanics must feel and hear a distinct "click." A partially seated boot can cause an air gap, leading to intermittent arcing and a misfire that mimics a fuel delivery problem.
- Mismapping Bank 1 and Bank 2: Confusing the passenger side for the driver side when tracking down a specific cylinder misfire code (e.g., swapping cylinder 1 and cylinder 2) will lead to endless frustration. Remember: Passenger side is odd (1, 3, 5), driver side is even (2, 4, 6).
Frequently Asked Questions
What is the firing order for a 2003 Nissan Xterra V6?
The firing order for the 3.3L V6 engine found in the 2003 Nissan Xterra is 1-2-3-4-5-6. This sequential firing order applies to both the naturally aspirated (VG33E) and supercharged (VG33ER) versions of the engine.
Where is cylinder number one located on a 2003 Nissan Xterra V6?
Cylinder number one is located at the front of the engine on the passenger side (right side of the vehicle when sitting inside). The passenger side houses cylinders 1, 3, and 5 from front to back.
What are the symptoms of an incorrect firing order on a Nissan Xterra?
An incorrect firing order will immediately cause severe engine misfires, a loud popping or backfiring sound through the intake or exhaust, a violent shaking or rough idle, drastically reduced power, and a flashing Check Engine Light indicating active catalyst-damaging misfires.
Do I need to remove the intake plenum to change spark plug wires?
On the naturally aspirated 3.3L V6, you can generally access the spark plug wires and distributor without removing the intake plenum, though working space near the rear firewall (cylinders 5 and 6) is tight. Using a set of long-handled pliers or a flexible extension helps navigate the tight clearance.
How often should spark plug wires be replaced on this vehicle?
Ignition wires on the 2003 Nissan Xterra should typically be inspected every 30,000 miles and replaced every 60,000 to 100,000 miles, or sooner if the rubber insulation shows signs of cracking, hardening, or oil contamination from valve cover gasket leaks.
Conclusion and Next Actions
Mastering the 2003 Nissan Xterra firing order is a straightforward yet essential task for keeping your vehicle dependable. By verifying your engine type, respecting the 1-2-3-4-5-6 sequence, and properly routing your ignition components, you can eliminate misfires and maintain optimal engine efficiency. For ongoing maintenance, always pair your ignition wire service with fresh spark plugs gapped to factory specifications and a thorough inspection of the distributor cap and rotor.