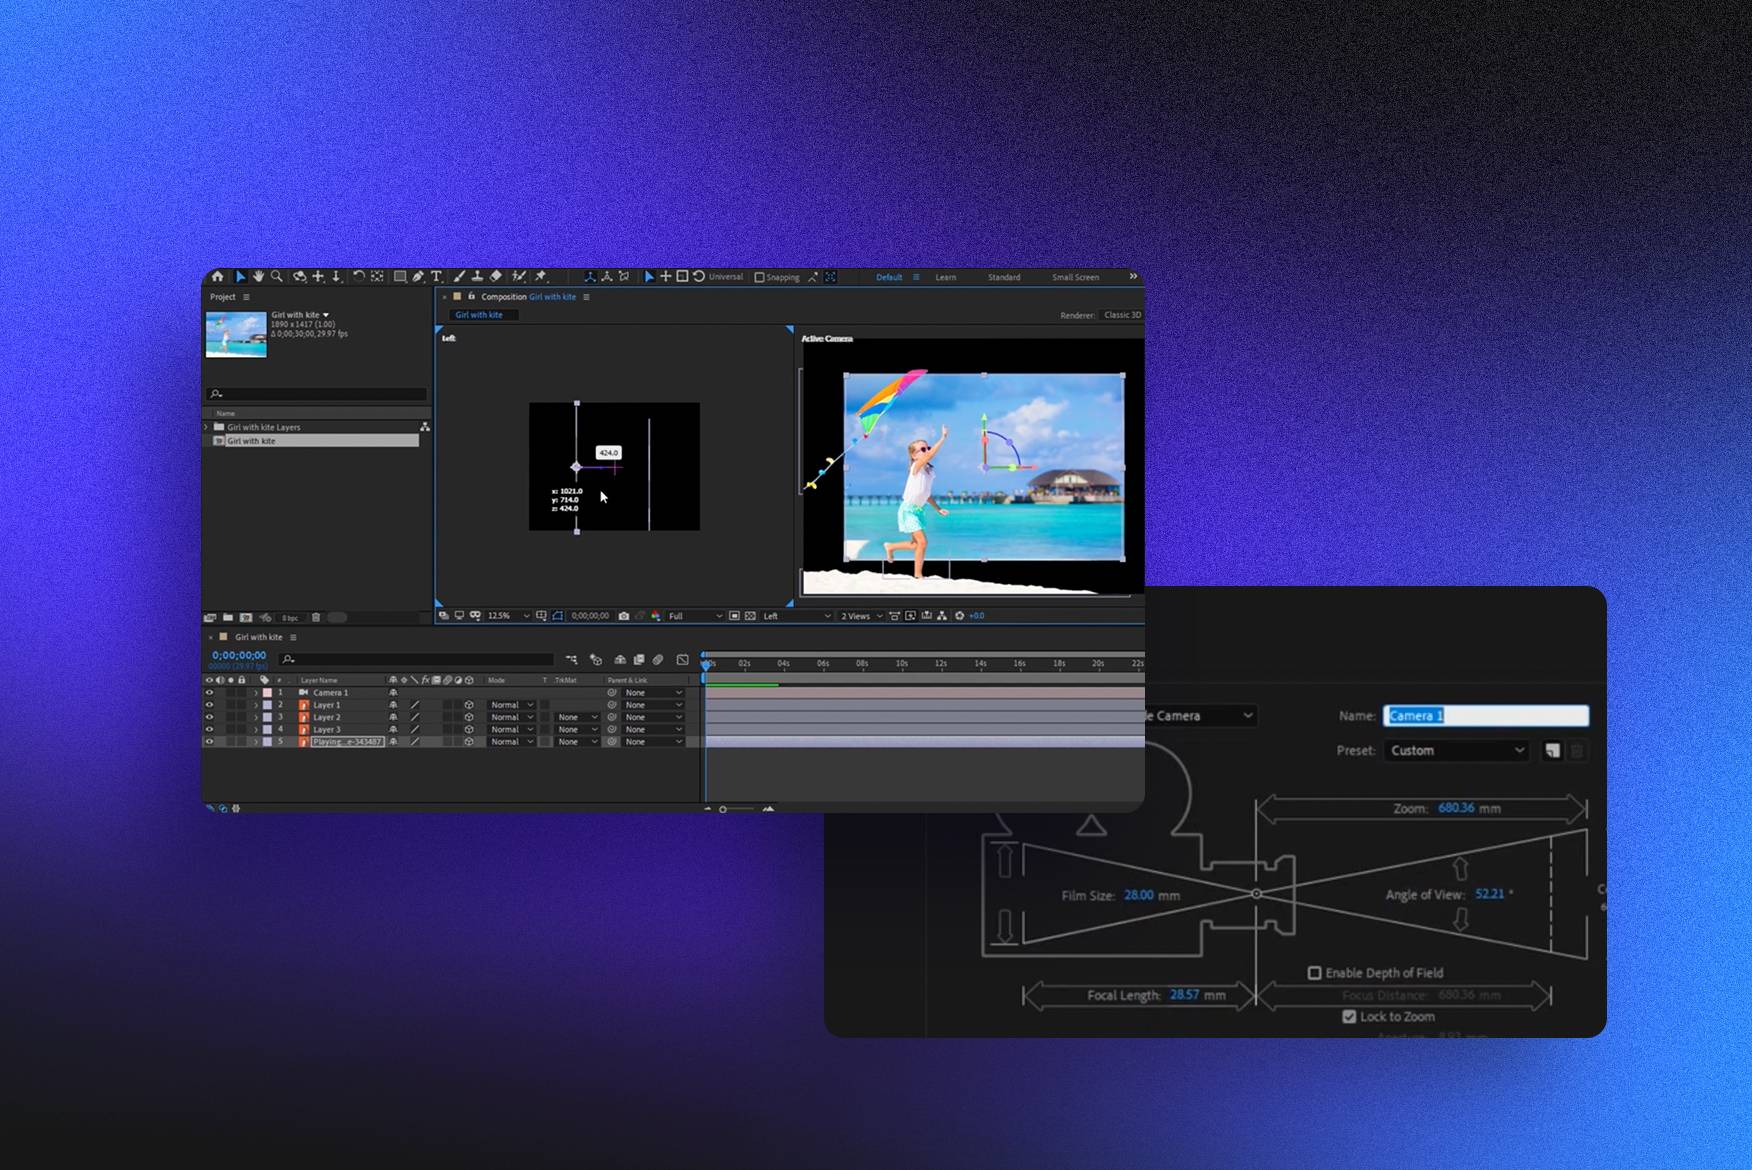
To animate a stroke in After Effects with precision, the most effective method is utilizing the Trim Paths operator on a Shape Layer. By keyframing the Start, End, and Offset properties, you can control the growth and movement of a line. Professional dynamic motion is then achieved by refining these keyframes within the Graph Editor to manipulate velocity and easing.
Dynamic stroke animation is a cornerstone of modern motion design. Whether you are creating intricate map callouts, self-drawing logos, or abstract UI elements, the ability to control line growth with mathematical precision separates amateur work from high-end production. As of 2026, Adobe After Effects has further optimized its shape engine, making these operations faster and more integrated with multi-frame rendering, allowing for real-time feedback even in complex compositions.
The Technical Foundation: Shape Layers vs. Masks
Before diving into the animation process, it is critical to understand the distinction between Shape Layers and Masks, as the "precise method" relies almost exclusively on the former.
Shape Layers: The Vector Powerhouse
Shape Layers are dedicated containers for vector data within After Effects. Unlike solids with masks, Shape Layers possess their own internal hierarchy of contents, including fills, strokes, and "Paths." The primary advantage of using Shape Layers for stroke animation is the Trim Paths tool. This operator is not available for standard masks on solid layers. Shape Layers also support advanced stylization features like tapering and waving without the need for third-party plugins.
Masks on Solids: The Legacy Approach
While you can animate a stroke on a mask using the "Stroke" or "Write-on" effects, this method is generally considered less precise and more cumbersome for dynamic motion. Effects applied to masks are often pixel-based and can suffer from aliasing or "crunchy" edges if the layer is scaled. In the 2026 workflow, masking is primarily reserved for rotoscoping or clipping, while all line-based animation should reside within Shape Layers.
Step-by-Step Guide to Precise Stroke Animation
Achieving a professional "self-drawing" line requires more than just two keyframes. It requires a specific sequence of operations to ensure the path is clean and the timing is organic.
1. Creating the Path
Start by selecting the Pen Tool (G). Ensure that "Fill" is set to "None" and "Stroke" is set to your desired color and width in the top toolbar. Click on the Composition panel to create your path.
- Pro Tip: If you want a perfectly straight line, hold Shift while clicking. For smooth curves, click and drag to pull out Bezier handles.
- Precision Check: Name your Shape Layer immediately. In complex projects, having twenty layers named "Shape Layer 1" leads to significant workflow friction.
2. Adding the Trim Paths Operator
Once your path is drawn, toggle open the Shape Layer in the Timeline. Click the small Add button (the play icon in a circle) located next to the "Contents" heading. From the fly-out menu, select Trim Paths.
A new group named "Trim Paths 1" will appear under your contents. This group contains three primary animatable properties:
- Start: Determines where the stroke begins (0% is the actual start of the path).
- End: Determines where the stroke stops (100% is the full length).
- Offset: Rotates the start and end points around the path.
3. Keyframing the Motion
To create a standard "draw-in" effect, follow these steps:
- Move the Playhead to the point where you want the animation to begin.
- Set the End property to 0% and click the stopwatch to create a keyframe.
- Move the Playhead forward (e.g., 1 second).
- Change the End property to 100%.
To create a "travelling line" (where the line follows a path but doesn't stay there), keyframe both the Start and End properties. If the Start keyframes lag slightly behind the End keyframes, you create a segment that moves along the path like a snake.
Achieving Dynamic Motion with the Graph Editor
The difference between a mechanical animation and a "dynamic" one lies in interpolation. By default, After Effects uses linear interpolation, meaning the stroke moves at a constant, robotic speed. Precise motion design requires variable velocity.
Using the Speed Graph
Select your keyframes and press F9 to apply Easy Ease. This adds a basic curve to the motion. However, for "dynamic" results, you must enter the Graph Editor (the icon looks like a small chart).
In the Speed Graph, you will see a "hump" representing the velocity. By pulling the yellow Bezier handles, you can "influence" the speed.
- The "Pop" Effect: Drag the incoming handle of the second keyframe to the left. This causes the stroke to start fast and decelerate slowly, a hallmark of modern UI animation.
- The "Sling" Effect: Drag both handles toward the center of the animation duration. The stroke will start slow, move extremely fast in the middle, and end slow.
Value Graph Precision
For some specialized animations, the Value Graph is superior. It allows you to see the actual percentage values over time. This is particularly useful if you need two different strokes to move in perfect synchronization but with different path lengths.
Advanced Stroke Stylization in After Effects 2026
Modern motion design often demands more than a flat, uniform line. Current versions of After Effects provide native tools to add character to strokes without increasing render times.
Tapering for Organic Feel
Under the "Stroke" settings of your Shape Layer, you will find the Taper menu. This allows you to thin the ends of the line.
- Start/End Length: Adjusts how far into the line the taper reaches.
- Start/End Ease: Controls how aggressive the transition from thick to thin is. Using Taper is essential for creating "light streaks" or hand-drawn ink effects.
Adding Waveform Distortion
The Wave section within the stroke properties allows you to add a sine-wave distortion directly to the stroke. This is much more precise than using a "Turbulent Displace" effect because it follows the path's vector data rather than distorting the entire layer's pixels. You can animate the "Phase" of the wave to make the line appear to shimmer or vibrate as it draws in.
Workflow Optimization: Illustrator to After Effects
For precise logos or complex illustrations, you likely won't draw the path in After Effects. You will import it from Adobe Illustrator.
- Import your .AI file as a Composition - Retain Layer Sizes.
- Right-click the layer in your timeline.
- Select Create > Create Shapes from Vector Layer.
- After Effects will generate a new Shape Layer. You can now add the Trim Paths operator to this new layer.
Caution: Illustrator files often contain nested groups and empty "Merge Paths" operators when converted. To maintain precision and performance, open the new Shape Layer and delete any "Group" folders or "Merge Paths" that aren't strictly necessary for the visual output.
Comparison of Stroke Animation Methods
| Method | Best For | Precision Level | Ease of Use | Performance |
|---|---|---|---|---|
| Trim Paths (Shape Layers) | Professional UI, Logos, Icons | Extremely High | High | Excellent |
| Stroke Effect (Masks) | Quick sketches, legacy projects | Low | Medium | Good |
| Write-on Effect | Hand-writing simulations | Medium | Low (requires many keyframes) | Moderate |
| Saber (Plugin) | Neon, Light beams, Energy | High (Visual) | High | Demanding |
| Vegas Effect | Pulsing lights, segmented lines | Medium | Medium | Good |
Troubleshooting Common Stroke Issues
Even with a precise method, technical hurdles can occur. Here is how to resolve the most frequent problems encountered in the 2026 version of After Effects.
The Stroke Direction is Reversed
If your Trim Paths is drawing from right to left but you want left to right, you don't need to redo the keyframes.
- Open the "Path" property inside the Shape Layer.
- Next to the path name, click the Reverse Path Direction icon (two arrows pointing in opposite directions). This instantly flips the 0% and 100% points.
Stroke Disappears or "Cuts Off"
This usually happens when the "Stroke Width" is too high for a tight curve.
- Check your Line Join settings. Switching from "Miter Join" to "Round Join" often fixes sharp "spikes" or artifacts that appear on acute angles.
- Ensure that the "Trim Paths" operator is below the Stroke in the layer hierarchy if you want it to affect specific properties, though usually, it should be at the bottom of the stack to affect the entire group.
Keyframes Feel "Jittery"
If the motion feels stuttery despite smooth graph curves, check your Motion Blur. Enable the global Motion Blur switch for the composition and the specific switch for the layer. If the line is very thin (under 2px), motion blur can sometimes make it disappear; in these cases, consider using a higher frame rate composition (60fps) for smoother playback.
FAQ
Can I apply Trim Paths to multiple paths at once?
Yes. If you have multiple paths inside a single Shape Layer, you can place one Trim Paths operator at the bottom of the contents stack. In the Trim Paths settings, you can choose "Simultaneously" (all paths draw at once) or "Individually" (paths draw one after another based on their stack order).
How do I make the stroke follow a custom brush pattern?
After Effects Shape Layers do not natively support "brush textures" like Illustrator. To achieve this, you must use the "Create Shapes from Vector Layer" method and then use the Write-on effect or a matte-based transition. Alternatively, use the Roughen Edges effect on your Shape Layer to give the stroke a more organic, textured appearance.
Why is the Offset property useful?
The Offset property allows you to move the start and end points without changing the length of the line. This is vital for creating "looping" animations. By keyframing the Offset from 0 to 360 degrees (or multiples of rotations), a dashed or segmented line will appear to travel infinitely along the path.
How do I animate the stroke width over time?
The Stroke Width property is fully animatable. You can click the stopwatch and set keyframes. For more precision, you can use the Taper settings mentioned earlier to animate the "End Width" or "Start Width" specifically, which provides a more dynamic look than scaling the entire line's thickness uniformly.
Can I link stroke animation to audio?
Yes, using the Convert Audio to Keyframes utility. Once you have an "Audio Amplitude" layer, you can use an expression to link the "End" property of your Trim Paths to the "Both Channels" slider of the audio layer. This creates a stroke that grows and shrinks in sync with the beat of the music.
Practical Recommendation for 2026
For the most precise and future-proof workflow, always build your assets as Shape Layers directly within After Effects when possible. If you must use Illustrator, ensure your paths are clean and simplified before import. Always prioritize the Graph Editor over basic easing; the "precision" in dynamic motion comes from the timing, not just the path itself. If you are working on a 2026-spec machine, take advantage of Multi-Frame Rendering by keeping your layers organized, which allows After Effects to cache these vector calculations significantly faster during the iteration phase.