Adding a security group in Oracle Planning Cloud involves navigating the Access Control interface within the Tools menu to define a group, assigning it a unique name, and subsequently mapping it to specific application artifacts, such as forms, dashboards, or dimensions, to enforce granular user access and data-level security.
Understanding the Role of Security Groups in Oracle Planning Cloud
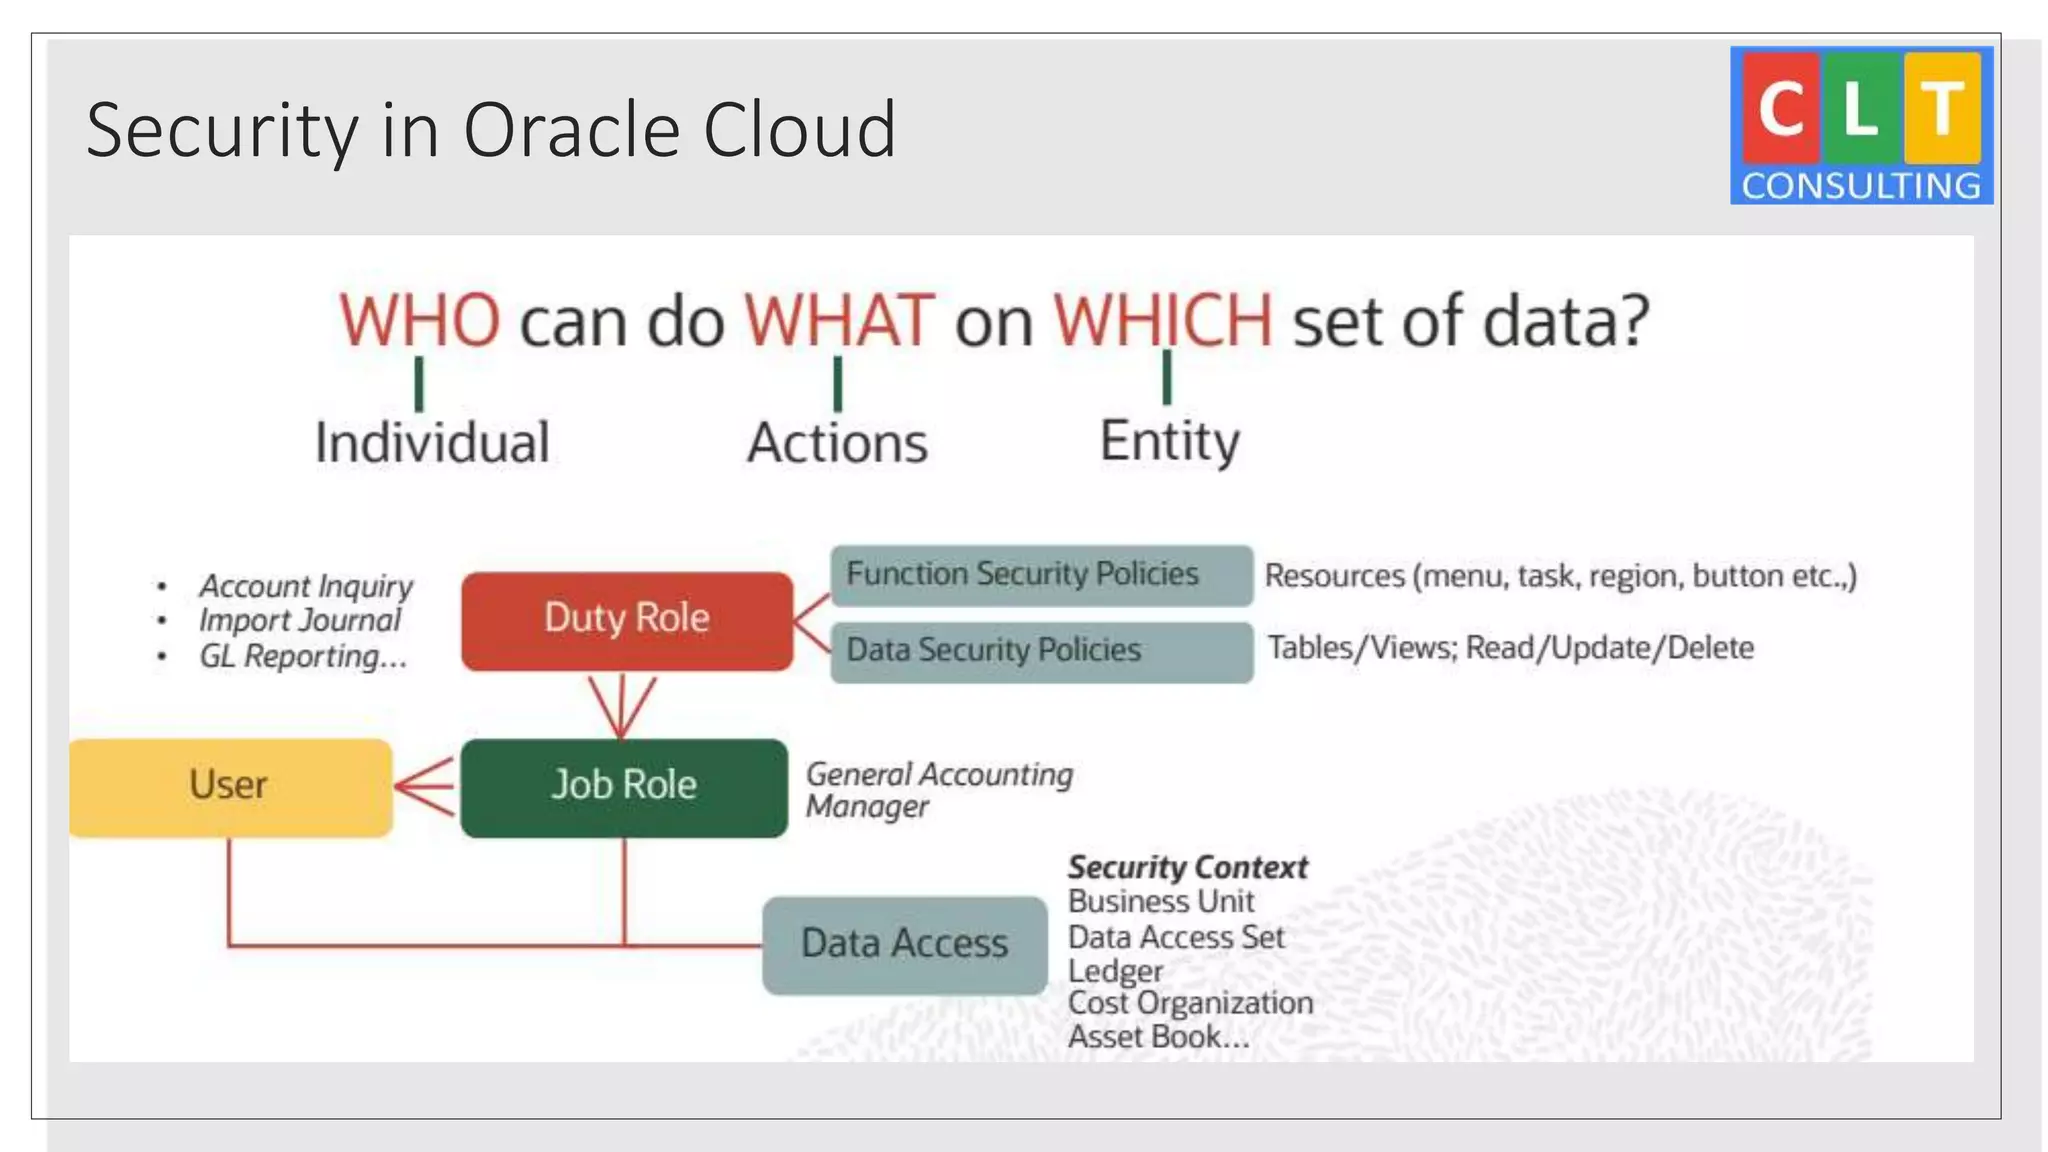
In the architecture of Oracle Enterprise Performance Management (EPM) Cloud, security is not merely an optional layer but the bedrock of data integrity and compliance. Oracle Planning Cloud utilizes a Role-Based Access Control (RBAC) model. While predefined roles (such as Service Administrator, Power User, or Viewer) define what a user can do at a functional level, security groups are used to define what a user can see and manipulate within the specific context of your application.
A security group serves as a collection of users who share similar functional requirements. By creating a group, you abstract the management of permissions away from individual users. If ten users require access to the "North American Budgeting" dashboard, you add those ten users to a single group—"NA_Budget_Group"—and grant that group access to the specific dashboard. If a new employee joins the team, you simply add them to the group, and they inherit all permissions immediately. This reduces administrative overhead and minimizes the risk of human error in security configurations.
Prerequisites Before Creating Security Groups
Before you begin creating groups, you must ensure you have the appropriate administrative permissions. Specifically, you must hold the Service Administrator role or be assigned the Access Control Manager role within the EPM Cloud environment. Without these, the "Access Control" menu will not be visible, or the option to create or modify groups will be disabled.
It is also highly recommended that you establish a naming convention for your groups before implementation. Because an enterprise application can eventually contain hundreds of groups, using prefixes—such as APP_ for application-specific groups, REG_ for regional groups, or DEPT_ for department-specific groups—prevents confusion. For example, FIN_Budget_Admin is far more descriptive than Group1.
Step-by-Step Procedure to Add a Security Group
The process of creating a security group in Oracle Planning Cloud is managed through the Access Control interface. Follow these systematic steps to configure your new group:
- Access the Navigation Flow: Log in to your Oracle Planning Cloud instance with administrative credentials. From the Home page, navigate to the Tools cluster.
- Open Access Control: Select the Access Control card. This utility acts as the central hub for managing users, groups, and role assignments.
- Navigate to the Groups Tab: Once inside the Access Control screen, you will see a series of tabs. Click on the Manage Groups tab. This interface lists all existing groups already provisioned in the environment.
- Create a New Group: Click the Create button. A dialog box will appear asking for the group name and a description.
- Define Details: Enter the Name of the group. Ensure this is unique within the system. In the Description field, provide a clear, concise explanation of the group’s purpose (e.g., "Users authorized to input and view data for the EMEA regional budget cycle"). Providing a description is a best practice that aids future audits.
- Assign Members: Once the group shell is created, you must add users to it. Locate the Members section within the group editing view. Search for users by name or email address and add them to the group list.
- Finalize and Save: Review the member list to ensure accuracy. Click Save or Finish to commit the group to the system.
Mapping Security Groups to Artifacts
Creating a group is only half the task; the group must be granted access to the relevant objects in your Planning application. This is performed via the Permission settings found in the application’s artifacts.
To restrict or permit access, navigate to the specific artifact (for example, a form folder or a dashboard). Right-click the artifact or select the settings icon to open the Assign Access menu. Here, search for the security group you just created. You can define the level of access:
- None: The group cannot see the artifact.
- Read: The group can open and view the artifact but cannot change data.
- Write: The group can input, calculate, and modify data within the artifact.
Comparison of Administrative Security Approaches
Managing security effectively requires a choice between direct user assignment and group-based management. The following table contrasts these methodologies.
| Feature | Direct User Assignment | Security Group Assignment |
|---|---|---|
| Scalability | Low; high maintenance per user | High; scales with department growth |
| Auditability | Difficult; dispersed across artifacts | Centralized; clear group membership |
| Efficiency | Manual; prone to configuration drift | Automated; permissions cascade to members |
| Best For | One-off, unique access requirements | Standardized roles and team functions |
Security Group Troubleshooting and Verification
If users are reporting that they cannot see a form or dashboard despite being in a group, verify the following:
- Artifact Level Security: Sometimes security is set at a parent folder level. Ensure that the parent directory has the appropriate permissions inherited or explicitly assigned.
- Member Synchronization: Ensure the user is not just in the group, but that the group itself has been assigned the correct read/write permissions for the object in question.
- Role Conflicts: While rare, a user might hold a role that explicitly denies access. Always check the aggregate permissions to ensure there are no overriding restrictions.
- Refresh Metadata: After making significant changes to security, ensure that any necessary database refreshes or application security filters are processed.
Maintaining Security Best Practices
As of 2026, Oracle continues to emphasize the "Principle of Least Privilege." This means users should only have the minimum level of access required to perform their daily duties. Periodically audit your security groups to remove users who have transferred departments or left the organization.
Furthermore, leverage Group Nesting where applicable, but use it sparingly. While you can add a group as a member of another group, this can make troubleshooting complex if not documented properly. Strive to keep your group structure as flat as possible to simplify the audit process.
Frequently Asked Questions
Can I rename a security group after creating it? Yes, you can edit the name of a group through the Manage Groups tab in Access Control. However, be aware that if you use these group names in external scripts, automated workflows, or integrated reporting tools, renaming them may break those connections. Always document name changes.
How many security groups can I have in Oracle Planning Cloud? While there is no strict "hard" limit that would cause a system crash, it is best practice to keep your number of groups manageable. Managing thousands of groups can lead to administrative fatigue and increased risk of security misconfiguration. Aim for functional alignment rather than granularity for every individual.
What is the difference between a group and a role? A role (like Service Administrator) defines what a user is allowed to do within the system (e.g., "Can create dimensions"). A group (like Budget_Analysts) defines what data or application objects the user can see (e.g., "Can see the 2026 Budget Form"). You typically assign roles to groups, and users to groups, to achieve a robust security architecture.
Can I import group memberships in bulk? Yes. You can use the EPM Automate utility to import group assignments via CSV files. This is highly recommended for large organizations where managing memberships through the web interface would be too time-consuming or error-prone.
How does security group membership affect data-level security? Security groups are essential for cell-level and dimension-level security. By mapping a group to a specific member of an "Entity" or "Department" dimension, you ensure that group members can only view data associated with their specific branch of the hierarchy.
Recommendation and Next Action
To ensure your environment remains secure and efficient, your next action should be to perform a "Security Audit." Identify all current users in your environment and categorize them into logical teams. If you find individuals currently holding unique, direct permissions, migrate them into a newly created security group that reflects their job function. By centralizing these permissions, you ensure that your 2026 security posture is scalable, transparent, and easy to maintain during future fiscal cycles.