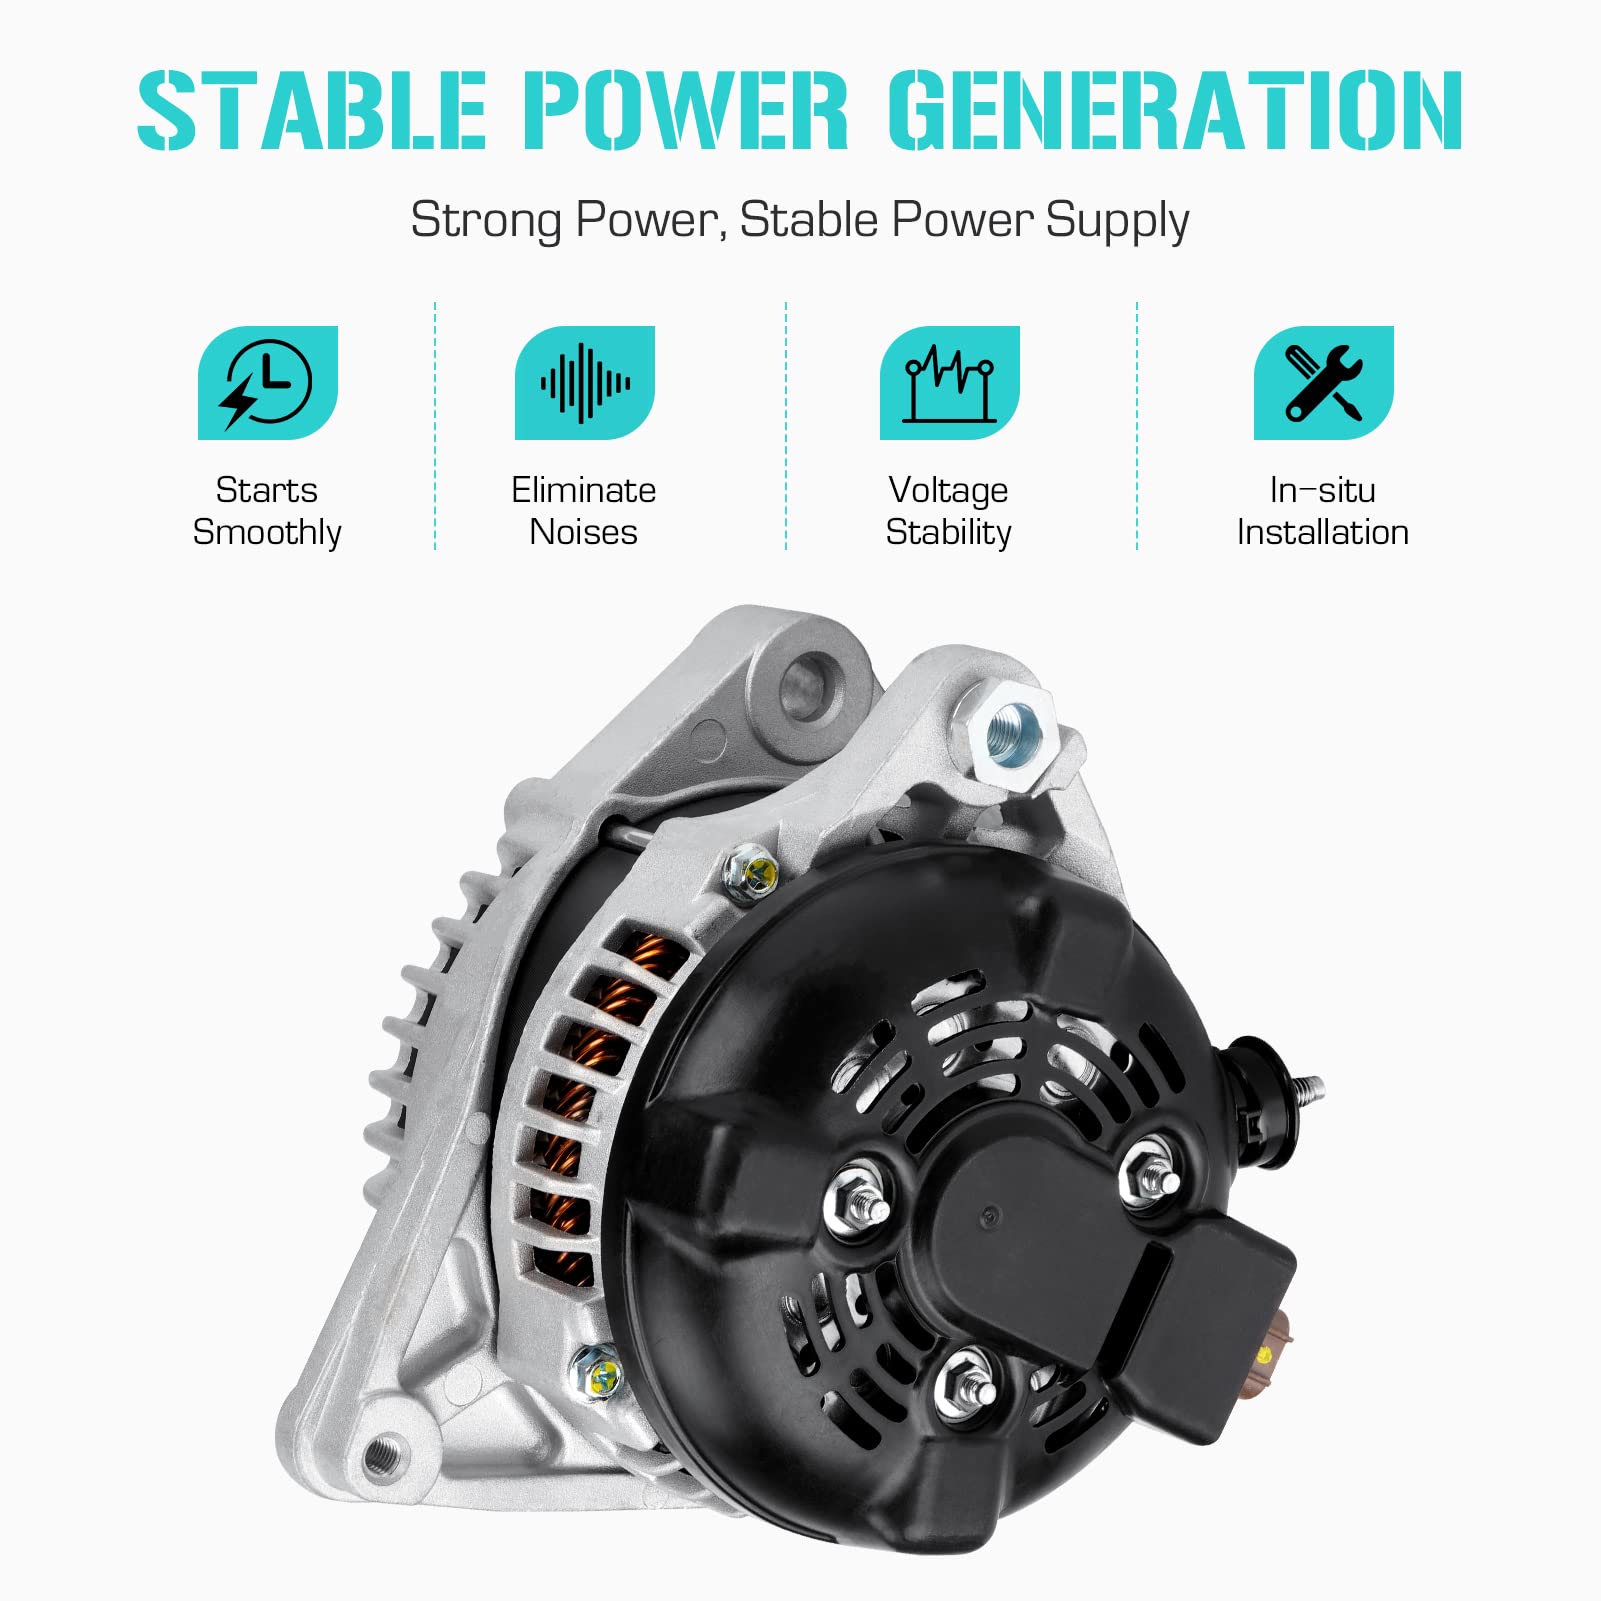
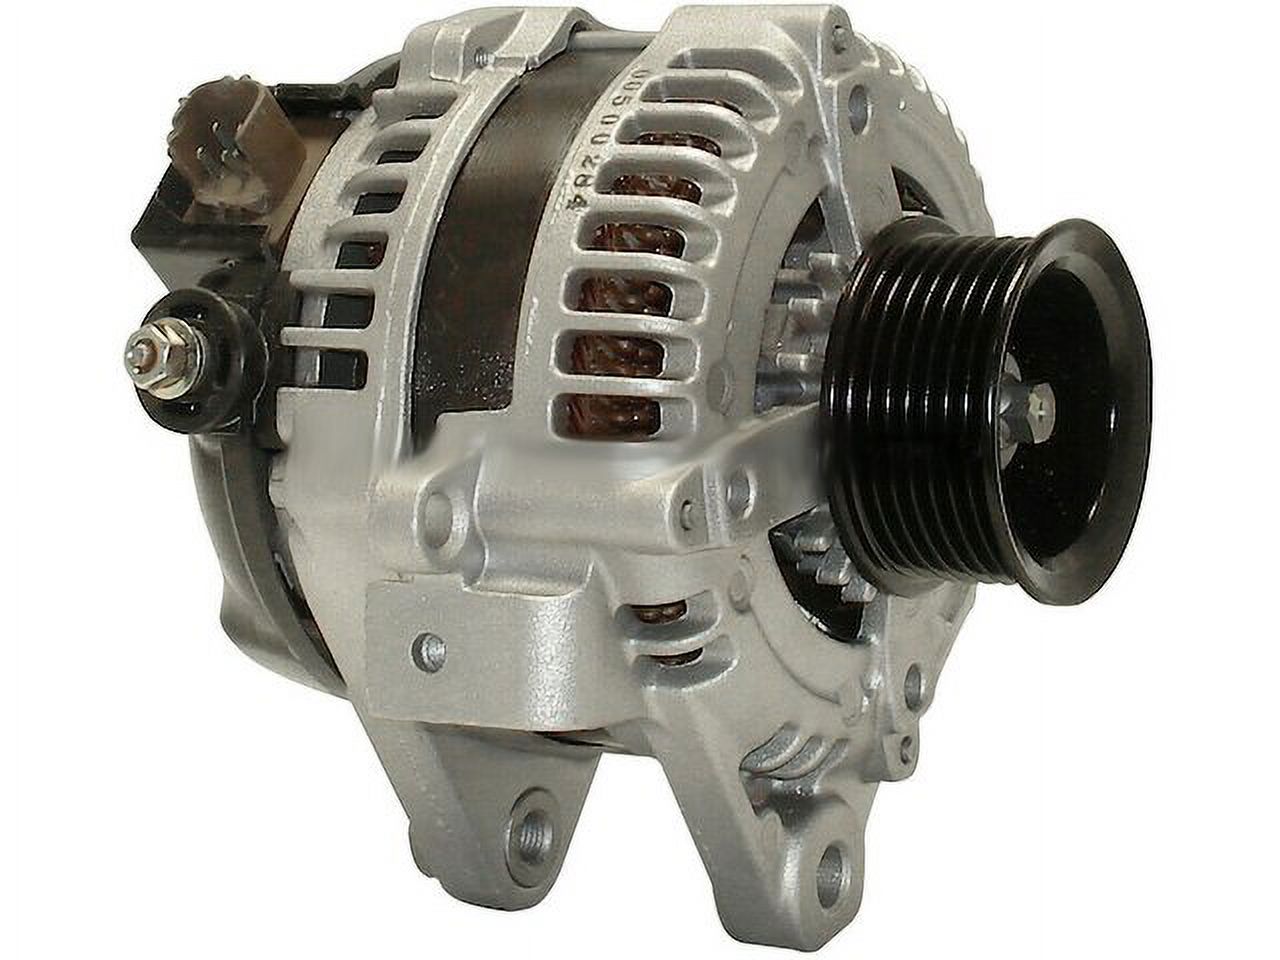
Replacing the alternator in a 2006 Scion tC is a manageable automotive repair task for those with basic mechanical aptitude and a standard set of hand tools. The process involves disconnecting the battery, removing the drive belt, unbolting the alternator unit, and carefully maneuvering the component out of the engine bay. Success requires attention to belt tensioning and secure electrical terminal connections.
The 2006 Scion tC utilizes a 2.4-liter 2AZ-FE inline-four engine, a powerplant shared with several other Toyota vehicles from the same era. Because the alternator sits at the top front of the engine bay, it is significantly more accessible than in many other front-wheel-drive configurations. However, because the vehicle is now over two decades old, ancillary components—such as rubber hoses, plastic clips, and electrical connectors—may have become brittle due to repeated heat cycling. Proceeding with caution is essential to avoid secondary damage during the replacement process.
Safety and Preparation
Before beginning any work on the electrical system of a 2006 Scion tC, you must disconnect the negative (-) terminal of the battery. The alternator is connected directly to the positive battery terminal via a heavy-gauge cable; failing to disconnect the negative terminal could result in an accidental short circuit, which may blow the main alternator fuse or damage the vehicle’s electrical control units.
Wear safety glasses to protect your eyes from road grime or debris that may fall from the engine underside. Additionally, ensure the engine is completely cool. The alternator is situated near the exhaust manifold, which retains heat long after the engine has been shut off. Working on a hot engine increases the risk of thermal burns.
Required Tools and Equipment
To perform this replacement efficiently, ensure you have the following tools organized before starting:
- Metric Socket Set: Specifically 10mm, 12mm, and 14mm sockets.
- Combination Wrench Set: Necessary for confined spaces where a ratchet might not fit.
- Serpentine Belt Tool or 14mm Wrench: For releasing tension on the drive belt.
- Flathead Screwdriver: To assist in prying off stubborn electrical connectors.
- Safety Gear: Protective gloves and safety glasses.
- Penetrating Oil: Useful if any mounting bolts appear corroded due to road salt or moisture.
Understanding the Component Role
The alternator serves as the heart of the 2006 Scion tC's electrical system. While the battery provides the initial surge of power required to engage the starter motor, the alternator takes over once the engine is running. It converts mechanical energy from the spinning crankshaft into electrical energy, providing the necessary current to power the ignition system, headlights, infotainment, and climate control, while simultaneously recharging the battery.
If the alternator begins to fail, you may notice dimming headlights, an illuminated battery icon on the dashboard, or a "whining" sound originating from the engine bay. Before committing to a replacement, confirm the alternator is actually the culprit. A failing battery or a loose ground connection can often mimic the symptoms of a dying alternator. Use a digital multimeter to measure the battery voltage; a healthy system should typically read between 13.5 and 14.5 volts while the engine is idling.
Step-by-Step Replacement Procedure
- Battery Disconnection: Loosen the nut on the negative battery terminal clamp using a 10mm wrench or socket. Remove the cable and tuck it away so it cannot accidentally contact the terminal.
- Accessing the Belt: Locate the belt tensioner pulley. Using your 14mm wrench or a dedicated serpentine belt tool, rotate the tensioner clockwise to create slack in the drive belt. Carefully slide the belt off the alternator pulley. You do not need to remove the belt entirely from the engine; simply letting it hang to the side is sufficient.
- Removing Electrical Connections: Use a 10mm wrench to remove the nut holding the main power cable (B+ terminal) to the back of the alternator. Protect this wire with electrical tape to prevent it from touching the engine block. Locate the plastic wiring harness connector and depress the release tab to pull it free.
- Unbolting the Alternator: Remove the mounting bolts. The 2AZ-FE engine typically uses a long through-bolt and an adjustment bolt. Keep track of the orientation of these bolts, as they often have specific spacers or washers that must be reinstalled in the correct order.
- Extraction: Once the bolts are removed, the alternator may be stuck due to heat-set bushings. Use a pry bar gently to break it loose from the bracket. Lift the unit out of the engine bay carefully to avoid snagging any surrounding cooling hoses.
- Installation: Place the new alternator into the mounting bracket. Reinstall the mounting bolts by hand initially to ensure you do not cross-thread them. Torque them to the manufacturer’s specification.
- Reconnection: Attach the electrical harness and the main B+ cable. Ensure the B+ nut is tightened securely, as a loose connection can cause arcing and subsequent electrical failure.
- Belt Tensioning: Rotate the tensioner again to loop the belt back onto the alternator pulley. Verify that the belt is properly seated in all grooves of all pulleys.
Technical Comparison: OEM vs. Aftermarket
When sourcing a replacement, owners often face a choice between Genuine Toyota (OEM) parts, high-quality remanufactured units, or budget-friendly aftermarket alternatives.
| Feature | OEM / New Unit | Remanufactured | Budget Aftermarket |
|---|---|---|---|
| Reliability | Highest | Moderate | Variable |
| Warranty | Typically 1 Year | Varies (3-12 mo) | Often Limited |
| Cost | Premium | Economical | Lowest |
| Fitment | Guaranteed | Usually Good | Occasional Issues |
For a long-term daily driver, a new OEM unit or a high-end rebuild from a reputable professional rebuilder is generally the best investment. Budget aftermarket units frequently use inferior voltage regulators, which may fail prematurely or cause flickering in your dashboard lighting.
Common Troubleshooting During Installation
One common issue encountered during this procedure is the "tight" fit of the lower alternator bolt. Because of the engine's location and the length of the bolt, it can be difficult to align. Never force the bolt with a hammer; if it does not thread easily, back it out, inspect the threads, and try realigning the unit within the bracket.
Another frequent oversight is the condition of the drive belt itself. Since you are already removing the belt, take this opportunity to inspect it for cracking, missing chunks, or "glazing" (a shiny appearance). If the belt is old, replacing it while the alternator is already out is a proactive maintenance step that saves significant labor time in the future.
Frequently Asked Questions
How long does an alternator typically last on a 2006 Scion tC? Most alternators on this platform last between 100,000 and 150,000 miles. Driving conditions, such as extreme heat or heavy electrical loads from aftermarket audio systems, can shorten this lifespan significantly.
Can I drive the car if the battery light is on? No. If the battery light is illuminated, it means your charging system is not functioning correctly. The car is running exclusively on the power remaining in the battery. Once that is depleted, the car will stall and will not restart, potentially leaving you stranded in traffic.
Do I need to have the computer "re-learned" after replacing the alternator? No, the 2006 Scion tC engine control module does not require a complex initialization sequence for a simple alternator replacement. However, you may notice that the idle speed is slightly erratic for the first few miles of driving as the computer re-adapts to the new electrical load.
Why does my new alternator make a high-pitched noise? A high-pitched whine immediately after installation often indicates an over-tightened belt or, more commonly, a misalignment in the belt path. Double-check that the belt is centered in the pulley grooves and that the tensioner pulley is not damaged.
Is it worth buying a used alternator from a salvage yard? Used alternators are a "roll of the dice." Since you cannot verify the internal wear of the brushes or the diode pack without specialized testing equipment, you might find yourself performing the labor again in a few months. Use salvage parts only as a last resort.
Recommendation for Success
The most critical step in ensuring a successful replacement is verifying the tension and integrity of the drive belt and the cleanliness of the electrical contact points. Before reattaching the negative battery cable, use a wire brush to clean the cable lug and the B+ terminal stud on the new alternator to ensure a low-resistance connection. Once installed, use a multimeter to verify the output voltage while the engine is running to ensure the new component is charging correctly. For those who prioritize reliability, stick to high-quality new or professional-grade remanufactured units to avoid repetitive repairs.