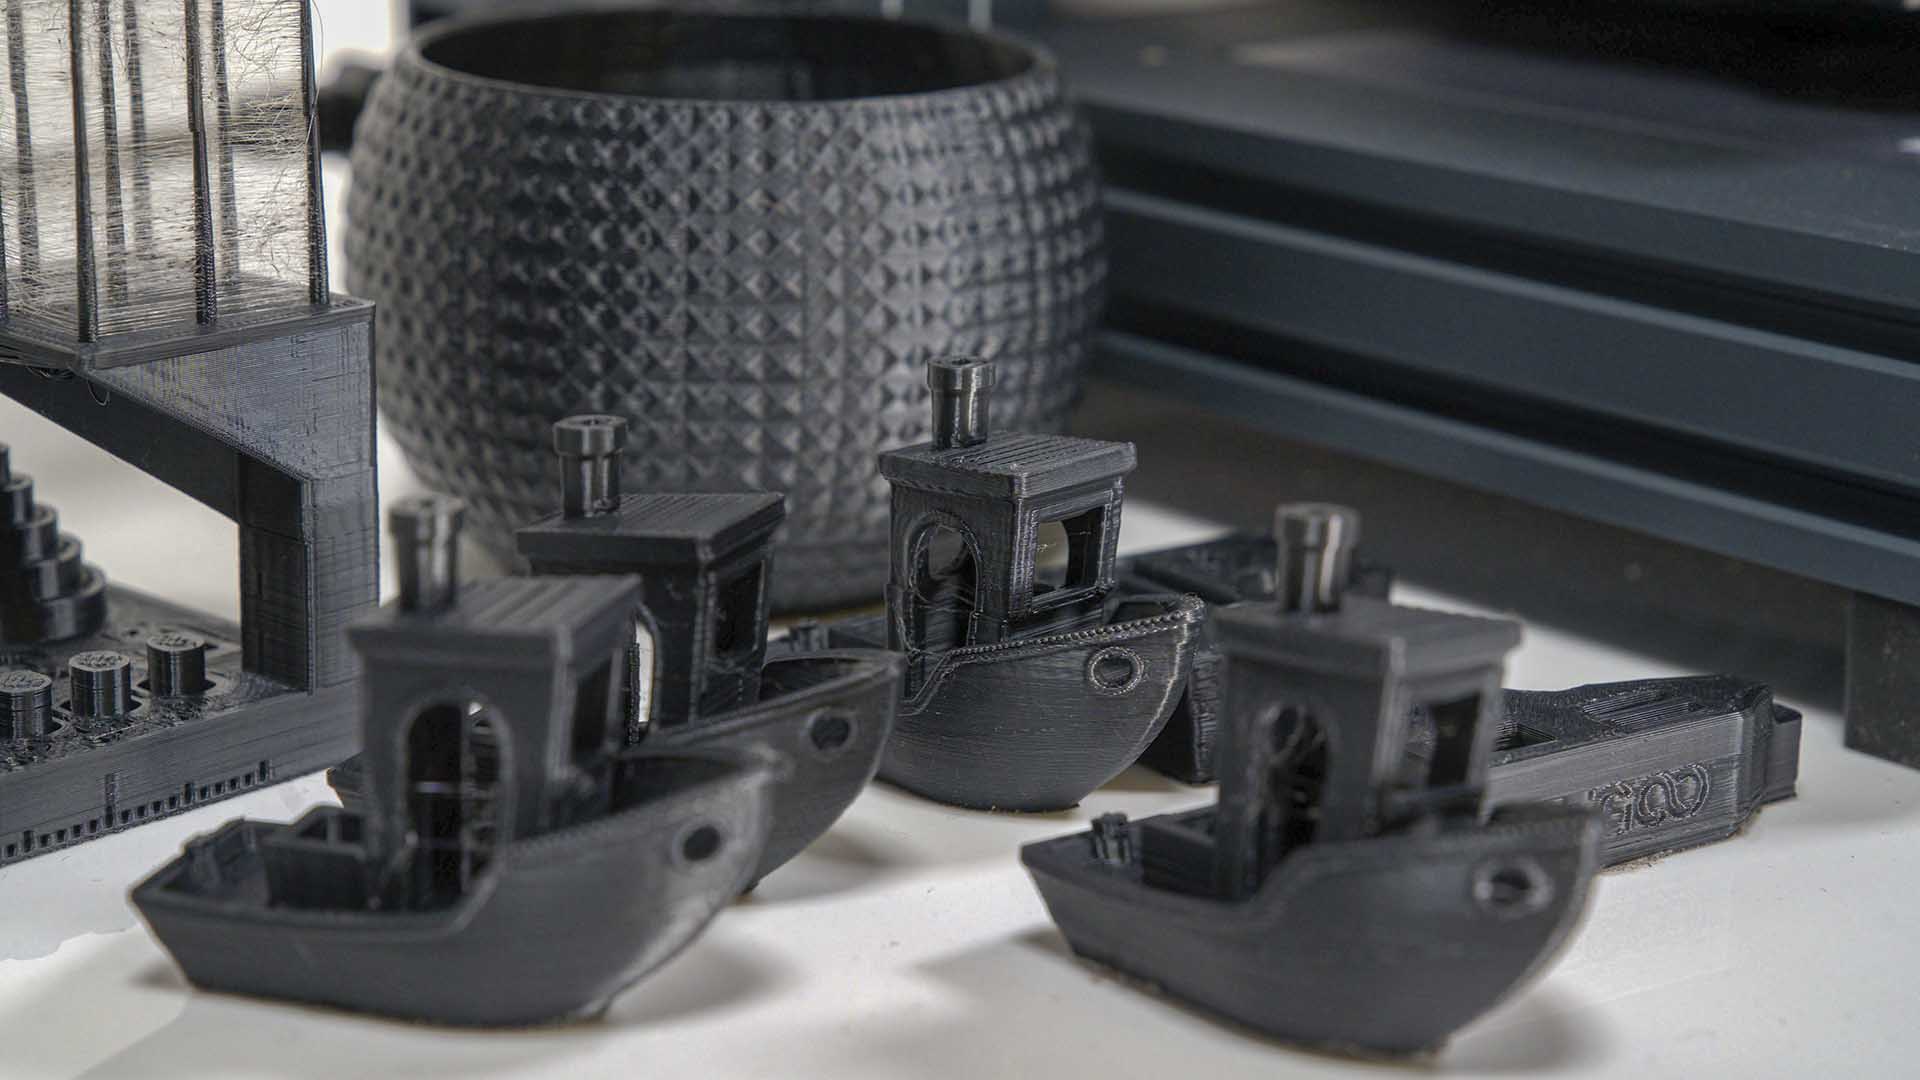
Understanding how a 3D printer transforms digital designs into physical objects requires examining the complete additive manufacturing workflow, which begins with 3D modeling and concludes with post-processing and finishing the printed component.
The evolution of additive manufacturing has shifted 3D printing from a niche industrial prototyping method into a widely accessible technology used in education, manufacturing, healthcare, and hobbyist spaces. Whether you are using a desktop Fused Deposition Modeling (FDM) machine that melts thermoplastic filaments or a resin-based Stereolithography (SLA) printer that cures liquid photopolymers with ultraviolet light, the underlying operational framework follows a standardized path. Mastering this sequence ensures successful prints, reduces material waste, and prevents mechanical errors.
Below is a comprehensive 10-step overview of how a 3D printer operates, detailing every stage from initial concept generation to final post-processing.
1. Digital 3D Modeling (CAD or Scanning)
Every 3D printed object begins as a digital three-dimensional file. This virtual blueprint can be created from scratch using Computer-Aided Design (CAD) software such as Autodesk Fusion, SolidWorks, or Blender. Alternatively, objects can be generated using a 3D scanner, which captures the physical geometry of an existing item and translates it into a digital mesh.
During this initial stage, designers must consider the constraints of 3D printing. Factors such as wall thickness, overhang angles, structural tolerances, and intended orientation dictate whether the digital model will print successfully. For beginners, repositories like Printables or Thingiverse offer pre-made digital models, allowing users to bypass the modeling stage and focus entirely on the printing process.
2. File Export and Mesh Conversion
Once the 3D model is complete, it must be exported into a file format that slicing software can interpret. The universal standard in the industry is the STL (Standard Triangle Language) file, which approximates the surface geometry of a 3D model using a interconnected grid of triangles. Newer formats like 3GP and AMF are also utilized, as they support color and multi-material metadata, but STL remains the most widely adopted format.
During export, designers must balance file resolution. A file with too few triangles will result in faceted, low-resolution curves on the physical object, while an excessively high-polygon file can create unnecessarily large datasets that slow down processing software without providing a noticeable visual improvement.
3. Slicing the Model
A 3D printer cannot read a raw 3D mesh directly; it requires movement instructions formatted as G-code. Slicing software—such as PrusaSlicer, Cura, or OrcaSlicer—takes the STL file and mathematically slices the digital object into hundreds or thousands of horizontal flat layers.
In this step, the user configures critical print parameters:
- Layer Height: Determines vertical resolution (e.g., 0.2mm for standard prints, 0.12mm for high detail).
- Infill Density: Dictates how solid the interior of the print is, typically ranging from 10% to 20% grid or gyroid patterns to save material and time.
- Print Speed: Controls how fast the print head or build platform moves.
- Support Structures: Automatically generates temporary overhang supports for parts that would otherwise print mid-air.
4. G-Code Generation and Transfer
Once all parameters are finalized within the slicer, the software compiles the settings and geometry into G-code. G-code is a numerical control programming language that tells the 3D printer exact coordinates, motor speeds, extrusion rates, and temperatures.
This compiled file is then transferred to the 3D printer. Transfer methods vary depending on the machine's hardware capabilities:
- Removable media, such as an SD card or USB flash drive.
- Direct tethering via a USB cable connected to a computer running host software.
- Wireless network transmission via Wi-Fi or Ethernet using print server firmware like OctoPrint or built-in manufacturer applications.
5. Bed Leveling and Calibration
Before any plastic or resin is extruded, the printer must be physically and digitally calibrated. Bed leveling is arguably the most critical operational step in FDM printing. The distance between the print nozzle and the build plate must be precisely uniform across the entire surface—typically the thickness of a piece of paper (around 0.05mm to 0.1mm).
Modern 3D printers often feature Automatic Bed Leveling (ABL) sensors that probe the build plate in a grid pattern to generate a digital mesh compensation map. Alongside leveling, users must ensure the filament feed is unobstructed, build plates are clean of oils and debris, and environmental factors like ambient room temperature are stable.
6. Material Loading and Extrusion Prep
With the machine calibrated, the printing medium is loaded into the system.
- For FDM Printers: A spool of thermoplastic filament (such as PLA, PETG, or ABS) is fed through a guide tube into a motorized extruder gear, which pushes the strand into a heated hotend block. The polymer melts as it reaches the nozzle (typically between 190°C and 250°C).
- For Resin Printers: Liquid photopolymer resin is poured carefully into the transparent-bottomed vat until it reaches the indicated fill line, ensuring no air bubbles are trapped near the build surface.
The printer then executes a short startup sequence, heating the nozzle and the build platform to the specific temperatures defined in the G-code.
7. Layer-by-Layer Additive Deposition
The core printing phase now begins. The printer executes the G-code instructions layer by layer, building the physical object from the bottom up.
| Printer Type | Primary Mechanism | Typical Materials | Common Applications |
|---|---|---|---|
| FDM (Fused Deposition Modeling) | Melts and extrudes thermoplastic filament through a moving nozzle. | PLA, PETG, ABS, TPU | Mechanical prototypes, enclosures, brackets, toys. |
| SLA (Stereolithography) | Uses a UV laser or screen to cure liquid resin layer by layer. | Standard Resin, Tough Resin, Castable Resin | Miniatures, dental models, jewelry molds, high-detail display pieces. |
| SLS (Selective Laser Sintering) | Fuses nylon powder particles together using a high-powered laser. | Nylon (PA12), TPU, Carbon-filled composites | End-use industrial parts, complex geometric assemblies. |
During this phase, monitoring the first layer is vital. If the initial layer fails to adhere to the build plate, the entire print will detach and result in a tangled mass of material, often referred to as "spaghetti."
8. Cooling and Solidification
As material is deposited or cured, it must rapidly transition from a fluid or semi-fluid state into a rigid solid to maintain structural integrity and prevent sagging.
- In FDM printing, dedicated part-cooling fans blow ambient air directly onto the newly extruded plastic line seconds after it leaves the nozzle.
- In SLA printing, chemical polymerization hardens the resin instantly upon exposure to light, while the build plate lifts slightly between layers to allow fresh liquid resin to flow underneath.
Thermal control is essential here; uneven cooling can cause thermoplastics to warp, curl, or pull away from the build plate due to thermal contraction.
9. Part Removal and Extraction
Once the G-code routine finishes, the printer stops extruding, turns off its heaters, and signals completion. The object must now be safely separated from the build platform.
- For FDM Systems: Magnetic spring-steel sheets allow users to simply bend the flexible plate, causing the print to pop off cleanly. Glass or rigid PEI beds may require a dedicated scraper blade, used carefully to avoid scratching the surface or injuring hands.
- For Resin Systems: The build plate is removed from the machine, and the printed object is scraped off using a metal spatula. Because liquid resin is toxic and skin-irritant, operators must wear nitrile gloves during this step.
10. Post-Processing and Finishing
The final step transforms a raw printed component into a polished, finished product. Post-processing requirements depend heavily on the printing technology used:
- FDM Post-Processing: Involves manually snapping off breakaway support structures, sanding layer lines down with abrasive paper, or applying chemical smoothing agents (such as acetone vapor for ABS). Parts can also be primed and painted.
- SLA Post-Processing: Requires washing uncured resin residue off the printed object in an isopropyl alcohol (IPA) bath, followed by secondary UV-curing under a dedicated lamp to achieve maximum material strength and eliminate surface tackiness. Once cured, support structures are clipped off and the contact points are sanded smooth.
Frequently Asked Questions
What is the easiest 3D printing material for beginners to use?
Polylactic Acid (PLA) is universally recommended for beginners using FDM printers. PLA is a biodegradable thermoplastic derived from renewable resources like corn starch or sugarcane. It melts at a relatively low temperature (around 190°C to 210°C), does not require a heated build bed (though one helps), emits minimal odor, and exhibits very low warping tendencies compared to engineering-grade filaments like ABS or Nylon.
How long does a 3D print take to complete?
Print time varies wildly based on the object's physical dimensions, layer height, infill percentage, and print speed. A small, simple calibration cube might take 20 minutes, while a complex, full-scale helmet or mechanical assembly can take anywhere from 12 to 48 hours of continuous printing. Slicing software provides an accurate time estimate before the file is sent to the printer.
Why is bed leveling so important in 3D printing?
Bed leveling ensures that the gap between the print nozzle and the build surface is consistent across the entire platform. If the nozzle is too close, it will scrape the bed or block filament from exiting. If it is too far, the extruded plastic will not press down firmly enough to stick to the surface, causing the print to detach, shift, or warp mid-process.
Can 3D printers use metal materials?
Yes, industrial-grade 3D printers utilize Selective Laser Melting (SLM) or Direct Metal Laser Sintering (DMLS) to fuse metal powders (such as titanium, stainless steel, or aluminum) using high-powered lasers. Desktop users can also print with metal-infused filaments—which contain powdered metal mixed with a polymer binder—though these prints require subsequent thermal debinding and sintering in a kiln to achieve solid metal properties.
Is 3D printing resin toxic?
Uncured liquid photopolymer resin is toxic, hazardous to aquatic life, and can cause skin irritation or allergic sensitization upon direct contact. Operators must always wear nitrile gloves, work in a well-ventilated area, and properly dispose of washing liquids according to local environmental regulations. Once fully cured under UV light and washed, the material becomes chemically inert and safe for standard handling.
Conclusion and Next Actions
Adhering to this structured 10-step overview provides a reliable framework for executing successful additive manufacturing projects. To get started, verify your equipment specifications, download a reliable slicer, source or design a simple model, and run a test print using an approachable material like PLA to build foundational operational confidence.