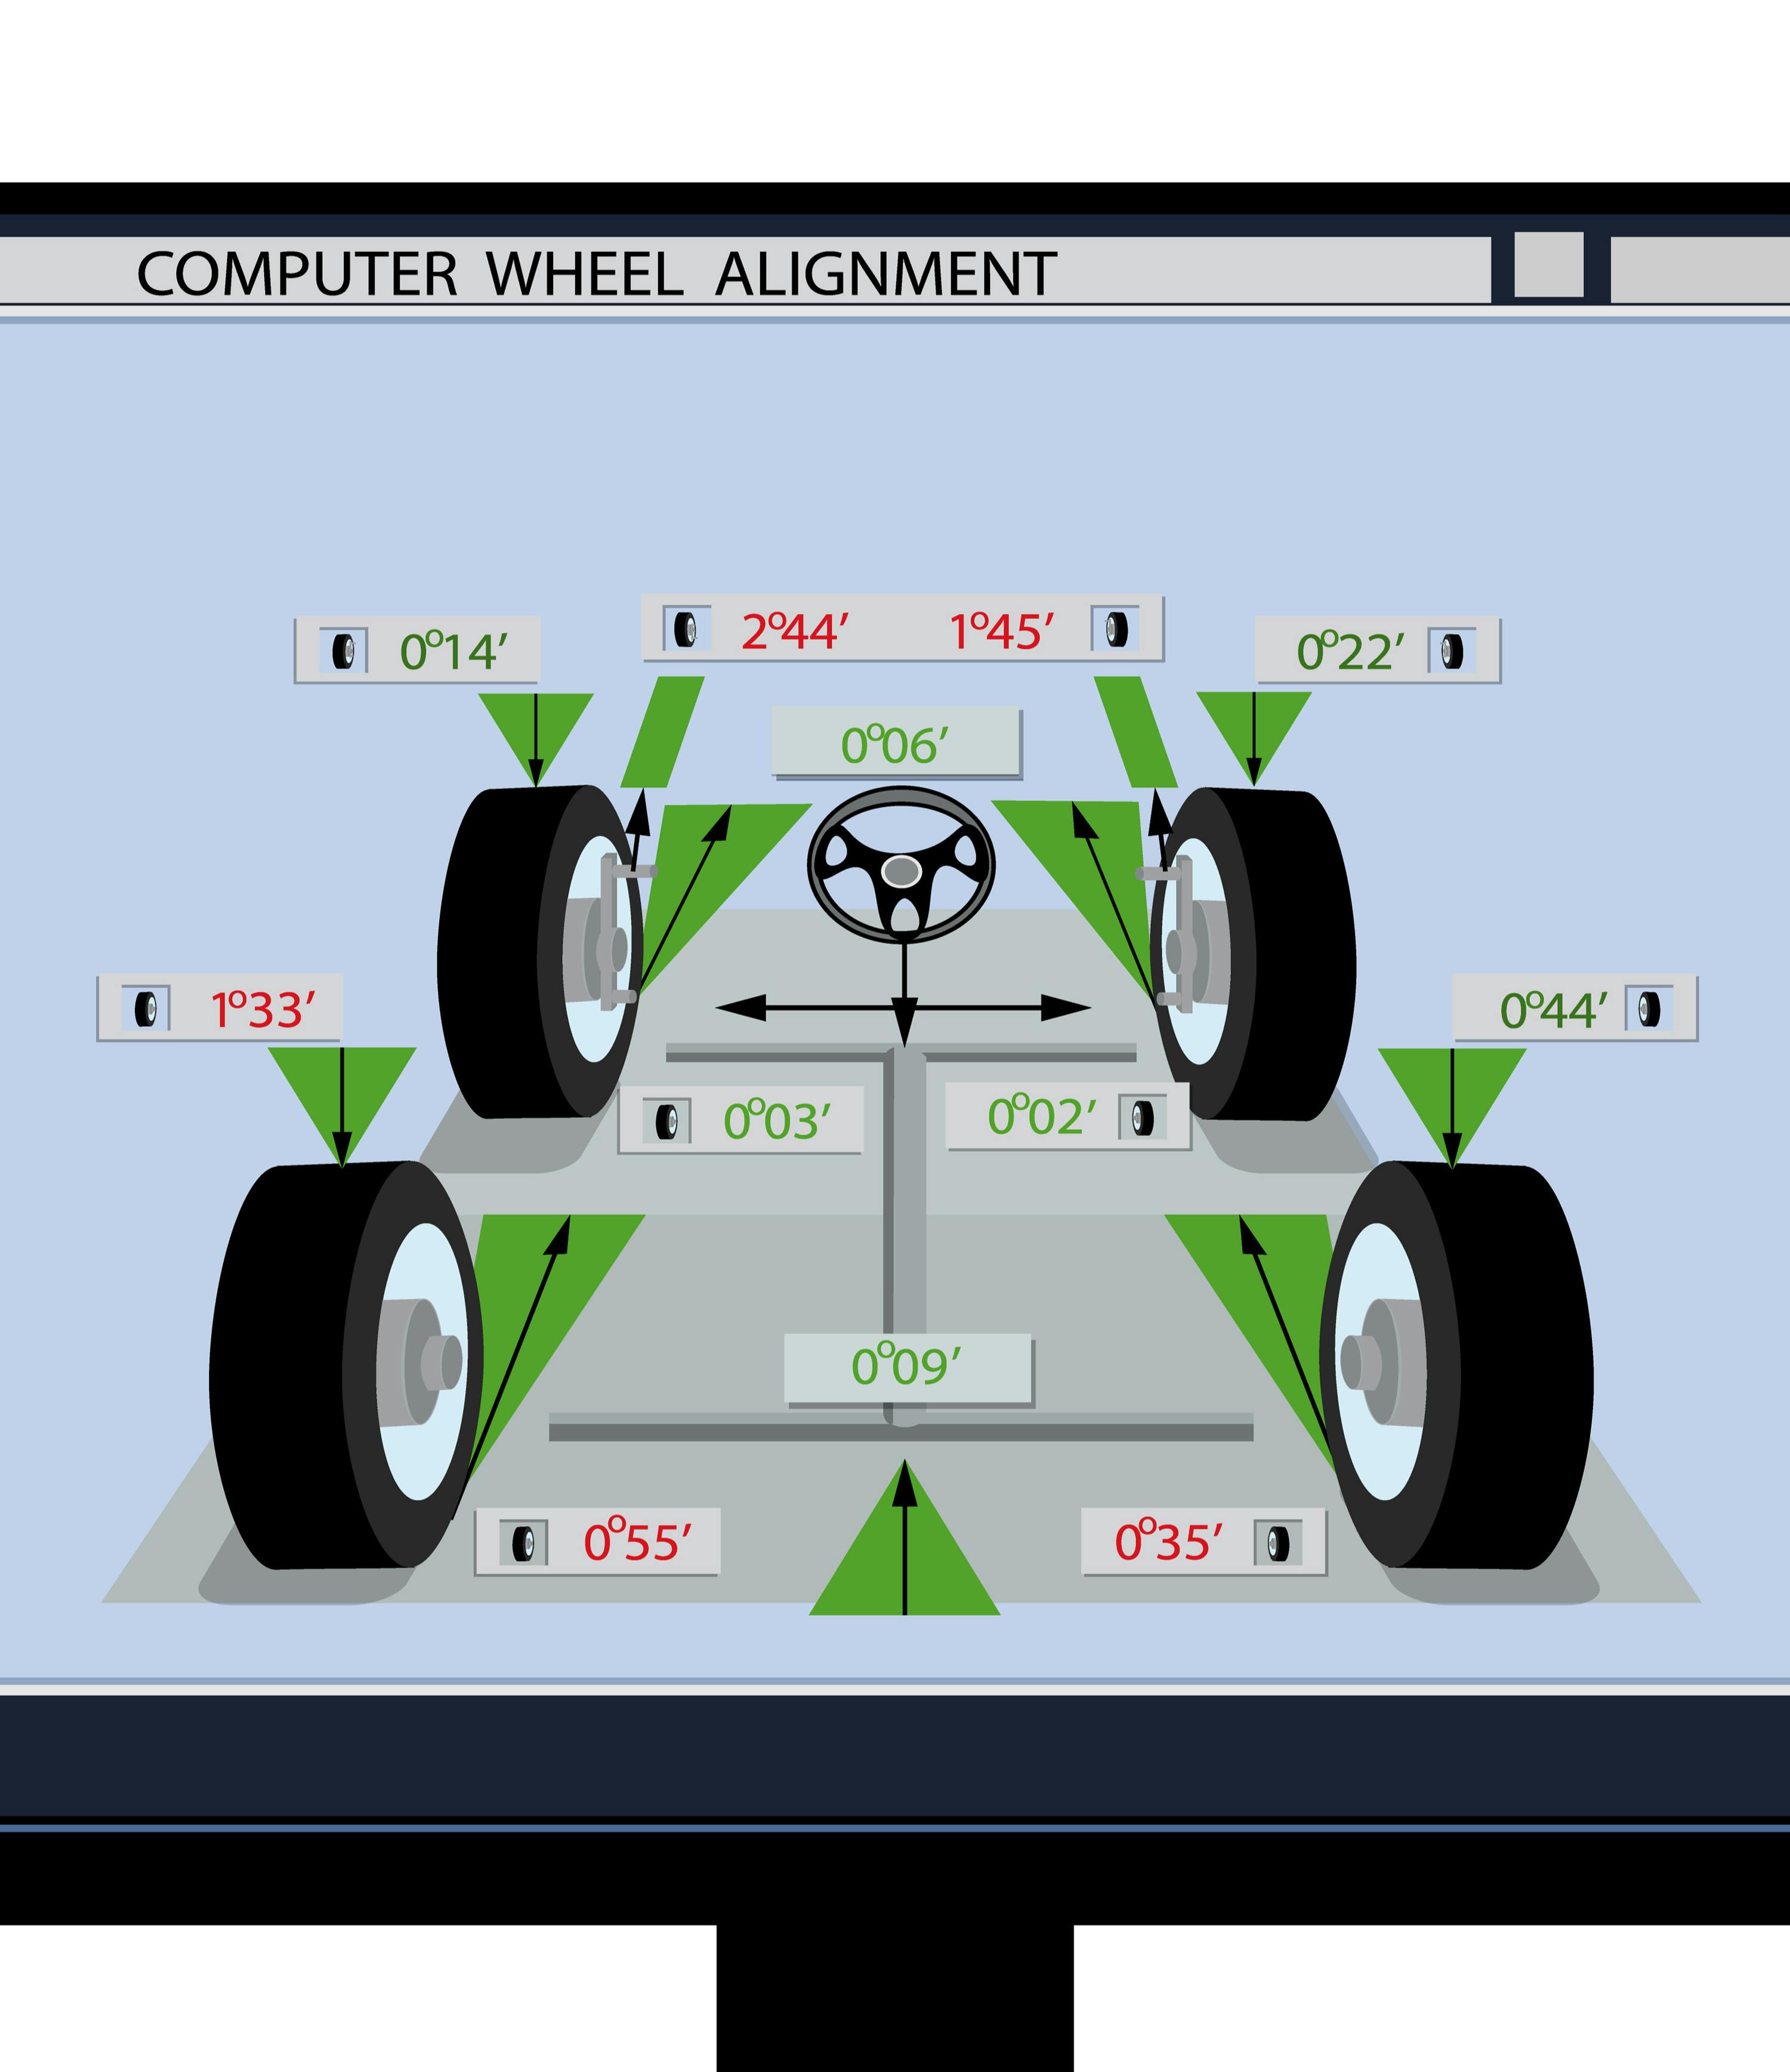
Performing a wheel alignment at home is entirely possible using the "string method" or specialized DIY gauges. This process involves measuring and adjusting the angles of your vehicle's tires—primarily the toe and camber—to ensure they are parallel to each other and perpendicular to the road. While it requires patience and precision, a home alignment can restore vehicle handling and prevent premature tire wear for a fraction of the cost of a professional service.
Understanding the Fundamentals of Wheel Alignment Geometry
Before turning a single wrench in 2026, it is essential to understand the three primary angles that dictate how your vehicle interacts with the road. While professional shops use laser-guided sensors to measure these to the hundredth of a degree, a home mechanic must understand these concepts to achieve a functional result.
Toe: The Most Critical Adjustment
Toe refers to whether the front of the tires are closer together (toe-in) or further apart (toe-out) than the rear of the tires when viewed from above. Most passenger vehicles are designed with a slight amount of toe-in to provide straight-line stability at highway speeds. If your toe is off, you will notice "feathering" across the tire tread, where one side of the tread block feels sharp while the other feels rounded. This is the most common adjustment made during a DIY alignment.
Camber: The Vertical Tilt
Camber is the inward or outward tilt of the tire when viewed from the front of the vehicle. Negative camber (top of the tire tilting inward) is common in performance vehicles to improve grip during cornering. Positive camber (top tilting outward) is rarer in modern cars but may be found in heavy-duty trucks. Excessive camber causes "camber wear," where the inner or outer edge of the tire wears down significantly faster than the rest of the tread.
Caster: Steering Stability and Self-Centering
Caster is the angle of the steering axis when viewed from the side. While caster does not typically cause tire wear, it significantly impacts steering "feel" and the vehicle's ability to return the steering wheel to center after a turn. In most modern vehicles, caster is not adjustable without installing aftermarket plates or control arms, so it is rarely the focus of a home alignment.
Essential Prerequisites and Tool Checklist
To align wheels at home successfully, you cannot simply eye-ball the measurements. Precision is the difference between a smooth ride and a ruined set of tires.
Necessary Tools and Materials:
- Two Jack Stands and a Floor Jack: Essential for safely lifting the vehicle to access adjustment points.
- Four Jack Stands (for the string method): Used as anchors to hold the string parallel to the car.
- High-Visibility Masonry String: Thin, non-stretch string is required for the most accurate line.
- Metric and SAE Wrenches: Specifically for the tie-rod lock nuts and adjustment sleeves.
- Fine-Scale Ruler or Calipers: A ruler measuring in 1/32-inch or millimeters is mandatory.
- Steering Wheel Holder or a Second Person: To ensure the steering wheel remains perfectly centered during the process.
- Turn Plates or "Slip Plates": You can create DIY versions using two pieces of linoleum with grease or heavy-duty plastic bags between them. This allows the tires to move freely while the car's weight is on the ground.
The Pre-Alignment Inspection: A Mandatory First Step
Attempting to align a vehicle with worn-out suspension components is a futile exercise. In 2026, as vehicles age, bushings and ball joints often degrade. Before starting your alignment, perform the following checks:
- Tire Pressure: Ensure all four tires are inflated to the exact manufacturer specifications found on the driver-side door jamb. Uneven pressure will result in false height and angle readings.
- Wheel Bearings and Ball Joints: Jack up each corner and shake the wheel vertically and horizontally. Any "play" or clicking sounds indicate parts that must be replaced before an alignment can be performed.
- Tie Rod Ends: Inspect the rubber boots on your inner and outer tie rods. If they are torn or leaking grease, the joint is likely compromised.
- Vehicle Leveling: Your workspace must be perfectly level. If your garage floor has a slope for drainage, you must shim the wheels using floor tiles or plywood to create a truly level plane.
Step-by-Step: The String Alignment Procedure
The "string method" is the gold standard for DIY toe adjustment. It creates a perfect rectangular "box" around the car, serving as a fixed reference point.
Step 1: Set Up the String Box
Place two jack stands at the front of the car and two at the rear. Run a string along each side of the vehicle at the height of the wheel hubs. The goal is to make these strings perfectly parallel to the chassis of the car. Measure the distance from the string to the center of the front hub and the rear hub. Adjust the jack stands until the distance from the string to the center of the wheels is identical on both sides (e.g., if the front distance is 4 inches, the rear must also be 4 inches, adjusted for track width differences if the rear axle is narrower).
Step 2: Center the Steering Wheel
Sit in the vehicle and ensure the steering wheel is perfectly level. Use a steering wheel lock or have an assistant hold it firmly. If the wheel is even slightly turned, your "toe-in" might be correct relative to the wheels, but your steering wheel will be crooked when driving straight.
Step 3: Measuring Toe
Using your fine-scale ruler, measure the distance from the string to the front edge of the wheel rim and then to the rear edge of the same rim.
- If the front measurement is larger than the rear, the wheel is toed-in.
- If the rear measurement is larger than the front, the wheel is toed-out. Subtract the smaller number from the larger number to find your total toe for that wheel. Compare this to your vehicle’s factory specifications (usually found in a service manual).
Step 4: Adjusting the Tie Rods
To change the toe, you must adjust the tie rods. Loosen the lock nut on the outer tie rod. Rotate the inner tie rod (the threaded bar) to shorten or lengthen the assembly.
- To decrease toe-in: Shorten the tie rod assembly.
- To increase toe-in: Lengthen the tie rod assembly. Make very small adjustments—half a turn can change the toe significantly. After each adjustment, "jounce" the suspension (push down on the bumper) to let the tires settle on your slip plates before re-measuring.
| Feature | Professional Laser Alignment | DIY String Alignment |
|---|---|---|
| Accuracy | 0.01 Degrees | ~0.05 - 0.1 Degrees |
| Cost (2026 Average) | $120 - $250 | $0 - $20 (String & Ruler) |
| Time Required | 45 - 90 Minutes | 3 - 5 Hours |
| Special Equipment | $30k+ Alignment Rack | Basic Hand Tools |
| Caster Measurement | Built-in | Requires Digital Angle Finder |
| Modern ADAS Calibration | Standard in High-End Shops | Not Possible at Home |
Measuring and Adjusting Camber
While toe is adjusted via the steering rack, camber is usually adjusted at the strut towers or the lower control arms. To measure camber at home, you need a digital angle finder or a large framing square and a ruler.
- The Square Method: Place a framing square against the wheel (on level ground). Measure the distance from the top of the rim to the square and the bottom of the rim to the square. The difference between these two measurements, combined with the diameter of your rim, allows you to calculate the angle using basic trigonometry (Tangent of angle = Opposite/Adjacent).
- The Digital Method: Place a straight edge across the wheel rim (avoiding the tire bulge) and hold a digital level against it. The level will give you a direct readout of the camber angle.
Adjustment: Many modern cars do not have factory camber adjustments. If your camber is out of spec, you may need to install "camber bolts" (eccentric bolts) in the upper strut mount hole to allow for movement.
The 2026 Challenge: ADAS and Electronic Steering
As we navigate 2026, many vehicles are equipped with Advanced Driver Assistance Systems (ADAS). These systems rely on cameras and radar to stay in lanes (Lane Keep Assist) and maintain distance (Adaptive Cruise Control).
These systems are calibrated based on the "thrust angle" and steering angle sensor (SAS) position. If you perform a mechanical alignment at home but do not reset the Steering Angle Sensor via the car's OBD-II port, the car's computer may think you are in a permanent slide or turn. This can trigger traction control intervention or disable safety features. For vehicles newer than 2022, a DIY alignment should ideally be followed by a calibration check using a high-end bidirectional scan tool to ensure the electronics are synchronized with the mechanical adjustments.
Common Pitfalls and Troubleshooting
The most frequent mistake in home alignment is measuring from the tire sidewall. Tires have raised lettering, protective ribs, and varying degrees of "bulge" depending on load. Always measure from the metal edge of the rim.
Another common issue is the "dog-track" effect, where the front wheels are aligned to each other but not to the rear axle. This happens if your string box isn't perfectly square. Always double-check the distance from the string to the wheel hubs multiple times during the process. If the car pulls to one side after your alignment, you likely have an imbalance in your toe settings (one side is more toed-in than the other) or a "radial pull" from unevenly worn tires.
Frequently Asked Questions
Can I align my wheels on a sloped driveway?
No. An alignment requires a perfectly level surface. Even a slight incline will shift the vehicle's weight, compressing the suspension unevenly and causing inaccurate camber and toe readings. If your garage floor is not level, you must use shims to create a level platform for the tires.
How often should I check my alignment in 2026?
It is recommended to check your alignment every 12,000 miles or once a year. However, if you hit a significant pothole, install new suspension components, or notice the steering wheel is no longer centered, you should perform an alignment immediately.
Will a DIY alignment save me money if I have to buy tools?
Yes. A professional alignment in 2026 typically costs between $120 and $250 depending on the vehicle's complexity. A basic set of DIY tools (string, ruler, and used floor tiles) costs less than $30. Even if you purchase a digital camber gauge for $50, the tools pay for themselves in a single use.
Why is my steering wheel crooked after I adjusted the toe?
This usually happens because the tie rods were not adjusted equally. If you need to move the wheels "left" to correct the toe, you must shorten one tie rod and lengthen the other by the exact same amount. If you only adjust one side, the wheels will be parallel, but the steering rack will no longer be centered.
Is it safe to drive on a string-aligned car?
If performed carefully, a string alignment is perfectly safe for daily driving. Many professional race teams use string alignments at the track because they are reliable and don't require heavy machinery. However, if you feel a vibration or the car becomes unstable at high speeds, you should have it checked by a professional.
Practical Recommendation: When to Go Pro
A DIY alignment is an excellent skill for maintenance and performance tuning, but it has limits. If your vehicle has suffered significant frame damage, if you are unable to get the measurements to stay consistent, or if your vehicle requires complex ADAS recalibration that your home tools cannot handle, seek a professional shop with a modern 3D imaging alignment rack. For most routine maintenance, however, the string method remains a precise and rewarding way to maintain your vehicle's health.