Installing an air conditioning unit is a complex mechanical process that dictates the long-term efficiency, comfort level, and lifespan of your climate control system. While many homeowners are tempted by the prospect of DIY installation, the procedure involves high-voltage electrical work, handling pressurized refrigerants, and precise structural integration that typically requires professional certification. Whether you are replacing an aging system or installing a new unit in a residence, understanding the standard professional installation lifecycle—from sizing and load calculations to final commissioning—is essential for ensuring a safe and code-compliant home environment in 2026.
Pre-Installation Requirements and Site Assessment
Before a single component is removed from its packaging, a rigorous assessment of the property must occur. An air conditioning system is not a "one size fits all" commodity; its efficacy is entirely dependent on the specific thermal dynamics of the building envelope.
Manual J Load Calculation
The most critical prerequisite is the Manual J load calculation. Developed by the Air Conditioning Contractors of America (ACCA), this methodology accounts for factors such as square footage, window orientation, insulation R-values, local climate data, and the number of occupants. Installing an A/C unit that is too large (oversized) leads to short-cycling, where the unit turns on and off too frequently, failing to dehumidify the air properly and causing premature wear on the compressor. Conversely, an undersized unit will run continuously without achieving the target temperature.
Electrical and Structural Compatibility
The installation site must meet National Electrical Code (NEC) standards. Modern high-efficiency systems often require upgraded circuitry, including dedicated 240-volt lines, high-capacity circuit breakers, and properly sized copper wiring. Structural integrity is equally vital; the mounting surface for an air handler must support the unit’s weight while providing adequate vibration dampening to minimize noise transfer into the home.
The Professional Installation Process
The installation sequence follows a disciplined technical flow designed to maintain the integrity of the refrigerant loop and the electrical system.
1. Equipment Placement and Mounting
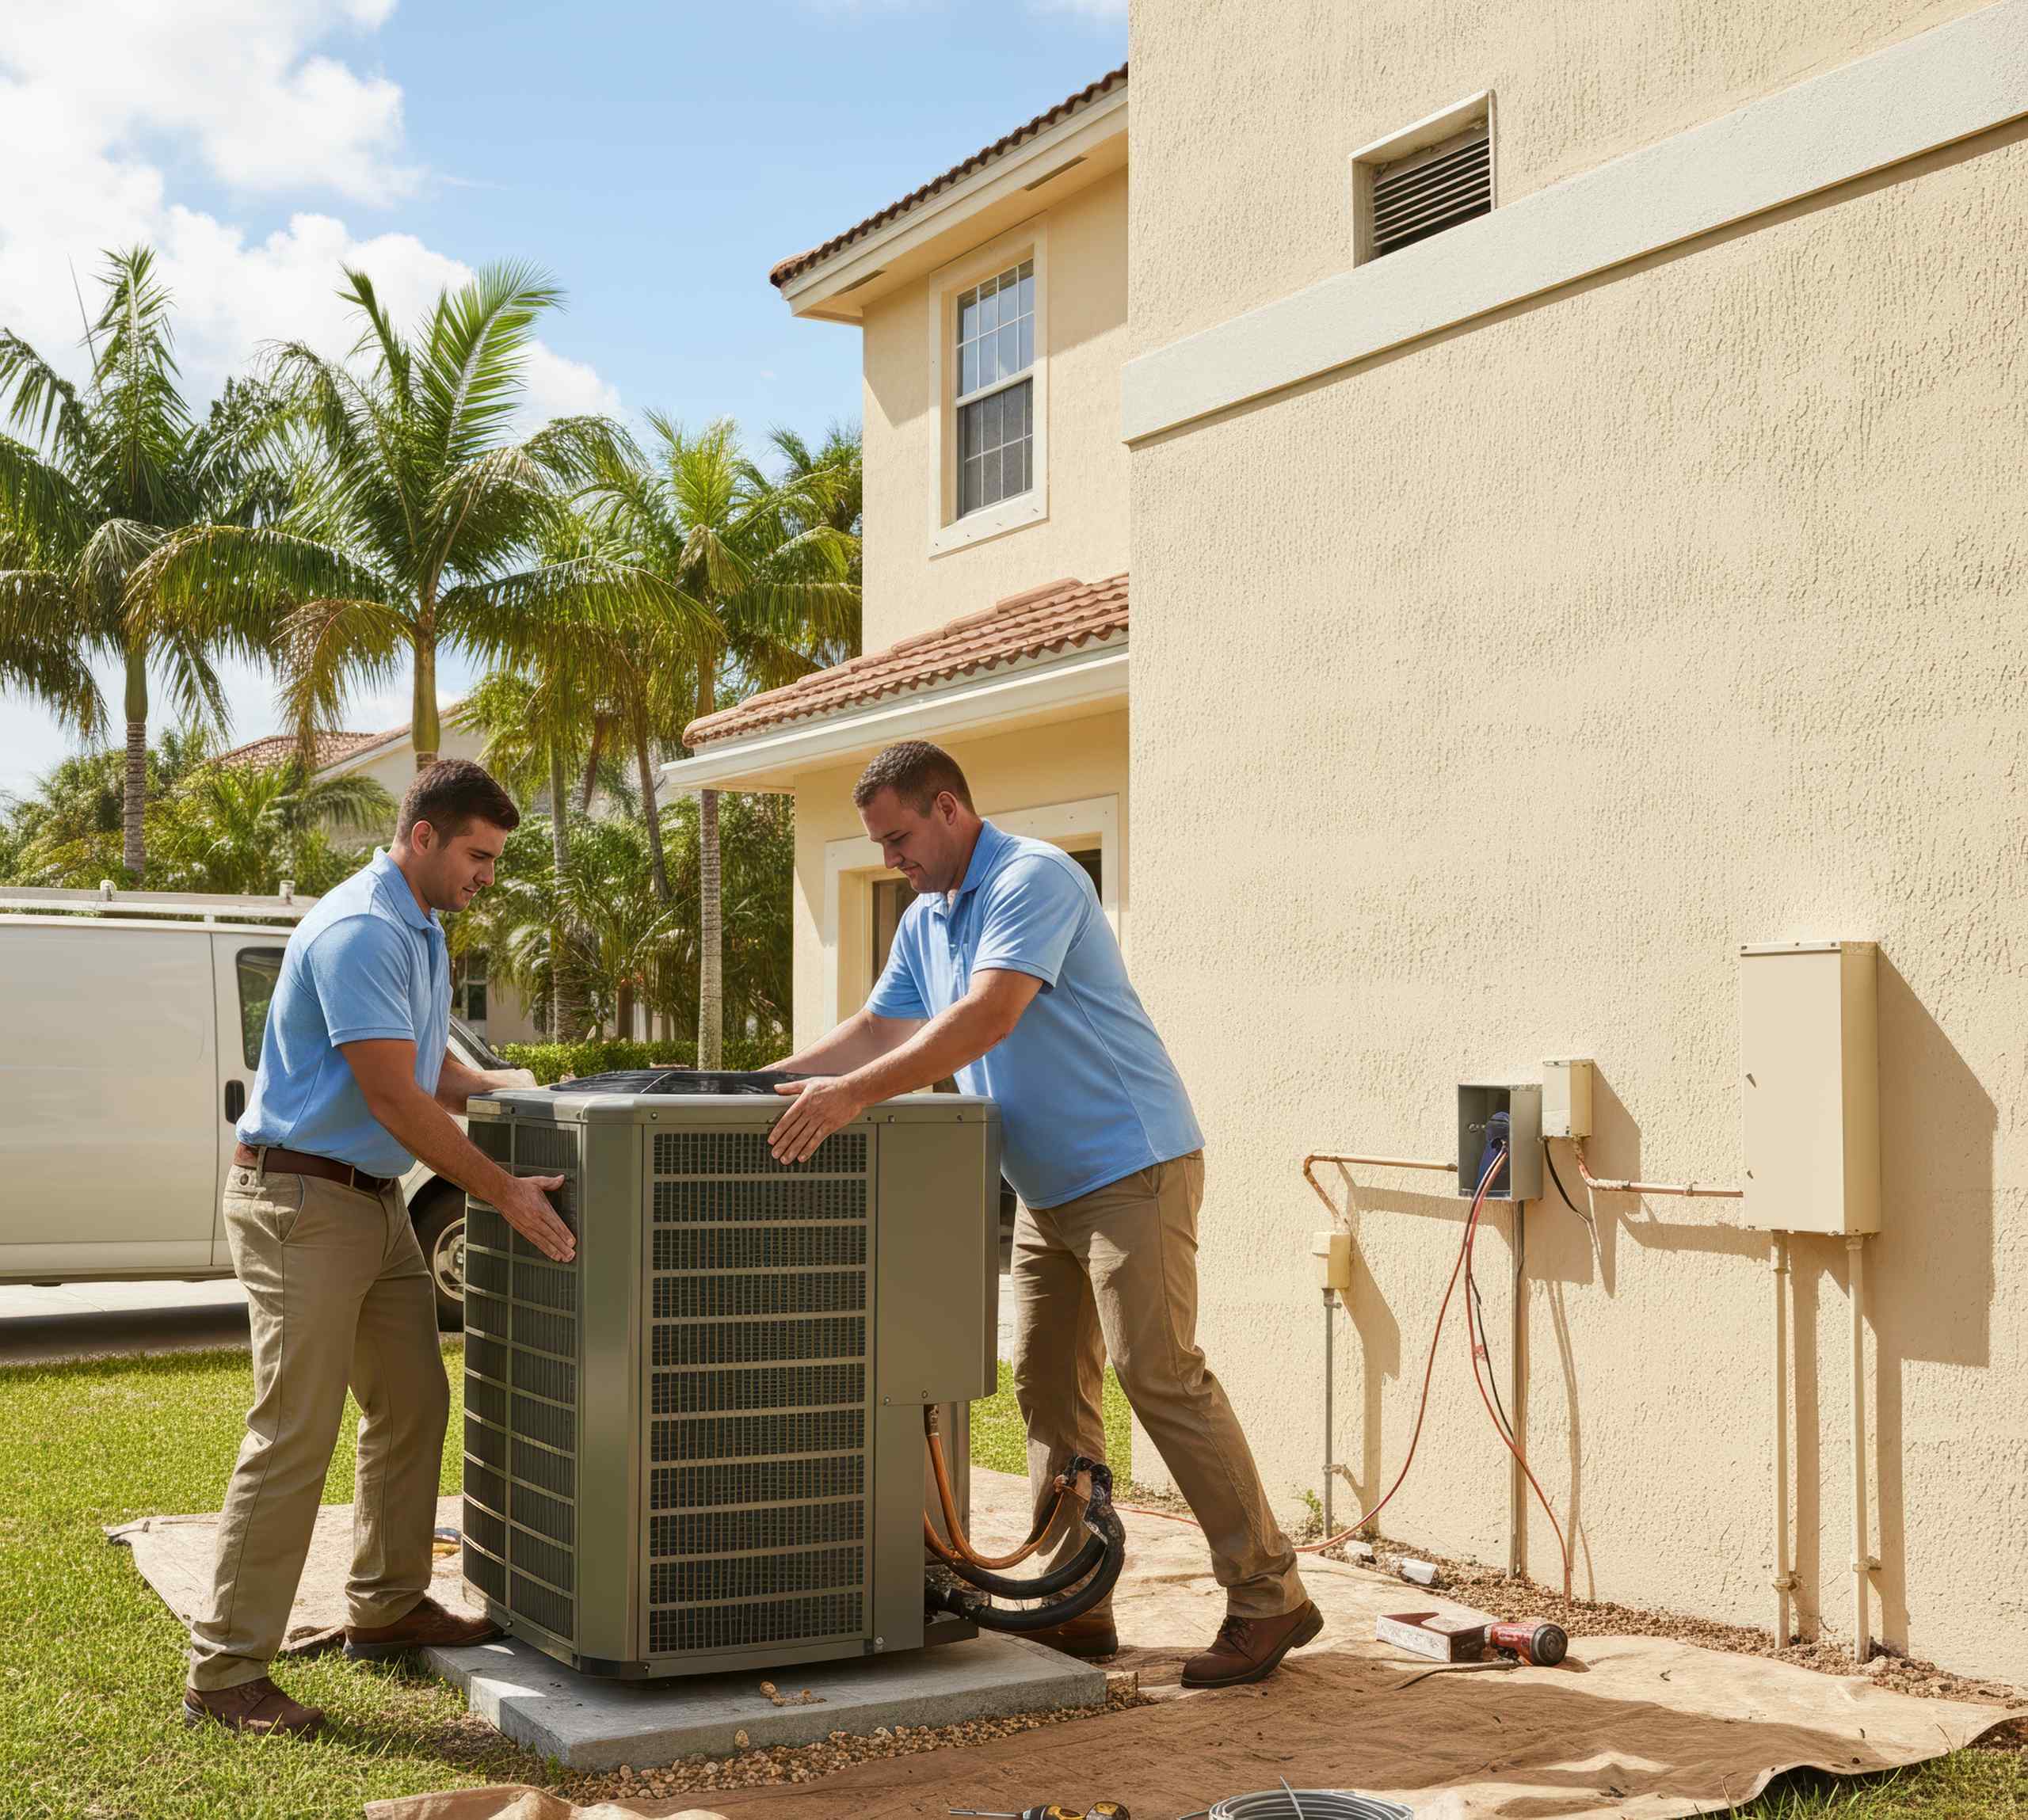
The outdoor condenser must be placed in a location with unobstructed airflow, away from debris, dryer vents, or dense landscaping. It should be leveled on a concrete pad or composite mounting stand to ensure the compressor oil lubricates the internal components correctly. The indoor evaporator coil and air handler are then positioned according to the ductwork layout, ensuring sufficient clearance for future maintenance and filter replacement.
2. Refrigerant Line Set Installation
The line set—a pair of copper tubes connecting the indoor and outdoor units—must be installed with extreme care. Professionals use high-quality, insulated copper tubing to prevent energy loss and sweating. During this phase, brazing (a form of welding) is typically required to join the lines. Nitrogen purging is performed during the brazing process to prevent the oxidation of the copper’s interior, which can lead to clogs in the expansion valve later.
3. Electrical Connections and Thermostat Integration
Once the mechanical components are secure, the electrical connections are finalized. This includes hard-wiring the condenser to the disconnect box and connecting the low-voltage thermostat wire to the control board. In 2026, many installations involve integrating smart thermostats or communicating systems that allow for remote diagnostics and advanced scheduling.
4. Evacuation and System Charging
Before the system is activated, it must be "pulled into a vacuum." Using a vacuum pump, technicians remove all moisture and non-condensable gases from the lines. Moisture is the enemy of an A/C system; it can react with refrigerant to form acids that destroy the compressor windings. Once the vacuum is verified via a digital micron gauge, the refrigerant (which may be pre-charged in the condenser or added on-site) is released into the system, and the pressures are tested against the manufacturer’s specifications.
Comparative Overview of System Types
The choice of system dictates the installation complexity and the infrastructure requirements.
| System Type | Installation Complexity | Primary Benefit | Ideal Application |
|---|---|---|---|
| Central Air (Split) | High | Uniform cooling, whole-home | Homes with existing ductwork |
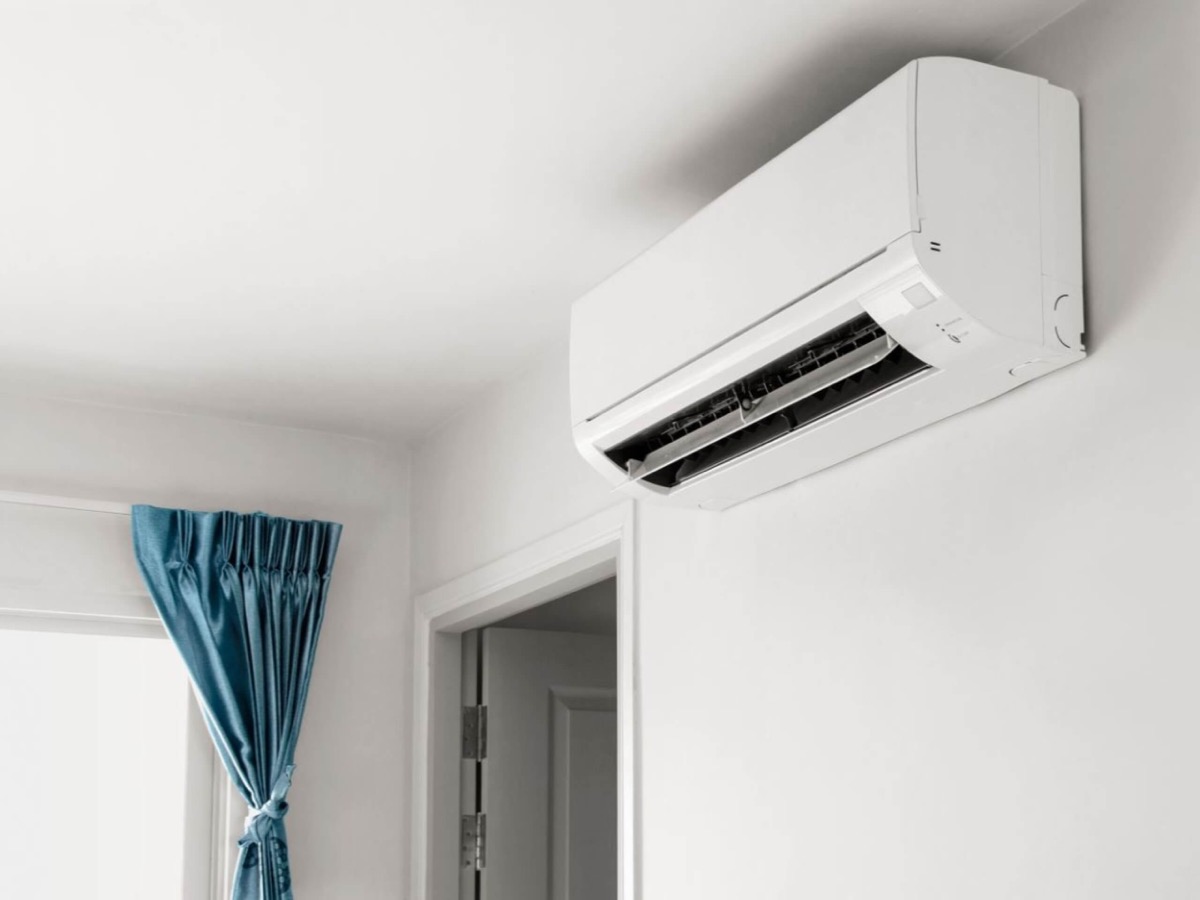
| Ductless Mini-Split | Medium | High efficiency, zone control | Additions, homes without ducts |
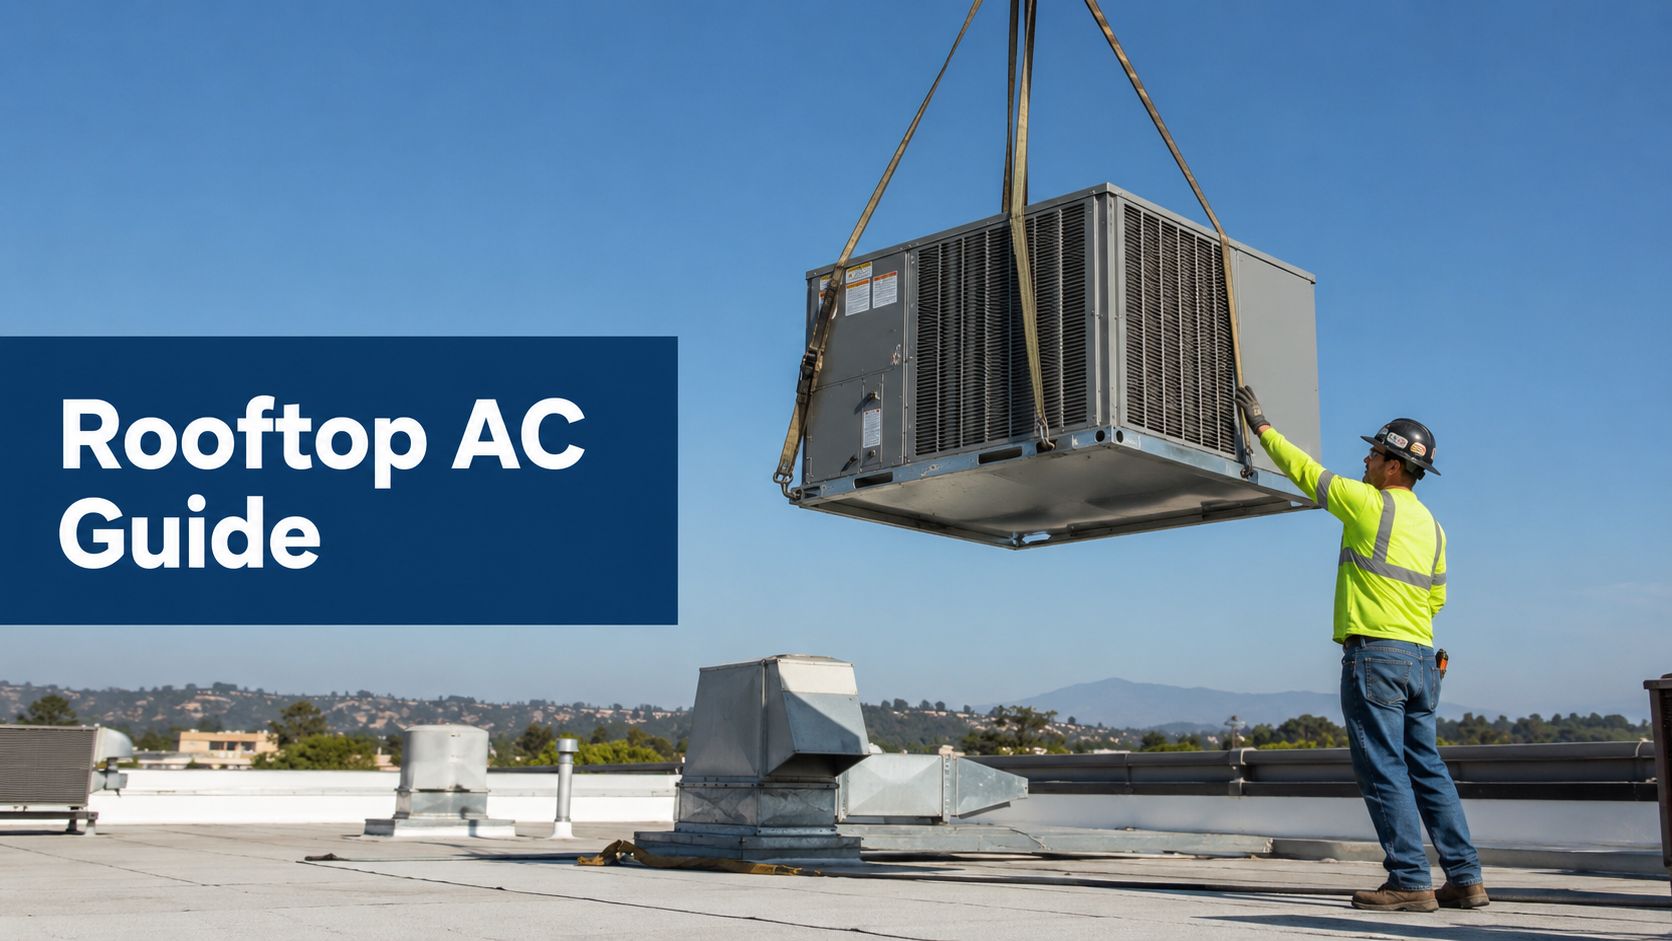
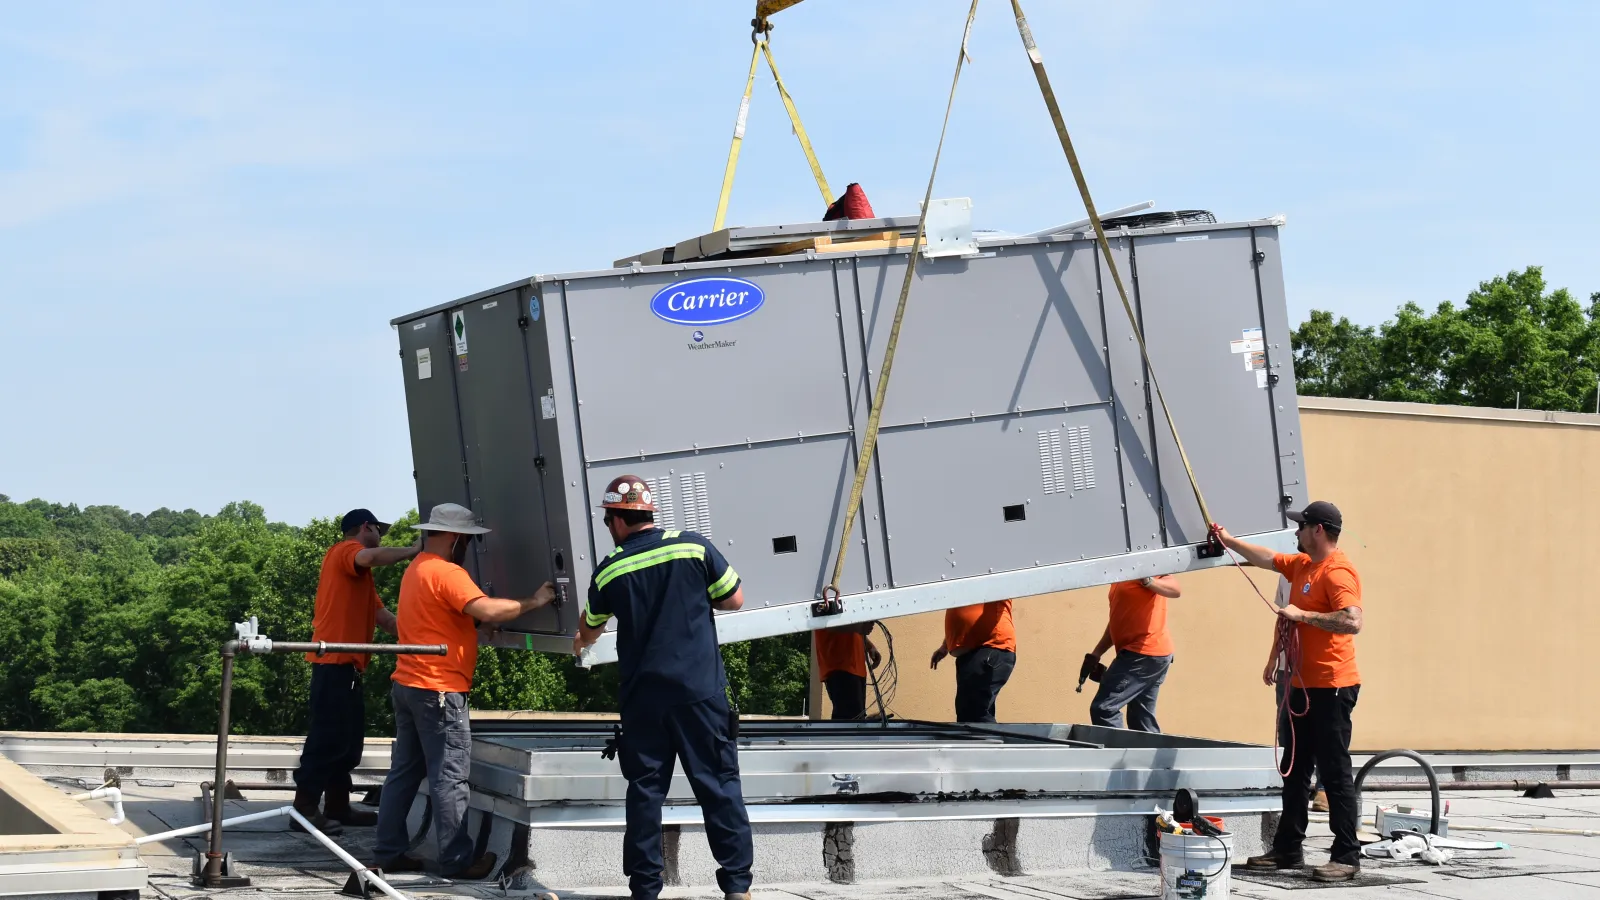
| Packaged Unit | Medium | Compact footprint | Slab-on-grade or rooftop installs |
| High-Velocity | Very High | Fits in small, historic cavities | Older homes with structural limits |
Regulatory Compliance and Safety Considerations
In the United States, A/C installation is heavily regulated. Most municipalities require a permit for the installation of a new central heating and cooling system. This process triggers an inspection by a building official to verify that the work meets the local adopted version of the International Residential Code (IRC).
Safety Hazards
- Refrigerant Exposure: Modern refrigerants are under high pressure and can cause frostbite upon contact. Improper handling is a violation of Environmental Protection Agency (EPA) Section 608 regulations.
- High Voltage: Touching live 240-volt circuits can result in severe injury or death. Qualified technicians utilize lockout/tagout procedures during the installation process.
- Condensate Drainage: Improperly sloped drain lines lead to water leakage, which can cause significant structural rot or mold growth within walls and ceilings.
Common Installation Mistakes to Avoid
Even with professional installation, errors can occur if standards are not strictly followed. Homeowners should be aware of these common red flags:
- Improper Brazing: Failure to flow nitrogen while brazing leaves carbon soot inside the copper lines, which travels through the system and blocks the metering device.
- Skipping the Vacuum Test: Some installers rely on a "triple evacuation" or a quick pump-down, which does not sufficiently remove moisture. A true vacuum test must reach 500 microns or lower and hold that pressure.
- Ignoring Ductwork: Installing a high-efficiency unit onto legacy, leaking, or undersized ductwork is a common mistake. If the airflow (measured in Cubic Feet per Minute) is restricted, the system will never reach its rated efficiency.
- Inadequate Insulation: If the suction line (the larger copper pipe) is not insulated thoroughly up to the service valves, the system will lose efficiency and potentially form ice blocks.
Frequently Asked Questions
Do I need to replace my furnace when I install a new A/C unit?
While you do not strictly have to replace the furnace, it is highly recommended. The evaporator coil—the part of the A/C system that sits atop the furnace—must be matched to the furnace's blower motor. A mismatched pair often results in poor airflow, reduced efficiency, and uneven cooling.
How long does a professional A/C installation usually take?
A standard residential central A/C installation typically takes between one and two full days. This includes the removal of the old equipment, modification of existing electrical or ducting, mounting the new units, and the time-consuming process of evacuation and testing.
What is the expected lifespan of a new A/C installation in 2026?
With proper annual maintenance, a high-quality A/C unit should last between 15 and 20 years. However, this relies heavily on maintaining a clean airflow path, replacing filters monthly, and ensuring the outdoor coil remains free of debris.
Are "communicating" systems worth the extra cost?
Communicating systems allow the indoor air handler and the outdoor condenser to "talk" to each other via a digital signal. This allows for fine-tuned adjustments to blower speed and compressor output. For climates with high humidity or extreme temperature swings, these systems offer superior comfort and energy savings compared to standard single-stage equipment.
Why is my new A/C unit noisier than expected?
Noise is often a symptom of vibration transmission or improper duct sizing. If the unit is mounted on a surface that carries sound (like a wooden deck), vibration dampening pads are necessary. If the noise is coming from the ducts (a "whistling" sound), it indicates that the ductwork is too small for the volume of air the blower is trying to push.
Professional Guidance and Next Actions
The installation of an A/C unit is a long-term investment in your home’s infrastructure. Before soliciting quotes, request that contractors provide proof of their EPA certification and verify their local licensing status. When reviewing proposals, prioritize contractors who perform a manual load calculation rather than those who simply guess the size based on the previous unit's capacity.
Once the installation is complete, insist on a commissioning report that includes recorded pressures, temperatures, and electrical readings. This documentation serves as a baseline for any future troubleshooting and ensures the system was installed according to the manufacturer’s technical specifications, which is often a requirement to keep the manufacturer's limited warranty valid.