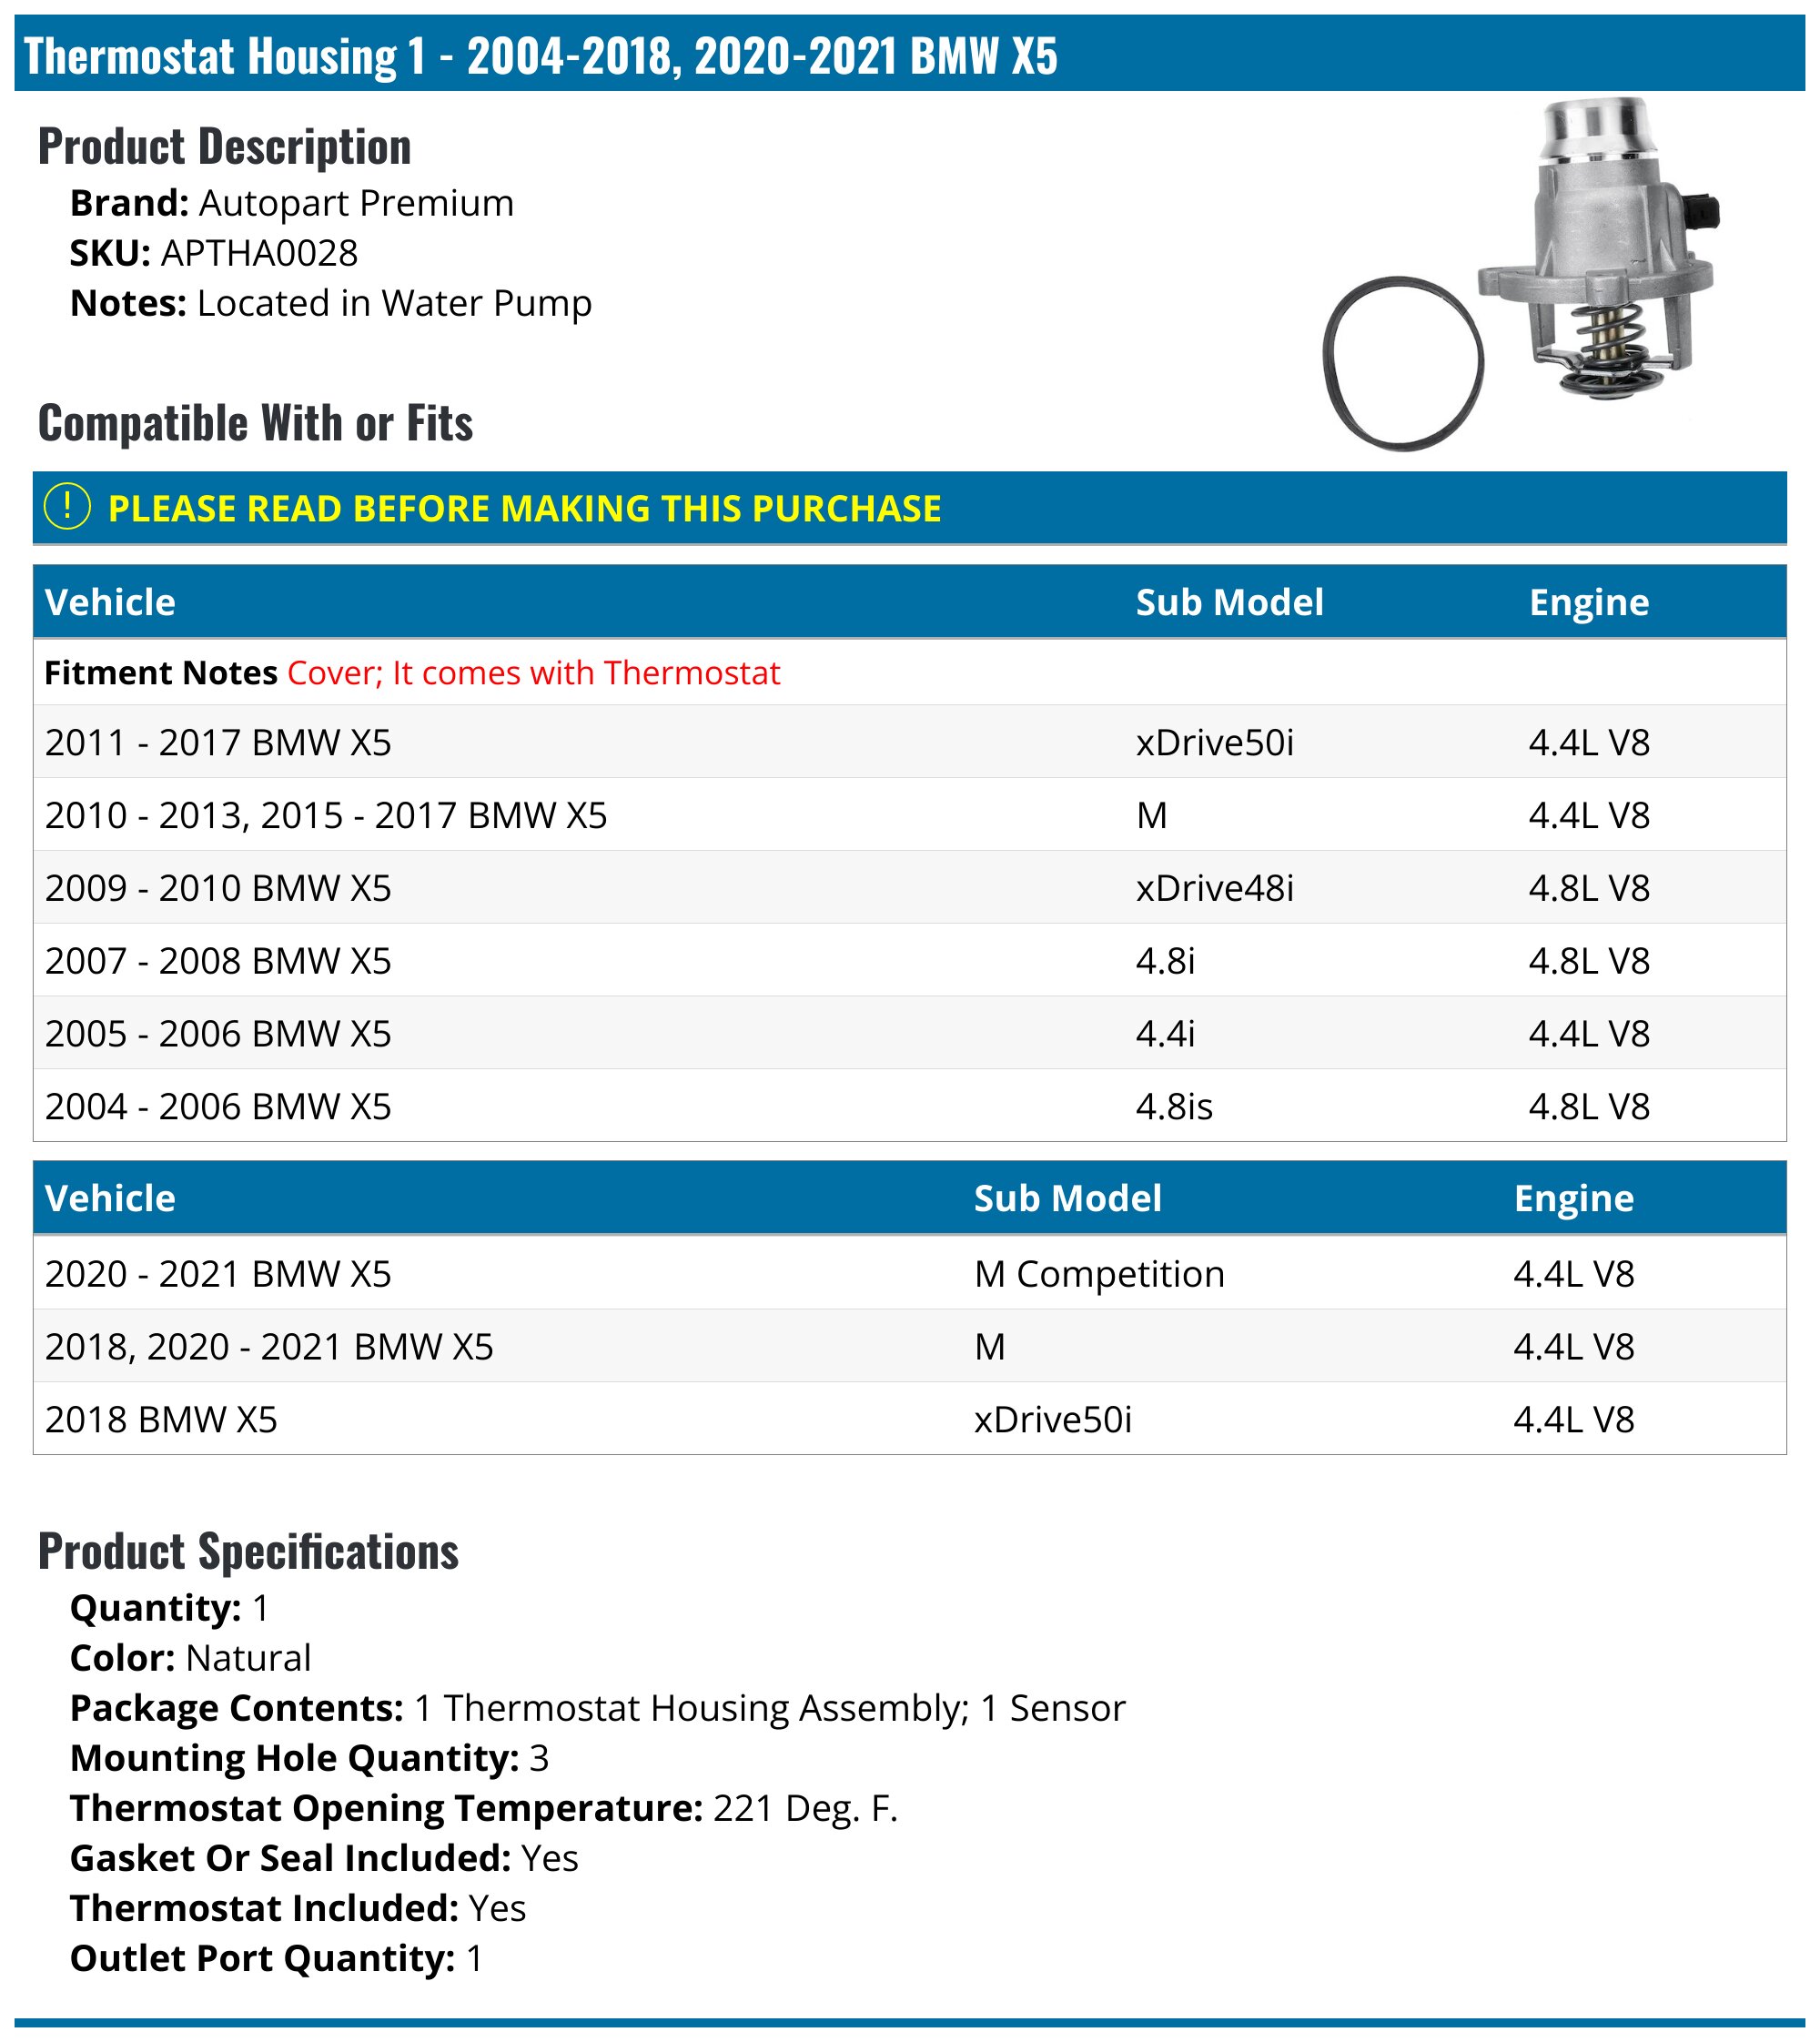
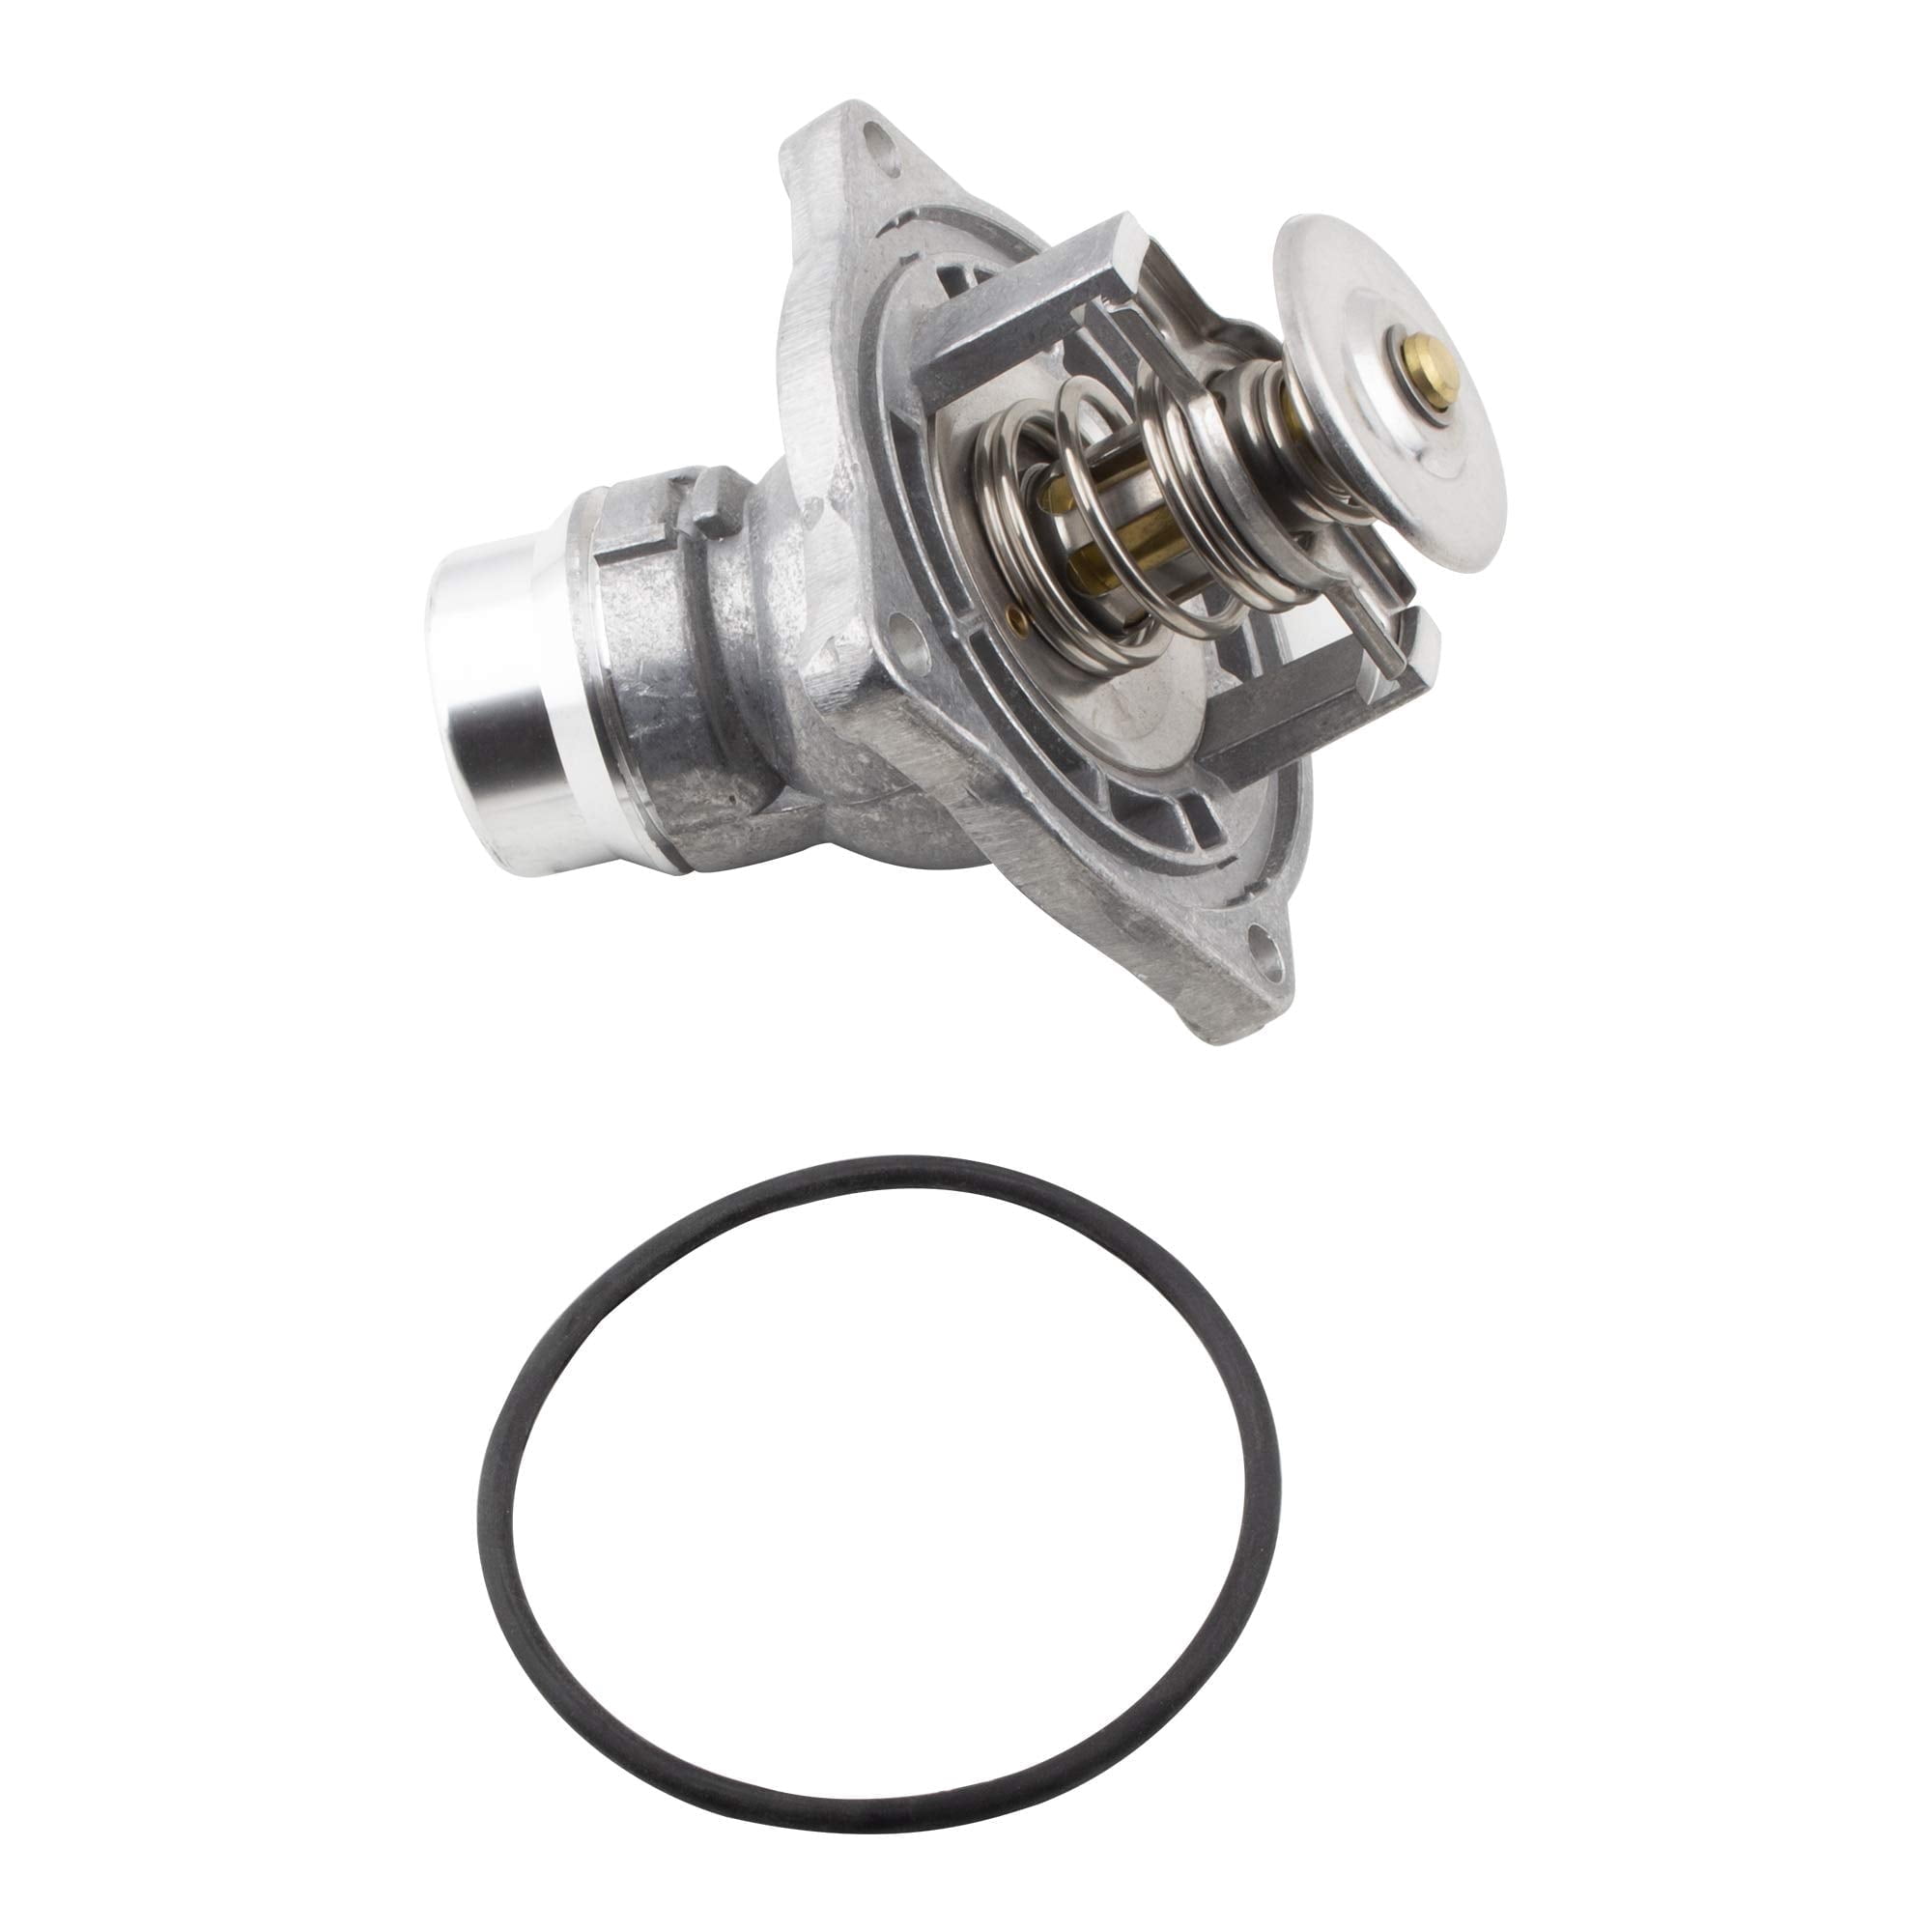
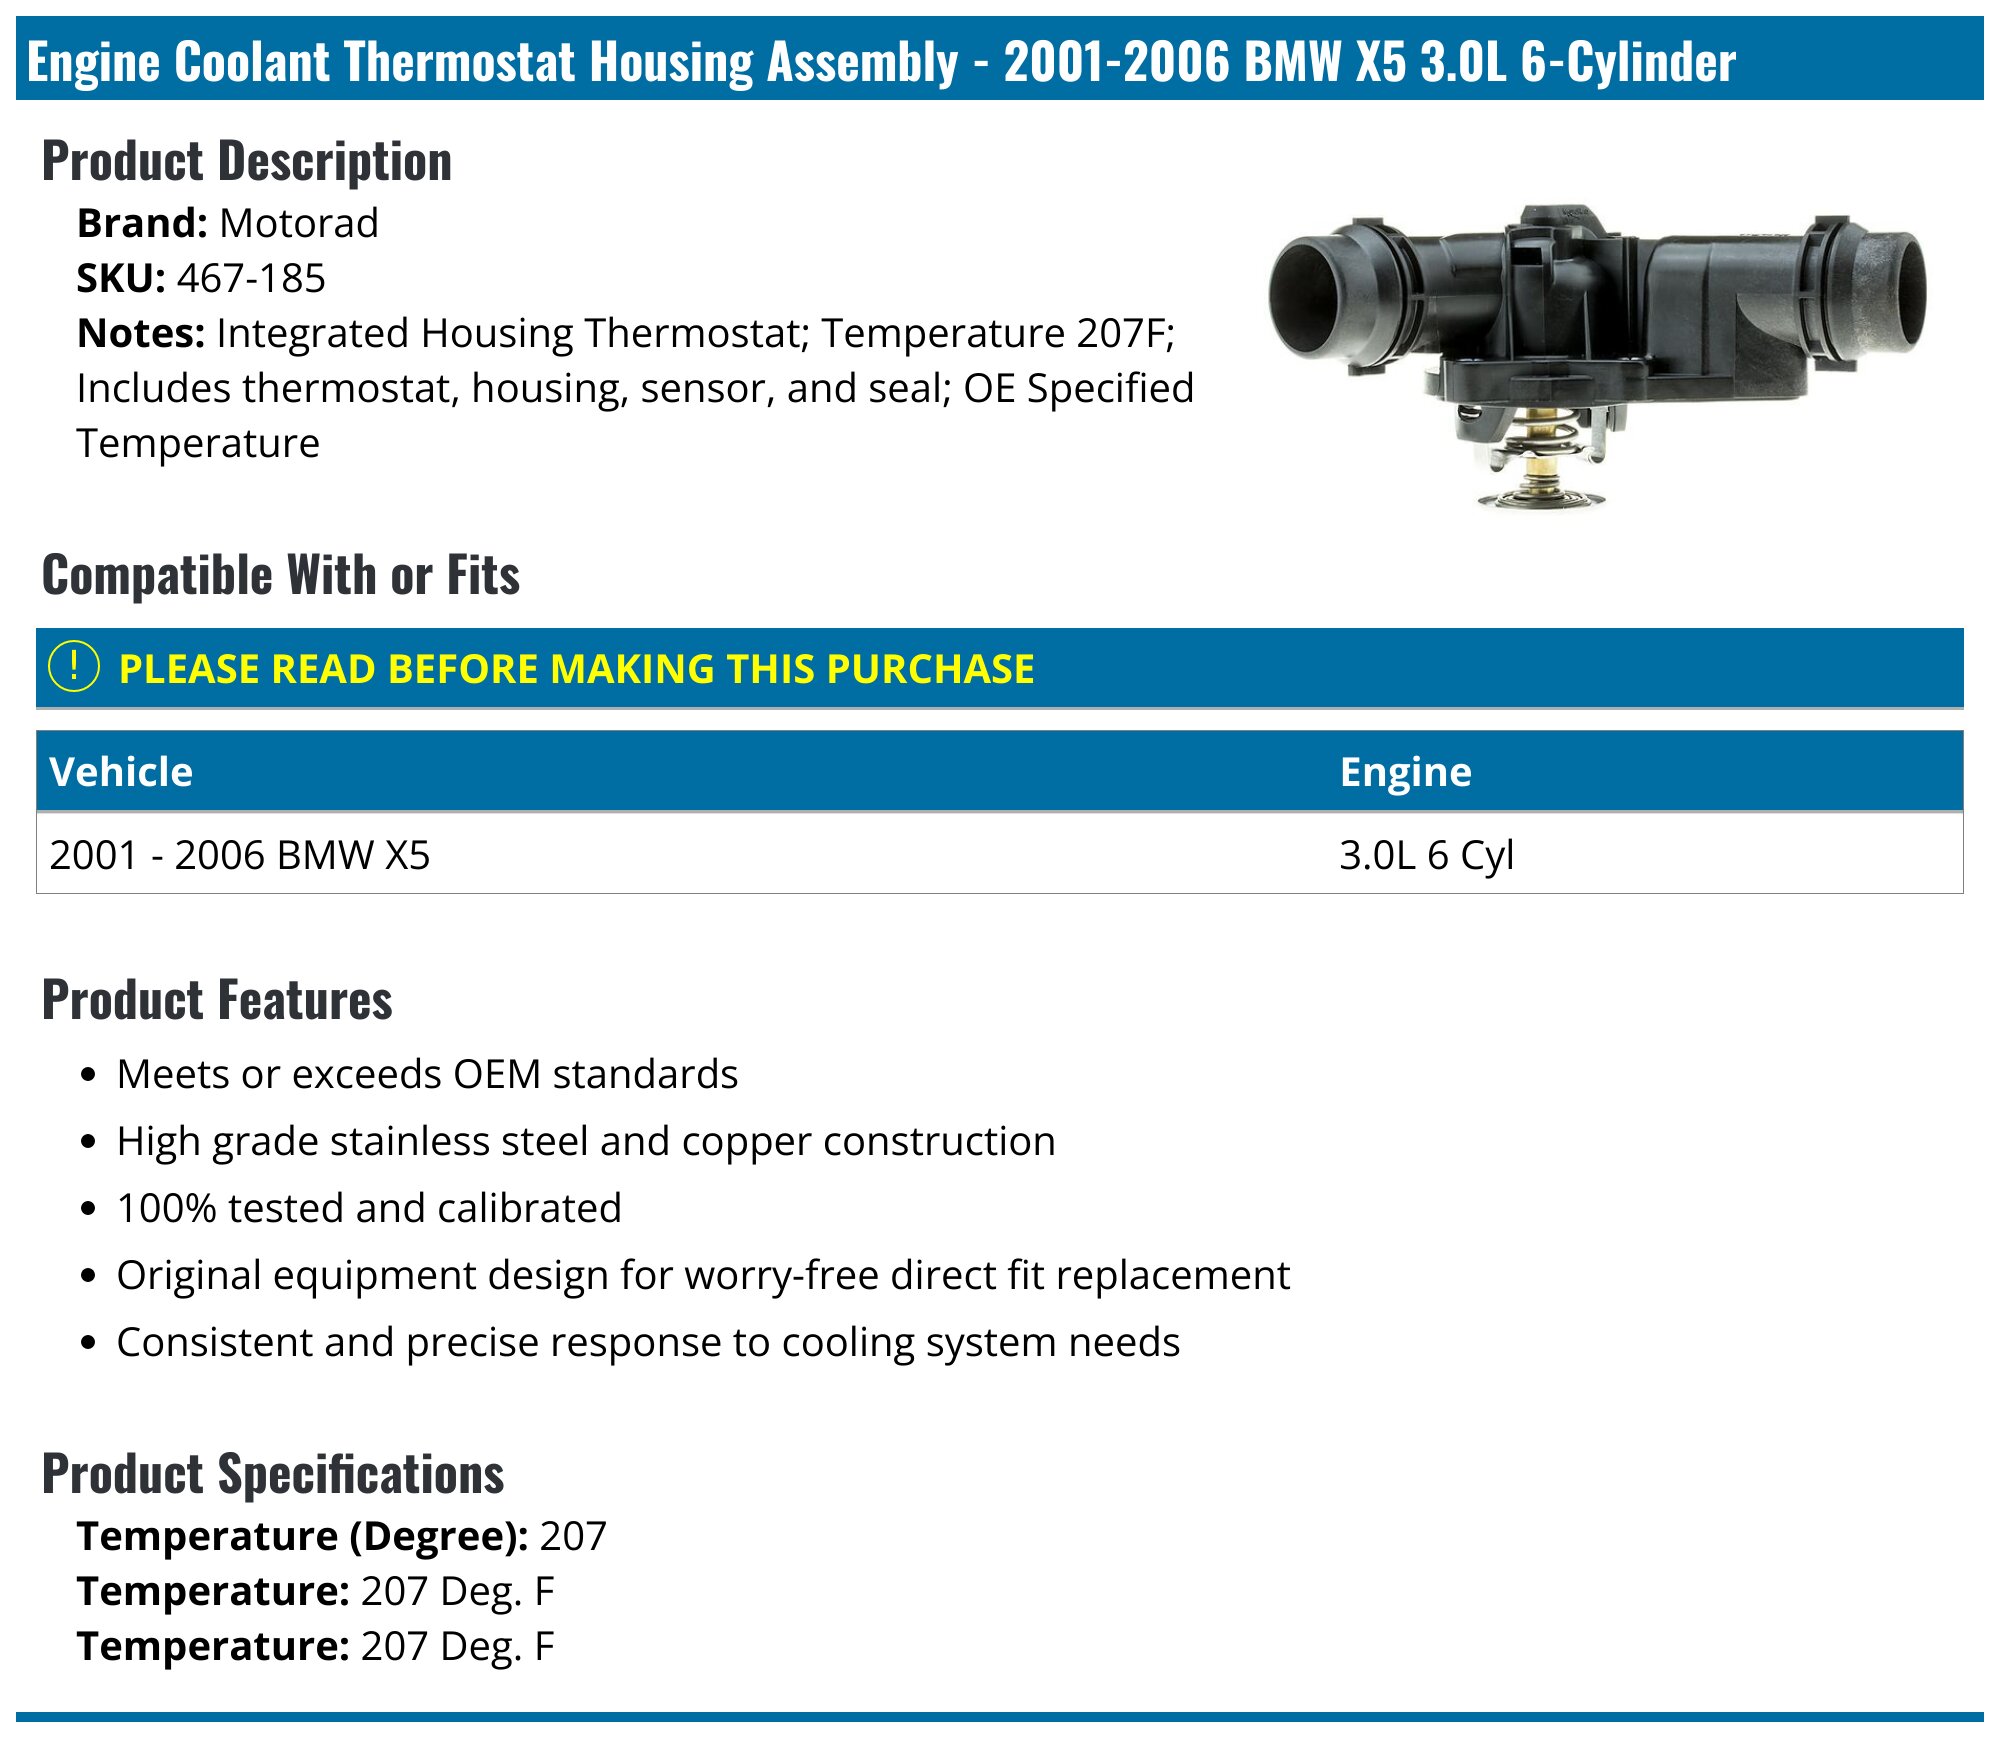
Replacing the thermostat in a BMW X5 involves draining the engine coolant, removing the air intake components to access the cooling housing, swapping the old unit for a new map-controlled thermostat, and performing a specialized electronic bleeding procedure. This essential maintenance prevents engine overheating and ensures optimal fuel efficiency and emissions control.
Understanding the BMW X5 Cooling Architecture
Before picking up a wrench in 2026, it is vital to understand why the BMW X5 cooling system is more complex than a standard vehicle. Most BMW X5 models, ranging from the E70 and F15 to the more modern G05, utilize a map-controlled thermostat. Unlike traditional thermostats that rely solely on a wax pellet to melt and open the valve, BMW’s version is integrated with the Digital Motor Electronics (DME). The DME can trigger an internal heating element within the thermostat to open it prematurely based on driving conditions, such as high-load or high-speed scenarios.
When this system fails, it typically results in one of two scenarios: the engine runs too cold (leading to poor fuel economy and carbon buildup) or too hot (risking catastrophic head gasket failure). Common diagnostic codes like P0128 (Coolant Temperature Below Thermostat Regulating Temperature) often indicate that the thermostat is stuck open. Conversely, a "Coolant Temperature High" warning on your iDrive display usually points to a thermostat stuck closed or a failing electric water pump.
Essential Tools and Parts Checklist
To complete this job effectively, you must have the correct equipment. BMW uses specific fasteners and fluids that are not always found in a generic tool kit.
- Replacement Thermostat: Ensure it is an OEM or high-quality aftermarket part (like Mahle or Wahler) specific to your engine code (N52, N55, B58, or N63).
- BMW Genuine Coolant: Use the Blue (G48) or Green (HT-12) concentrate, depending on your X5’s production year, mixed 50/50 with distilled water.
- E-Torx Socket Set: BMW uses external Torx bolts for the thermostat housing. You will specifically need E10 and E12 sockets.
- Hose Clamp Pliers: To handle the quick-connect fittings and standard worm-gear clamps.
- Torque Wrench: Essential for the small aluminum or steel bolts that can easily snap if over-tightened.
- Catch Pan: Capable of holding at least 10 liters of fluid.
Step 1: System Depressurization and Coolant Drainage
The first phase of the replacement is safely removing the old coolant and preparing the vehicle for surgery. Safety is paramount here; never attempt to open the cooling system while the engine is hot. In 2026, many X5s feature pressurized expansion tanks that can spray scalding liquid if opened prematurely.
Once the engine is stone-cold, jack up the front of the vehicle using the designated center jacking point or the side lift pads, and secure it on jack stands. Remove the plastic underbody splash guards (belly pans) using an 8mm socket. This will reveal the bottom of the radiator and the water pump assembly.
Locate the radiator drain plug, usually found on the driver's side (left) bottom corner of the radiator. Place your catch pan underneath and slowly loosen the plug. To speed up the flow, remove the cap from the coolant expansion tank in the engine bay. Note that some modern BMW X5 models do not have a traditional radiator drain plug; in these cases, you must carefully disconnect the lower radiator hose to drain the system. Be prepared for a mess, as the fluid can splash against the frame rails.
Dispose of the old coolant responsibly. Ethylene glycol is toxic to pets and wildlife and should be taken to a local recycling center. After the flow slows to a drip, move the catch pan directly under the thermostat/water pump area, as more fluid will escape when the thermostat is eventually unbolted.
Step 2: Component Removal and Path Clearance
Accessing the thermostat in a BMW X5 is often the most time-consuming part of the process. Depending on your specific engine (inline-6 vs. V8), the thermostat is generally located on the lower passenger side of the engine block, often tucked behind or attached to the electric water pump.
To gain clear access, you will likely need to remove the air intake muffler and the ducting leading to the throttle body. Use a flat-head screwdriver or a 6mm nut driver to loosen the clamps on the intake boots. Disconnect the Mass Air Flow (MAF) sensor connector carefully, ensuring you do not touch the internal sensor wire.
Next, identify the hoses connected to the thermostat housing. Most X5s use quick-connect fittings. To remove these, use a small flat-head screwdriver or a pick tool to pull the metal retaining clip upward. Once the clip is "clicked" into the open position, wiggle the hose firmly away from the housing. Do not pry against the plastic ends, as they become brittle with age and can crack easily.
If your X5 is an N55 or B58 engine model, space will be tight. You may need to unbolt the electric water pump from its bracket (but leave its hoses connected) to allow enough "play" to reach the thermostat bolts. This "wiggle room" is crucial for avoiding the frustration of stripped bolt heads in confined spaces.
Step 3: Thermostat Unit Replacement
With the hoses disconnected and the path clear, use your E-Torx sockets to remove the bolts securing the thermostat housing to the water pump or the engine block. In many BMW configurations, the thermostat is bolted directly to the water pump, and the two units are removed as a semi-joined assembly.
Once the old unit is out, inspect the mounting surfaces. Any corrosion or old gasket material must be cleaned off using a scotch-brite pad or a clean rag. Even a microscopic piece of debris can cause a high-pressure leak once the system is pressurized.
Take your new thermostat and ensure the rubber O-ring or gasket is properly seated in its groove. It is often helpful to apply a very light coating of fresh coolant to the O-ring to help it slide into place without pinching. Align the new housing and start the bolts by hand. Never use an impact wrench for this step.
Using a torque wrench, tighten the bolts to the manufacturer’s specification. For most BMW X5 models, this is approximately 8 Nm to 10 Nm for M6 bolts. Over-tightening will snap the bolt or crack the plastic housing, requiring a much more expensive repair. Reattach the coolant hoses by pushing them onto the new thermostat until you hear the metal clip "click" into place. Give each hose a firm tug to verify it is locked.
Step 4: Reassembly and the Electronic Bleeding Procedure
Reinstall the air intake components and the underbody splash guards in the reverse order of removal. Ensure all electrical connectors, especially the MAF sensor and the thermostat's heating element plug, are securely clicked into place.
Filling the system on a BMW is not as simple as pouring in fluid and starting the car. Because the X5 uses an electric water pump, you must perform a specific "Self-Bleeding" procedure to remove air pockets. Trapped air can lead to localized overheating and engine damage.
- Mix your BMW-approved coolant with distilled water at a 50/50 ratio.
- Fill the expansion tank until the level reaches the "Max" mark.
- Replace the expansion tank cap and tighten it.
- Connect a battery charger to the vehicle. The bleeding process takes about 10–12 minutes and can drain a weak battery.
- Turn the ignition on (press the Start button without your foot on the brake).
- Set the climate control to the maximum temperature and the fan speed to the lowest setting.
- Press the accelerator pedal to the floor and hold it for 10 to 15 seconds.
- You should hear the electric water pump activate. It will run through a series of cycles, varying speeds to push air out of the heater core and engine block.
- Wait until the pump stops (approx. 12 minutes). Open the cap carefully and top off the fluid to the "Max" mark again.
| X5 Generation | Typical Engine | Thermostat Type | Difficulty (1-10) |
|---|---|---|---|
| E53 (2000-2006) | M54 / N62 | Mechanical/Map-Controlled | 4 |
| E70 (2007-2013) | N52 / N55 / N63 | Electric Map-Controlled | 6 |
| F15 (2014-2018) | N55 / N63 / B57 | Electric Map-Controlled | 7 |
| G05 (2019-2026) | B58 / N63 / S63 | Integrated Thermal Module | 8 |
Troubleshooting Common Issues After Replacement
Even after a successful installation, you might encounter minor hurdles. The most common is a "Low Coolant" warning within 24 hours of the repair. This is usually not a leak but rather the result of remaining air bubbles settling out of the system. Simply top off the reservoir (when cold) with a 50/50 mix.
If you experience a leak at the quick-connect fittings, it is often because the internal O-ring inside the hose was damaged during removal. In 2026, many high-mileage X5s will benefit from replacing the main radiator hoses simultaneously with the thermostat, as these O-rings are not always sold separately.
Finally, check for any lingering fault codes using an OBD-II scanner. If the P0128 code persists, ensure the electrical connector to the thermostat is fully seated and that the pins are not corroded. In rare cases, a faulty Coolant Temperature Sensor (located elsewhere on the head) can mimic thermostat failure symptoms.
Frequently Asked Questions
Can I drive my X5 with a stuck-open thermostat?
While a thermostat stuck open is less dangerous than one stuck closed, it is not recommended for long-term driving. The engine will struggle to reach its optimal operating temperature, which leads to increased fuel consumption, poor cabin heating, and potential damage to the Catalytic Converter due to a "rich" fuel mixture.
How do I know if the water pump should be replaced at the same time?
In the BMW X5, the electric water pump and thermostat are often located right next to each other and have similar lifespans (typically 60,000 to 80,000 miles). If your X5 has over 70,000 miles and you are already removing the thermostat, it is highly recommended to replace the water pump as preventative maintenance, as the labor is almost identical.
Why must I use distilled water instead of tap water?
Tap water contains minerals like calcium and magnesium. Under the high heat and pressure of a BMW cooling system, these minerals precipitate out and form scale inside the radiator and heater core passages. Distilled water is chemically pure and prevents this buildup, extending the life of your new thermostat.
What are the symptoms of a failing map-controlled thermostat?
The most common symptoms include the engine cooling fan running at high speed constantly (as a fail-safe), a "Check Engine" light with codes P0128 or P0597, and the cabin heater blowing lukewarm air even when the engine should be warm.
Is the procedure different for the BMW X5 Diesel (35d)?
Yes, the M57 and N57 diesel engines used in the X5 have a different cooling layout. The thermostat is usually more accessible on the front of the engine, but the bleeding procedure differs because some diesel models do not use the same electric water pump setup as the gasoline versions.
Final Recommendation for 2026 X5 Owners
When performing this repair in 2026, prioritize the quality of the components. The labor involved in accessing the BMW X5 thermostat is significant enough that using a "budget" part can lead to a costly repeat of the job within months. Always verify your engine's specific cooling requirements via the BMW Group Classic or official technical service bulletins if you are working on older models. For G05 owners, be aware that the "Heat Management Module" is a more complex version of a thermostat and may require specialized diagnostic software like ISTA to calibrate after installation.