Maintaining the 2.5-liter V6 engine in a 2010 Lexus IS250 requires strict adherence to manufacturer specifications, particularly regarding the oil filtration system. The vehicle uses a cartridge-style oil filter assembly that necessitates specific tools and procedures distinct from traditional spin-on canisters. Proper filter selection and installation are critical to preventing oil leaks, maintaining optimal oil pressure, and ensuring the long-term longevity of the 4GR-FSE engine platform.
Understanding the Cartridge-Style Oil Filter System
Unlike many older vehicles that utilize a metal "spin-on" canister, the 2010 Lexus IS250 employs a cartridge-style filtration system. In this design, the filter element itself is a replaceable paper-based component that sits inside a permanent aluminum housing attached to the engine block.
When you perform an oil change, you are not removing a whole unit; instead, you unscrew the housing cover, replace the internal paper element, and renew the rubber O-rings. This design is environmentally conscious as it reduces metal waste, but it requires more attention during the installation process to ensure the housing is correctly seated and sealed.
Selecting the Correct Oil Filter
When sourcing a replacement filter for your 2010 Lexus IS250, quality is paramount. Using an aftermarket filter that does not meet OEM (Original Equipment Manufacturer) specifications can lead to bypass valve malfunctions, where the filter fails to capture contaminants, or structural collapse under the high oil pressure generated by the V6 engine.
Recommended Specifications
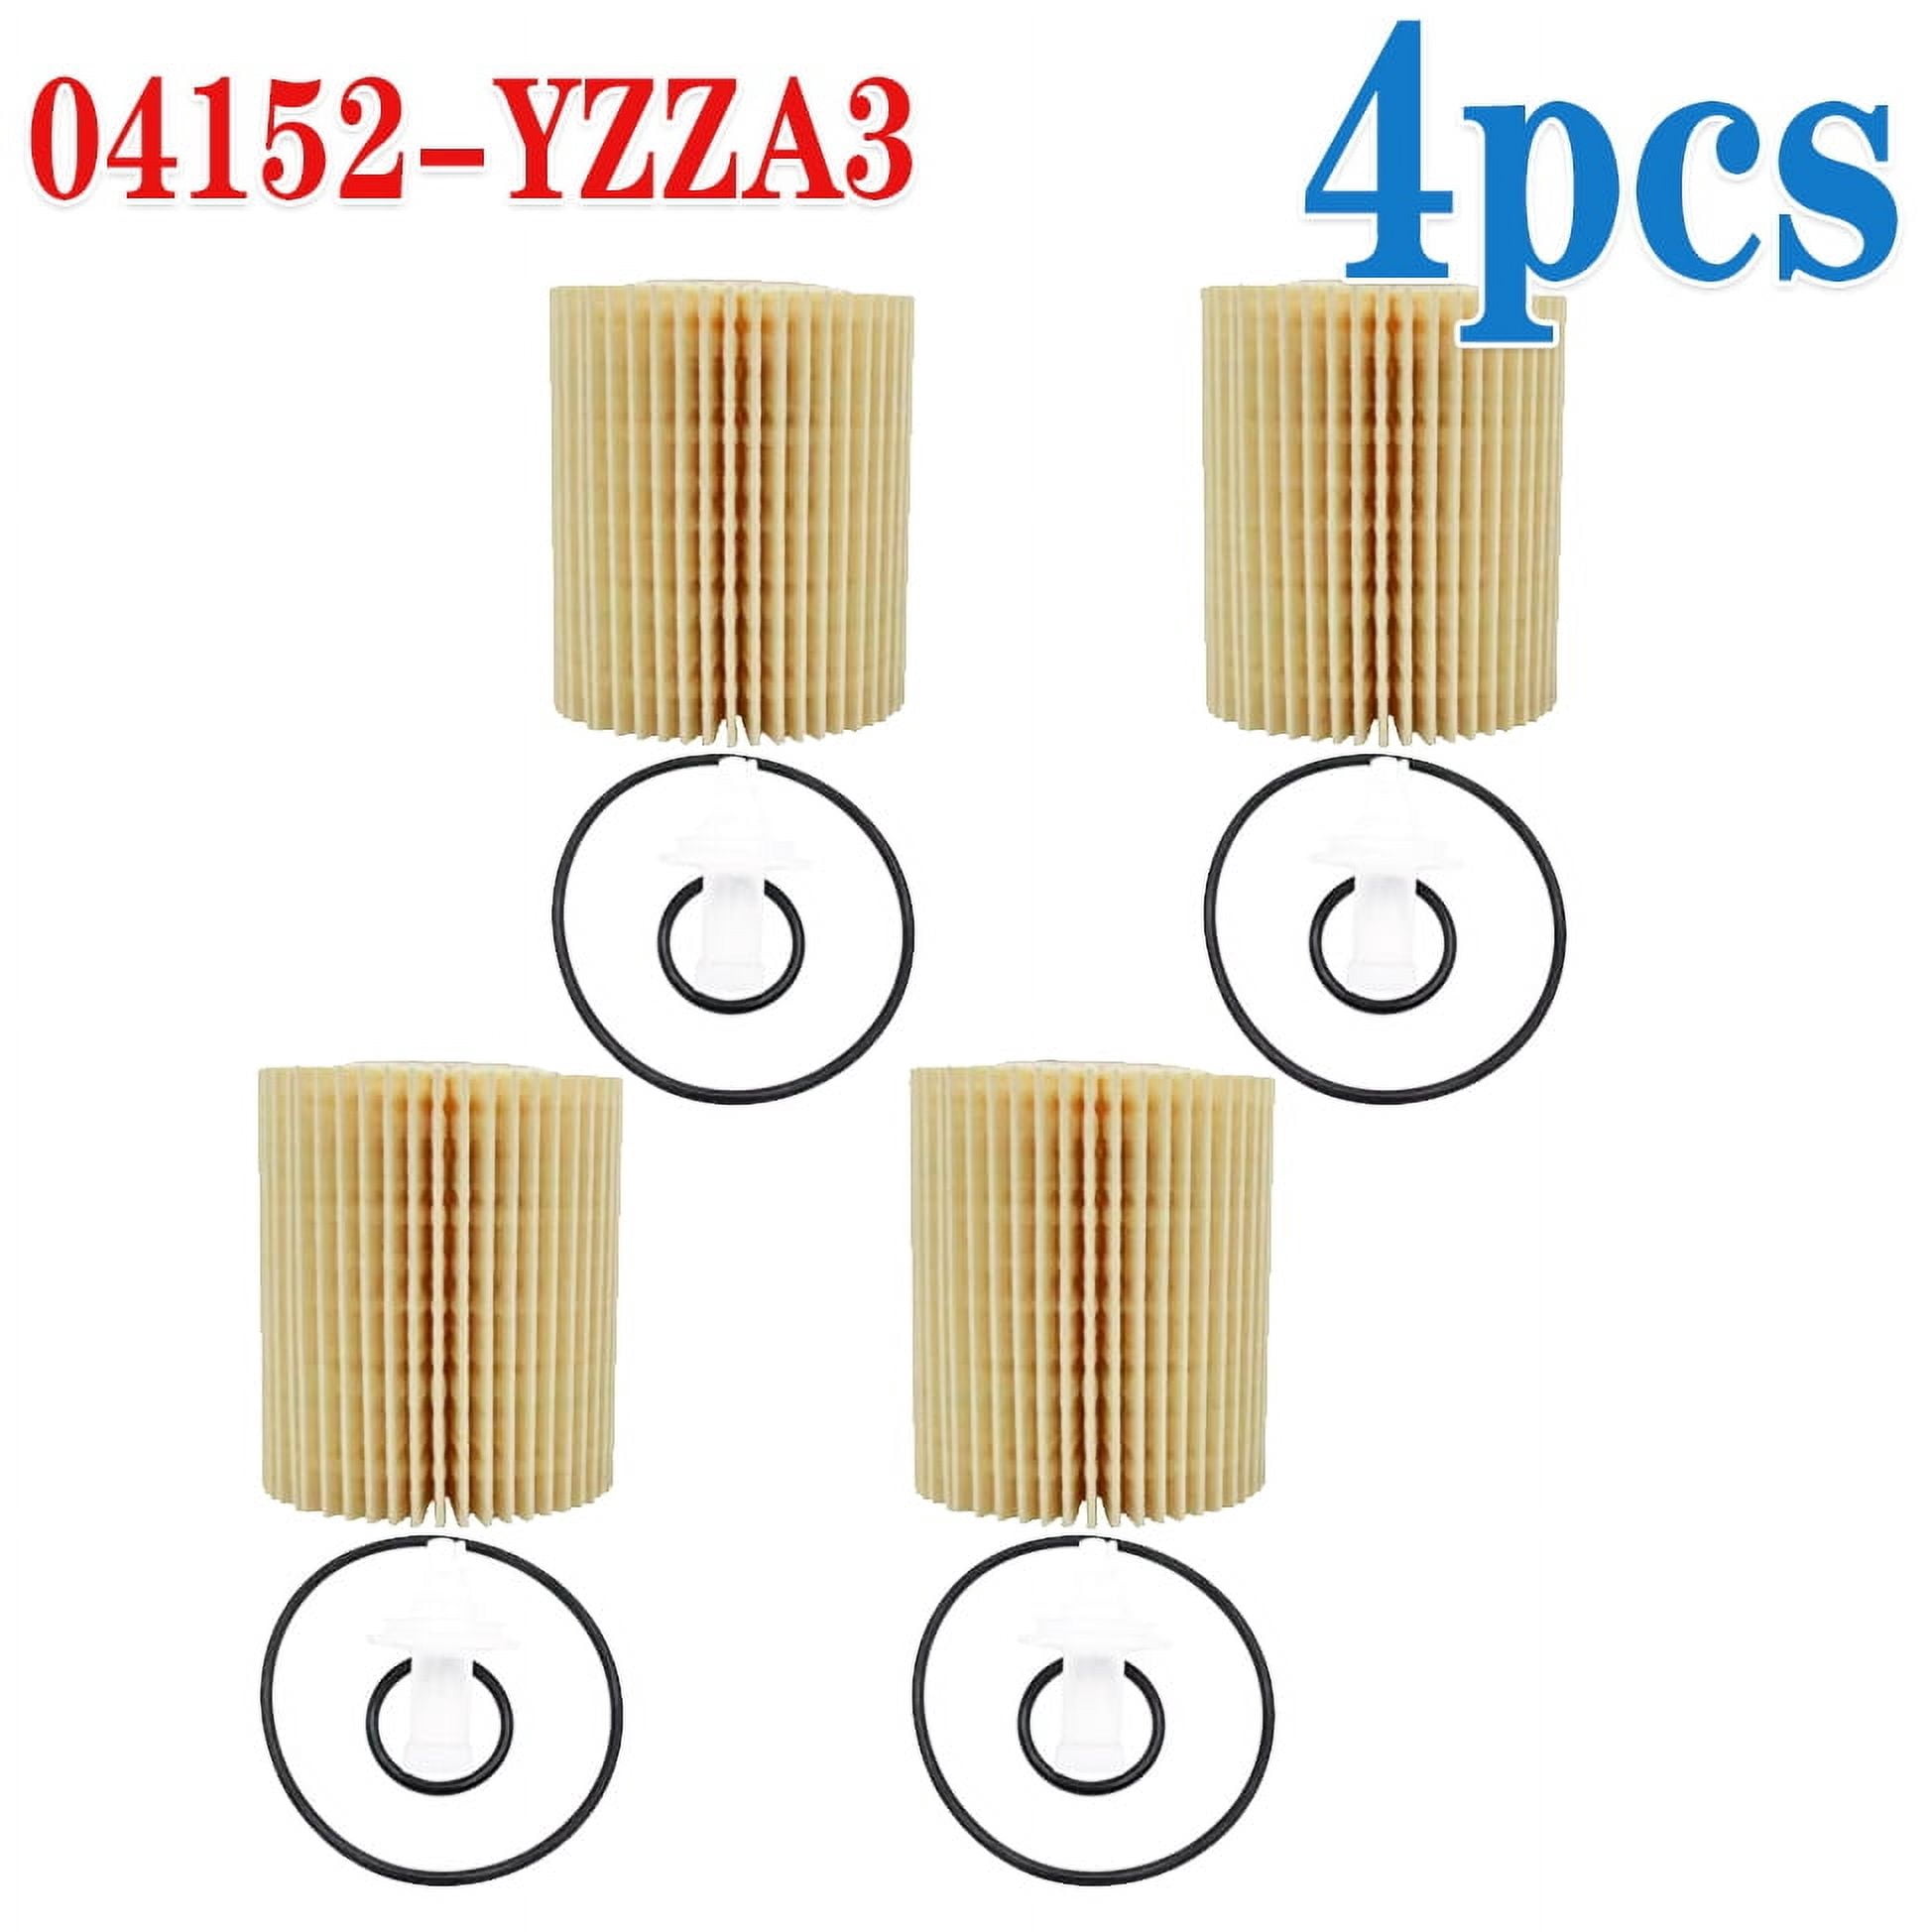
- OEM Part Number: Toyota/Lexus 04152-YZZA3 (or the updated 04152-31090).
- Design: Cartridge (paper element).
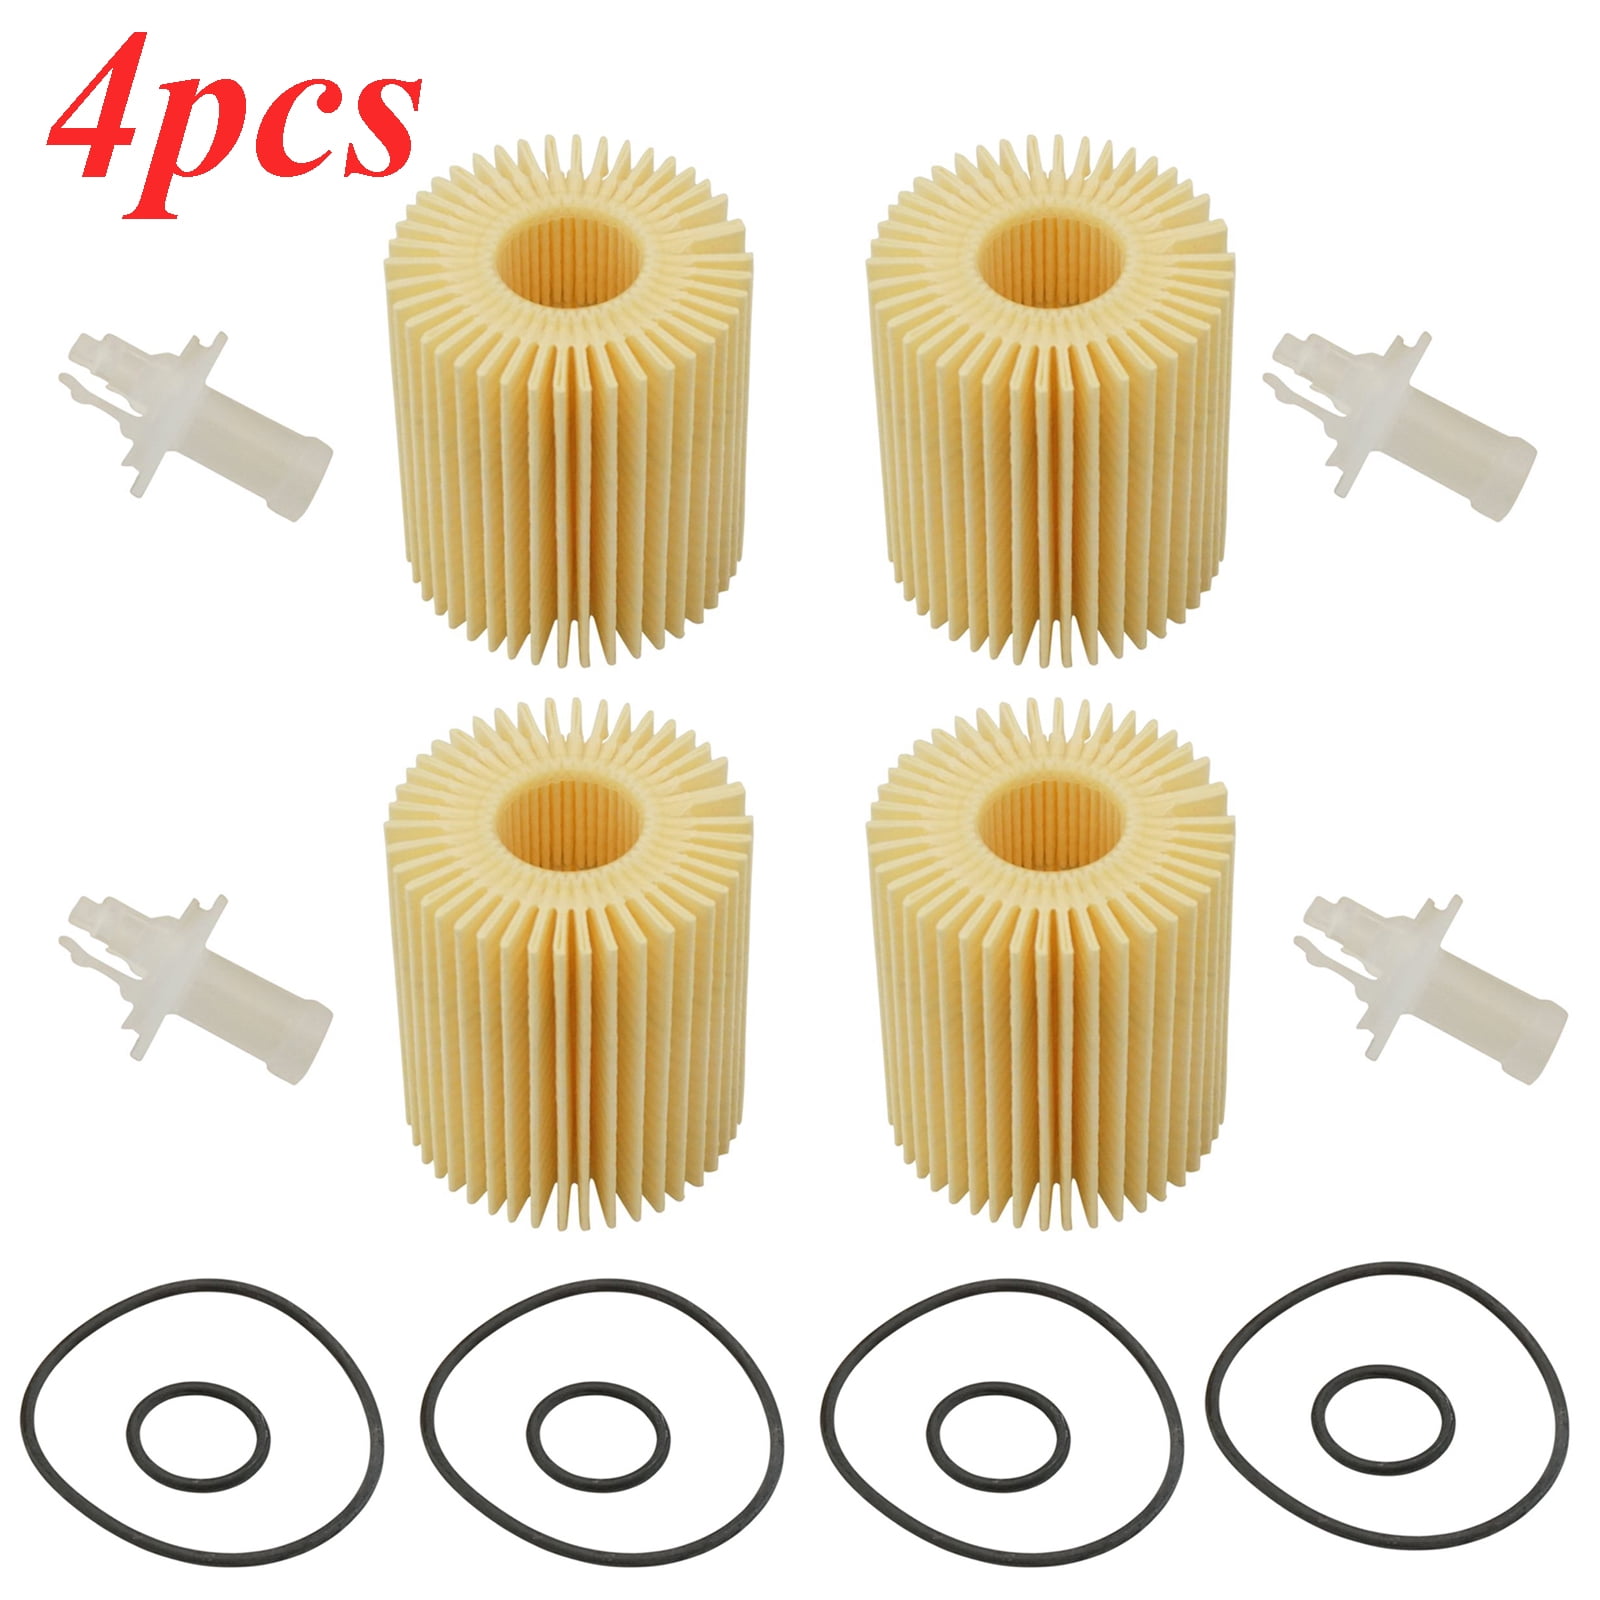
- Inclusions: Your filter kit should always include the paper element, one large black rubber O-ring (for the housing cover), and sometimes a smaller O-ring (for the oil drain tool).
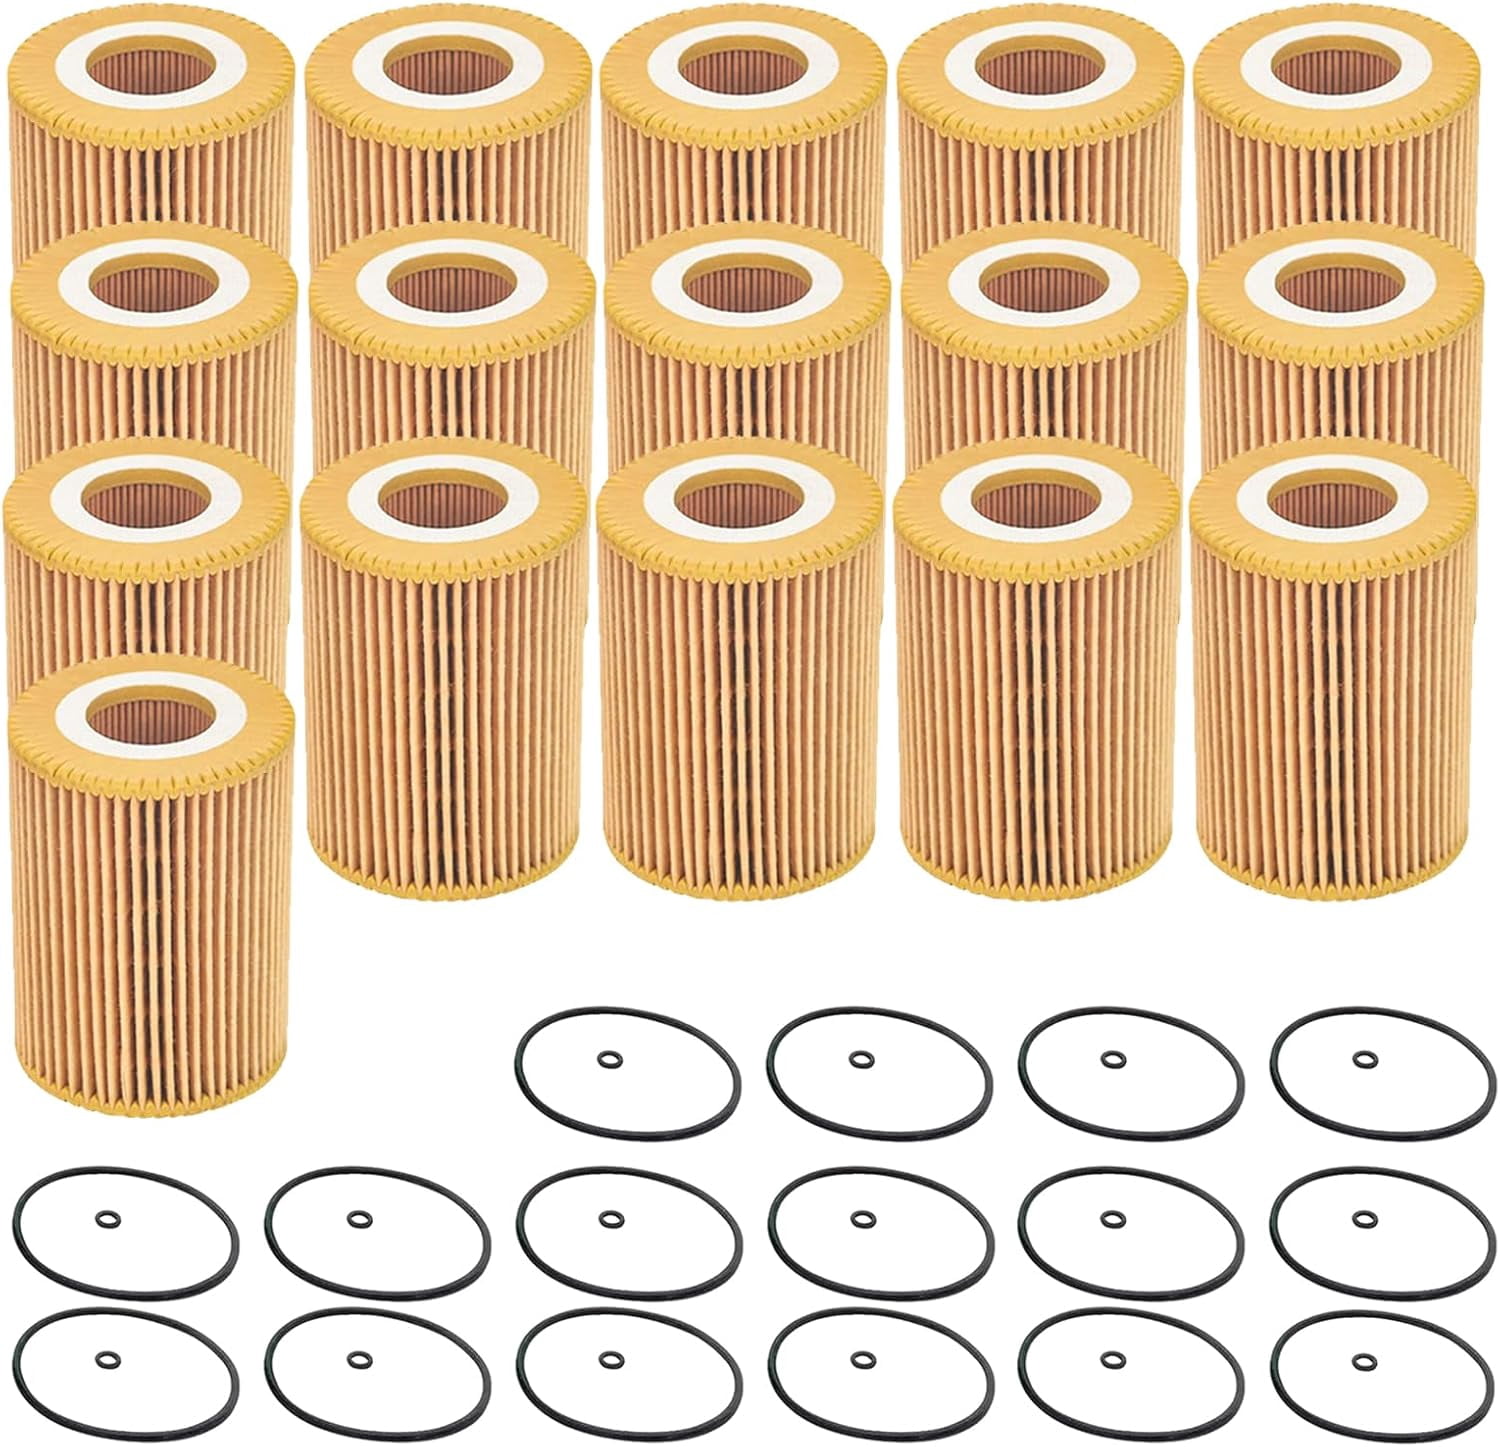
If you choose to use an aftermarket brand, verify that the filter is explicitly listed for the 2.5L V6 engine (4GR-FSE). Reputable manufacturers such as WIX, Mobil 1, or K&N provide high-efficiency filters that match or exceed factory standards. Avoid generic "bargain bin" filters, as these often lack the necessary structural integrity for the IS250’s internal housing dimensions.
Essential Tools for the Procedure
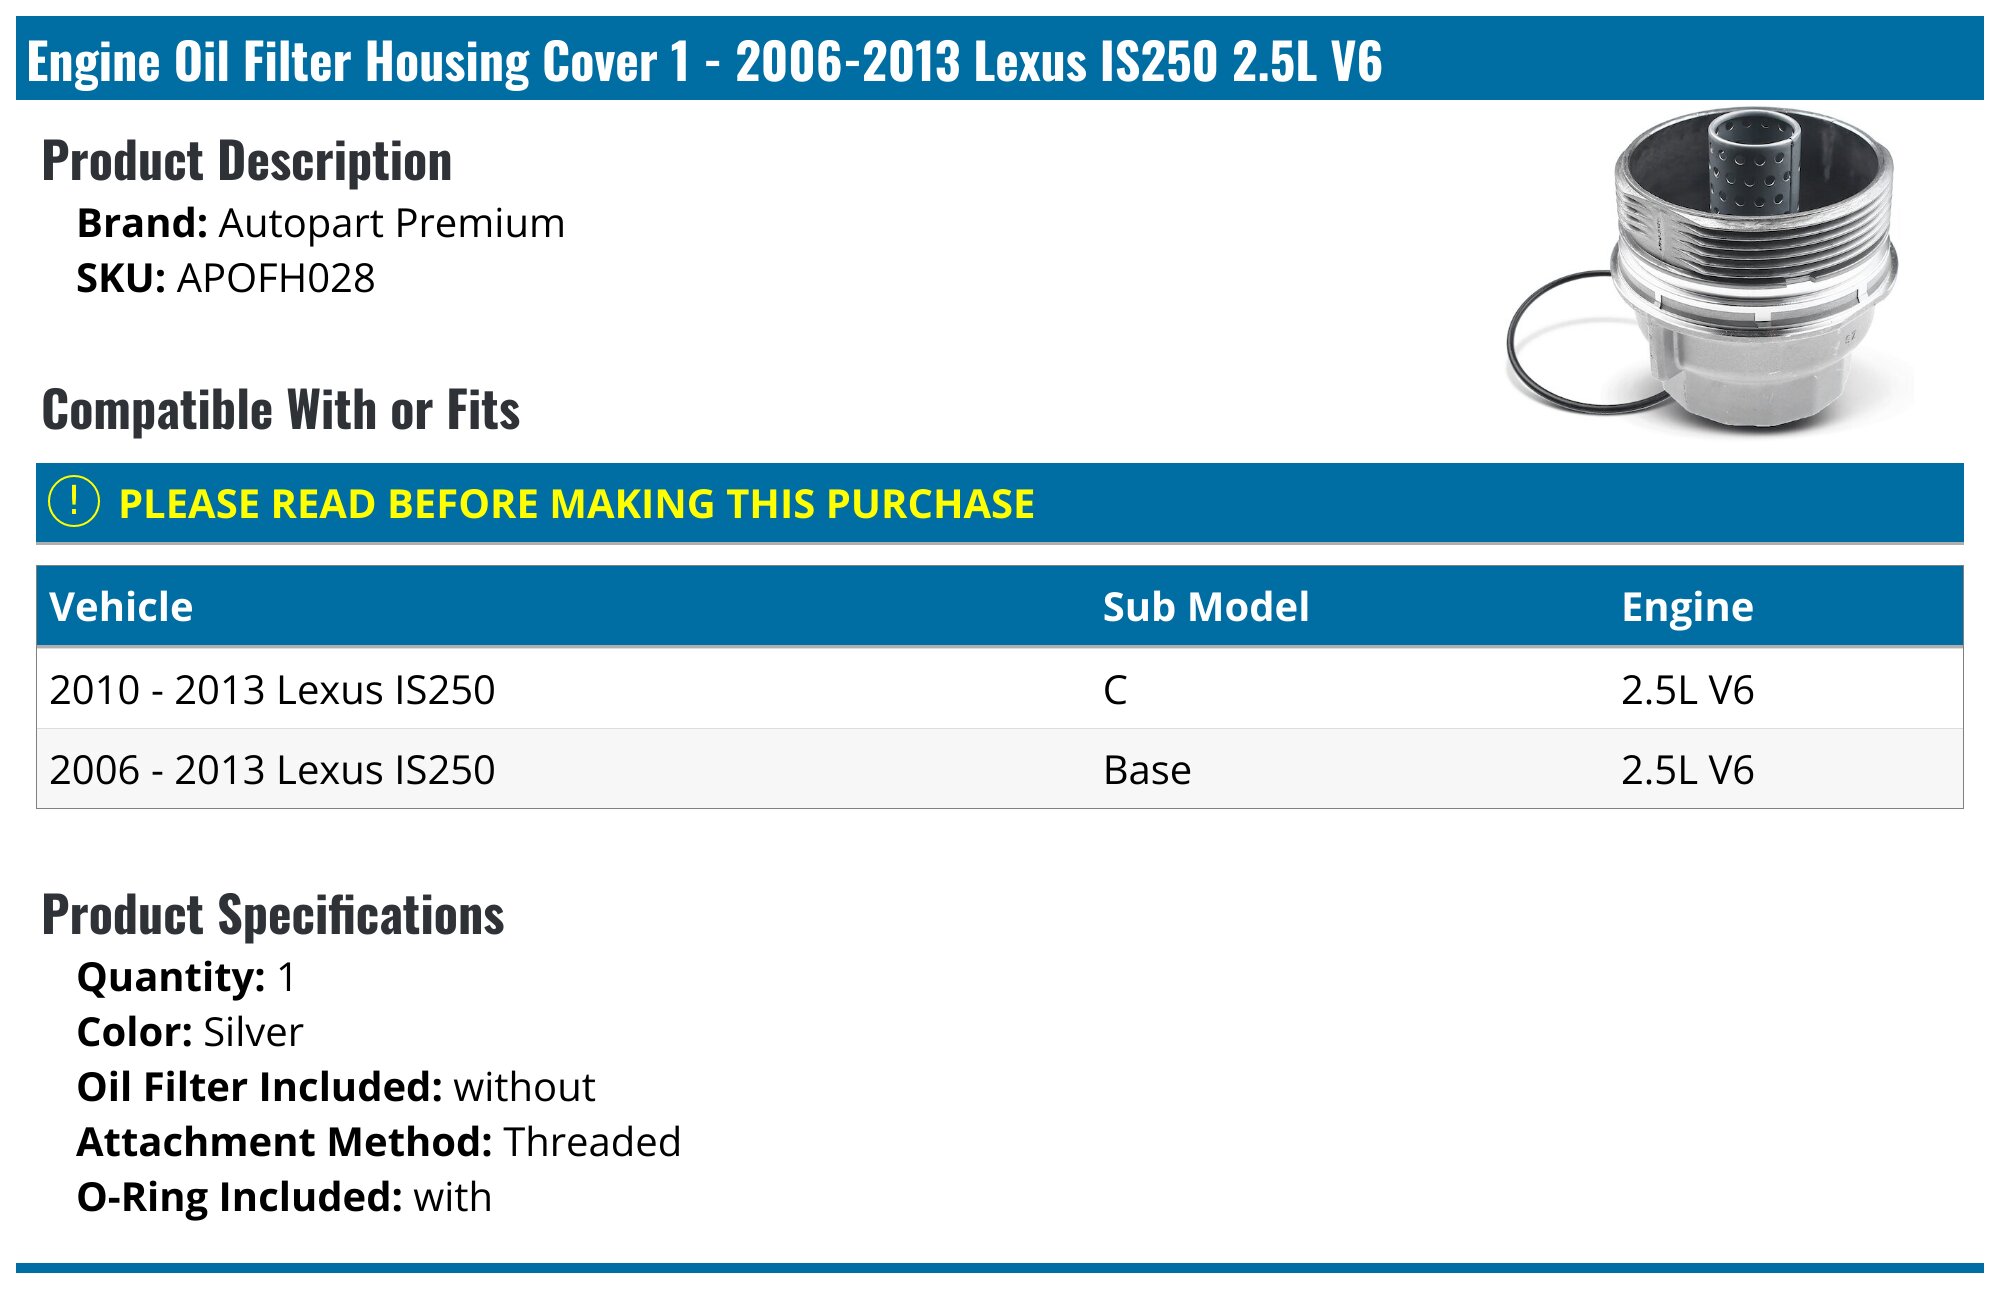
Because the 2010 Lexus IS250 uses an aluminum housing, using the wrong tools can easily strip the housing or damage the mounting points.
- Oil Filter Housing Wrench: You will need a specific 64mm, 14-flute oil filter wrench designed for Toyota/Lexus cartridge housings. Using a strap-style wrench is strongly discouraged, as the housing is often torqued tightly, and strap wrenches can crack or deform the aluminum.
- Torque Wrench: Crucial for preventing over-tightening. The housing is aluminum, and the threads are easily damaged.
- Oil Drain Tool: A small plastic piece often provided in the filter box. This fits into the bottom of the housing to drain the oil inside the filter canister before you unscrew the main assembly.
- 14mm Socket: Used for the engine oil pan drain bolt.
Step-by-Step Replacement Guide
Before beginning, ensure the vehicle is parked on a level surface, the engine is warm (but not scalding hot), and the parking brake is engaged.
1. Draining the Oil Pan
Lift the vehicle using a hydraulic jack and secure it on jack stands. Never work under a vehicle supported only by a jack. Locate the 14mm drain bolt on the oil pan, place a catch pan underneath, and remove the bolt to drain the engine oil completely. Replace the crush washer on the drain bolt before reinstalling it to prevent future leaks.
2. Draining the Filter Housing
Before removing the filter housing, take the small plastic drain nozzle included with your new filter kit. Insert it into the center hole of the filter housing cap. This will release the oil trapped within the housing, preventing a messy spill when you eventually unscrew the housing.
3. Removing the Housing
Using your 64mm filter wrench and a 3/8-inch drive ratchet, turn the housing counter-clockwise. Once loose, carefully remove the housing. Inspect the housing for any cracks or heavy scoring.
4. Replacing the Element and O-Ring
Pull the old paper filter element out of the housing and discard it. Remove the large rubber O-ring located on the threads of the housing using a pick tool. Do not use a knife or screwdriver, as you might scratch the aluminum surface, which will cause a leak. Install the new O-ring from your kit, ensuring it is seated in the correct groove. Smear a light coating of clean engine oil on the new O-ring to ensure a proper seal.
5. Installation and Torque
Insert the new filter element into the housing. Ensure it is pushed in fully. Thread the housing back onto the engine block by hand to prevent cross-threading. Once finger-tight, use the torque wrench to tighten the housing to 25 Newton-meters (approximately 18 foot-pounds). Over-tightening this housing is the most common mistake made by DIYers and can make the filter nearly impossible to remove during the next oil change.
Comparison of Oil Filtration Approaches
| Feature | Cartridge (IS250) | Spin-On Canister |
|---|---|---|
| Housing | Permanent (Reusable) | Disposable (Integrated) |
| Environmental Impact | Lower (Less metal waste) | Higher (Full metal discarded) |
| Complexity | Moderate (O-rings/Seals) | Simple (Screw-on/off) |
| Removal Tool | Specific 64mm Cap Wrench | Universal strap or claw |
| Risk of Leaks | Higher if O-ring is dry/pinched | Lower (Factory seal) |
Troubleshooting Common Issues
The Housing is Stuck: If the housing will not turn, ensure you are using the correct 64mm tool. If the housing was over-torqued previously, use a penetrating oil (like PB Blaster) around the threads and let it sit. Avoid using excessive force with a long breaker bar, as the housing is made of aluminum and can shatter.
Oil Leak After Installation: This is almost always caused by the O-ring not being seated correctly or the housing not being threaded on straight. If you see a leak, drain the oil, remove the housing, inspect the O-ring for pinches or debris, and reinstall.
Persistent "Oil Maintenance Required" Light: This is a scheduled reminder and is not triggered by a sensor in the oil filter itself. After your oil change, reset the system:
- Turn the ignition to the "On" position (without starting the engine).
- Set the odometer display to "Trip A."
- Turn the ignition off.
- Press and hold the "ODO/TRIP" button while turning the ignition back to "On."
- Hold until the display shows "000000" and the light turns off.
Frequently Asked Questions
How often should I change the filter on my 2010 Lexus IS250? Lexus recommends an oil and filter change every 5,000 miles. Because the IS250 engine uses direct injection, which can lead to increased carbon buildup and fuel dilution in the oil, strictly adhering to this 5,000-mile interval is highly recommended for engine longevity.
Do I need a new crush washer every time? Yes. The crush washer on the oil drain bolt is designed to deform once, creating a tight seal against the oil pan. Reusing a crushed washer often leads to slow, persistent drips. They are inexpensive and should be replaced at every service.
Can I use synthetic oil with this filter? Yes, and it is highly recommended. The 4GR-FSE engine benefits from the superior thermal stability of full synthetic oil. Ensure the oil meets the API (American Petroleum Institute) certification requirements listed in your owner's manual, typically 5W-30.
What happens if I don't change the filter during an oil change? Neglecting the filter allows it to become saturated with contaminants. Eventually, the filter's internal bypass valve will open, allowing unfiltered oil to circulate through your engine. This leads to premature wear on bearings, cylinder walls, and timing chain tensioners.
Is there a difference between the IS250 and IS350 filter? No. Both the 2.5L (4GR-FSE) and the 3.5L (2GR-FSE) engines for the 2010 model year use the same cartridge filter part number (04152-YZZA3).
Final Recommendation
The maintenance of the 2010 Lexus IS250 is a straightforward task, provided you respect the precision of the cartridge filtration system. Always purchase your filter from a reputable source to avoid counterfeit components, which are common in the automotive aftermarket. Before finishing your service, verify the oil level on the dipstick after running the engine for one minute to circulate the oil through the new filter, then check for any signs of seepage around the housing base. Proper attention to these small details will ensure your Lexus continues to perform reliably throughout its service life.