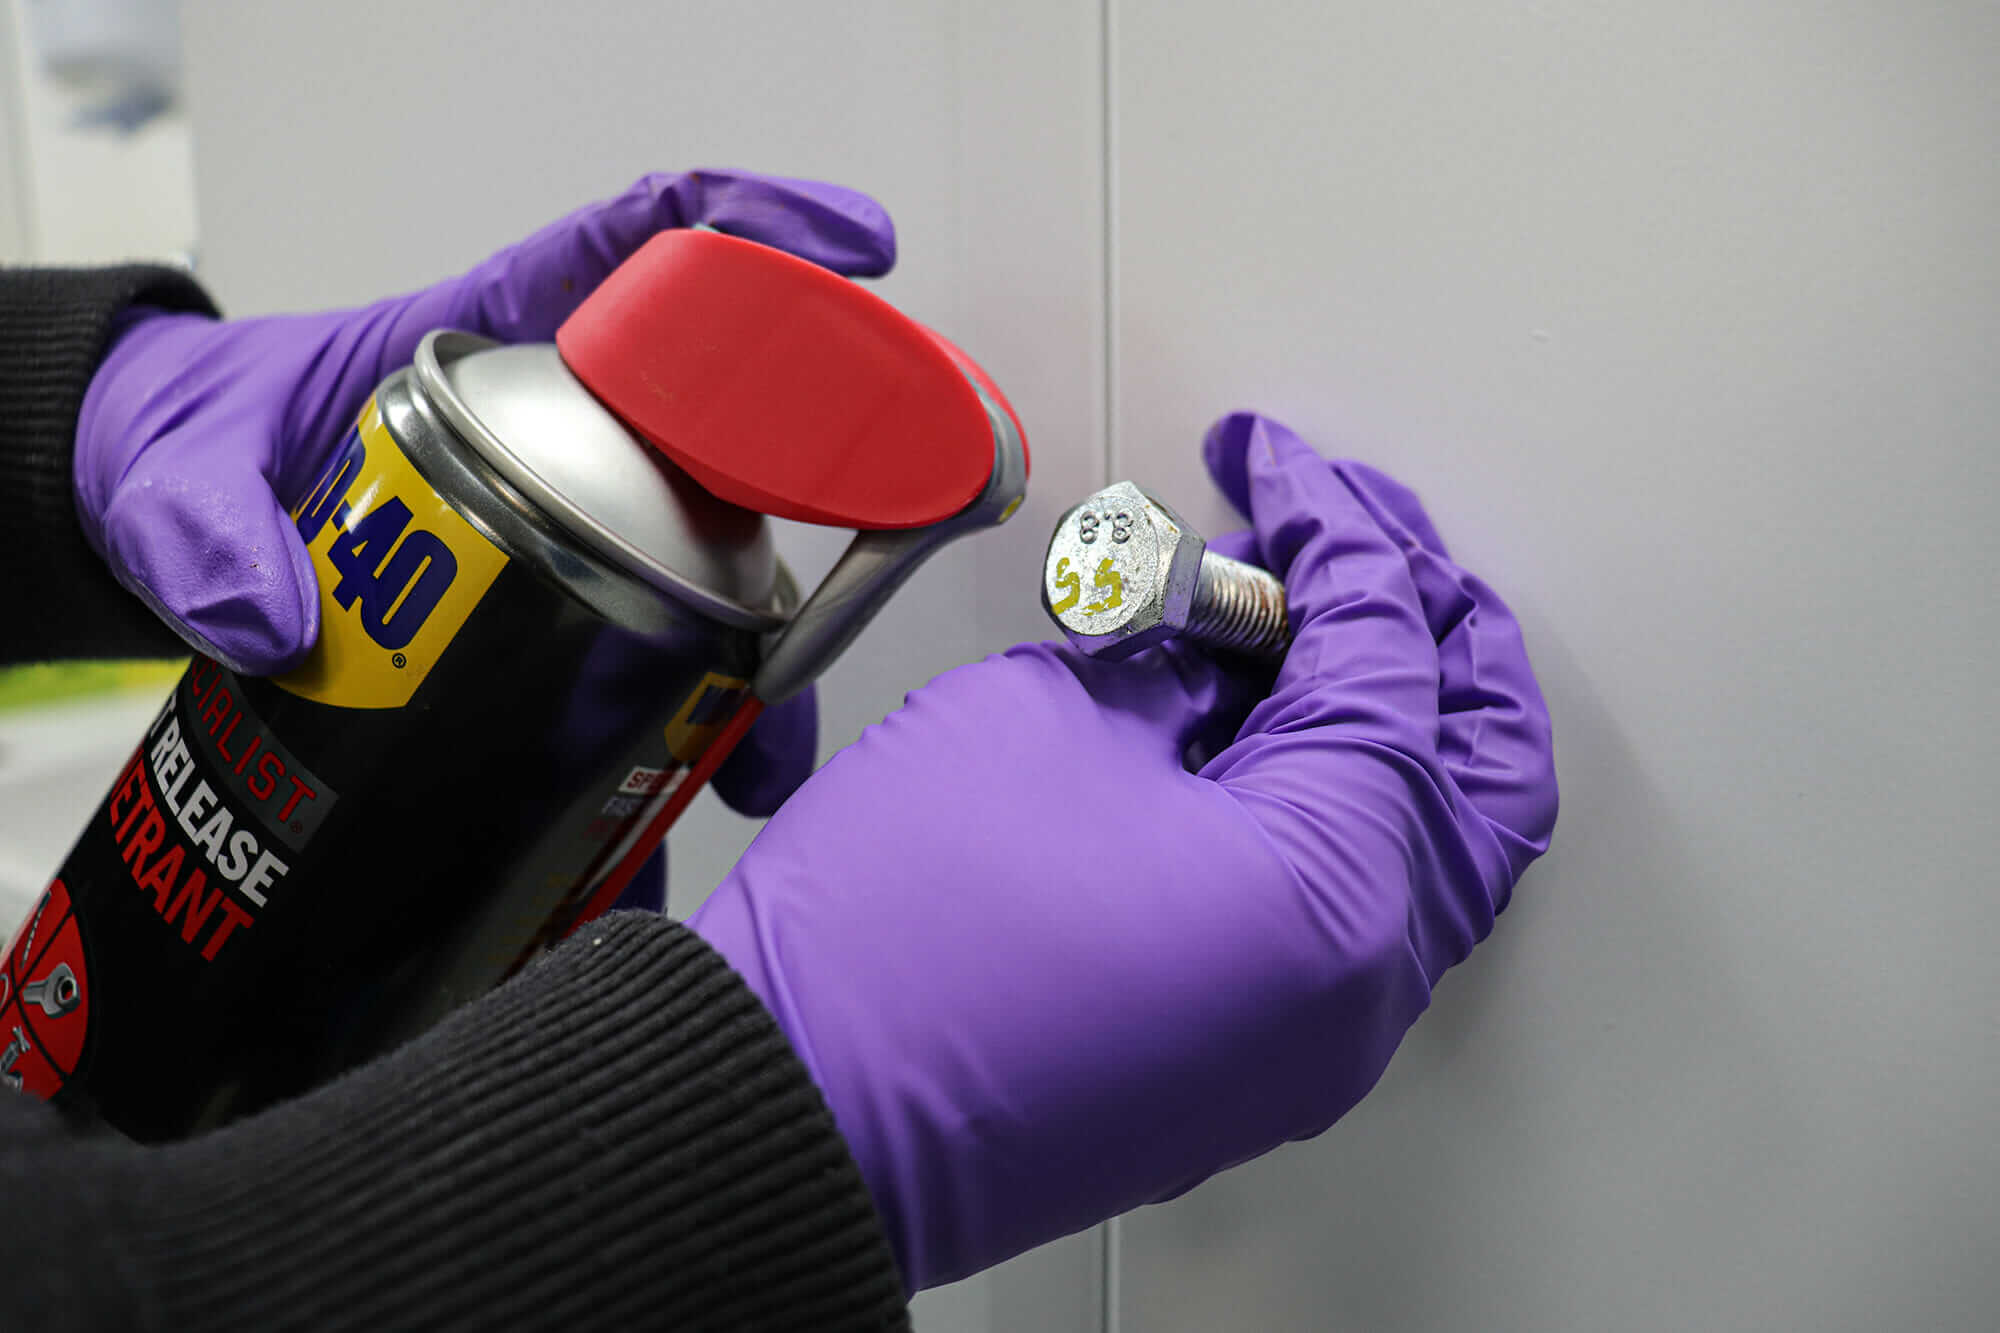
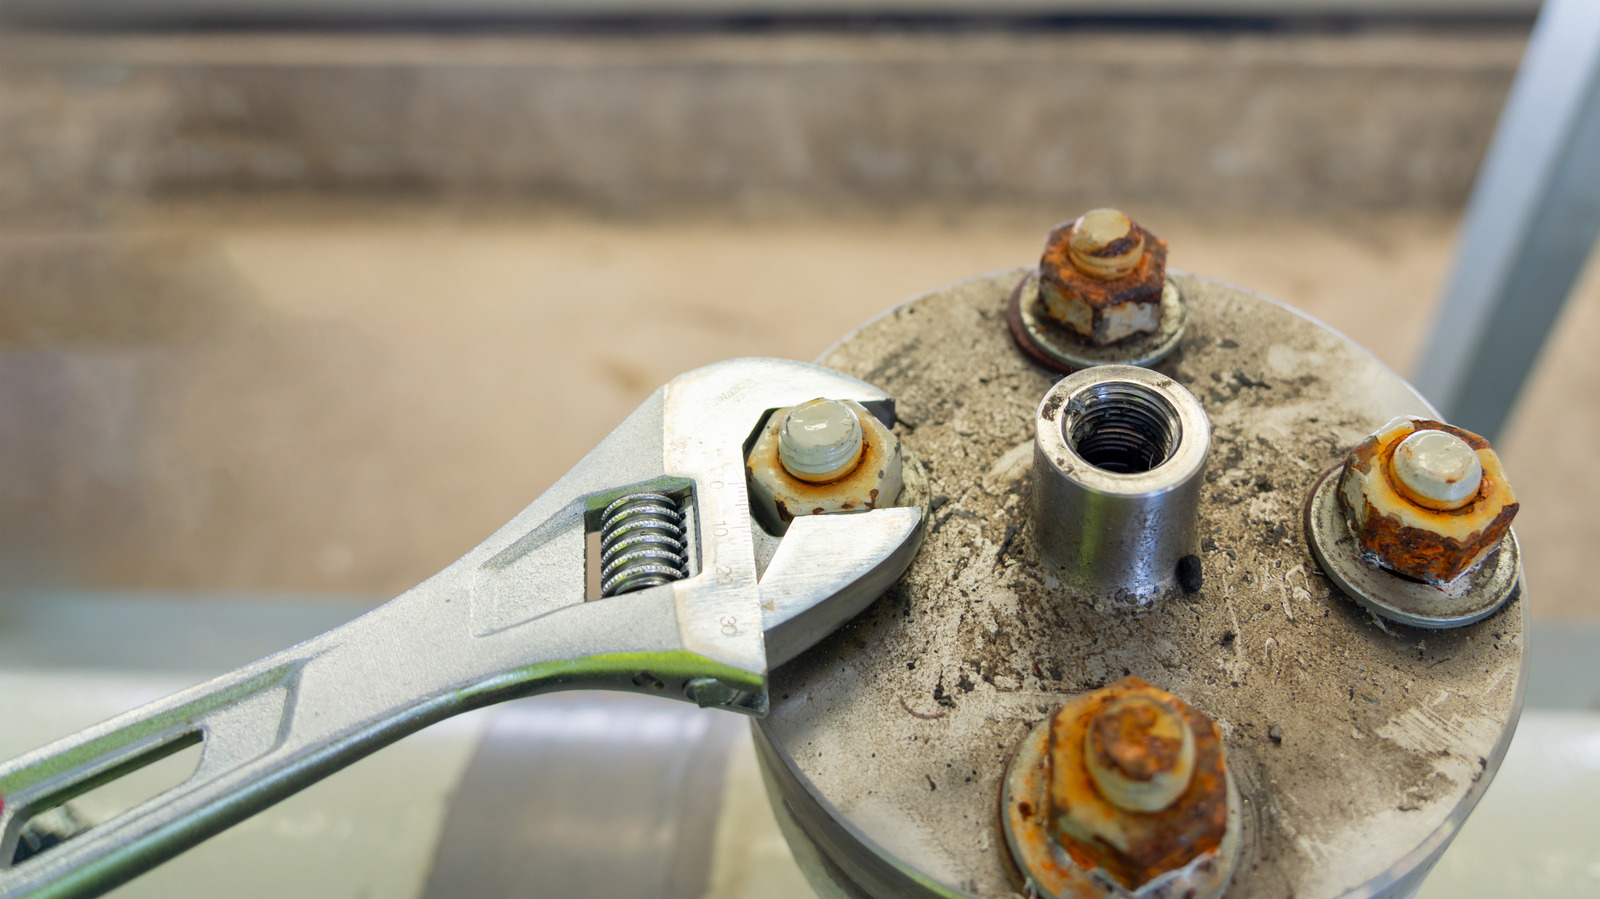
Applying a high-quality penetrating oil or a specialized aerosol lubricant to a seized bolt helps break the bond of oxidation and corrosion that has formed between the threads. By allowing the fluid time to migrate into the tight crevices of the fastener assembly, you significantly reduce the physical torque required to loosen the bolt, preventing the common frustration of stripped heads or snapped metal.
Understanding the Mechanics of a Seized Bolt
A bolt typically becomes "seized" due to the chemical process of oxidation. Over time, exposure to moisture, oxygen, and salt creates a layer of rust—iron oxide—on the threads of the bolt and the corresponding nut or tapped hole. Because iron oxide occupies more volume than the metal it replaces, it exerts outward pressure, effectively "welding" the bolt to its housing.
When you attempt to force a rusted bolt with a wrench, the friction of the rust particles acting as a mechanical wedge often leads to the bolt shearing off. Using a product like WD-40 Specialist Penetrant—which is distinct from the standard WD-40 Multi-Use Product—changes the environment within the threads. It acts as a surfactant, reducing the surface tension of the liquid, which allows it to creep into microscopic gaps that water or heavier oils cannot reach.
Why Standard Lubricants vs. Penetrants Matter
In the automotive and construction maintenance world as of 2026, it is vital to distinguish between general-purpose lubricants and specialized penetrating oils. While the iconic blue-and-yellow can of WD-40 Multi-Use is excellent for displacing moisture and preventing future corrosion, it is not primarily formulated as a rust-breaker.
For a bolt that is physically stuck due to corrosion, you should utilize a specialized penetrating formula. These liquids are designed with low viscosity, allowing them to wick along the helical threads of the fastener via capillary action. Once they reach the corrosion, they soften the oxide layers and provide enough lubrication to break the mechanical bond when force is applied.
Preparing the Surface for Penetration
Before applying any chemical agent, the success of the process depends on the state of the bolt head and the surrounding area. If the bolt is buried under layers of dirt, grease, or paint, the penetrant will never reach the threads where it is needed.
- Clean the Area: Use a wire brush to remove as much loose scale, paint flakes, and road grime as possible from the head of the bolt and the immediate surface where the bolt meets the material.
- Assess Accessibility: If the bolt is recessed or at an awkward angle, consider using the extension straw provided with the aerosol can to ensure you are aiming the product precisely at the interface between the bolt and the substrate.
- Safety Precautions: Always wear eye protection. Aerosol sprays can blow back, and wire brushing can send metallic fragments into the air. Ensure the workspace is well-ventilated, especially if you are working in an enclosed garage.
The Application Process
Once the area is clean, the effectiveness of the process relies on patience. Do not expect the bolt to turn instantly after the first spray.
- Initial Application: Apply a liberal amount of the penetrant directly to the threads. If the bolt is horizontal or inverted, you may need to apply the product several times to ensure it has the chance to drip into the thread interface.
- The Waiting Period: Allow the fluid to work for at least 15 to 30 minutes. In cases of severe, long-term rust, professional mechanics often recommend letting the penetrant soak for several hours or even overnight. The chemistry needs time to dissolve the binders in the rust.
- Mechanical Vibration: Once the penetrant has soaked, take a hammer and give the head of the bolt a few firm, controlled taps. This vibration helps "shock" the bond and can create microscopic fractures in the rust, allowing the penetrant to sink deeper into the assembly.
Step-by-Step Removal Strategy
With the penetrant applied and given time to penetrate, proceed with the extraction. The goal is to apply force without causing permanent damage to the fastener.
- Tighten Before Loosening: Surprisingly, trying to turn the bolt slightly in the tightening direction can help break the rust seal. If it moves even a fraction of a millimeter in either direction, you have succeeded in cracking the bond.
- Use Proper Tools: Use a six-point socket or wrench rather than a twelve-point tool. Six-point tools provide a better grip on the flat surfaces of the bolt head, significantly reducing the risk of rounding off the corners.
- Gradual Torque: Apply pressure steadily. Avoid jerking the wrench, as sudden force is the primary cause of bolt breakage. If you feel the bolt start to twist or become springy, stop immediately.
- The "Work Back and Forth" Technique: If the bolt turns but meets heavy resistance, do not try to unscrew it completely in one go. Turn it out a quarter-turn, then turn it back in. Apply more penetrant if necessary. This helps work the lubricant deeper into the remaining threads and clears away the debris.
Comparison of Methods for Loosening Fasteners
| Method | Best For | Pros | Cons |
|---|---|---|---|
| Penetrating Oil | Most rusted fasteners | Safe, cheap, easy | Requires wait time |
| Heat (Torch) | Extremely seized, large bolts | Breaks rust via expansion | Fire risk, can damage seals |
| Impact Wrench | Accessible, non-delicate bolts | Rapid vibration/torque | Risk of snapping head |
| Manual Lever | Tight spaces, small bolts | High control | Physical effort required |
Frequently Asked Questions
Does standard WD-40 work as well as the Specialist Penetrant? While standard WD-40 is a great all-purpose cleaner and moisture displacer, it lacks the specific low-viscosity ingredients found in penetrating oils designed for rust. You will have a higher success rate using a formula specifically marketed as a penetrant for seized fasteners.
What should I do if the bolt still won't move? If the bolt remains stuck after soaking with penetrating oil, you may need to apply controlled heat. Using a propane torch to heat the nut or the surrounding metal causes the material to expand, which can break the rust bond. However, be aware of nearby plastic components, rubber gaskets, or flammable fluids.
Is it safe to use this on all types of metal? Generally, yes, but be cautious with delicate electronics or specific plastics that may react to the chemical components. Always check the product label for compatibility if you are working on sensitive machinery.
How much time should I wait for the best results? While some penetration happens within minutes, 15 minutes is a functional minimum. If the bolt has been stuck for years, applying the oil once a day for two or three days before the attempt is often the most effective way to ensure success.
Should I clean the bolt after it is removed? Yes. Before re-installing the bolt, use a wire brush to clean the threads of any remaining corrosion. It is also highly recommended to apply an anti-seize compound to the new or cleaned bolt to ensure it does not seize again in the future.
Final Next Action
If you are currently facing a seized bolt, start by cleaning the surface around the threads and applying a dedicated penetrating oil. If the bolt does not yield after a 30-minute soak, re-apply the oil, tap the bolt head with a hammer to encourage the fluid to settle, and wait at least two hours before attempting to move the fastener again. If it is still stubborn, do not increase your leverage to the point of breaking the bolt; instead, consider using controlled heat or a mechanical impact driver.