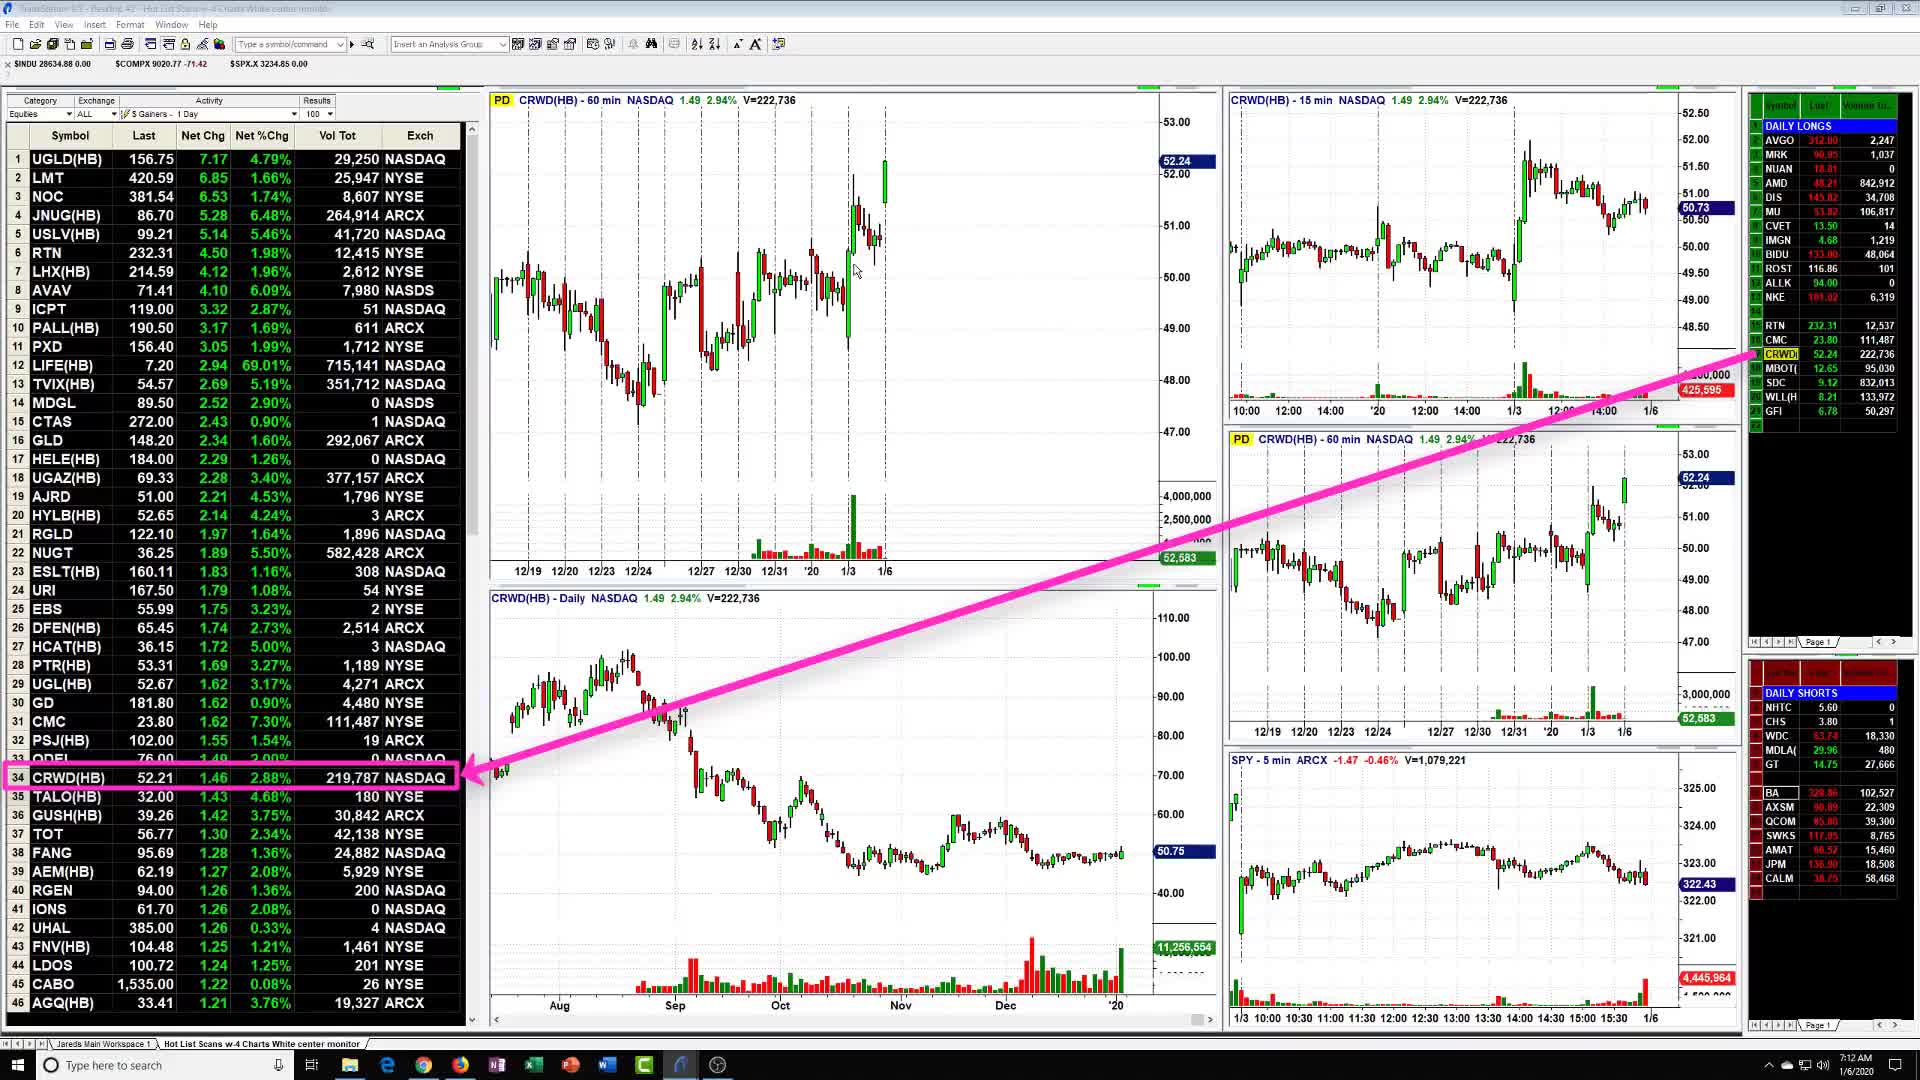
The 4-Play in a trade context is a specific technical analysis pattern used primarily by day and swing traders to identify a high-probability continuation of an existing trend. It consists of four distinct price bars: one large expansion bar followed by two small consolidation bars, and a fourth bar that triggers an entry by breaking the initial bar's high or low.
This pattern, popularized by veteran traders like Oliver Velez, is a staple of price action trading because it visualizes the battle between momentum and profit-taking. In the fast-paced markets of 2026, where algorithmic trading often creates "noise," the 4-Play remains a reliable method for retail traders to align themselves with institutional order flow. By understanding the psychology and mechanics behind these four specific bars, traders can filter out low-probability setups and focus on entries backed by proven momentum.
The Anatomy of a 4-Play: Breaking Down the Four Bars
To successfully execute a 4-Play, one must move beyond seeing mere candlesticks and begin interpreting what each bar represents in terms of market sentiment. The 4-Play is not just "four bars in a row"; it is a specific sequence of energy, rest, and re-ignition.
Bar 1: The Igniting Bar
The first bar of the sequence is the most critical. It must be a "wide-range bar" (WRB) or an "igniting bar." This means the body of the candle is significantly larger than the average of the previous 10 to 20 candles. In a Buy 4-Play, this bar is green (bullish), signaling that buyers have taken aggressive control of the price. This bar often breaks out of a prior consolidation zone or moves away from a key moving average. The volume on Bar 1 should ideally be higher than average, confirming that institutional players are participating in the move.
Bars 2 and 3: The Resting Phase
After the surge of Bar 1, the market naturally needs to breathe. Bars 2 and 3 are characterized as "narrow-range bars" (NRBs). They represent a period of temporary equilibrium where aggressive buying has paused, but selling pressure has not yet arrived to reverse the trend. For a valid 4-Play, these two bars should stay within the upper 40% to 50% of the first bar’s range. If the price retraces too deeply into the body of Bar 1, the momentum is considered weak, and the setup is invalidated. These two bars are essentially the "flag" in a classic bull flag formation, but the 4-Play specifically looks for exactly two bars of rest to define the rhythm of the trade.
Bar 4: The Trigger Bar
Bar 4 is where the trader takes action. The goal is to enter the trade as soon as the price moves one cent (or one tick) above the high of Bar 1 (in a Buy 4-Play) or below the low of Bar 1 (in a Sell 4-Play). This movement confirms that the consolidation phase is over and the primary trend established by Bar 1 is resuming. The speed at which Bar 4 moves can often be rapid, as "short-sellers" (who bet against the rest) are forced to cover their positions, adding fuel to the upward move.
Variations: The Buy 4-Play vs. The Sell 4-Play
While the logic remains the same, the direction of the trade dictates specific requirements for the 4-Play setup. Traders must be able to switch their perspective fluently based on whether the market is in a bullish or bearish phase.
The Buy 4-Play
The Buy 4-Play is a bullish continuation pattern. In 2026, these are frequently seen in sectors experiencing high growth or during broad market rallies.
- Location: Ideally, this should occur just after the price has crossed above the 20-period Simple Moving Average (SMA).
- The "Power" Requirement: Bar 1 must be a solid green candle with little to no "wick" at the top, indicating that buyers were in control until the very end of the period.
- The Rest: Bars 2 and 3 can be green or red, but red is often preferred because it represents a "shakeout" of weak hands before the next leg up.
The Sell 4-Play
The Sell 4-Play is the inverse and is used to profit from declining prices.
- Location: This setup is most effective when the price is below the 20-period SMA and is moving away from it after a brief rally or "dead cat bounce."
- The "Power" Requirement: Bar 1 is a large red candle, indicating aggressive selling.
- The Rest: Bars 2 and 3 should be narrow and stay within the lower half of Bar 1. If Bar 2 or 3 starts rising toward the 20 SMA too aggressively, the bearish momentum is likely lost.
Technical Requirements and the Role of Moving Averages
A 4-Play setup does not exist in a vacuum. Its success rate is heavily dependent on its "location" relative to key technical levels. In modern trading, the 20-period SMA acts as the "home base" or the "mean."
- Distance from the 20 SMA: The most powerful 4-Plays occur when the pattern begins near the 20 SMA. If the 4-Play develops when the price is already far extended from the moving average, it is considered "extended." Extended 4-Plays have a higher failure rate because the price is due for a larger "reversion to the mean."
- The Slope of the MA: For a Buy 4-Play, the 20 SMA should ideally be sloping upward. For a Sell 4-Play, it should be sloping downward. A flat moving average suggests a sideways market where 4-Plays are prone to "whipsaws."
- Volume Confirmation: While price action is primary, volume provides the secondary confirmation. You want to see "rising volume" on Bar 1, "declining volume" on Bars 2 and 3 (the rest), and "expanding volume" on Bar 4 (the breakout).
Comparison of Technical Patterns
Traders often confuse the 4-Play with other similar formations. The following table highlights the distinctions between the 4-Play and other common continuation setups.
| Feature | 4-Play Strategy | 3-Bar Play | Bull Flag / Pennant |
|---|---|---|---|
| Number of Bars | Exactly 4 | Exactly 3 | Variable (5-20+) |
| Consolidation Duration | 2 Bars | 1 Bar | Multiple Bars |
| Primary Strength | Moderate Momentum | Extreme Momentum | Long-term Trend |
| Entry Trigger | Break of Bar 1 High/Low | Break of Bar 1 High/Low | Break of Trendline |
| Ideal Timeframes | 2-min, 5-min, Daily | 2-min, 5-min | Daily, Weekly |
| Risk-to-Reward | High (1:2+) | Very High (1:3+) | Moderate (1:1.5) |
Risk Management and Execution Strategies
Even the most perfect-looking 4-Play can fail. In the 2026 trading environment, protecting capital is more important than chasing every setup. Professional traders use a standardized approach to manage risk when trading this pattern.
Stop-Loss Placement
There are two primary methods for placing a stop-loss on a 4-Play:
- Conservative Stop: Place the stop-loss at the bottom of Bar 1 (for a buy) or the top of Bar 1 (for a sell). This allows the trade plenty of room to breathe but requires a larger position size reduction to maintain risk parameters.
- Aggressive/Tight Stop: Place the stop-loss just below the low of Bar 3 (for a buy). This is used when Bar 1 is exceptionally large. If the price drops below Bar 3, the "rest" has failed, and the momentum is likely gone.
Position Sizing
Because the 4-Play is a momentum play, it is often traded with "full size" when all criteria are met. However, if the 4-Play occurs on a 2-minute chart during the volatile first 15 minutes of the market open, traders may reduce their size by 50% to account for increased slippage.
Profit Taking
The first target for a 4-Play is usually a "1:1 move," meaning the trader looks for a price increase equal to the height of Bar 1. In 2026, many traders use automated "trailing stops" once the first target is hit, allowing them to capture larger "runners" if the trend continues for several more bars.
Common Pitfalls and Why 4-Plays Fail
Understanding why a trade fails is often more valuable than knowing why it works. The 4-Play is susceptible to specific market conditions that can turn a "perfect setup" into a loss.
- The "Topping" 4-Play: This occurs when the 4-Play forms at the very end of a long, multi-bar move. By the time the 4-Play triggers, the "smart money" is already looking to exit, and the trader is buying the "last gasp" of the trend. Always count how many bars the price has moved before the setup appears.
- The "Inside Bar" Trap: If Bars 2 and 3 are not just resting but are actually "engulfed" by a massive Bar 1, the price may become stuck in a range. A true 4-Play needs to look like a staircase, not a box.
- News-Driven Volatility: Trading a 4-Play right before a major economic announcement (like an FOMC meeting or earnings report) is dangerous. The pattern relies on technical momentum, which is easily overridden by fundamental news shocks.
- The "Slow" Bar 4: If Bar 4 breaks the high of Bar 1 but then immediately stalls or pulls back, the setup is likely a "bull trap." Professional traders want to see an immediate, "crisp" follow-through once the trigger level is hit.
The Psychological Perspective: Why the 4-Play Works
The 4-Play works because it exploits a fundamental human (and algorithmic) behavior: the need to wait for confirmation.
When Bar 1 occurs, many traders are caught off guard. They want to enter, but they feel they have "missed the move." When Bars 2 and 3 occur, those same traders see the price holding its gains and not crashing back down. This gives them the confidence to enter on Bar 4. Simultaneously, traders who were "shorting" the stock hoping for a reversal realize during Bars 2 and 3 that the price isn't falling. When Bar 4 breaks the high, these short-sellers are forced to buy to cover their losses. The combination of new buyers entering and old sellers exiting creates the explosive move that makes the 4-Play profitable.
Frequently Asked Questions
Which timeframe is best for a 4-Play setup? The 4-Play is a fractal pattern, meaning it appears on all timeframes. However, it is most popular on the 2-minute and 5-minute charts for day trading. For swing traders, the daily chart provides very high-quality 4-Play setups that can lead to multi-day moves. In the 2026 market, 15-minute 4-Plays are often used by institutional desk traders to manage larger entries.
Does Bar 1 have to be green for a Buy 4-Play? Yes. Bar 1 must represent strong conviction in the direction of the trade. For a Buy 4-Play, Bar 1 must be a bullish (green) candle. If Bar 1 has a large upper wick or is a "Doji" (indecision candle), it does not qualify as an igniting bar, and the setup should be ignored.
What if there are three resting bars instead of two? If there are three resting bars, the pattern becomes a "5-Play." The logic is similar, but each additional bar of rest slightly diminishes the immediate momentum. If the price rests for more than 5-6 bars, it is no longer a "Play" but has transitioned into a "Base" or a "Flat Top Breakout" setup.
Can I use the 4-Play in Forex and Crypto markets? Absolutely. The 4-Play is a price action pattern that relies on the psychology of participants, which is universal across liquid markets. It is particularly effective in the 24-hour Forex market and high-volatility Crypto markets where momentum trends can last for significant periods.
Is volume mandatory for a 4-Play to be valid? In 2026, many traders prioritize price action over volume because of "dark pools" and hidden liquidity. However, volume remains a powerful "filter." A 4-Play with high volume on Bar 1 and low volume on the resting bars has a statistically higher success rate than one where volume is declining throughout the entire sequence.
Practical Recommendation for Traders
If you are new to the 4-Play strategy, the most effective next step is to perform a "historical back-scan" of your favorite stocks or assets. Look through the charts from the past 30 days and identify every instance where a wide-range bar was followed by two narrow-range bars.
Observe how many of those setups resulted in a successful breakout on Bar 4 versus how many failed. Pay close attention to where the 20-period SMA was during those setups. Most traders find that by simply adding the "20 SMA location" filter, they can eliminate 60-70% of their losing trades. Once you can identify the pattern consistently in hindsight, begin "paper trading" or using small positions to master the speed of the Bar 4 entry.
Disclaimer: Trading involves significant risk of loss. This guide is for educational purposes and does not constitute financial advice. Always consult with a licensed financial advisor before making investment decisions.