Developing 10 common internet of things arduino projects involves bridging physical hardware with cloud-based connectivity to build automated, remotely monitored systems that bridge physical sensors and web dashboards.
Introduction to IoT with Arduino
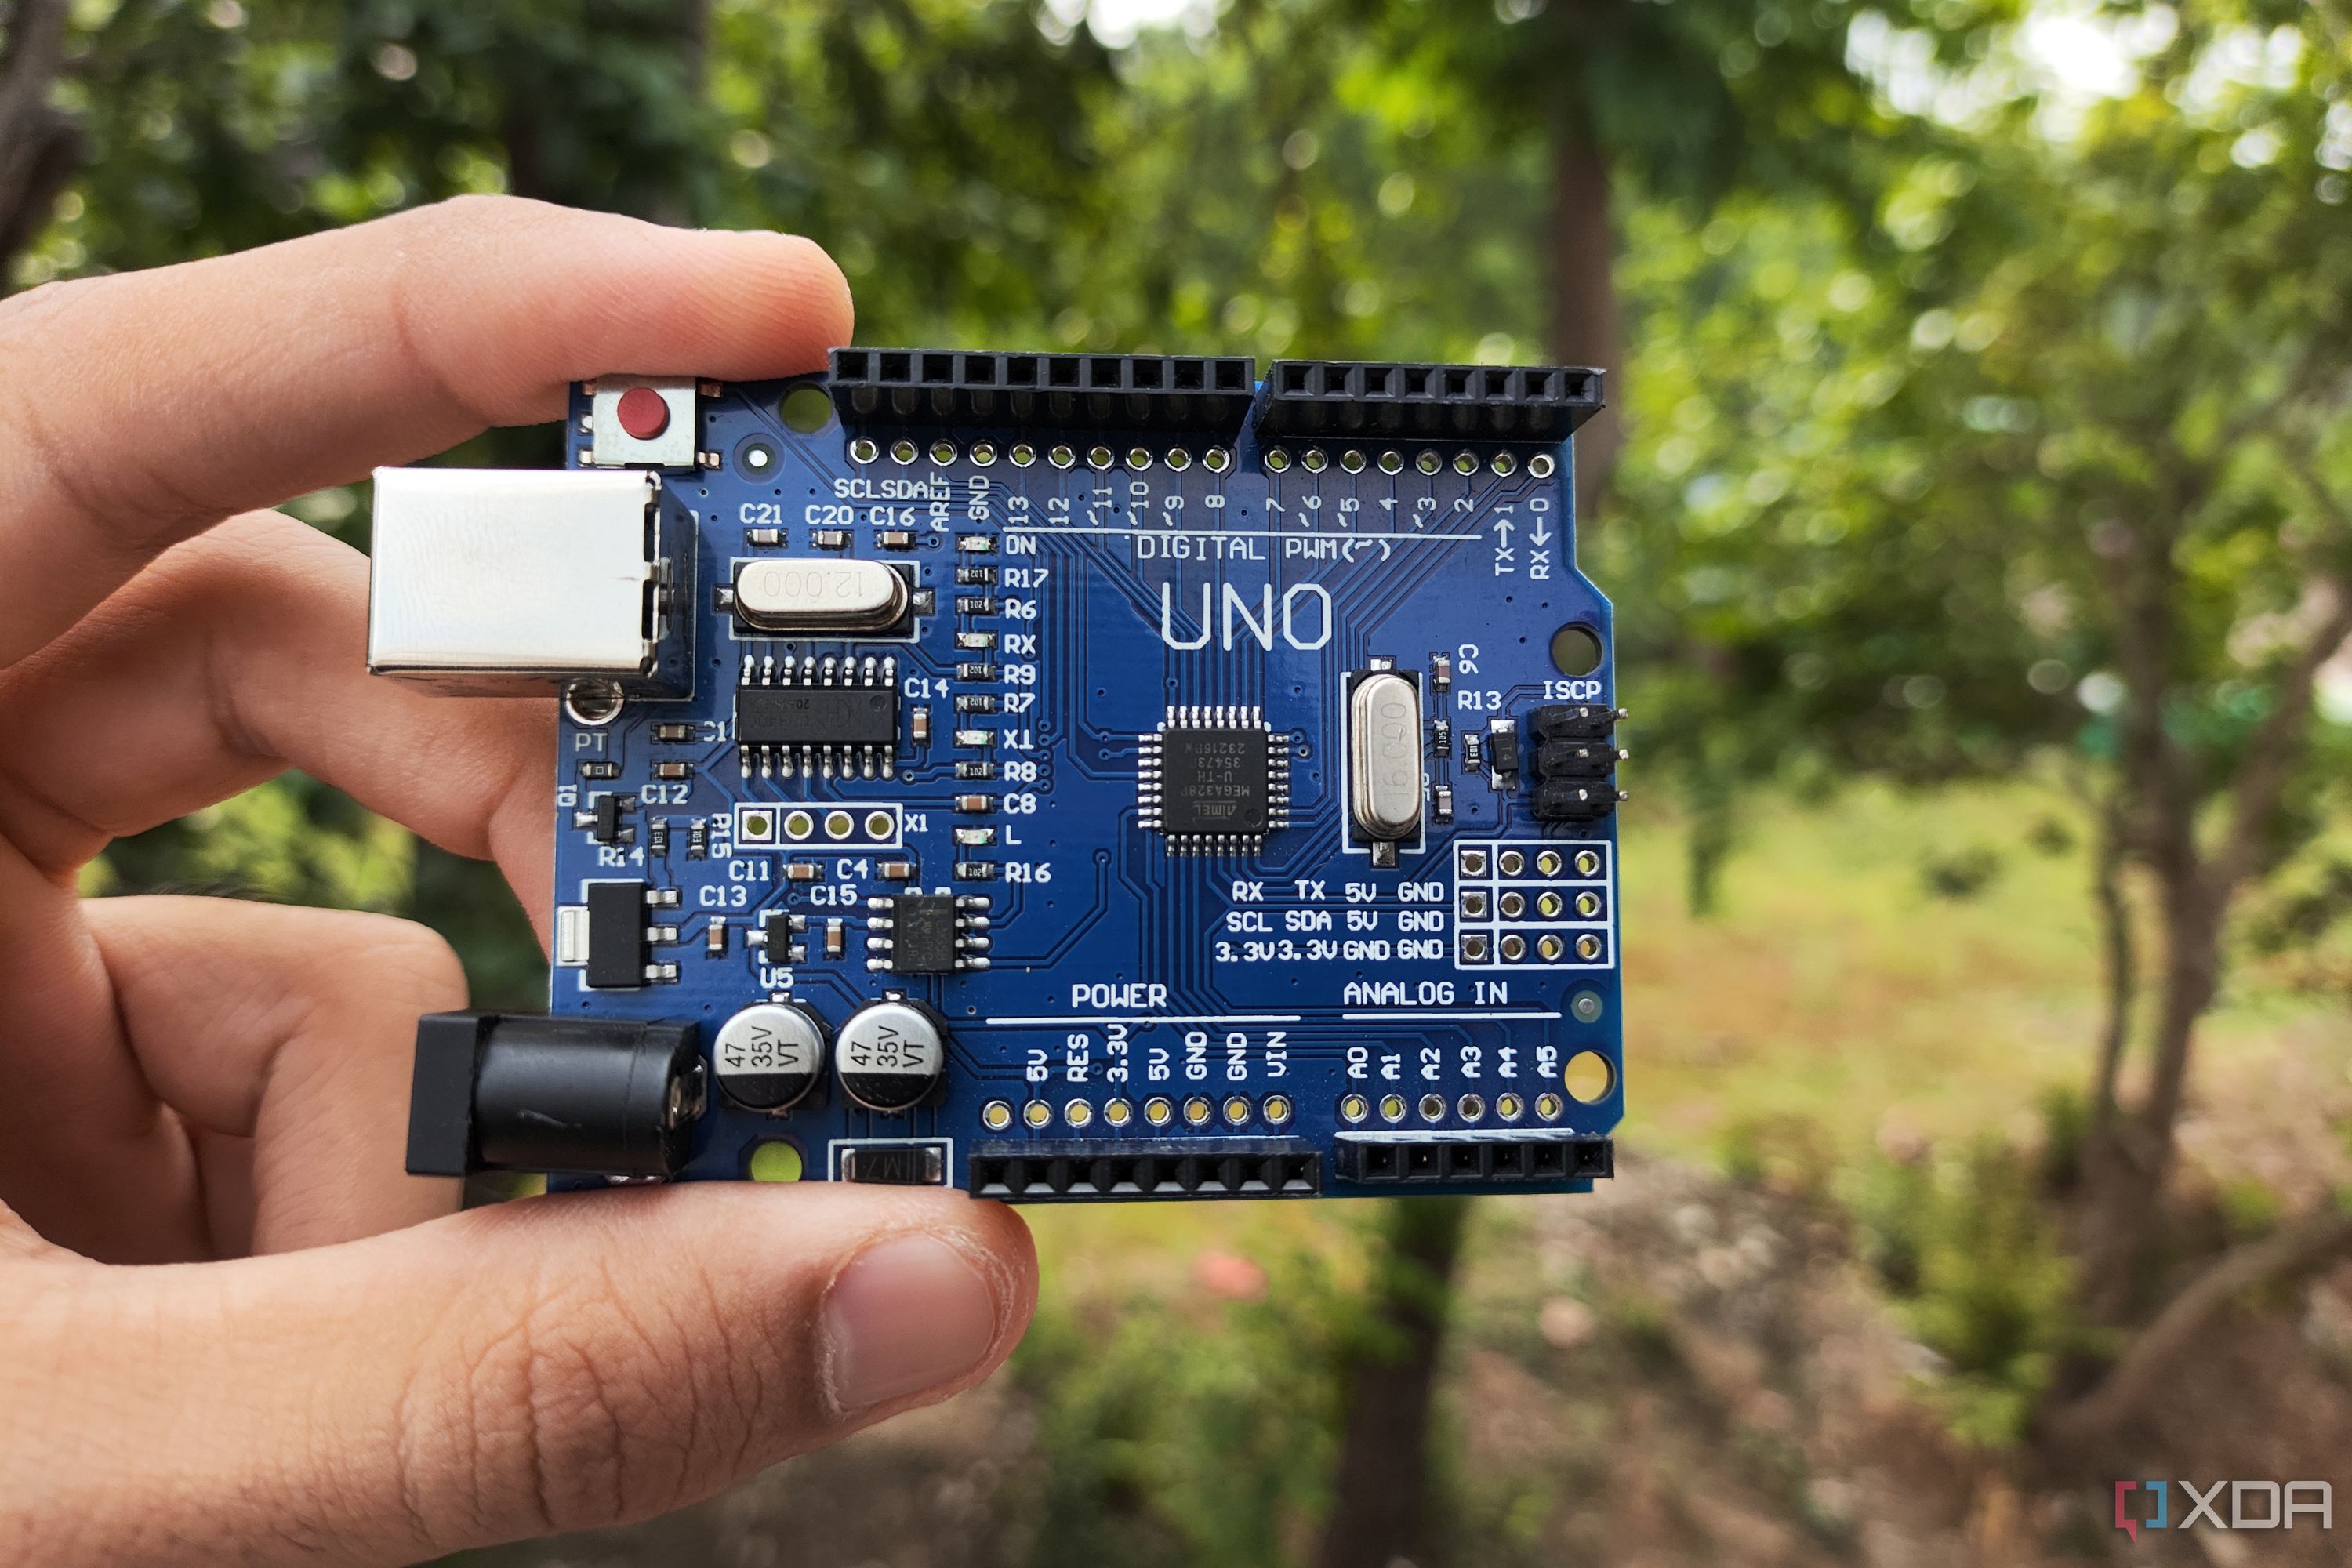
The Internet of Things (IoT) transforms ordinary physical hardware into smart, connected devices capable of communicating data over local networks or the global internet. At the core of the maker movement, Arduino microcontrollers serve as the accessible bridge between physical sensors, actuators, and digital processing. While standard Arduino boards like the Uno or Nano lack built-in network connectivity, modern microcontroller boards—such as the Arduino Uno WiFi Rev2, Arduino Nano 33 IoT, ESP8266, and ESP32 modules programmed via the Arduino IDE—allow developers to link embedded systems to Wi-Fi, Bluetooth, and MQTT brokers.
Working on Internet of Things Arduino projects requires an understanding of both hardware wiring and software networking protocols. Developers must configure pins, read analog or digital sensor inputs, and format data payloads using lightweight protocols like HTTP, MQTT, or WebSockets. Whether you are aiming to monitor home environmental conditions, automate plant watering systems, or secure a physical space, choosing the right microcontroller and cloud platform is essential for success. This guide explores ten common, highly practical IoT projects you can build using Arduino-compatible hardware, detailing their core requirements, implementation workflows, and practical applications.
Prerequisites and Technical Requirements
Before diving into specific IoT projects, you must establish a solid foundation in both hardware components and software tools. Building connected devices safely and efficiently requires specific equipment, secure network credentials, and familiarity with programming logic.
Core Hardware Components
- Microcontroller Board: An Arduino-compatible Wi-Fi board (e.g., Arduino Nano 33 IoT, ESP32, or ESP8266 NodeMCU) with integrated TCP/IP stack capabilities.
- Sensors and Actuators: Depending on the project, you will need components such as DHT11/DHT22 temperature and humidity sensors, PIR motion detectors, relays, servo motors, or OLED displays.
- Power Supply: Reliable 5V USB power sources or regulated external battery packs (such as 18650 lithium-ion cells with protection circuits) for mobile deployments.
- Prototyping Essentials: Breadboards, jumper wires (male-to-male, male-to-female), resistors, and status LEDs for circuit assembly.
Software Environment
- Arduino IDE: The primary Integrated Development Environment (version 2.x recommended) used for writing, compiling, and uploading code to microcontrollers.
- Board Support Packages: Installed via the IDE Board Manager (e.g., ESP32 boards package or Arduino SAMD boards package).
- Required Libraries: Standard communication libraries such as
WiFi.h,PubSubClientfor MQTT,DHT sensor libraryby Adafruit, andArduinoHttpClient.
Comparison of Microcontrollers for IoT Arduino Projects
Choosing the correct microcontroller board dictates your project's processing power, memory footprint, power consumption, and network compatibility. The table below compares four popular microcontrollers frequently used in Internet of Things Arduino projects.
| Board / Module | Connectivity | Operating Voltage | Flash Memory | Clock Speed | Best Use Case |
|---|---|---|---|---|---|
| ESP32 | Wi-Fi, Bluetooth 4.2 / BLE | 3.3V | 4 MB to 16 MB | 160 MHz / 240 MHz | Complex data processing, camera integration, multitasking |
| ESP8266 (NodeMCU) | Wi-Fi (802.11 b/g/n) | 3.3V | 4 MB | 80 MHz | Cost-effective web servers, simple sensor nodes |
| Arduino Nano 33 IoT | Wi-Fi, Bluetooth (U-blox NINA-W102) | 3.3V | 256 KB Flash | 48 MHz | Secure cloud integration (ECC608 crypto chip) |
| Arduino Uno + Ethernet Shield | Wired Ethernet (W5100) | 5V | 32 KB Flash | 16 MHz | Stable, interference-free industrial or local logging |
1. Automated Smart Plant Watering System
Maintaining indoor houseplants or greenhouse flora requires consistent soil moisture levels. This project automates irrigation by reading soil moisture thresholds and activating a water pump via a relay module while transmitting telemetry data to a cloud dashboard.
Implementation Workflow
- Hardware Assembly: Connect a capacitive or resistive soil moisture sensor to an analog pin on your microcontroller. Wire a 5V relay module to a digital output pin to control a mini submersible water pump.
- Network Connection: Program the ESP32 or Arduino board to connect to your local Wi-Fi router.
- Threshold Logic: Establish dry and wet calibration points in code. When moisture drops below a set percentage, trigger the relay for a designated duration (e.g., 5 seconds) to prevent overwatering.
- Cloud Logging: Publish moisture status and pump activation events to an MQTT broker (such as HiveMQ or Mosquitto) or an IoT dashboard like Blynk.
2. IoT Temperature and Humidity Monitoring Station
Environmental monitoring is foundational in smart homes, server rooms, and agricultural storage facilities. This project collects ambient temperature and humidity data using a DHT22 sensor and exposes it via a local web server or a cloud database.
Technical Specifications
- Sensor: DHT22 (AM2302) offering high precision ($\pm 0.5^\circ\text{C}$ accuracy) across a wide measurement range.
- Protocol: HTTP GET requests or MQTT publish/subscribe cycles.
- Interval: Read data every 30 to 60 seconds to prevent self-heating artifacts inside the sensor casing.
Code Architecture and Error Handling
Your Arduino sketch must account for failed sensor readings by implementing check routines. If dht.readTemperature() returns NaN (Not a Number), the code should log an error to the serial monitor and skip the transmission cycle rather than sending corrupt data to your cloud database.
3. Wi-Fi Enabled Smart Plug and Appliance Controller
Controlling high-voltage home appliances safely requires isolating low-voltage logic from mains electricity. A Wi-Fi smart plug uses an ESP8266 or ESP32 paired with an optoisolated relay module to switch lamps, fans, or heaters on and off remotely.
Safety Cautions
- Mains Voltage Risk: Working with 110V to 240V AC electricity can cause severe injury or electrocution. Always disconnect power sources before wiring physical enclosures.
- Relay Ratings: Ensure your relay module's maximum current rating (e.g., 10A at 250VAC) comfortably exceeds the peak draw of the connected appliance.
- Enclosure: House all high-voltage connections inside a fire-retardant, insulated junction box to prevent accidental human contact.
4. IoT Motion Detection Security Alarm
Security systems benefit from real-time alerts. This project uses a Passive Infrared (PIR) motion sensor to detect human presence in a restricted zone, instantly sounding a local buzzer and sending push notifications to your smartphone via webhooks or services like Telegram Bot API.
Setup and Calibration
- Sensor Warm-Up: PIR sensors require a 30 to 60-second stabilization period upon startup to calibrate ambient infrared radiation levels.
- Sensitivity Adjustment: Use the onboard potentiometers on the HC-SR501 PIR module to fine-tune detection distance (ranging from 3 to 7 meters) and trigger delay duration.
- Notification Integration: Configure your Arduino sketch to execute an HTTPS POST request to a messaging platform API when the digital input pin transitions from LOW to HIGH.
5. Cloud-Synced Smart RGB LED Mood Lighting
Customizable accent lighting enhances interior spaces and can be synchronized with external triggers, such as weather conditions, incoming emails, or music rhythms.
Technical Implementation
- Connect an addressable LED strip (such as WS2812B NeoPixels) to a digital pin on an ESP32.
- Use the FastLED or NeoPixel library to manage color values (RGB/HSV).
- Implement an MQTT client that listens to topic streams. When a color payload (
#FF5733) arrives, parse the hexadecimal string into separate red, green, and blue integer values and update the LED strip buffer.
6. IoT Ultrasonic Tank Water Level Monitor
Monitoring fluid levels in overhead water tanks, rainwater harvesting barrels, or septic systems eliminates manual inspections. This project measures distance using an HC-SR04 ultrasonic sensor mounted at the top of a container.
Mathematical Calculation
The microcontroller triggers a 10-microsecond ultrasonic pulse and measures the time it takes for the echo to return ($t$). The distance ($d$) is calculated using the speed of sound ($v \approx 343\text{ m/s}$):
$$d = \frac{t \times v}{2}$$
By subtracting the measured distance from the total internal height of the tank, your code determines the exact water depth and volume, which is then pushed to an IoT dashboard widget showing a visual water tank gauge.
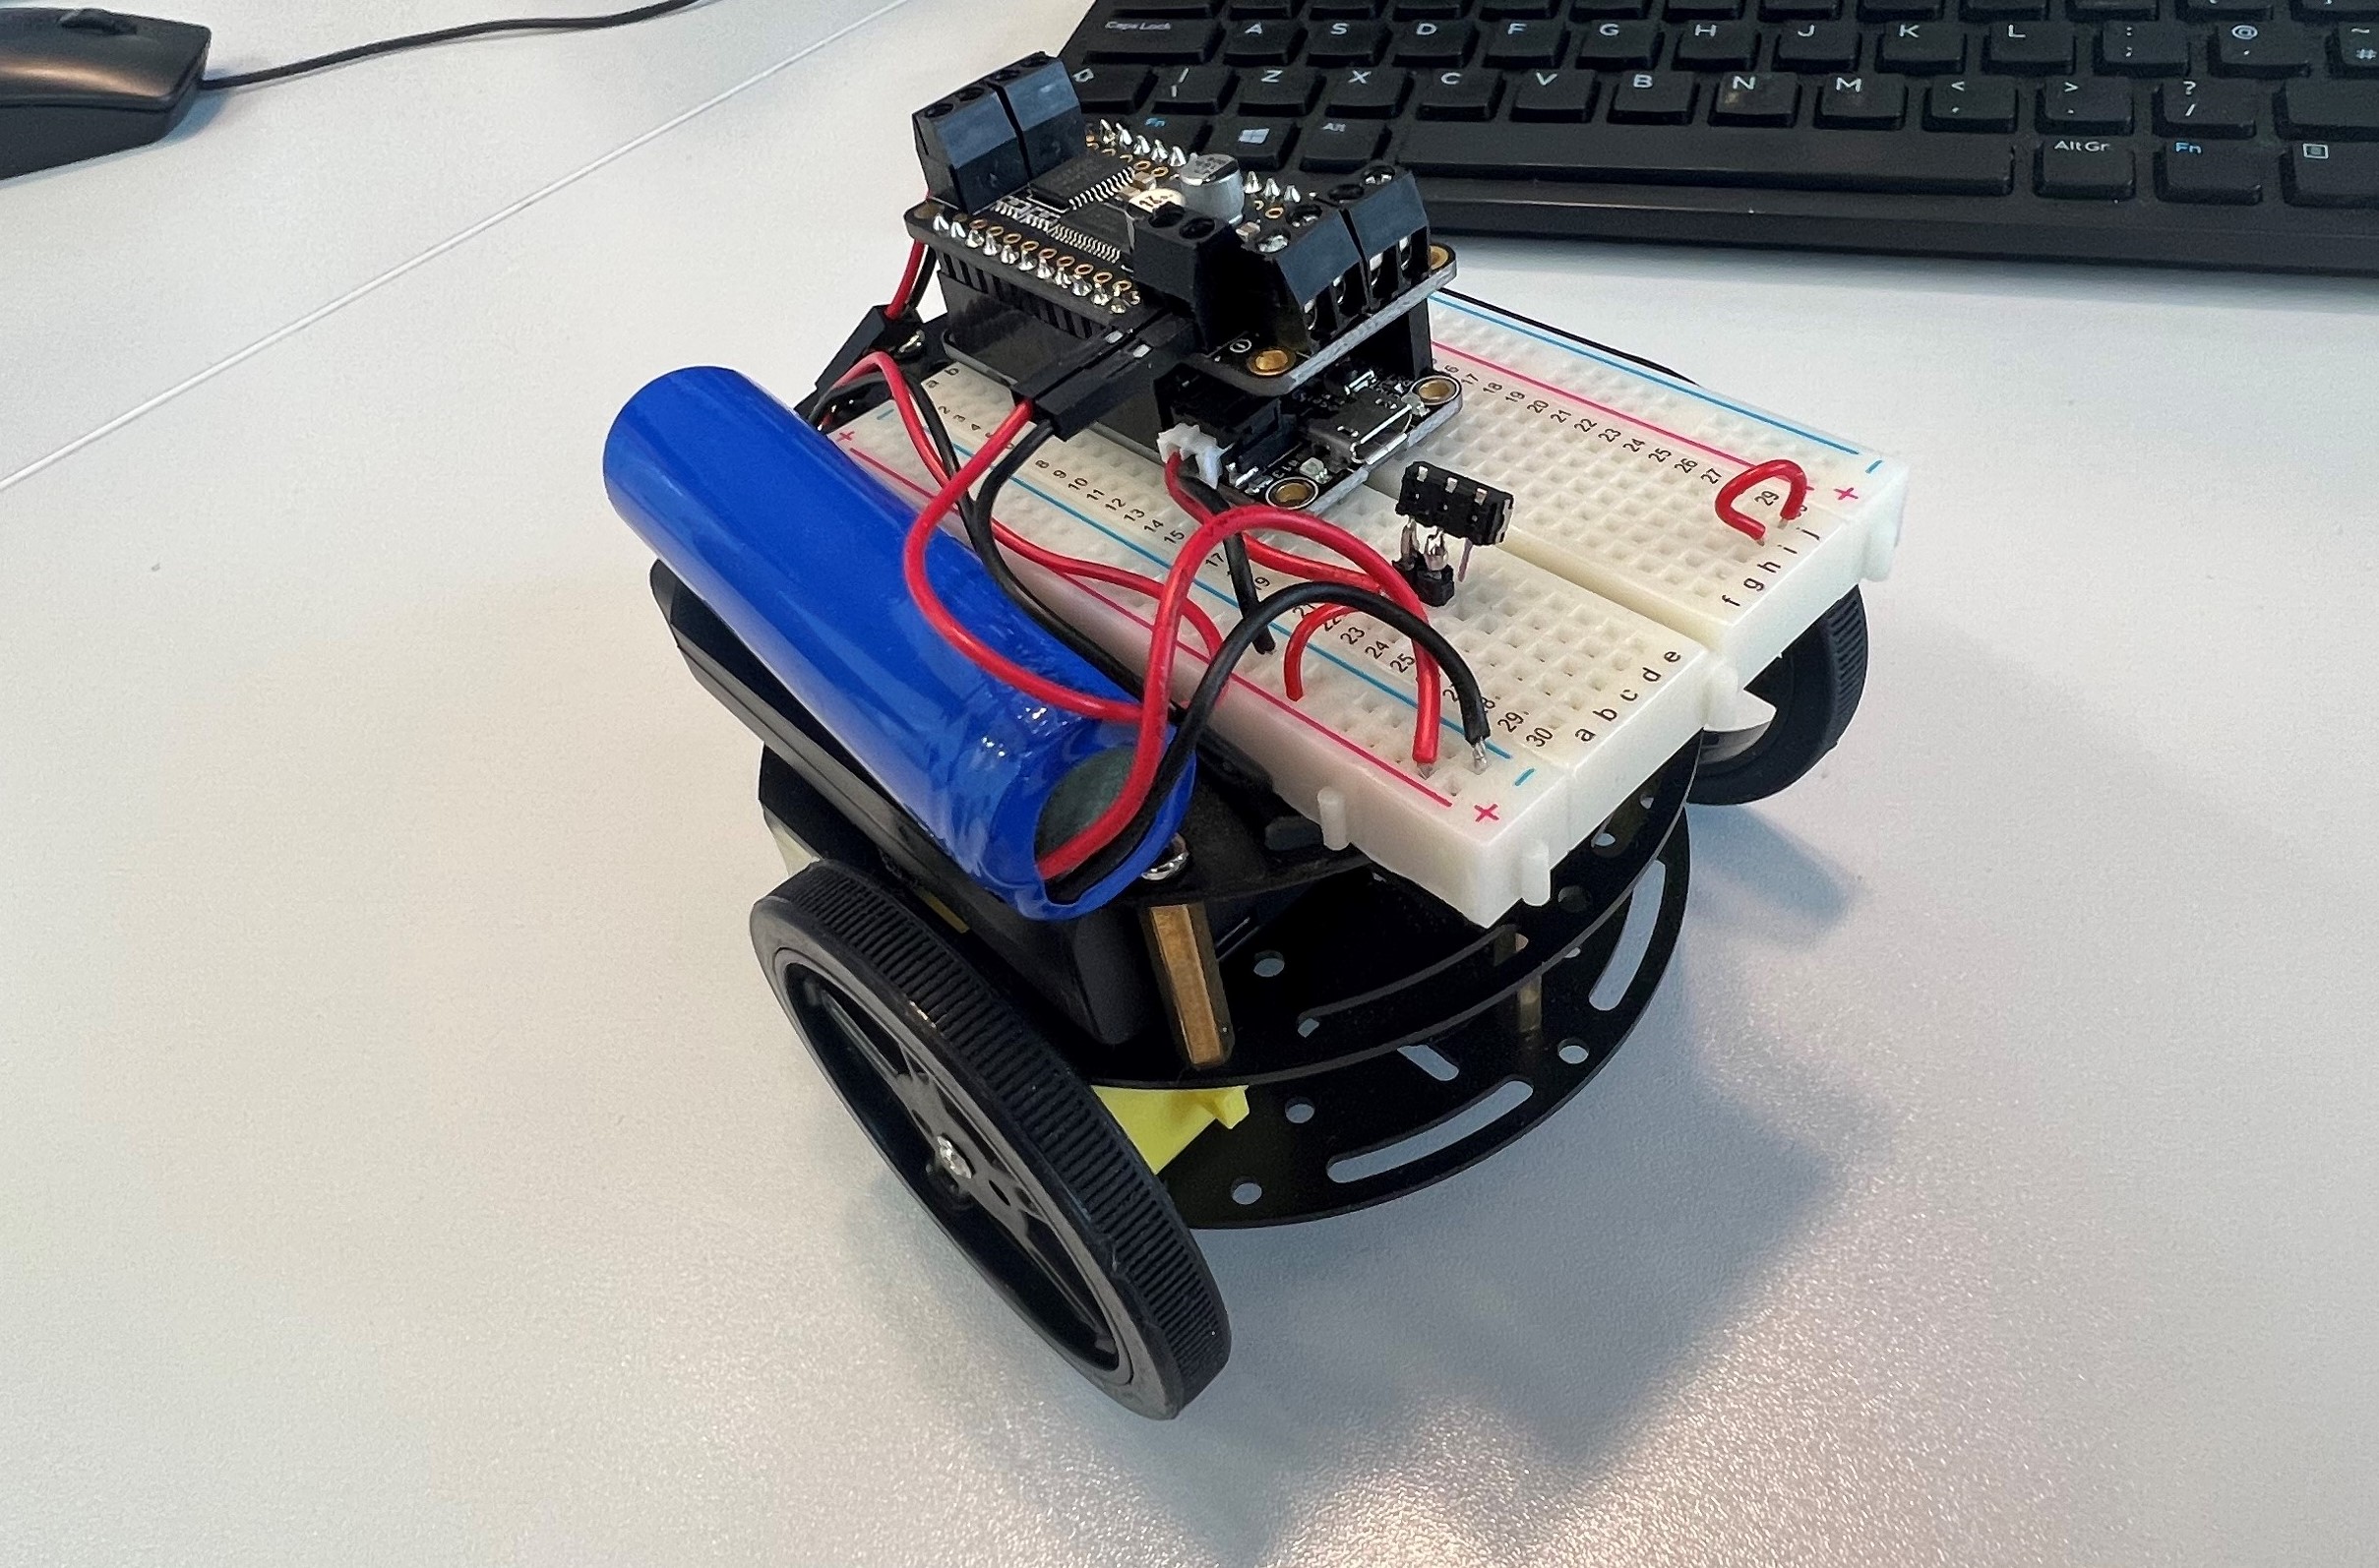
7. Web-Controlled Robotic Rover
Combining mobility with IoT allows you to pilot robotic platforms over local Wi-Fi networks using a web browser interface hosted directly on the microcontroller.
System Architecture
- Web Server: The ESP32 hosts an HTML page containing directional buttons (Forward, Backward, Left, Right, Stop).
- Motor Driver: An L298N or TB6612FNG motor driver interfaces the microcontroller logic pins with DC gear motors.
- Asynchronous Handling: Using the
ESPAsyncWebServerlibrary ensures the microcontroller can handle incoming HTTP client requests smoothly without stuttering motor PWM signals.
8. Smart Energy and Power Meter Monitor
Tracking electricity consumption helps identify energy-hogging appliances and lowers utility bills. This project uses a non-invasive split-core Current Transformer (CT) sensor (such as the SCT-013) connected to an analog input of an Arduino or ESP board.
Measurement Workflow
- The CT sensor outputs a low-voltage AC signal proportional to the current flowing through a live wire.
- An analog-to-digital converter samples the waveform, and firmware calculates Root Mean Square (RMS) current.
- Multiplying RMS current by nominal supply voltage yields real-time apparent power (Watts), which is logged to an online database for historical charting.
9. IoT Digital Weather Dashboard with E-Paper Display
Low-power information displays are ideal for desks or walls. This project fetches live weather forecast JSON data from an online API (such as OpenWeatherMap) and renders it onto a battery-efficient Electronic Paper (E-Paper) display.
Advantages of E-Paper
- Bistable Technology: E-paper screens consume electrical power only when changing pixel states. Once rendered, the image remains indefinitely without drawing current, making it ideal for deep-sleep battery conservation cycles where the microcontroller wakes up every 30 minutes to refresh data.
10. RFID Smart Access Control Logger
Physical security and attendance tracking can be automated using Radio Frequency Identification (RFID). This project uses an RC522 RFID reader module to scan key fobs or cards, verifying UID strings against a cloud database.
Operational Sequence
- A user taps an RFID tag against the RC522 reader.
- The Arduino reads the unique hardware identifier (UID).
- The board sends an HTTP POST request containing the UID to a backend server or database.
- If authorized, the system triggers a digital output to unlock a solenoid door strike and logs the timestamp of entry.
Common Mistakes and Troubleshooting
Building connected hardware often introduces unique debugging challenges. Avoiding common pitfalls ensures robust, long-term operation.
- Insufficient Power Supply: USB ports on computers provide limited current (typically 500mA). Powering Wi-Fi transmission spikes alongside motors or relays from the same 3.3V rail causes microcontrollers to brownout and reset continuously. Always use dedicated, properly rated external power supplies.
- Unstable Wi-Fi Reconnections: Network routers drop connections periodically. Robust IoT code must implement automatic reconnection logic (
WiFi.begin()) inside the main loop if the connection status drops. - Memory Leaks in Dynamic Strings: Using extensive String concatenation in constrained microcontrollers causes heap fragmentation and crashes over time. Prefer fixed character arrays (
char[]) and standard C-string manipulation functions.
Conclusion and Next Actions
Executing these ten projects provides a comprehensive foundation in hardware prototyping, sensor interfacing, and cloud data transmission. To advance your skills, begin by selecting a single project—such as the temperature monitoring station or smart plant watering system—and gather the necessary components. Once you successfully prototype the circuit on a breadboard, solder your connections onto perfboard, design a protective 3D-printed enclosure, and deploy your connected device into its intended physical environment.