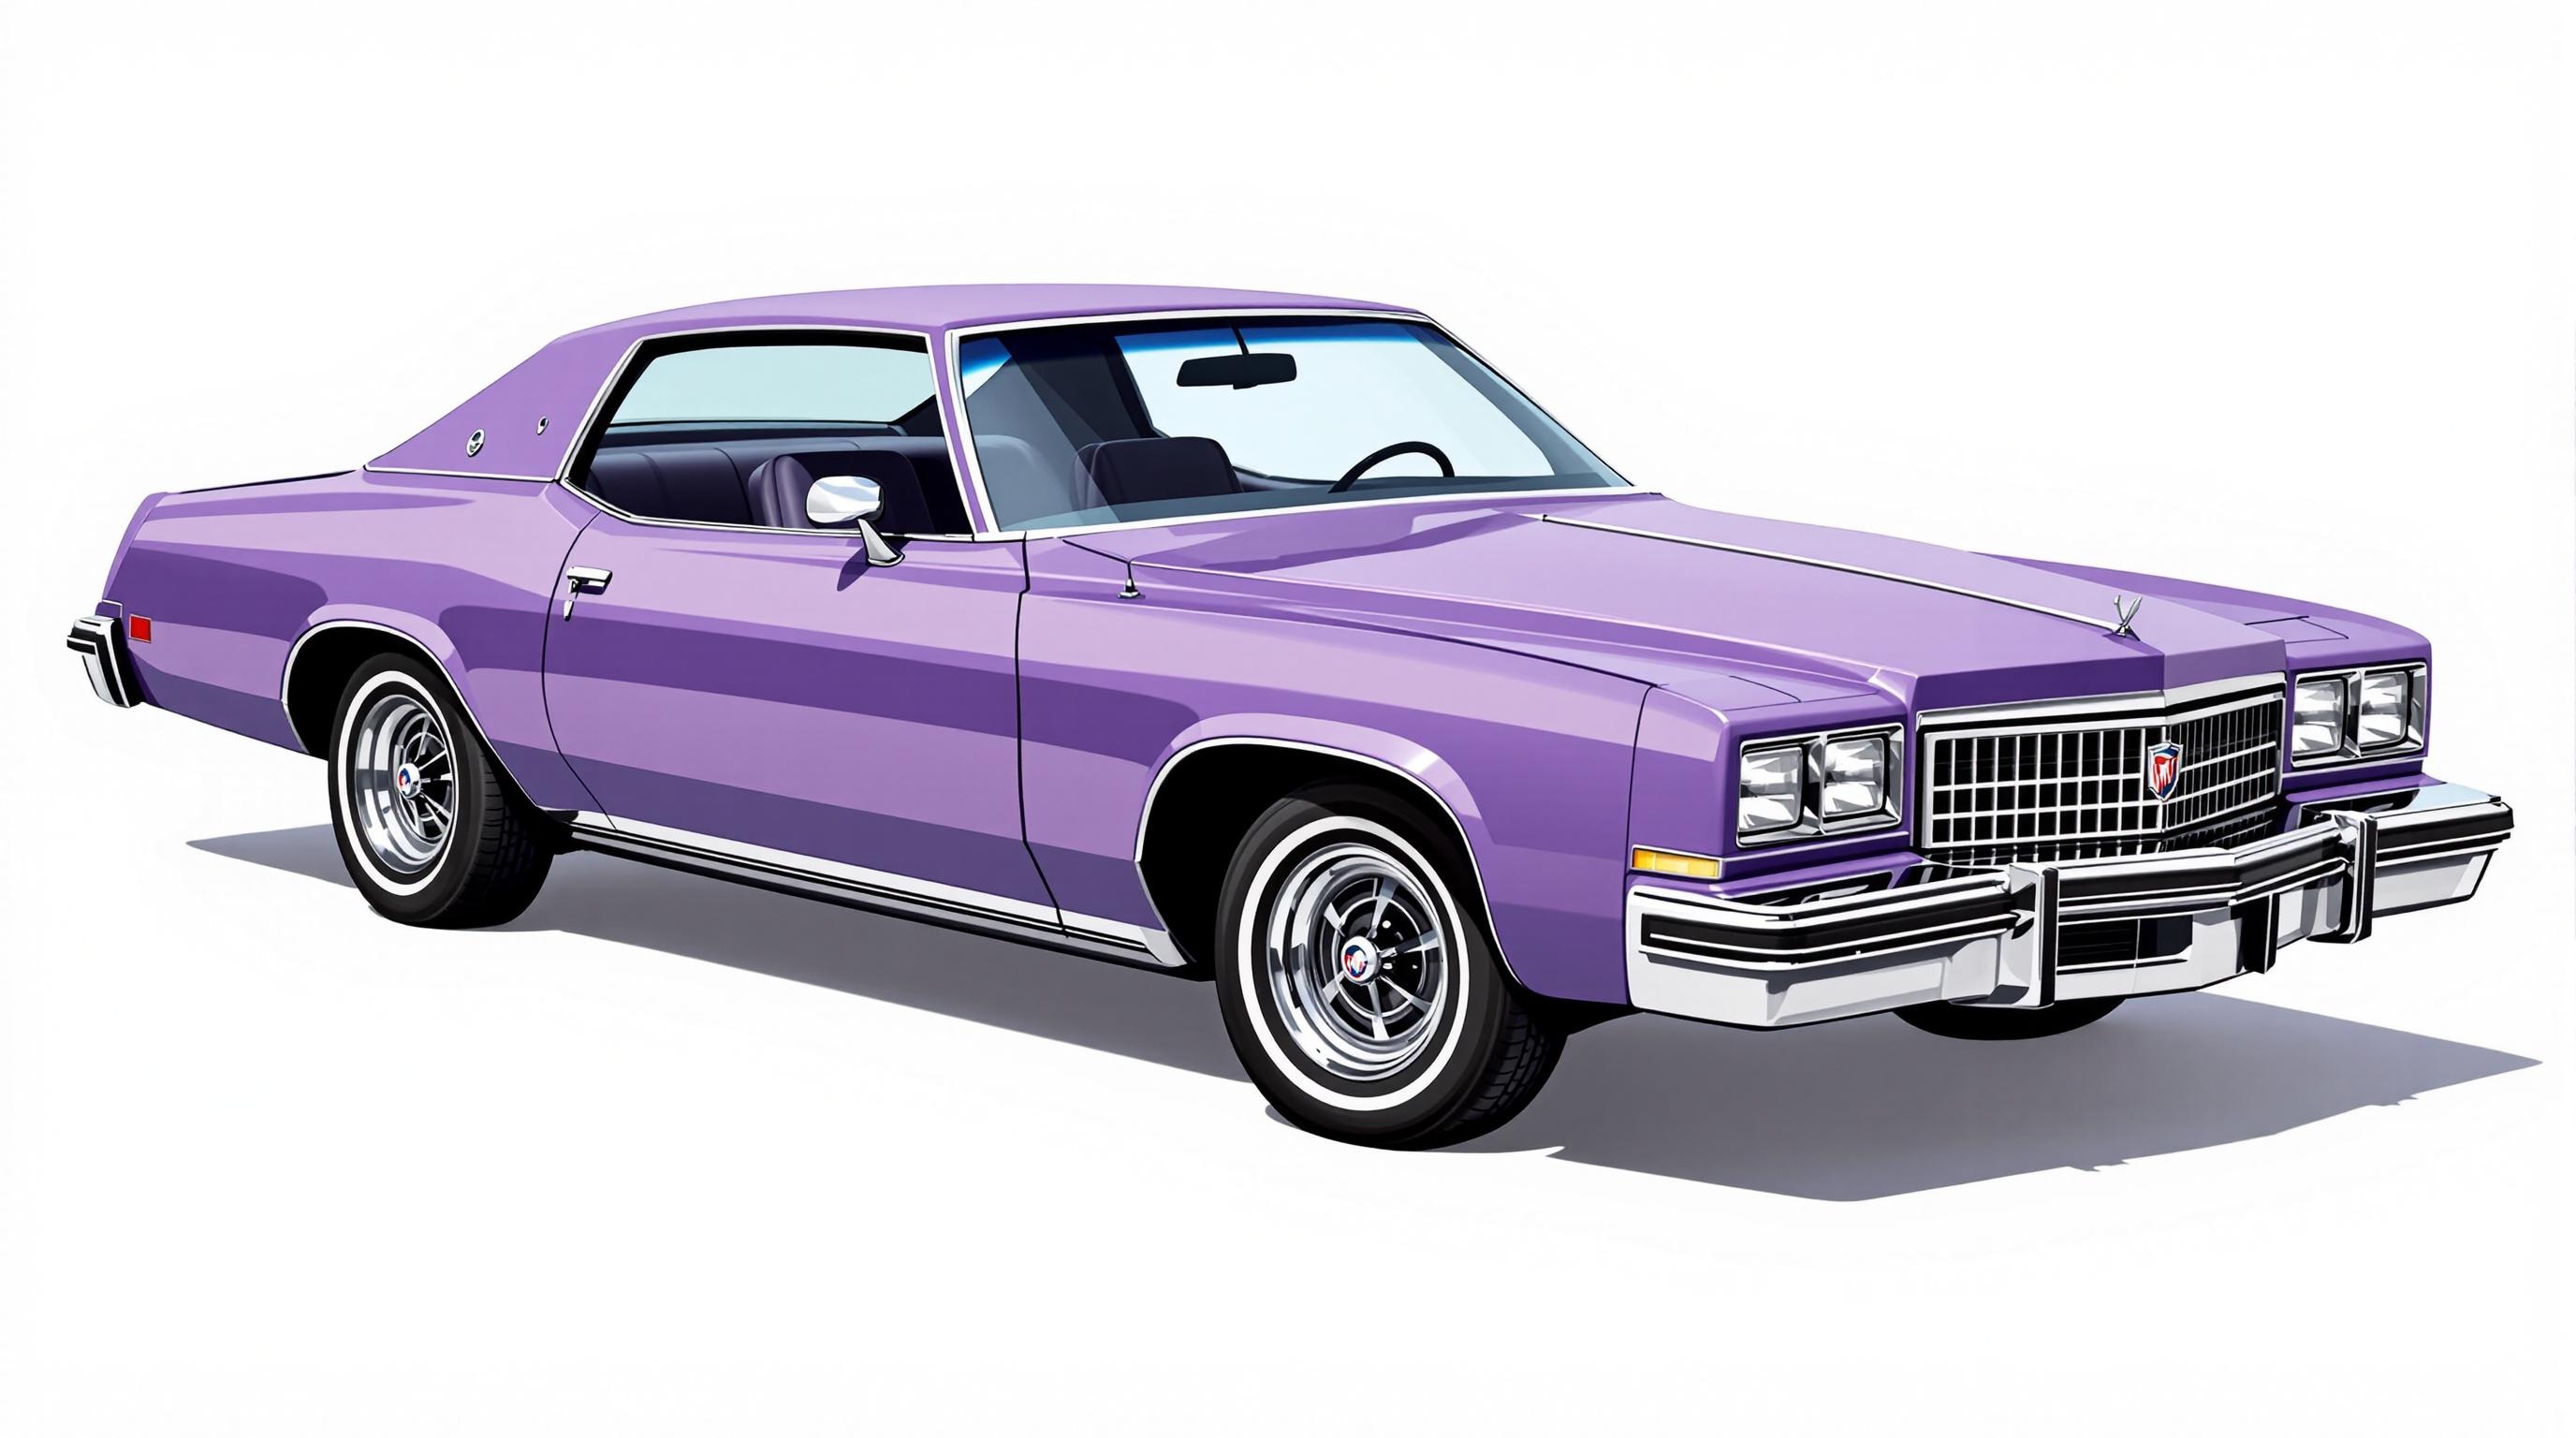
Restoring an Apollo classic car—most notably the rare 1960s Apollo GT (3500 GT and 5000 GT)—requires a specialized combination of traditional Italian coachbuilding, American muscle powertrain rebuilding, and precision paint application. Successful restoration depends on custom sheet metal fabrication, managing mixed metric and imperial hardware, and applying high-quality finishes, often utilizing specialized Apollo High-Volume Low-Pressure (HVLP) turbine sprayers.
Understanding the Apollo GT Legacy and Restoration Scope
When enthusiasts search for references to an "Apollo" or "Apolli" in classic car restoration, the term generally points to two interconnected subjects: the legendary Apollo GT sports car produced between 1962 and 1965, and the specialized Apollo HVLP spray systems widely utilized by master technicians for precision automotive refinishing. Both represent pinnacle standards in hand-crafted automotive craftsmanship.
The Apollo GT represents one of the most intriguing hybrid sports cars of the 20th century. Conceived by American engineer Milton Brown and designer Ron Plescia, with final design refinements executed by former Bertone stylist Franco Scaglione, the car merged European elegance with American mechanical reliability. The hand-formed steel bodies were coach-built in Turin, Italy, by Frank Reisner’s Costruzioni Automobili Intermeccanica, then shipped to Oakland, California, where International Motor Cars installed lightweight American V8 engines and drivetrains.
Because total production comprised approximately 88 units—including both coupes and spyder convertibles—restoring an Apollo GT is fundamentally different from servicing mass-produced classics like the Ford Mustang or Chevrolet Corvette. There are no off-the-shelf reproduction fenders, quarter panels, or interior moldings available. Restorers must rely on traditional metal shaping, custom machining, and meticulous historic preservation techniques to return these vehicles to concours-winning condition.
Pre-Restoration Inspection and Structural Evaluation
Before disassembling an Apollo GT or initiating any major bodywork, a comprehensive multi-point diagnostic evaluation is required. Due to the car's composite manufacturing origin, structural anomalies and hidden deterioration are common.
- Complete Vehicle Inspection & Documentation
- Chassis & Structural Integrity Check (Ladder Frame, Outriggers, Suspension Mounts)
- Hand-Formed Sheet Metal Assessment (Lead Loading, Rust Mapping, Previous Repairs)
- Mechanical & Drivetrain Diagnostics (Buick 215 / 300 V8 Block, Transmission, Axles)
Frame and Chassis Integrity
The Apollo GT rests on a custom ladder-type chassis constructed from ladder-section steel tubing integrated with floor pan sheet metal. Over decades of storage or road exposure, moisture collects in the unsealed tubular frame rails and lower outriggers.
- Tubular Rail Corrosion: Inspect the lower frame rails using an endoscope or ultrasound thickness gauge. Internal rust can compromise structural rigidity without showing obvious external perforation.
- Suspension Mounting Points: The front crossmember and rear radius rod mounts endure significant stress. Check for stress cracks around the weld seams where the Italian chassis frame connects to the suspension pickup points.
- Alignment and Geometry: Before removing body panels, mount the bare chassis on a frame jig to verify squareness. Hand-built sports cars often exhibit minor factory variations, but accident damage or severe rust sag must be corrected before metalwork begins.
Sheet Metal and Lead Load Evaluation
Intermeccanica crafted Apollo body panels by hand-hammering sheet steel over wooden bucks. To smooth out skin imperfections prior to original painting, Italian craftsmen applied heavy layers of body lead (lead loading).
- Mapping Lead Fillers: Use a non-destructive ultrasonic paint thickness gauge or magnet testing to locate thick areas of body lead. Heavy lead patches often conceal underlying rust or hammer marks from historical repairs.
- Rocker Panel and Wheel Arch Assessment: Moisture frequently traps behind the inner rocker sills and rear wheel houses. Rust in these areas destabilizes the door apertures, leading to poor door alignment and panel binding.
Structural Chassis and Mechanical Component Overhaul
Restoring the mechanical assemblies of an Apollo classic requires a split focus between vintage American performance engineering and European suspension dynamics.
Rebuilding the Aluminum Buick V8 Powertrain
Early Apollo 3500 GT models feature the all-aluminum Buick 215 cu. in. (3.5L) V8 engine, an engine praised for its low weight (approximately 318 lbs) but notorious for specific metallurgical challenges. Later 5000 GT variants utilized the cast-iron Buick 300 cu. in. V8 or Ford 302 V8 engines.
- Cylinder Block Integrity: The aluminum Buick 215 block uses cast-iron cylinder sleeves. Inspect the block for sleeve movement or erosion around the upper deck. Warpage occurs if the engine experienced severe overheating in the past.
- Helicoil/Thread Restoration: Aluminum threads in the engine block easily strip under standard torque values. All critical fastener threads—especially head bolts and rocker shaft studs—should be cleaned, inspected, and reinforced with steel thread inserts (such as Time-Serts) during assembly.
- Cooling System Galvanic Corrosion: Dissimilar metal contact between the aluminum block, steel fasteners, and brass radiator components can cause severe galvanic corrosion in the cooling passages. Flush all internal jackets thoroughly and use modern organic acid technology (OAT) coolant formulations designed for vintage multi-metal engines.
Drivetrain and Suspension Refurbishment
The Apollo GT utilizes a Borg-Warner T-10 four-speed manual transmission coupled to a live rear axle supported by trailing arms and a Panhard rod. The front suspension relies on modified Buick Special components featuring upper and lower A-arms with coil springs.
- Bushing Replacement: Original rubber suspension bushings should be replaced with custom-turned polyurethane or fresh high-durometer rubber bushings to restore crisp turn-in without introducing excessive harshness.
- Brake System Overhaul: Early Apollos used front disc brakes combined with rear drums. Rebuilding the calipers requires replacing pitted steel pistons with stainless steel equivalents to prevent future hydraulic fluid leakage and binding.
- Borrani Wire Wheel Servicing: Many Apollo GTs left the factory equipped with Italian Borrani wire wheels featuring alloy rims and steel spokes. Wire wheels must be trued on a specialized wheel jig, replacing fatigued spokes and repacking the knock-off splines with anti-seize compound.
Body Metalwork and Custom Panel Fabrication
Because zero body replacement panels exist for the Apollo GT, structural metal restoration relies entirely on classical metal-shaping trades. Restorers must combine coachbuilding techniques with precise fitment practices.
Metal Shaping with English Wheels and Power Hammers
Rusted metal sections—such as lower door skins, lower quarter panels, and front valances—must be cut out and recreated using cold-rolled sheet steel matching the original gauge (typically 18-gauge or 20-gauge steel).
- Pattern Making: Create flexible shape patterns (flexible vinyl tape rubbings) directly off undamaged sections or opposite sides of the vehicle to capture accurate compound curves.
- Forming Compound Curves: Use an English wheel to impart crown into the new sheet metal, using shrinkers and stretchers to manipulate flange profiles along wheel arches.
- TIG Welding and Metal Finishing: Butt-weld patch panels into place using TIG (Tungsten Inert Gas) welding with minimal heat input to avoid warping the surrounding panel. Planish the weld seams smooth with a hammer and dolly, reducing the reliance on body fillers.
Panel Alignment and Gap Management
Hand-built Italian bodies exhibit unique door, hood, and trunk gaps that rarely match modern uniform tolerances. During restoration, aim for consistent 3.5mm to 4.0mm panel gaps while maintaining flat panel transitions across shut lines.
High-Precision Refinishing with Apollo HVLP Turbine Systems
Achieving a flawless paint finish on an Apollo GT requires careful substrate preparation and precise paint application technology. Professional refinishers often rely on Apollo HVLP turbine spray systems to apply high-build primers, single-stage polyurethane, or traditional nitrocellulose and acrylic lacquers.
- Metal Preparation & Etch Primer
- High-Build Epoxy & Urethane Surfacers
- Guide Coat Application & Wet Block Sanding
- Apollo HVLP Precision Basecoat / Color Application
- Clearcoat Application, Cut, & Rotary Polishing
Advantages of Apollo HVLP Systems in Automotive Refinishing
Apollo HVLP sprayers utilize multi-stage warm-air turbines rather than high-pressure compressed shop air. This equipment offers distinct technical advantages during classic car restoration:
- High Transfer Efficiency: Apollo HVLP systems deliver transfer efficiencies exceeding 85%, significantly reducing overspray compared to conventional high-pressure spray guns. This ensures even coverage over complex hand-formed body curves.
- Warm, Dry Air Supply: Turbine systems naturally generate warm, dry air, eliminating water condensation issues common in long compressed-air lines. This warm air accelerates solvent flash times, reducing paint sags and runs.
- Atomization Control: Fine-wire fluid needle adjustments allow restorers to spray high-viscosity high-build primers as well as fine, atomized topcoats with absolute spray pattern control.
Paint Preparation Step-by-Step Procedure
- Substrate Epoxy Priming: Apply two coats of anti-corrosive epoxy primer directly to bare, clean steel within 24 hours of final metal finishing or media blasting.
- High-Build Primer Application: Apply three coats of high-build urethane primer surfacer using an Apollo HVLP sprayer fitted with a 1.8mm to 2.0mm fluid nozzle.
- Block Sanding Sequence: Apply a dark guide coat over the cured primer. Hand-sand the body using hard sanding blocks, progressing from 180-grit to 320-grit, and finishing with 600-grit wet sanding paper to ensure a flat, wave-free surface.
- Color Coat and Clearcoat Finish: Apply three medium-wet coats of factory-correct color basecoat, followed by high-solid clearcoat. Maintain spray gun distance at 6 to 8 inches with a 50% overlap per pass. Allow proper flash times between coats based on ambient workshop temperature.
- Color Correction and Polish: Nib-sand clearcoat imperfections using 1500-grit to 3000-grit micro-abrasive papers. Compound and polish the surface using progressive foam pads and rotary polishers to achieve a mirror finish.
Technical Specifications and Component Reference Matrix
The following table summarizes key technical specifications, structural attributes, and restoration requirements across Apollo classic models and refinishing standards:
| Specification / Attribute | Apollo 3500 GT (1962–1964) | Apollo 5000 GT (1964–1965) | Refinishing / Workshop Standard |
|---|---|---|---|
| Engine Configuration | 215 cu. in. (3.5L) Buick Aluminum V8 | 300 cu. in. (4.9L) Buick Iron V8 / Ford 302 | Apollo HVLP Turbine 4 or 5-Stage System |
| Horsepower Output | ~200 hp @ 5,000 RPM | ~250 hp @ 4,800 RPM | N/A |
| Transmission | Borg-Warner T-10 4-Speed Manual | Borg-Warner T-10 4-Speed Manual | 80W-90 GL-4 Gear Oil |
| Chassis Type | Steel ladder-frame with integrated floor | Steel ladder-frame with integrated floor | Epoxy primed & chassis urethane black |
| Bodywork Material | Hand-shaped steel skin with lead filling | Hand-shaped steel skin with lead filling | Bare metal prepped with 80-grit DA finish |
| Wheel Specification | 15" Borrani Wire Wheels (Knock-off) | 15" Borrani Wire Wheels or Chrome Steel | Radial or period-correct cross-ply tires |
| Target Panel Gaps | 3.5mm – 4.0mm uniform shut lines | 3.5mm – 4.0mm uniform shut lines | Checked prior to prime & paint |
| Primary Paint Type | Nitrocellulose / Acrylic Lacquer (Orig.) | Acrylic Lacquer / Polyurethane (Orig.) | High-Solid Polyurethane / HVLP Finish |
Common Technical Challenges and Troubleshooting
Restoring an Apollo GT presents unique obstacles due to its hybrid construction and limited production volume. Managing these complications requires specialized shop protocols.
Managing Mixed Fasteners and Thread Standards
Because the chassis and body were manufactured in Turin while the engine and drivetrain were installed in California, the Apollo GT contains a confusing mix of metric and imperial (SAE) hardware.
- Metric Hardware: Body bolts, door hinge hardware, bumper brackets, and instrument panel mountings generally use Italian metric threads (M6, M8, M10 with standard metric pitches).
- Imperial Hardware: Engine mounts, transmission crossmembers, driveshaft U-bolts, and rear axle assemblies use SAE coarse (UNC) and fine (UNF) threads.
- Restoration Best Practice: Tag and bag every fastener during disassembly. Never force a thread; use thread pitch gauges to verify whether an unthreaded hole or bolt requires metric or SAE hardware.
Sourcing and Fabricating Rare Trim Components
Many detail items on the Apollo GT were sourced from contemporary European sports cars, while others were unique to Intermeccanica.
- Lighting and Lenses: Front turn signals, taillights, and side markers often shared components with Italian marques such as Fiat, Alfa Romeo, or Ferrari of the early 1960s. Researching Italian component cross-references (such as Carello or Altissimo lighting catalogs) saves time over custom fabrication.
- Custom Glass: Curved windshields and rear backlight glass are exceptionally rare. If original glass is cracked, restorers must contract specialized vintage automotive glass fabricators capable of slumping glass to match custom molds.
Project Timeline, Cost Breakdown, and Preservation Standards
A complete, frame-off restoration of an Apollo GT requires substantial labor, specialized equipment, and detailed historical research.
Estimated Labor Allocation
- Metalwork & Body Shaping: 35% of total labor hours
- Paint Prep & Refinishing: 25% of total labor hours
- Mechanical & Electrical: 25% of total labor hours
- Assembly & Trim Detail: 15% of total labor hours
- Disassembly & Metal Restoration: 600 to 1,200 labor hours.
- Paint Preparation & HVLP Refinishing: 400 to 700 labor hours.
- Mechanical Rebuilding & Wiring: 400 to 600 labor hours.
- Interior Upholstery & Assembly: 300 to 500 labor hours.
Concours vs. High-End Driver Restoration
- Concours Restoration Standard: Focuses on complete historical accuracy, including correct lead loading, period-accurate nitrocellulose lacquer paint formulation, original Connolly leather patterns, and authentic hose clamps and wiring looms.
- High-End Driver Standard: Incorporates subtle reliability upgrades, such as modern electronic ignition, upgraded aluminum cooling radiators, high-solid clearcoats applied via Apollo HVLP spray equipment, and modern rust-inhibiting chassis coatings.
Frequently Asked Questions
What makes the Apollo GT unique among 1960s classic sports cars?
The Apollo GT uniquely combined hand-hammered Italian coachwork designed by Franco Scaglione and built by Intermeccanica with reliable American V8 power (Buick 215/300 V8). Produced in extremely limited numbers (around 88 vehicles), it delivered Ferrari-like styling at a fraction of contemporary maintenance costs.
How does an Apollo HVLP spray system benefit classic car paint restoration?
Apollo HVLP turbine spray systems generate high-volume, low-pressure air, resulting in over 85% paint transfer efficiency. The dry, warm air provided by turbine technology eliminates moisture contamination, reduces paint overspray, and delivers precise atomization necessary for smooth, orange-peel-free primer and clearcoat finishes.
How do you repair rusted body panels on an Apollo GT without off-the-shelf patch panels?
Because replacement body panels are unavailable, restorers must hand-fabricate patch panels using 18-gauge cold-rolled steel. Technicians construct flexible shape patterns from the vehicle, stretch and shrink the steel using English wheels and power hammers, and TIG-weld the new sections into place.
What are the main engine rebuild concerns for an aluminum Buick 215 V8?
The aluminum Buick 215 block is susceptible to stripped threads, coolant passage erosion, and warped cylinder decks from past overheating. Restorers must install steel thread inserts in critical bolt holes, inspect iron cylinder sleeves for movement, and use modern anti-galvanic coolants during operation.
How do you identify whether an Apollo hardware fitting is metric or SAE?
As a hybrid vehicle, the Italian-built body and chassis generally use metric fasteners (care of Intermeccanica), while the American engine, transmission, and rear axle use SAE imperial fasteners. Technicians must use thread pitch gauges and digital calipers during disassembly to sort and catalog all hardware.
Practical Recommendations and Next Actions
Restoring an Apollo classic car or executing high-precision automotive paint refinishing demands a structured technical roadmap:
- Document and Catalog Thoroughly: Before removing a single panel or mechanical component, take high-resolution photos of all bracketry, wiring paths, panel gaps, and trim placement. Store fasteners in labeled bags categorized by metric (chassis/body) and SAE (powertrain).
- Verify Frame Straightness Early: Mount the bare chassis on a frame alignment rack to ensure squareness before initiating metal replacement or panel shaping. Correcting frame sag after bodywork destroys panel alignment.
- Master Substrate Preparation: Invest adequate labor into block sanding with progressive grit papers. Utilize a high-performance HVLP turbine system—such as an Apollo HVLP spray setup—to apply consistent epoxy primers and high-solid finish coats with minimal overspray.
- Preserve Original Trim: Preserve original Carello/Altissimo lenses, Veglia/Stewart-Warner gauges, and coachbuilder badges. If restoration is impossible, consult specialized European classic car swap registries before attempting custom reproductions.