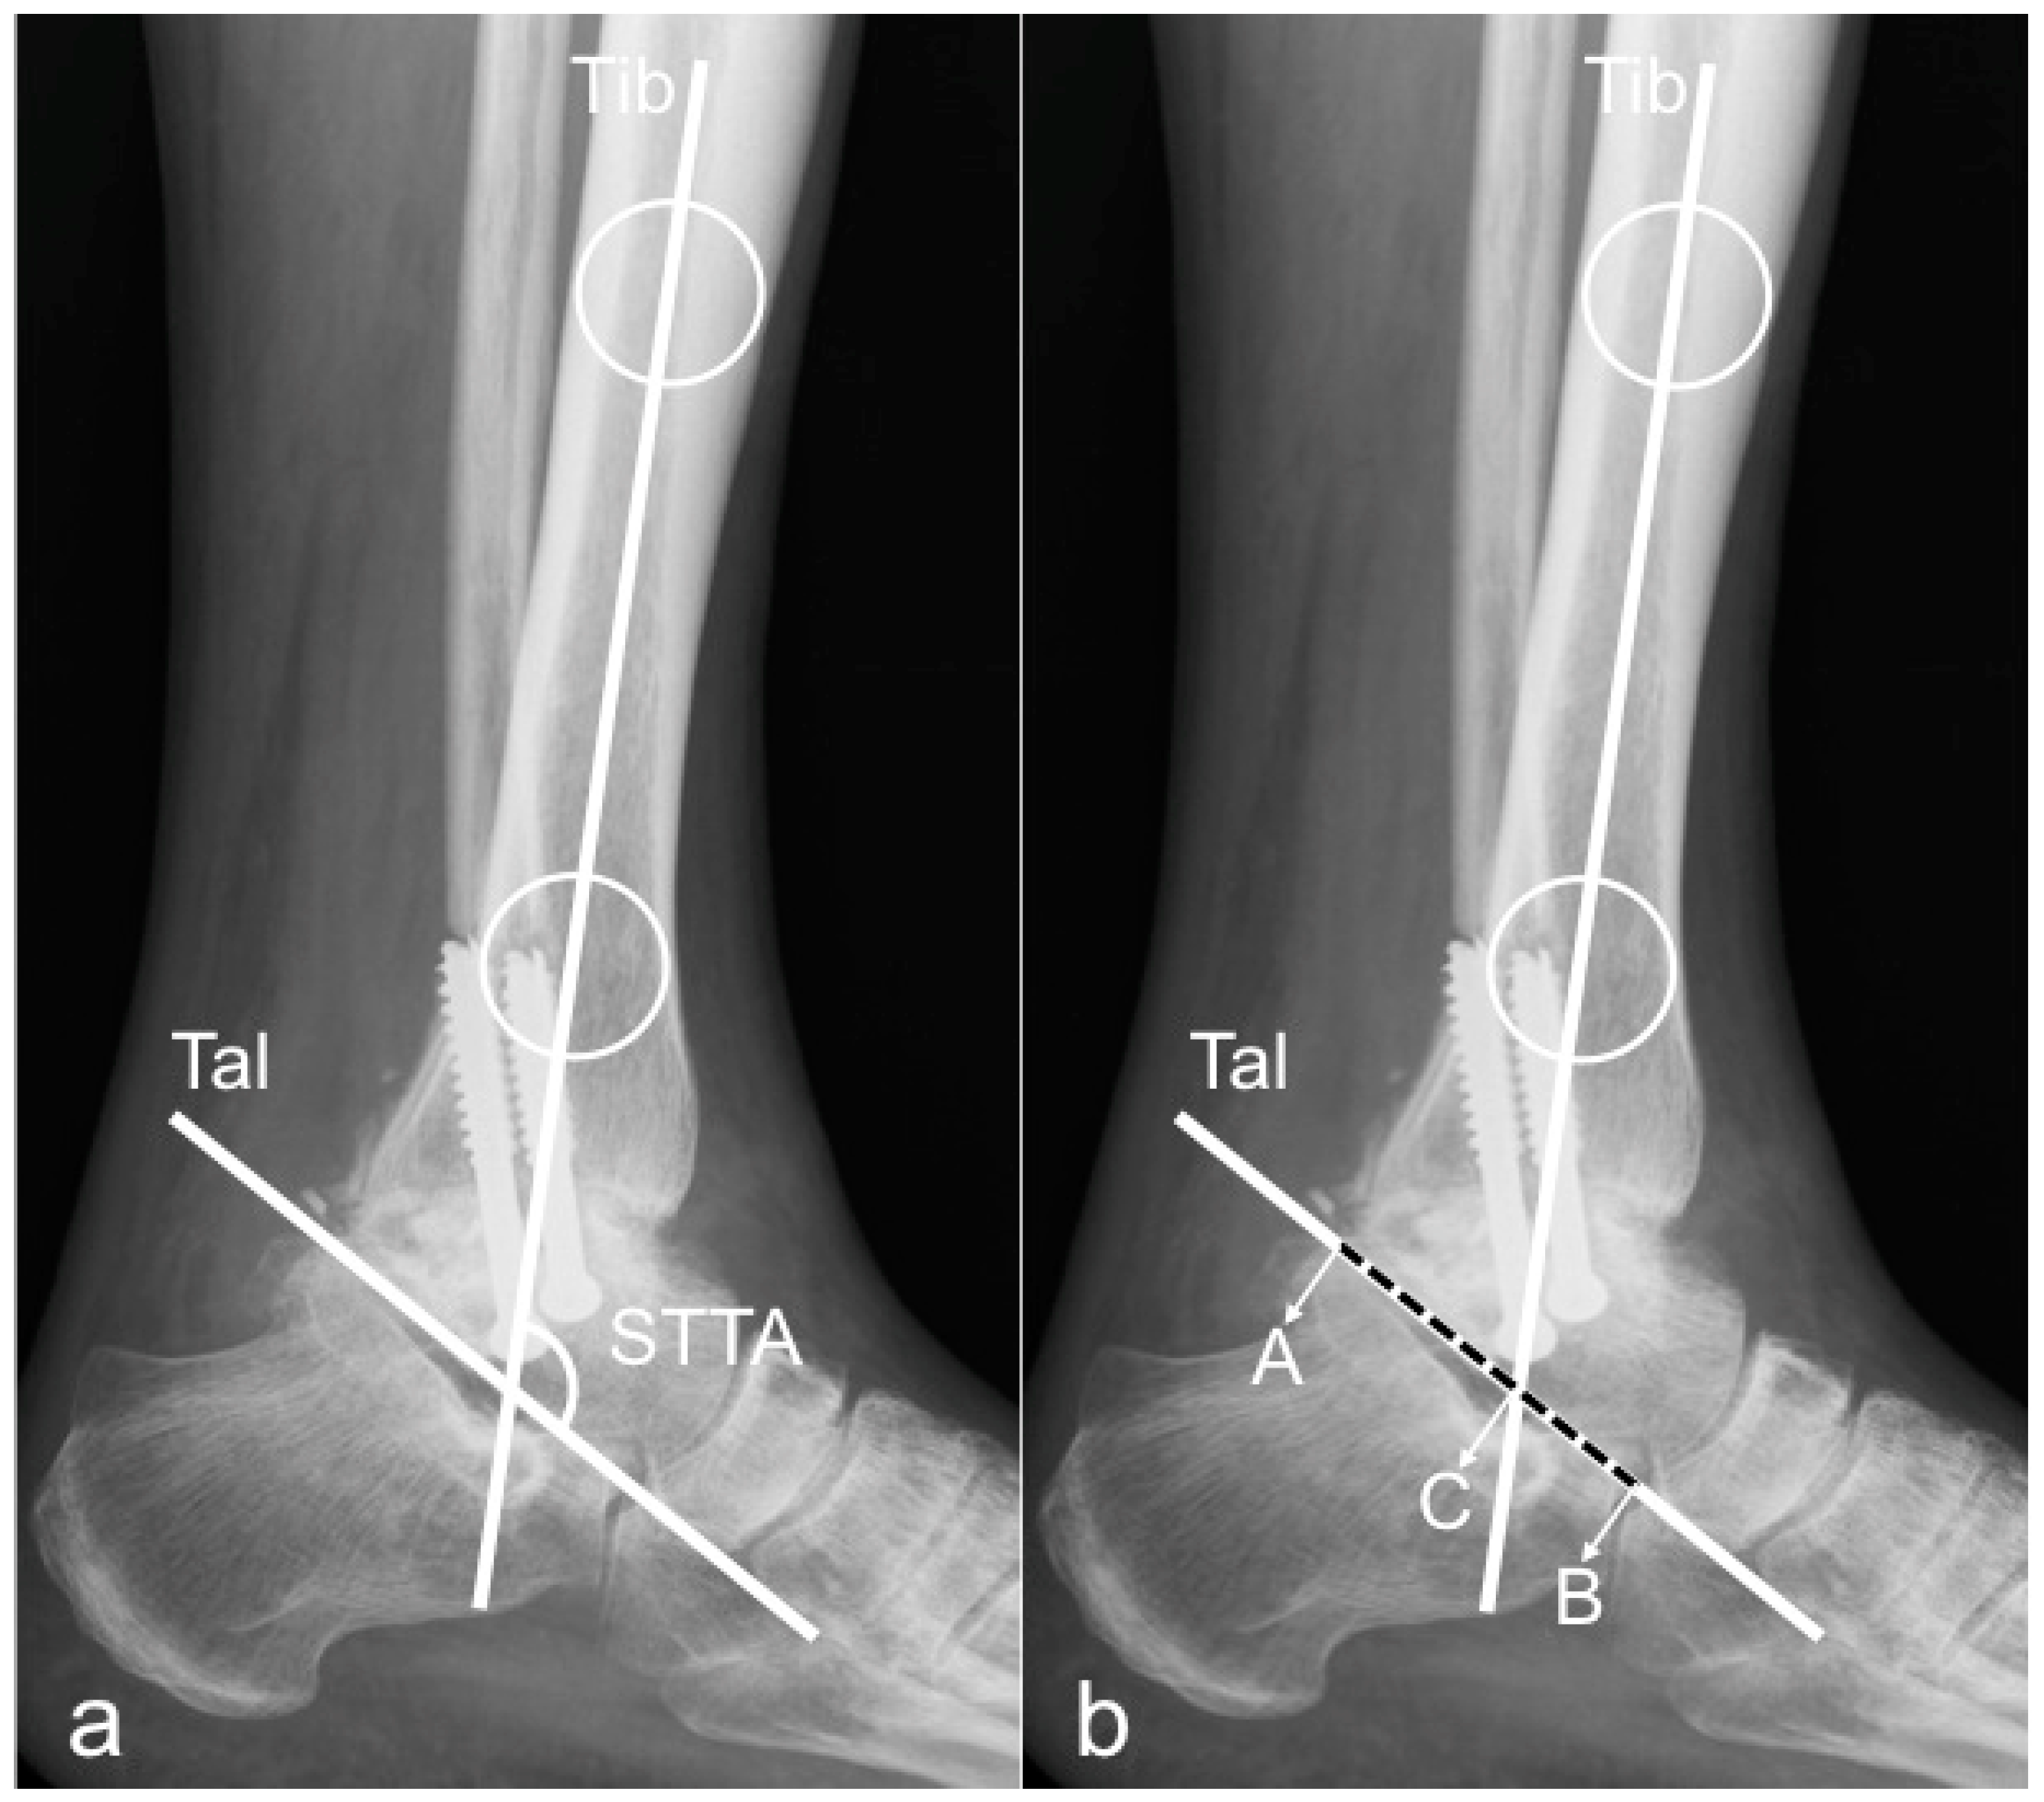
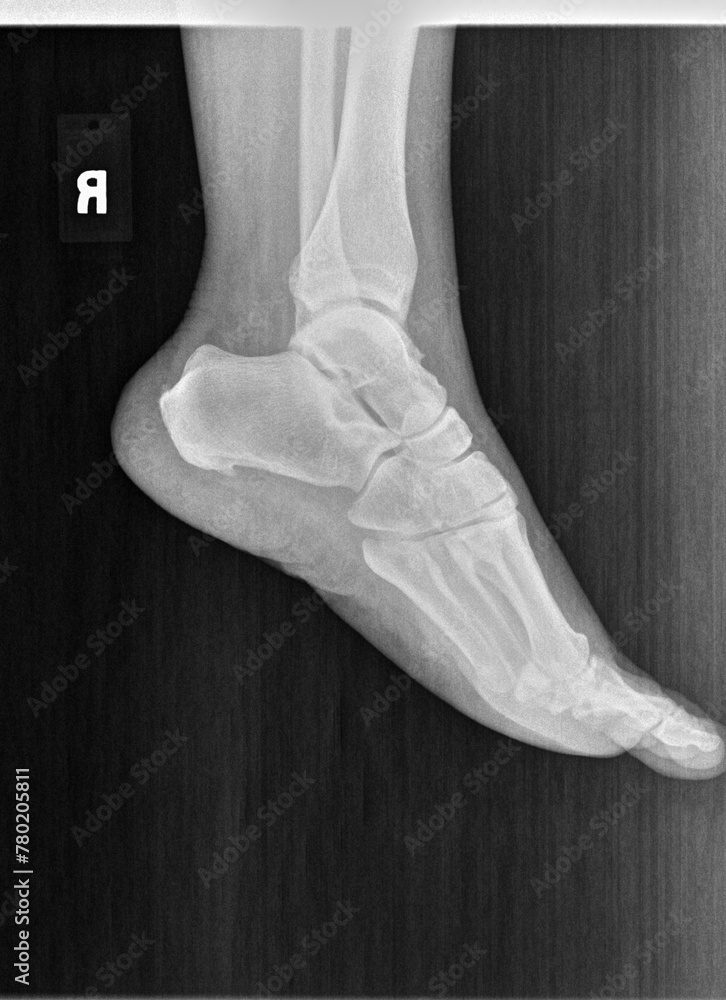
A standard ankle X-ray series in 2026 typically consists of three essential views: the Anteroposterior (AP), the Mortise, and the Lateral view. These projections allow clinicians to evaluate the distal tibia, distal fibula, and the talus, ensuring the integrity of the ankle joint, the syndesmosis, and the surrounding bony structures for fractures or degenerative changes.
Understanding the nuances of a labeled ankle X-ray is foundational for medical professionals, radiology students, and orthopedic specialists. While modern diagnostic imaging has integrated advanced artificial intelligence for preliminary "auto-labeling" in 2026, the clinical requirement for manual verification and anatomical proficiency remains the gold standard. A systematic approach to reading these films ensures that subtle injuries, such as syndesmotic widened spaces or talar dome osteochondral lesions, are not overlooked.
The Significance of the Standard Three-View Ankle Series
In clinical practice, a single view of the ankle is never sufficient to rule out pathology. Because the ankle is a complex, weight-bearing hinge joint, overlapping bones can hide significant fractures or subluxations. The three-view series provides a three-dimensional perspective using two-dimensional images.
- The AP View: Provides a general overview of the distal leg and the relationship between the tibia and fibula.
- The Mortise View: The most critical view for assessing the "mortise" (the socket) of the ankle joint itself.
- The Lateral View: Essential for viewing the posterior malleolus, the calcaneus, and the talocalcaneal (subtalar) joint.
By utilizing these three perspectives, a radiologist can assess the alignment of the talus within the mortise and check for the presence of joint effusions, which often manifest as "fat pad signs" on the lateral projection.
1. The Anteroposterior (AP) View: Labels and Anatomy
The AP view is taken with the patient’s foot in a neutral position, with the X-ray beam directed from the front (anterior) to the back (posterior). In this view, the tibia and fibula will naturally overlap due to the anatomy of the distal tibiofibular syndesmosis.
Key Labels on the AP View
- Distal Tibia: The main weight-bearing bone of the lower leg.
- Medial Malleolus: The bony prominence on the inner side of the ankle (part of the tibia).
- Lateral Malleolus: The bony prominence on the outer side of the ankle (the distal end of the fibula).
- Tibial Plafond: The horizontal articular surface of the distal tibia that rests upon the talus.
- Talar Dome: The rounded upper surface of the talus bone.
- Tibiofibular Overlap: The area where the fibula lies "behind" the tibia on an AP film.
On a standard AP view, the lateral joint space is typically obscured because the lateral malleolus overlaps the lateral aspect of the talar dome. This is why the AP view alone is insufficient for evaluating joint space narrowing or subtle mortise shifts. Clinicians use the AP view primarily to check for proximal fibular fractures (in the case of Maissoneuve injuries) and gross alignment of the tibial shaft.
2. The Mortise View: The "Gold Standard" for Joint Assessment
The Mortise view is often confused with the AP view, but it is distinct and clinically superior for evaluating joint integrity. To capture this view, the patient's leg is internally rotated approximately 15 to 20 degrees. This rotation brings the lateral malleolus and medial malleolus into a plane parallel to the film, effectively "opening up" the joint space.
Why the Mortise View is Essential
In a healthy ankle, the joint space (the "clear space") should be uniform across the entire top and sides of the talus. This creates a clear "U-shape" around the talar dome.
Key Labels on the Mortise View
- Medial Clear Space: The gap between the medial side of the talus and the medial malleolus. In 2026, clinical guidelines generally suggest this should be less than or equal to 4mm.
- Superior Clear Space: The space between the talar dome and the tibial plafond.
- Lateral Clear Space: The space between the lateral talus and the lateral malleolus.
- Talar Tilt: An assessment of whether the talus is angled within the mortise, indicating ligamentous instability.
The Mortise view is the primary tool for diagnosing syndesmotic injuries. If the tibiofibular clear space is widened, it suggests a tear in the ligaments connecting the tibia and fibula, a condition often referred to as a "high ankle sprain."
3. The Lateral View: Assessing the Hindfoot and Soft Tissues
The lateral view is taken from the side of the ankle. It is perhaps the most complex view to interpret because it involves the overlapping of several midfoot bones, but it is vital for identifying fractures of the posterior malleolus and the processes of the talus.
Key Labels on the Lateral View
- Posterior Malleolus: The back edge of the distal tibia. Fractures here are common in rotational injuries.
- Calcaneus: The heel bone, visible in its entirety.
- Tarsal Sinus (Sinus Tarsi): A tunnel between the talus and the calcaneus.
- Base of the 5th Metatarsal: Always included in a standard ankle series to rule out a Jones fracture or an avulsion fracture, which can mimic ankle pain.
- Kager’s Fat Pad: A sharp, triangular radiolucent (dark) area behind the Achilles tendon. If this area appears cloudy or "obliterated," it indicates soft tissue swelling or a joint effusion.
- Navicular and Cuboid Bones: Parts of the midfoot that are partially visible and must be screened for secondary injuries.
The lateral view is also used to measure the Boehler’s Angle if a calcaneal fracture is suspected, although this is more specific to dedicated foot/calcaneus series.
Technical Specifications and Measurements for 2026
When viewing a labeled ankle X-ray, clinicians do not just look for "breaks." they look for specific measurements that indicate stability. In 2026, digital imaging software often provides automated calipers for these measurements, but manual confirmation is necessary.
| Measurement | View | Normal Value (Approximate) | Clinical Significance |
|---|---|---|---|
| Medial Clear Space | Mortise | $\le$ 4 mm | Increase indicates deltoid ligament injury or lateral shift. |
| Tibiofibular Clear Space | AP/Mortise | < 6 mm | Increase indicates syndesmotic (high ankle) injury. |
| Tibiofibular Overlap | AP | > 6 mm | Decrease indicates syndesmotic diastasis. |
| Talar Tilt | Mortise | < 2 degrees | Increase indicates chronic ligamentous instability. |
| Posterior Malleolus % | Lateral | < 25% of surface | Determines if surgical fixation of the posterior tibia is needed. |
Pathologies Visible on Labeled Ankle X-rays
A thorough understanding of labels allows for the identification of specific fracture patterns. The most common classification system used in conjunction with labeled X-rays is the Danis-Weber Classification, which focuses on the level of the fibular fracture relative to the syndesmosis (the joint between the tibia and fibula).
- Weber A: Fracture below the level of the syndesmosis. Usually stable.
- Weber B: Fracture at the level of the syndesmosis. Stability varies.
- Weber C: Fracture above the level of the syndesmosis. Highly unstable; often involves a tear of the interosseous membrane.
Beyond fractures, labeled X-rays help identify Osteochondral Lesions of the Talus (OLTs). These appear as small "divots" or flakes of bone on the medial or lateral corners of the talar dome. Without the Mortise view, these lesions are frequently missed because they are obscured by the malleoli.
The Systematic Checklist for Reading Ankle Radiographs
To ensure no anatomical structure is missed, many radiologists follow a "Checklist" approach. When looking at labeled views, follow this order:
- Bony Alignment: Trace the "Shenton’s line of the ankle"—a continuous line from the lateral extremity of the tibial plafond to the medial cortex of the fibula.
- Joint Spaces: Check the medial, superior, and lateral clear spaces on the Mortise view. They should be uniform.
- Cortical Continuity: Follow the outer edge of every bone (tibia, fibula, talus, calcaneus, and 5th metatarsal) to look for "steps" or jagged edges indicating a fracture.
- Soft Tissues: Look for swelling over the malleoli. A "fat pad sign" on the lateral view is a hallmark of intra-articular fluid.
- The "Hidden" Areas: Specifically check the base of the 5th metatarsal and the posterior process of the talus. These are the most common "missed" fractures in emergency departments.
Advanced Considerations: Stress Views and Weight-Bearing
In 2026, there is an increasing emphasis on weight-bearing ankle X-rays. Standard non-weight-bearing films can sometimes mask instability. If a patient can tolerate it, taking the AP and Mortise views while the patient is standing can reveal a "widening" of the joint that is not visible when the patient is lying on the X-ray table.
Stress views—where a clinician physically applies pressure to the ankle (inversion or eversion) during the X-ray—are less common now than in previous decades due to the availability of MRI, but they remain a cost-effective way to evaluate ligamentous laxity in specific orthopedic settings.
Frequently Asked Questions
What is the difference between an AP ankle view and a Mortise view?
The AP view is taken with the foot neutral, showing the tibia and fibula overlapping. The Mortise view is taken with the leg rotated internally by 15-20 degrees, which eliminates the overlap and allows a clear view of the entire ankle joint space (the mortise). The Mortise view is superior for checking joint stability.
Why is the base of the 5th metatarsal included in an ankle X-ray?
Many patients who "twist their ankle" actually suffer an avulsion fracture at the base of the 5th metatarsal (where the peroneus brevis tendon attaches) or a Jones fracture. Because the pain can radiate to the lateral ankle, standard protocols require the 5th metatarsal base to be visible on the lateral or oblique ankle views.
How can I tell if an ankle X-ray is "normal" without labels?
A normal ankle X-ray shows a uniform joint space around the talus, smooth cortical edges on all bones, and no significant soft tissue swelling. The talar dome should be smooth and the "clear spaces" (medial and tibiofibular) should meet standard measurement requirements (typically <4mm and <6mm respectively).
What does "syndesmotic widening" look like on an X-ray?
On a labeled Mortise or AP view, syndesmotic widening appears as an increased gap between the distal tibia and the distal fibula. This indicates that the ligaments holding these two bones together have been stretched or torn, often requiring surgical intervention with "syndesmotic screws" or "tight-ropes."
Can an X-ray show ligament tears?
X-rays are primarily used to see bones. While they cannot directly show a ligament (like the ATFL or CFL), they show "indirect signs" of a tear, such as widened joint spaces, bone avulsions (where a ligament pulls a small piece of bone away), or significant soft tissue swelling.
Summary and Next Actions
Mastering the labeled views of an ankle X-ray—AP, Mortise, and Lateral—is a prerequisite for accurate diagnosis in orthopedic and emergency medicine. By 2026 standards, the use of these three views remains the baseline for all suspected ankle traumas.
If you are reviewing an ankle X-ray:
- Start with the Mortise view to evaluate the joint space symmetry.
- Check the Lateral view specifically for the posterior malleolus and the 5th metatarsal.
- Measure the clear spaces if any widening is suspected.
- Correlate with physical exams, specifically the Ottawa Ankle Rules, to determine if imaging is even necessary.
For those seeking to further their knowledge, consulting the American College of Radiology (ACR) Appropriateness Criteria or utilizing peer-reviewed platforms like Radiopaedia can provide extensive libraries of labeled pathological cases to compare against standard anatomy.