Setting up a Virtual Private Network (VPN) on Windows 10 involves configuring the built-in Windows VPN client to connect to a server using a valid connection profile. You will need the server address, the appropriate authentication credentials, and the correct protocol settings provided by your network administrator or VPN service provider to establish a secure, encrypted connection manually.
Understanding the Role of a VPN on Windows 10
A Virtual Private Network creates a secure, encrypted tunnel between your Windows 10 computer and a remote server. This process masks your actual IP address and wraps your outgoing and incoming data packets in cryptographic protocols, preventing unauthorized third parties on public networks from intercepting your traffic.
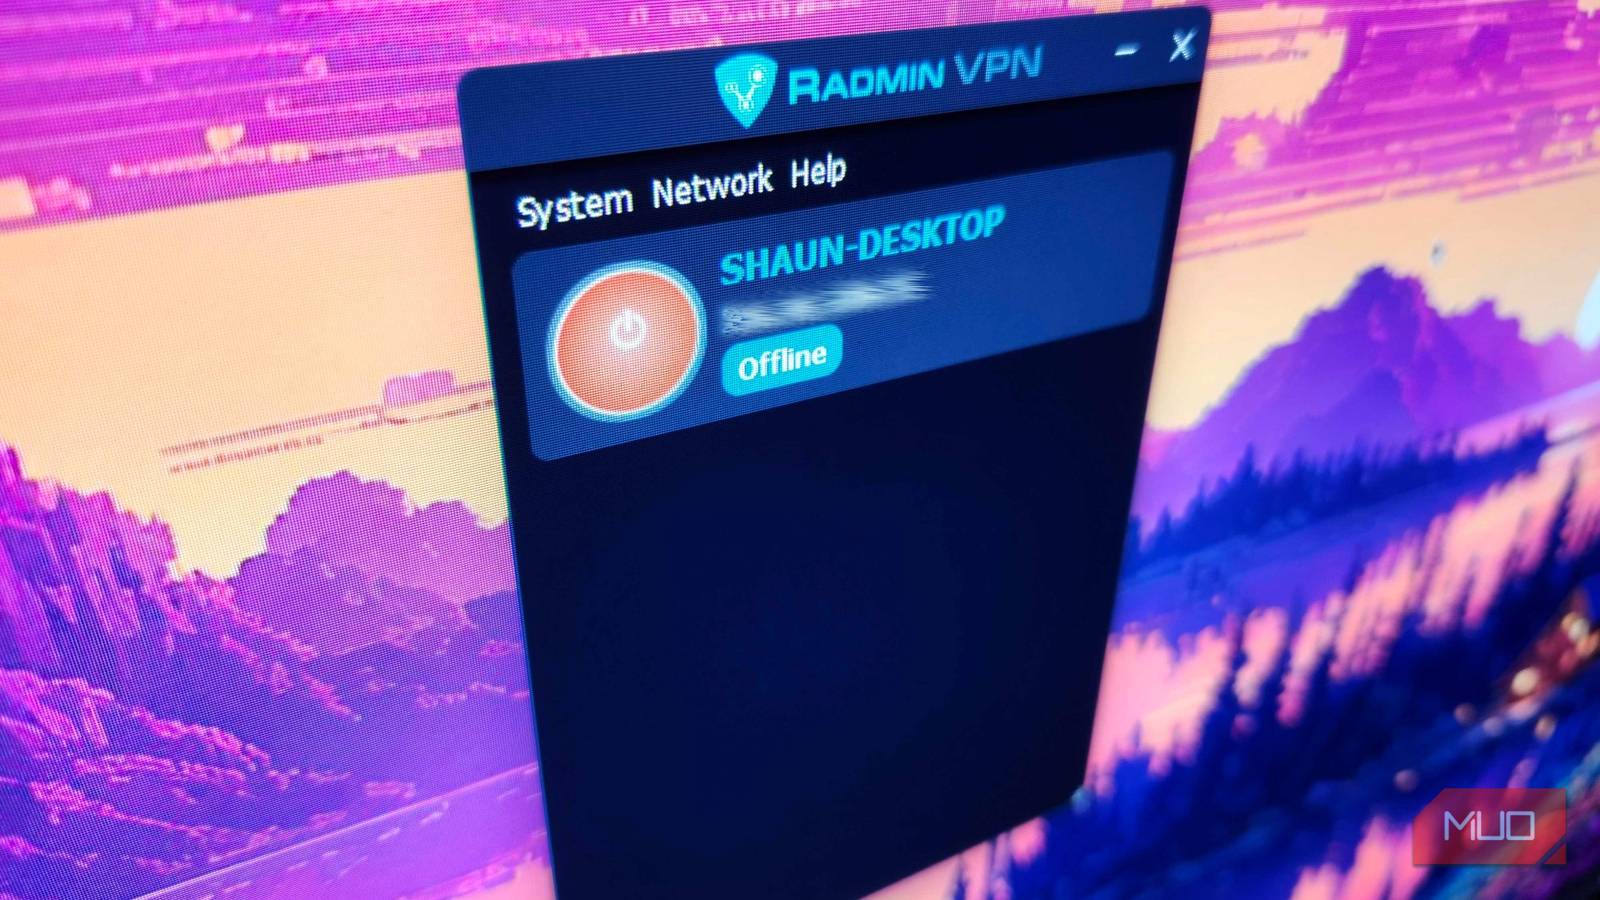
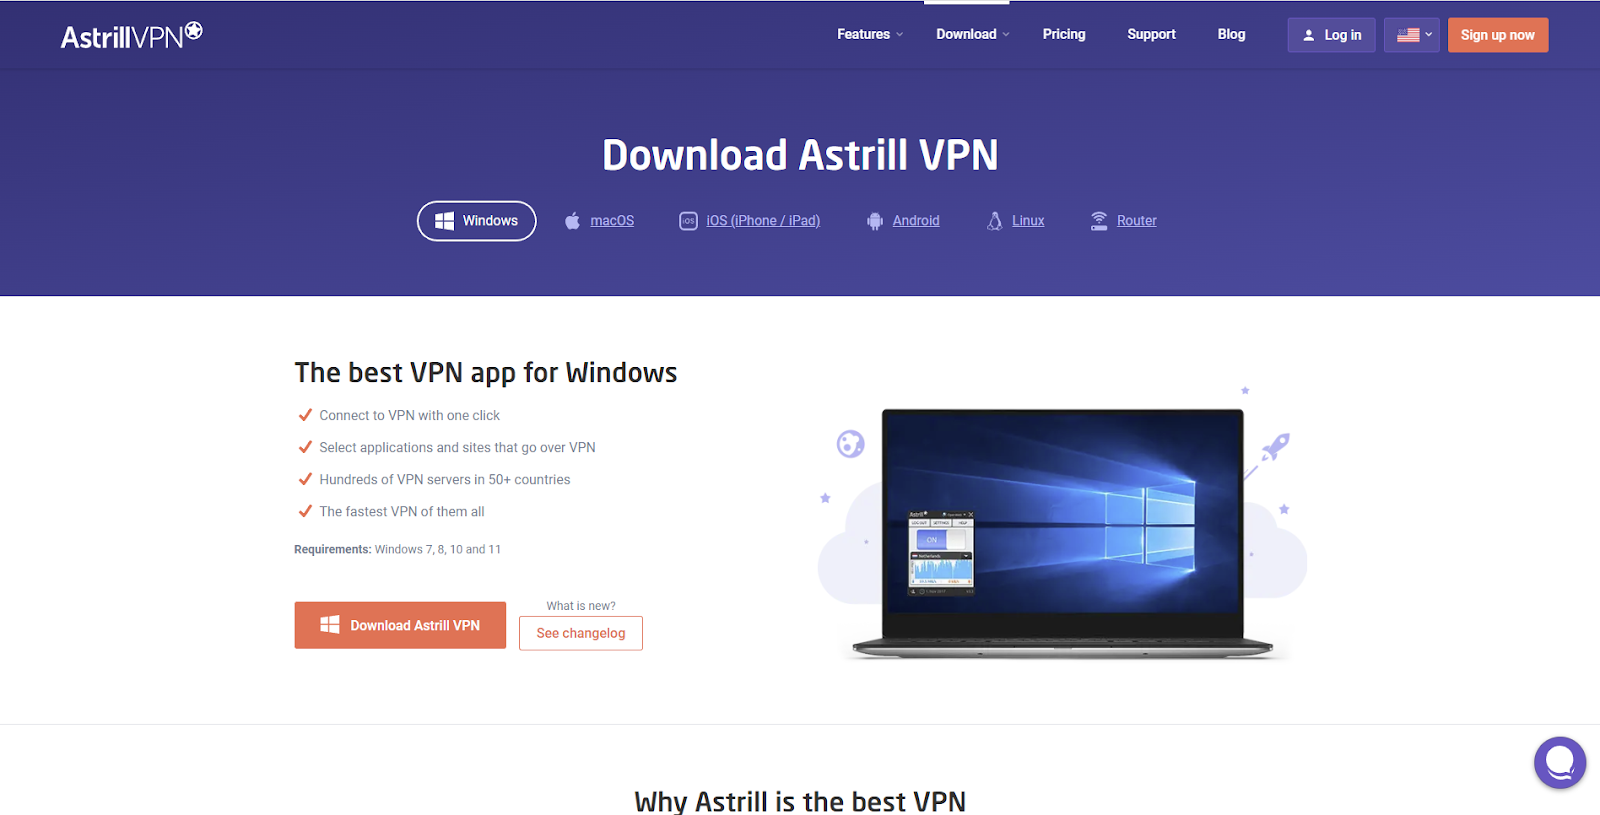
In the context of Windows 10, the operating system includes a native VPN client. This feature allows users to connect to private networks—such as those used by corporations, universities, or personal servers—without needing to install third-party software. While consumer-grade VPN applications often automate the process of server selection and protocol negotiation, configuring a connection manually offers greater control over the connection parameters and eliminates the need for proprietary background services.
Prerequisites Before Configuration
Before attempting to create a VPN connection, you must gather specific technical details from your network administrator or your VPN service provider. Without these, the configuration process cannot be completed. Ensure you have the following information documented:
- VPN Provider/Server Address: This is usually a hostname (e.g., vpn.example.com) or an IP address that identifies the entry point of the private network.
- VPN Type (Protocol): Windows 10 supports several protocols, including IKEv2, L2TP/IPsec with pre-shared key, SSTP, and PPTP. Using an outdated or insecure protocol like PPTP is generally discouraged; always opt for IKEv2 or L2TP/IPsec when available.
- Authentication Information: You will require a username and password, or potentially a smart card, a one-time password (OTP), or a specific certificate file depending on the security level of the host network.
- Pre-shared Key (If applicable): If you are using the L2TP/IPsec protocol, you will often need a specific "Pre-shared key" provided by the host.
Step-by-Step Configuration of a Native VPN Connection
Follow these steps to configure the connection manually within the Windows 10 Settings menu.
1. Access the Network and Internet Settings
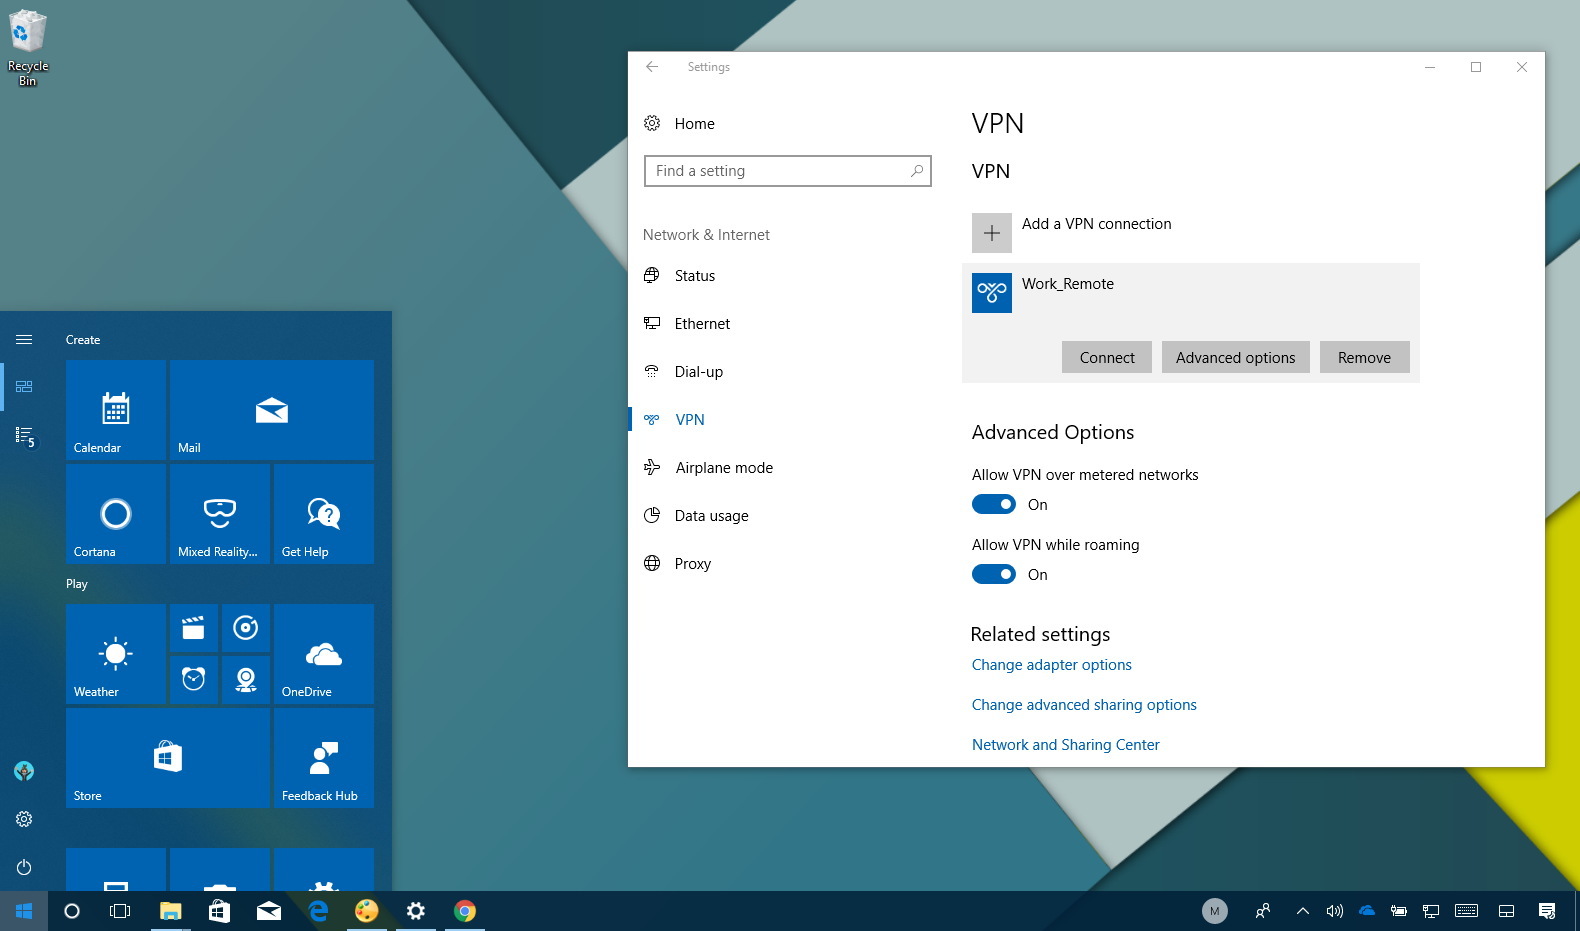
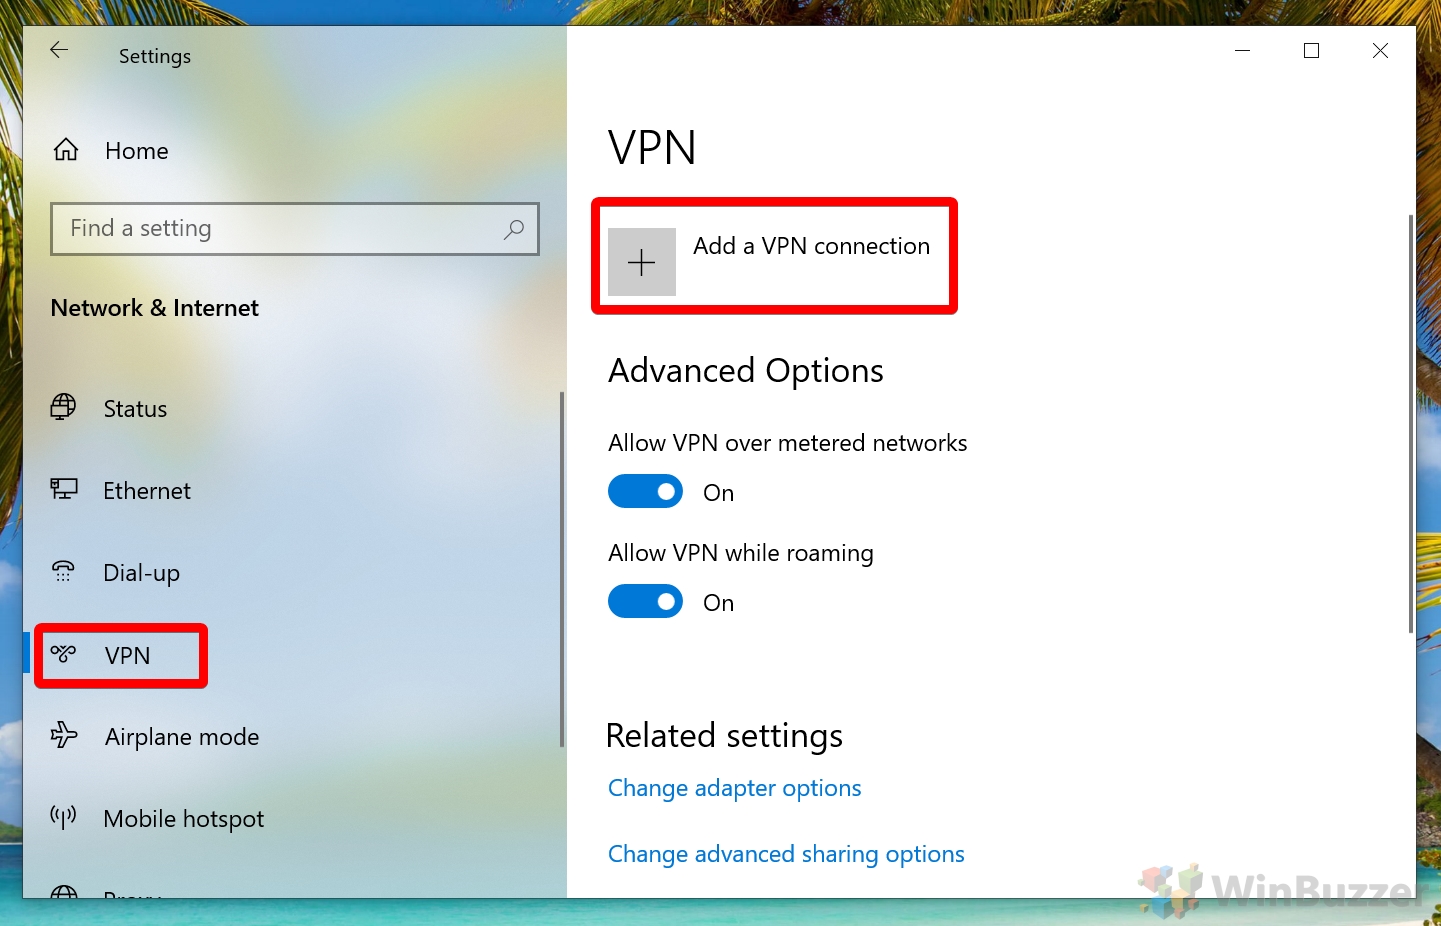
Click the Start button and select the Settings (gear icon) menu. Navigate to Network & Internet. On the left-hand sidebar, select VPN.
2. Initiate the Add VPN Wizard
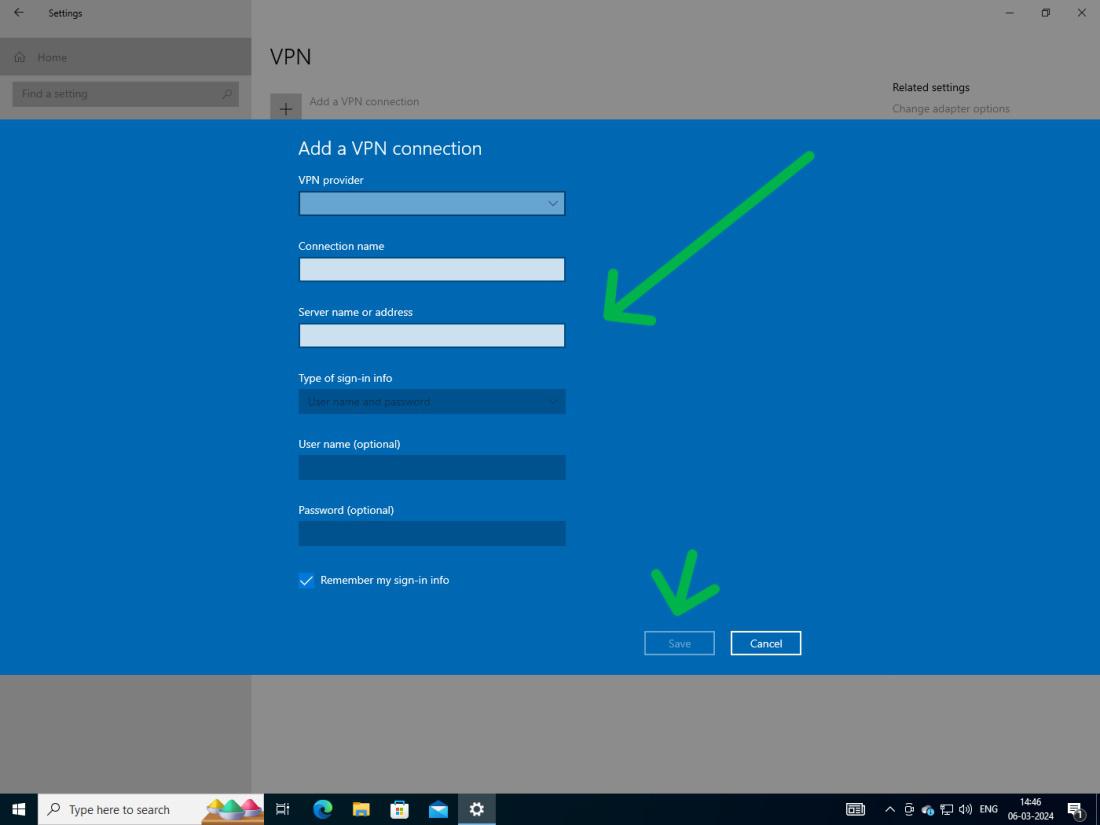
Click on the button labeled Add a VPN connection. This action opens a dialog box where you must input the connection details gathered in the previous section.
3. Fill in the Connection Details
- VPN Provider: Select "Windows (built-in)" from the dropdown menu.
- Connection Name: Give the connection a descriptive name (e.g., "Office VPN" or "Home Remote Access").
- Server Name or Address: Input the host address provided by your network administrator.
- VPN Type: Select the protocol designated by your provider. If you are unsure, "Automatic" is a safe starting point, but manual selection is preferred for stability.
- Type of sign-in info: Choose the method required by your network (Username and password, Smart card, or One-time password).
4. Save and Test the Connection
After entering all required fields, click Save. You will return to the VPN settings screen, where your new connection profile will appear. Click on the profile and select Connect. If the credentials are correct and the server is reachable, the status will update to "Connected."
Comparing Manual Configuration vs. Third-Party VPN Clients
| Feature | Windows Built-in Client | Third-Party VPN App |
|---|---|---|
| Installation | Native (No bloatware) | External software required |
| Ease of Use | Manual setup required | Typically one-click |
| Protocol Support | Standardized (IKEv2, L2TP) | Often proprietary/custom |
| Server Switching | Manual profile editing | Automated selection |
| Maintenance | Handled by OS updates | Depends on app developer |
The built-in client is ideal for connecting to office or school environments where specific authentication protocols are mandated. Third-party applications are generally better suited for privacy-focused users who need to switch between dozens of global server locations frequently, as the manual configuration of such a list in Windows settings would be inefficient.
Security Considerations and Protocol Selection
The security of your VPN connection is entirely dependent on the protocol chosen. Windows 10’s support for these protocols is robust, but the implementation relies on the server-side configuration.
- IKEv2 (Internet Key Exchange version 2): Highly recommended for Windows 10 users. It is fast, reconnects automatically if your internet drops, and supports the MOBIKE protocol, which allows for stable connections even when switching between Wi-Fi and mobile data.
- L2TP/IPsec: A secure standard that uses two layers of encapsulation. It is very reliable but can be slower than IKEv2 due to the double-encapsulation process.
- SSTP (Secure Socket Tunneling Protocol): This is a Microsoft-proprietary protocol that routes traffic through TCP port 443. This is useful for bypassing restrictive firewalls because it mimics standard HTTPS traffic.
- PPTP (Point-to-Point Tunneling Protocol): Considered legacy technology. It is easy to set up but should be avoided due to significant, well-documented security vulnerabilities.
Troubleshooting Common Connection Issues
If your VPN fails to connect, follow this systematic approach to identify the bottleneck:
- Check Credentials: Double-check your username and password. Password errors are the most common cause of failed connections.
- Verify Server Address: A single typo in the server address will prevent the handshake from initiating.
- Firewall Interference: Ensure your Windows Firewall or any third-party antivirus software is not blocking the VPN ports. For L2TP/IPsec, specific UDP ports (500, 1701, and 4500) must be open.
- Network Availability: Attempt to ping the server address via the Command Prompt (type
ping [serveraddress]) to see if the server is responsive to basic network requests. - Adapter Settings: If the VPN connection shows as "Connected" but you cannot access network resources, right-click your network adapter in the "Control Panel > Network and Sharing Center," go to Properties > Networking > Internet Protocol Version 4 (TCP/IPv4) > Properties > Advanced, and verify the "Use default gateway on remote network" setting is checked if you want your internet traffic to route through the VPN.
Limitations of Manual Connections
While the native Windows 10 VPN client is reliable, it lacks the advanced "Kill Switch" functionality found in many modern VPN applications. A Kill Switch automatically cuts your internet connection if the VPN drops unexpectedly, preventing your true IP address from leaking. When using the manual Windows configuration, you must manually monitor your connection status. Additionally, the native client does not provide built-in DNS leak protection, which may require manual adjustment of your network adapter settings if you are seeking a high level of privacy.
Next Actions for Secure Connectivity
Once your VPN is successfully connected, verify the security of the tunnel by visiting an IP-lookup website while the VPN is active. Your displayed location and IP address should reflect those of the VPN server rather than your local service provider. If you find that the connection does not provide the desired level of privacy or lacks an integrated Kill Switch, consider evaluating your needs to see if a dedicated third-party service might offer a better balance of convenience and automated security features for your specific use case.