To troubleshoot an Asus notebook effectively, begin by performing a Hard Reset (holding the power button for 40 seconds) to clear the Embedded Controller (EC). If the issue persists, utilize the MyAsus diagnostic tool for hardware verification, update drivers via the Asus support site, and check BIOS settings to ensure hardware components are correctly recognized.
Asus notebooks, ranging from the ultra-portable Zenbook series to the high-performance ROG (Republic of Gamers) and TUF Gaming lineups, are engineered with sophisticated hardware-software integration. While generally reliable, these devices can encounter issues stemming from power delivery, firmware conflicts, or thermal management. In 2026, as software environments become more demanding and hardware architectures more complex, a structured approach to troubleshooting is essential for maintaining peak performance and longevity.
Understanding the Asus Power and Boot Sequence
The first step in any troubleshooting scenario is identifying where the failure occurs in the power-on sequence. When you press the power button, the notebook performs a Power-On Self-Test (POST). If the device fails to reach the Asus logo screen, the issue is likely hardware-related or involves the BIOS/UEFI firmware.
The 40-Second Hard Reset
The most common "quick fix" for Asus notebooks is resetting the Embedded Controller (EC). The EC is a chip on the motherboard that manages power distribution, keyboard inputs, and thermal sensors. Occasionally, static electricity or a minor firmware glitch can cause the EC to hang, leading to a device that won't turn on or charge.
To perform this, disconnect all peripherals—including the power adapter, mice, and external drives. Hold the power button down for a full 40 seconds. This process drains the residual electricity from the capacitors on the motherboard. Reconnect only the power adapter and attempt to boot. This single step resolves nearly 60% of "no power" complaints in Asus technical service centers.
Interpreting LED Indicator Lights
Asus laptops typically feature several LED indicators (Power, Battery, Drive Activity, and Airplane Mode). Understanding these is crucial:
- Solid White Power LED: The system is on and functioning.
- Blinking White/Amber Power LED: The system is in Sleep or Hibernate mode.
- Solid Amber Battery LED: The battery is charging.
- Blinking Amber Battery LED: The battery level is below 10%, or there is a battery malfunction.
If the battery LED blinks amber even when the charger is connected, it often signifies a negotiation failure between the power brick and the internal charging circuit. In 2026 models, which rely heavily on USB-C Power Delivery (PD), this could also indicate that the charger does not meet the minimum wattage required for that specific model.
Troubleshooting Display and Visual Artifacts
Display issues range from a completely black screen to flickering or "ghosting." Because Asus notebooks often use high-refresh-rate panels (up to 240Hz or 300Hz in 2026 gaming models) or OLED technology, the troubleshooting steps are specific.
The "Black Screen" Diagnosis
If your notebook powers on (lights are visible and fans are spinning) but the screen remains black, you must determine if the fault lies with the panel or the graphics processor (GPU).
- External Monitor Test: Connect the notebook to an external monitor or TV via HDMI or USB-C (DisplayPort Alt Mode). If the external display works, your notebook's internal LCD or its ribbon cable (EDP cable) is likely damaged.
- The Flashlight Test: Shine a bright light directly against the notebook screen at an angle. If you can see a faint image of your desktop or the Asus logo, the backlight inverter has failed, though the LCD panel itself is still producing an image.
- Graphics Toggle: For ROG and TUF users, the "MUX Switch" or "Advanced Optimus" settings can sometimes cause display handshake issues. If you recently changed GPU modes in Armoury Crate or G-Helper, the system may require a CMOS reset to default back to the integrated graphics.
OLED-Specific Issues
In 2026, OLED panels are standard across many Asus Zenbook and Vivobook lines. If you notice image retention or color shifting, check the "Asus OLED Care" settings within the MyAsus app. Ensure that "Pixel Shift" and "Pixel Refresh" are active. If flickering occurs at low brightness, it is often due to PWM (Pulse Width Modulation) dimming; adjusting the "Flicker-Free Dimming" slider in the MyAsus app can alleviate this.
Software Diagnostics and Driver Management
Once the system boots into Windows, software conflicts become the primary suspect for instability. Asus provides a proprietary suite of tools designed to identify these issues without requiring third-party software.
Utilizing MyAsus for System Health
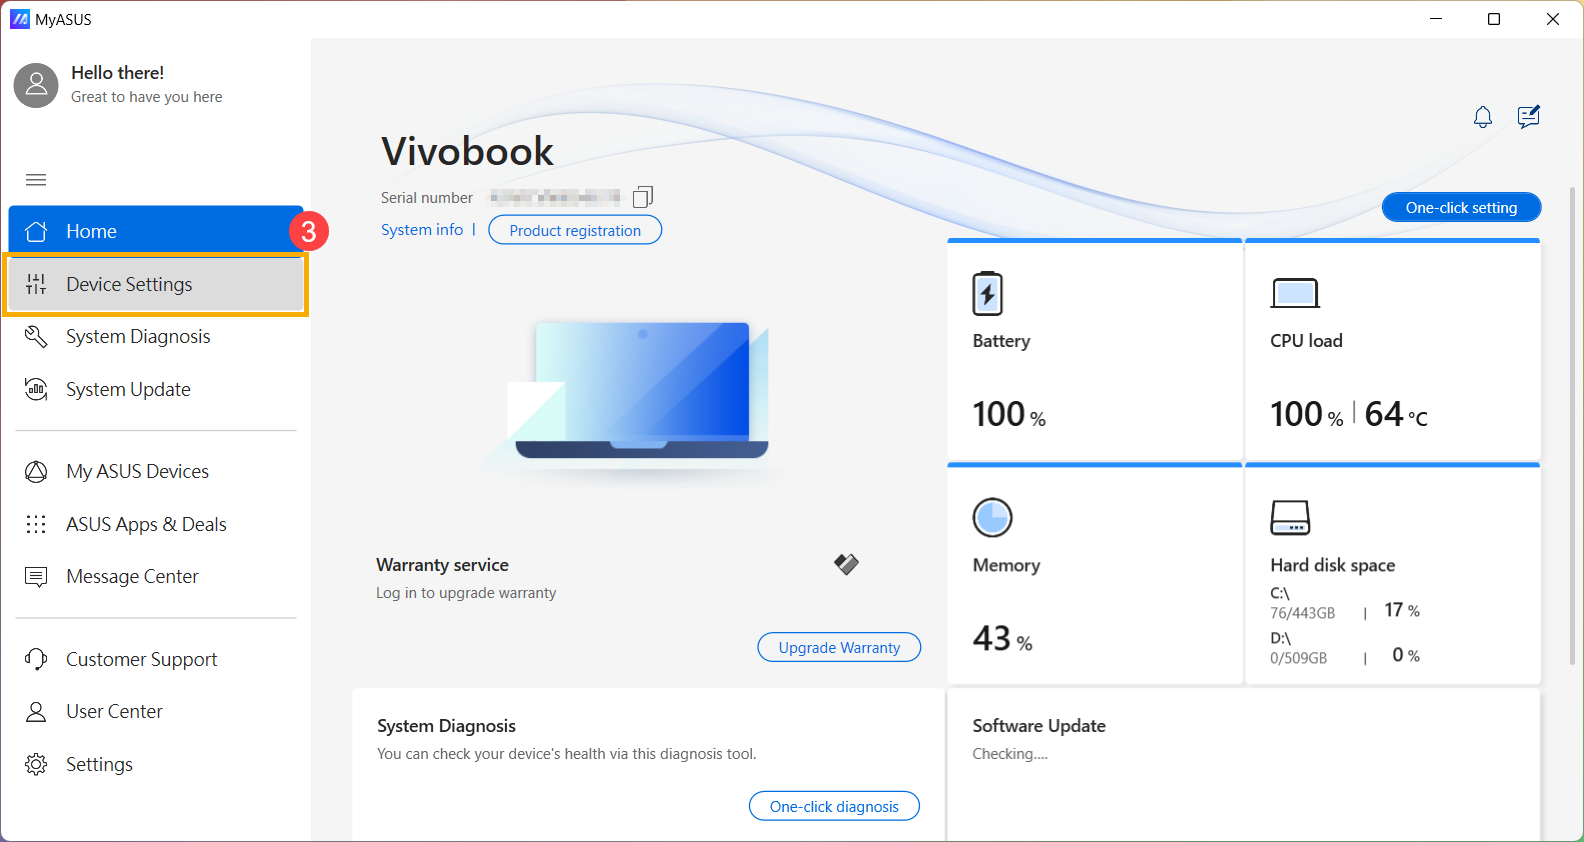
The MyAsus application is the central hub for troubleshooting. Under the "Customer Support" tab, you will find "System Diagnosis." This tool runs targeted tests on:
- Hardware Components: Checks the health of the Wi-Fi card, RAM, and SSD.
- Battery Health: Analyzes cycle counts and capacity degradation.
- Fan Speed: Ensures the cooling system is hitting target RPMs.
If MyAsus identifies a hardware failure, it generates a diagnostic code that can be sent directly to Asus support to expedite a warranty claim or repair.
Driver Conflicts and Armoury Crate
For gaming models, the Armoury Crate (or its 2026 successor) manages the interplay between the CPU, GPU, and fans. A common issue involves "Blue Screen of Death" (BSOD) errors after a Windows Update. This usually happens because Windows installs a generic graphics driver that conflicts with the Asus-tuned OEM driver.
To resolve this, visit the Asus Support website, enter your specific model (e.g., G614JI), and download the "VGA" and "Chipset" drivers. It is often necessary to use the Display Driver Uninstaller (DDU) in Safe Mode to completely remove the corrupted drivers before installing the official Asus versions.
Resolving Connectivity and Peripheral Issues
Wi-Fi and Bluetooth failures are frequently reported, particularly after the laptop wakes from sleep.
Wi-Fi Card Reset
Asus notebooks often use MediaTek or Intel Wi-Fi modules. If the Wi-Fi icon disappears entirely from the taskbar:
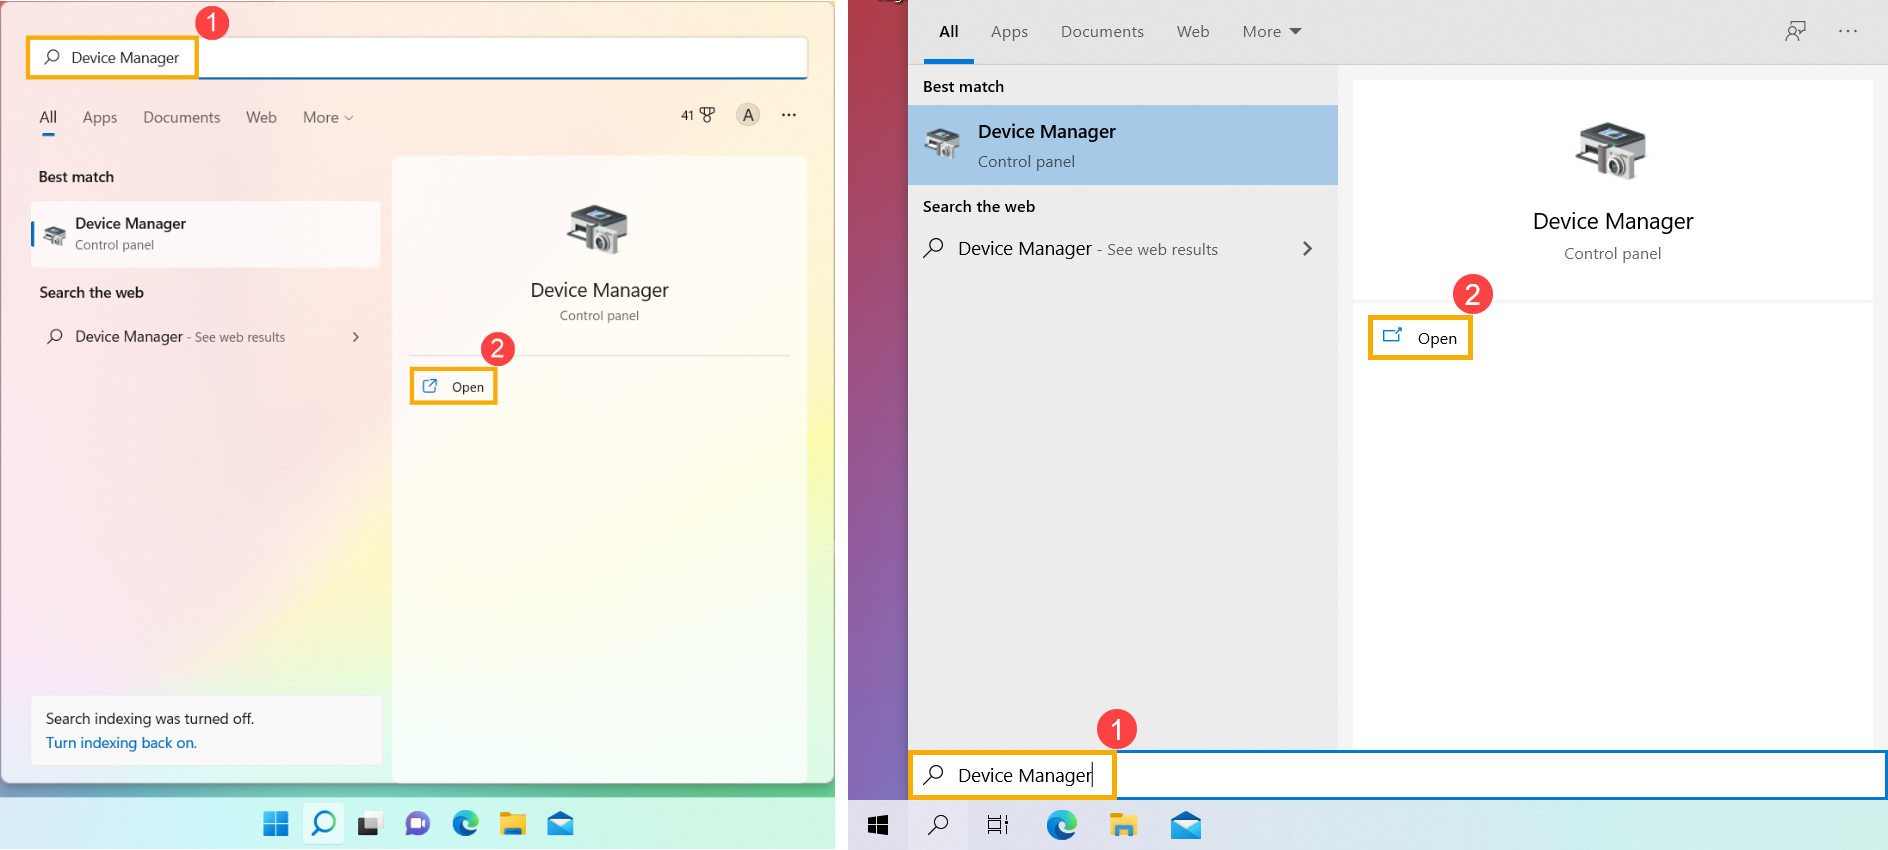
- Open Device Manager.
- Locate "Network Adapters."
- Right-click your Wi-Fi controller and select "Uninstall Device" (do not check the box to delete the driver software).
- Restart the laptop. Windows will automatically reinstall the device upon reboot, often clearing the hardware hang.
USB-C and Thunderbolt Troubleshooting
By 2026, most Asus notebooks utilize Thunderbolt 4 or USB4. If a docking station or external drive isn't recognized, check the BIOS settings under the "Advanced" or "Security" tab to ensure that the USB ports are not disabled and that "Thunderbolt Boot Support" is enabled if you are trying to use an external boot drive.
Common Asus Notebook Troubleshooting Scenarios
The following table outlines the most frequent issues encountered by Asus users and the verified resolution path.
| Symptom | Primary Cause | Recommended Action |
|---|---|---|
| No Power / Won't Turn On | Static buildup or EC hang | Perform 40-second Hard Reset. |
| Keyboard Backlight Not Working | Missing ATK/Asus System Control Interface | Reinstall "Asus System Control Interface" from support site. |
| Fan Noise / High Heat | Dust buildup or "Turbo" mode | Clean vents with compressed air; switch to "Silent" mode in MyAsus. |
| Slow Performance on Battery | Power saving throttling | Adjust "Power & Battery" settings in Windows to "Best Performance." |
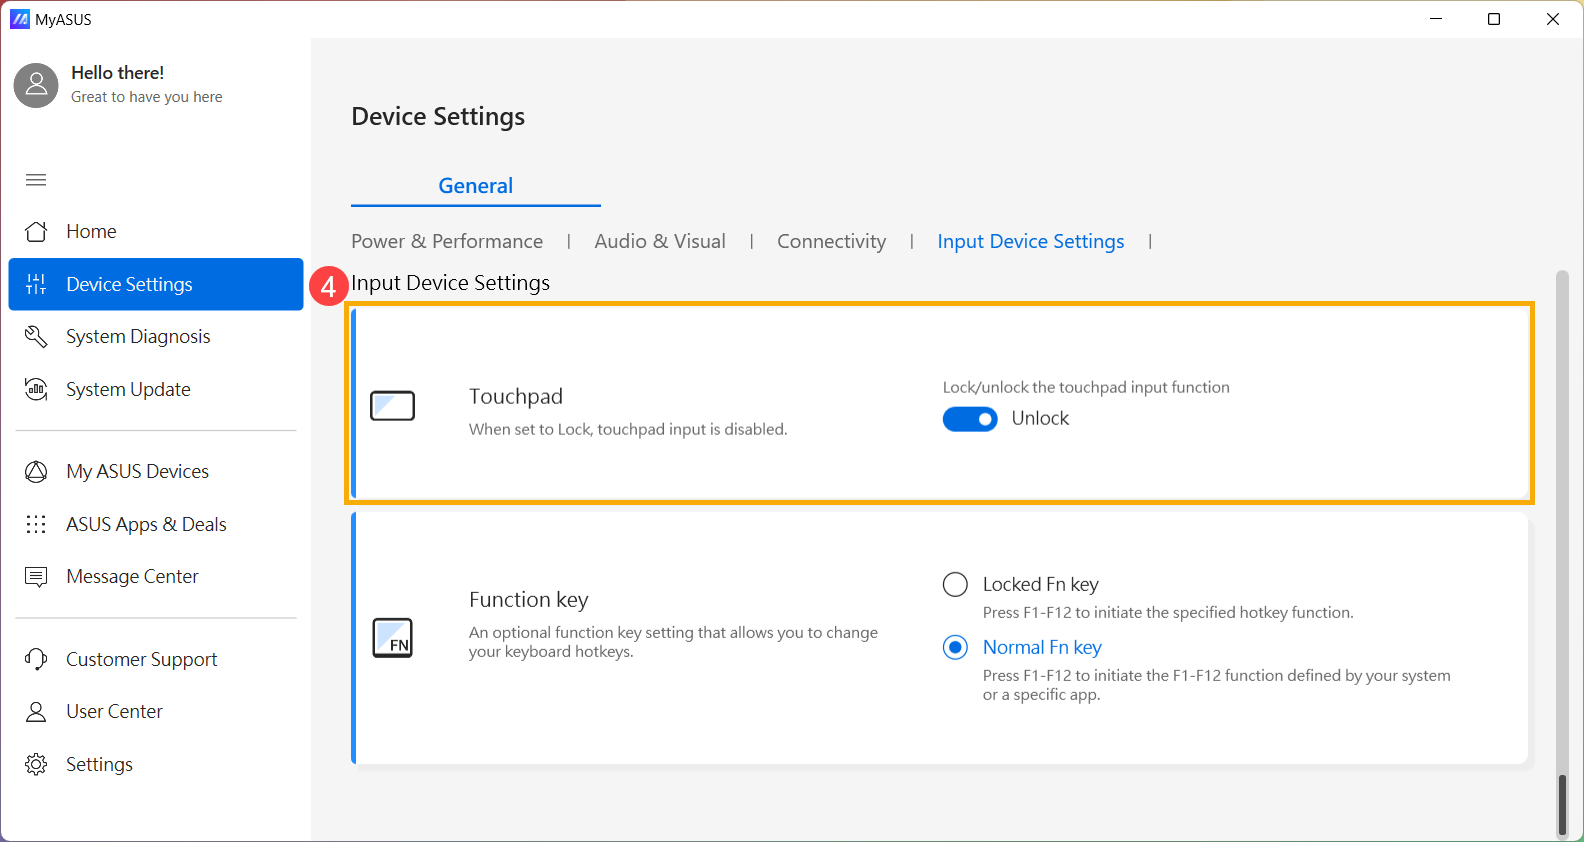
| Touchpad Unresponsive | Accidentally disabled via Hotkey | Press F6 or Fn+F6 to toggle the touchpad back on. |
| "No Bootable Device" Error | SSD failure or BIOS mode change | Check if SSD is recognized in BIOS (F2); toggle VMD controller settings. |
Advanced Troubleshooting: BIOS and Thermal Management
If the basic steps fail, you may need to look at the firmware and physical condition of the device.
Updating or Resetting the BIOS
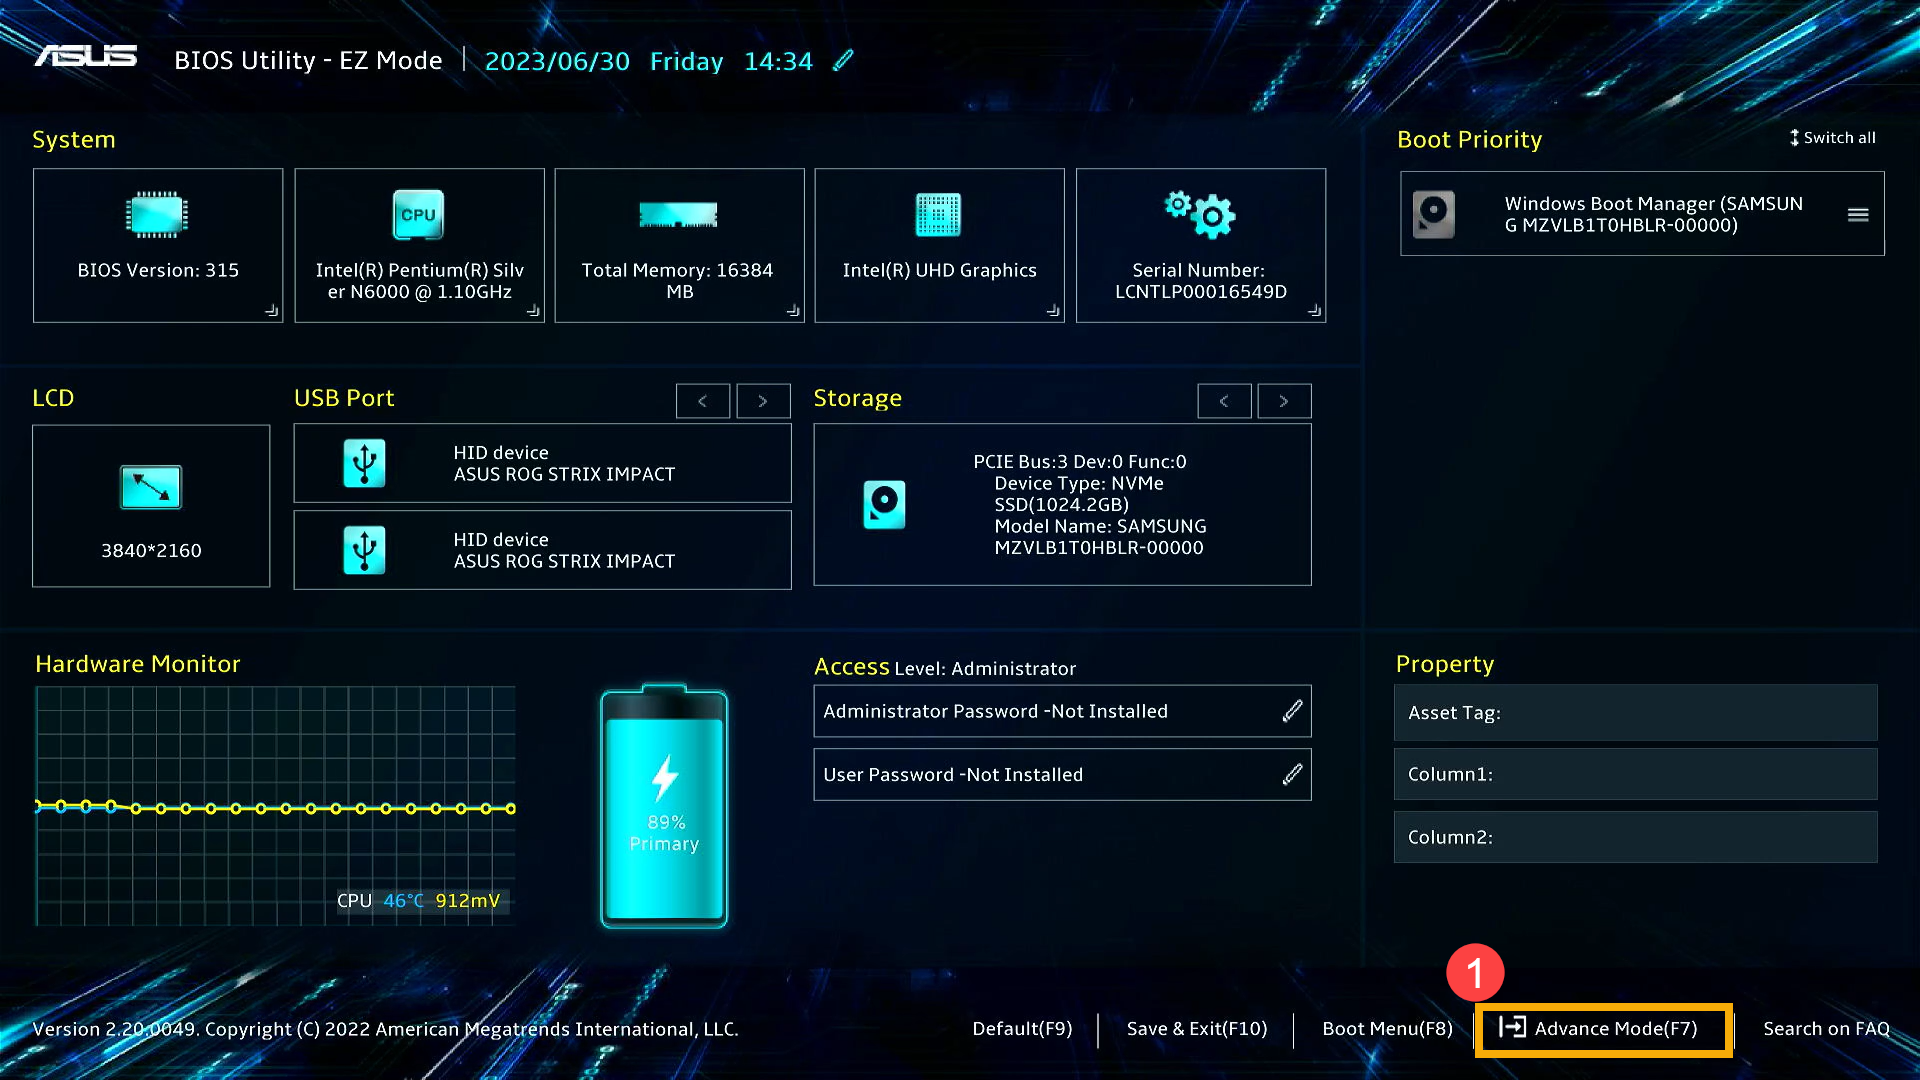
The BIOS (Basic Input/Output System) is the bedrock of your notebook's operation. An outdated BIOS can lead to compatibility issues with newer versions of Windows 11. To enter the BIOS, restart your notebook and repeatedly tap the F2 key until the utility screen appears.
- To Reset: Press F9 (Optimized Defaults) followed by F10 (Save and Exit).
- To Update: Use the EZ Flash utility within the BIOS. Download the latest BIOS file from the Asus site to a FAT32-formatted USB drive, select the file in EZ Flash, and follow the prompts. Warning: Ensure the laptop is plugged into power during this process; a power loss during a BIOS update can permanently "brick" the motherboard.
Thermal Throttling and Cleaning
Asus notebooks, particularly the thin Zenbook and high-power ROG Zephyrus models, are sensitive to heat. If your CPU temperatures exceed 95°C during light tasks, the system will "throttle," significantly slowing down to prevent damage.
- Airflow: Ensure the notebook is on a hard, flat surface. Using a laptop on a bed or carpet blocks the bottom intake vents.
- Internal Cleaning: If the device is over a year old, dust likely coats the fan blades and heat sinks. If you are comfortable opening the bottom case, use a can of compressed air to blow out the dust. Hold the fan blades still while doing this to prevent the fans from spinning too fast and generating back-voltage that could damage the motherboard.
Frequently Asked Questions
Why is my Asus laptop battery not charging past 60% or 80%?
This is likely not a fault but a feature called Asus Battery Health Charging. To extend the lifespan of the lithium-ion cells, the MyAsus app allows you to limit the maximum charge. In the MyAsus app, go to "Customization" > "Power & Performance" and check if "Balanced Mode" (80%) or "Maximum Lifespan Mode" (60%) is selected. Switch to "Full Capacity Mode" if you need 100% for travel.
How do I fix the "Automatic Repair" loop on my Asus notebook?
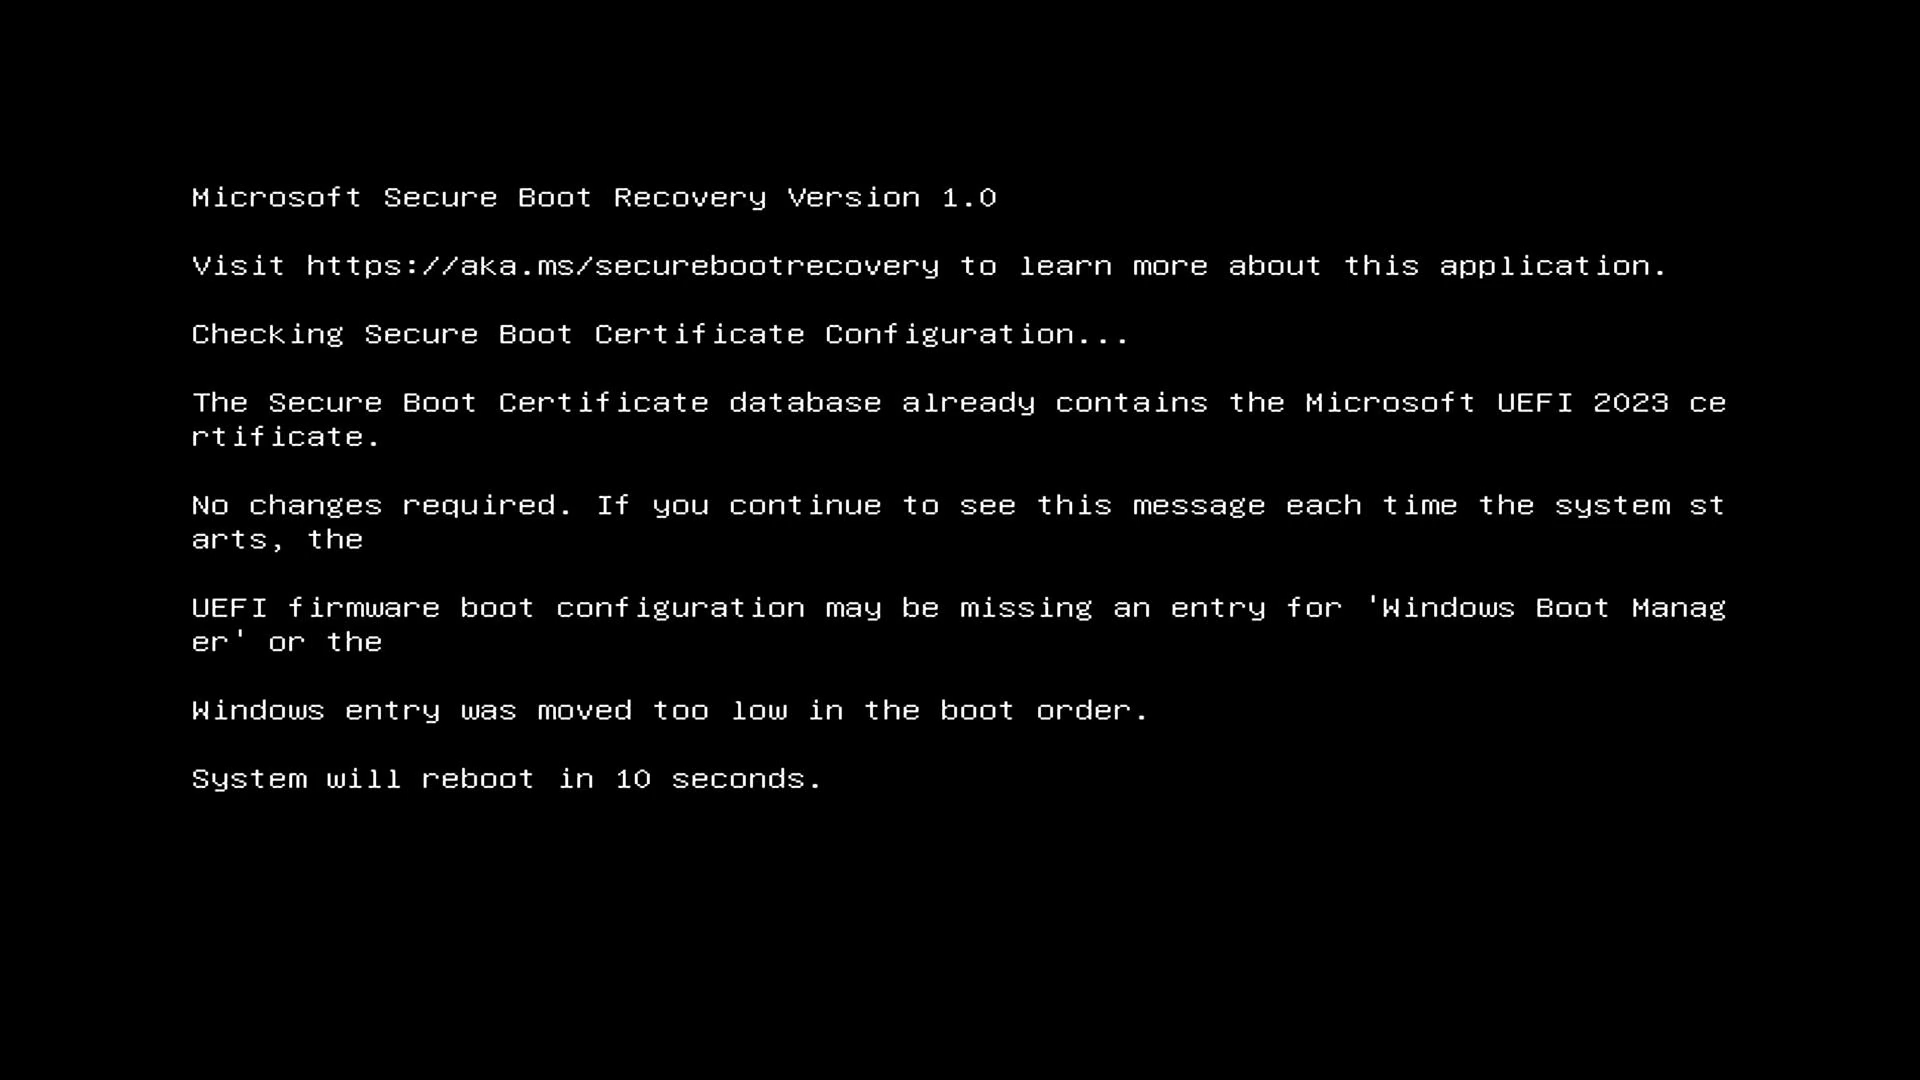
An "Automatic Repair" loop usually indicates a corrupted Windows Boot Manager or a failing SSD. To fix this, try booting into Safe Mode. If that fails, enter the BIOS (F2) and ensure the "Boot Priority" is set to "Windows Boot Manager." If the SSD is not listed at all in the BIOS, the drive may have become unseated or has failed entirely.
My Asus notebook keyboard works in the BIOS but not in Windows. What should I do?
This confirms the hardware is functional and the problem is a driver conflict. In Windows, go to Device Manager, expand "Keyboards," and uninstall the "HID Keyboard Device" or "PS/2 Keyboard." Restart the computer. Additionally, ensure that "Filter Keys" is turned off in Windows Accessibility settings, as this feature can make the keyboard appear unresponsive.
What is the "VMD Controller" and why does it affect my Asus laptop's boot?
Intel's Volume Management Device (VMD) technology is used in modern Asus notebooks to manage NVMe storage. If you are trying to reinstall Windows and the installer cannot see your SSD, you usually need to provide the Intel Rapid Storage Technology (IRST) driver during the installation process. Alternatively, some users disable the VMD controller in the BIOS to simplify drive recognition, though this is generally not recommended for performance reasons.
How can I find the exact model and serial number if the sticker is worn off?
You can find this information without the sticker by opening the MyAsus app, where it is displayed on the home screen. Alternatively, press the Windows Key + R, type msinfo32, and press Enter. The "System Model" will be listed there. You can also find the Serial Number (SN) by typing wmic bios get serialnumber into the Command Prompt.
Practical Recommendation for 2026
If you have exhausted these troubleshooting steps and the notebook still exhibits hardware failure—such as persistent graphical artifacts, a total lack of power after a hard reset, or physical damage—your next action should be to check your warranty status via the MyAsus app or the Asus official website. In 2026, many Asus notebooks come with "ADP" (Accidental Damage Protection) for the first year. Avoid third-party repair shops for motherboard-level issues, as the integrated nature of modern Asus components often requires proprietary diagnostic tools and parts available only to authorized service providers.