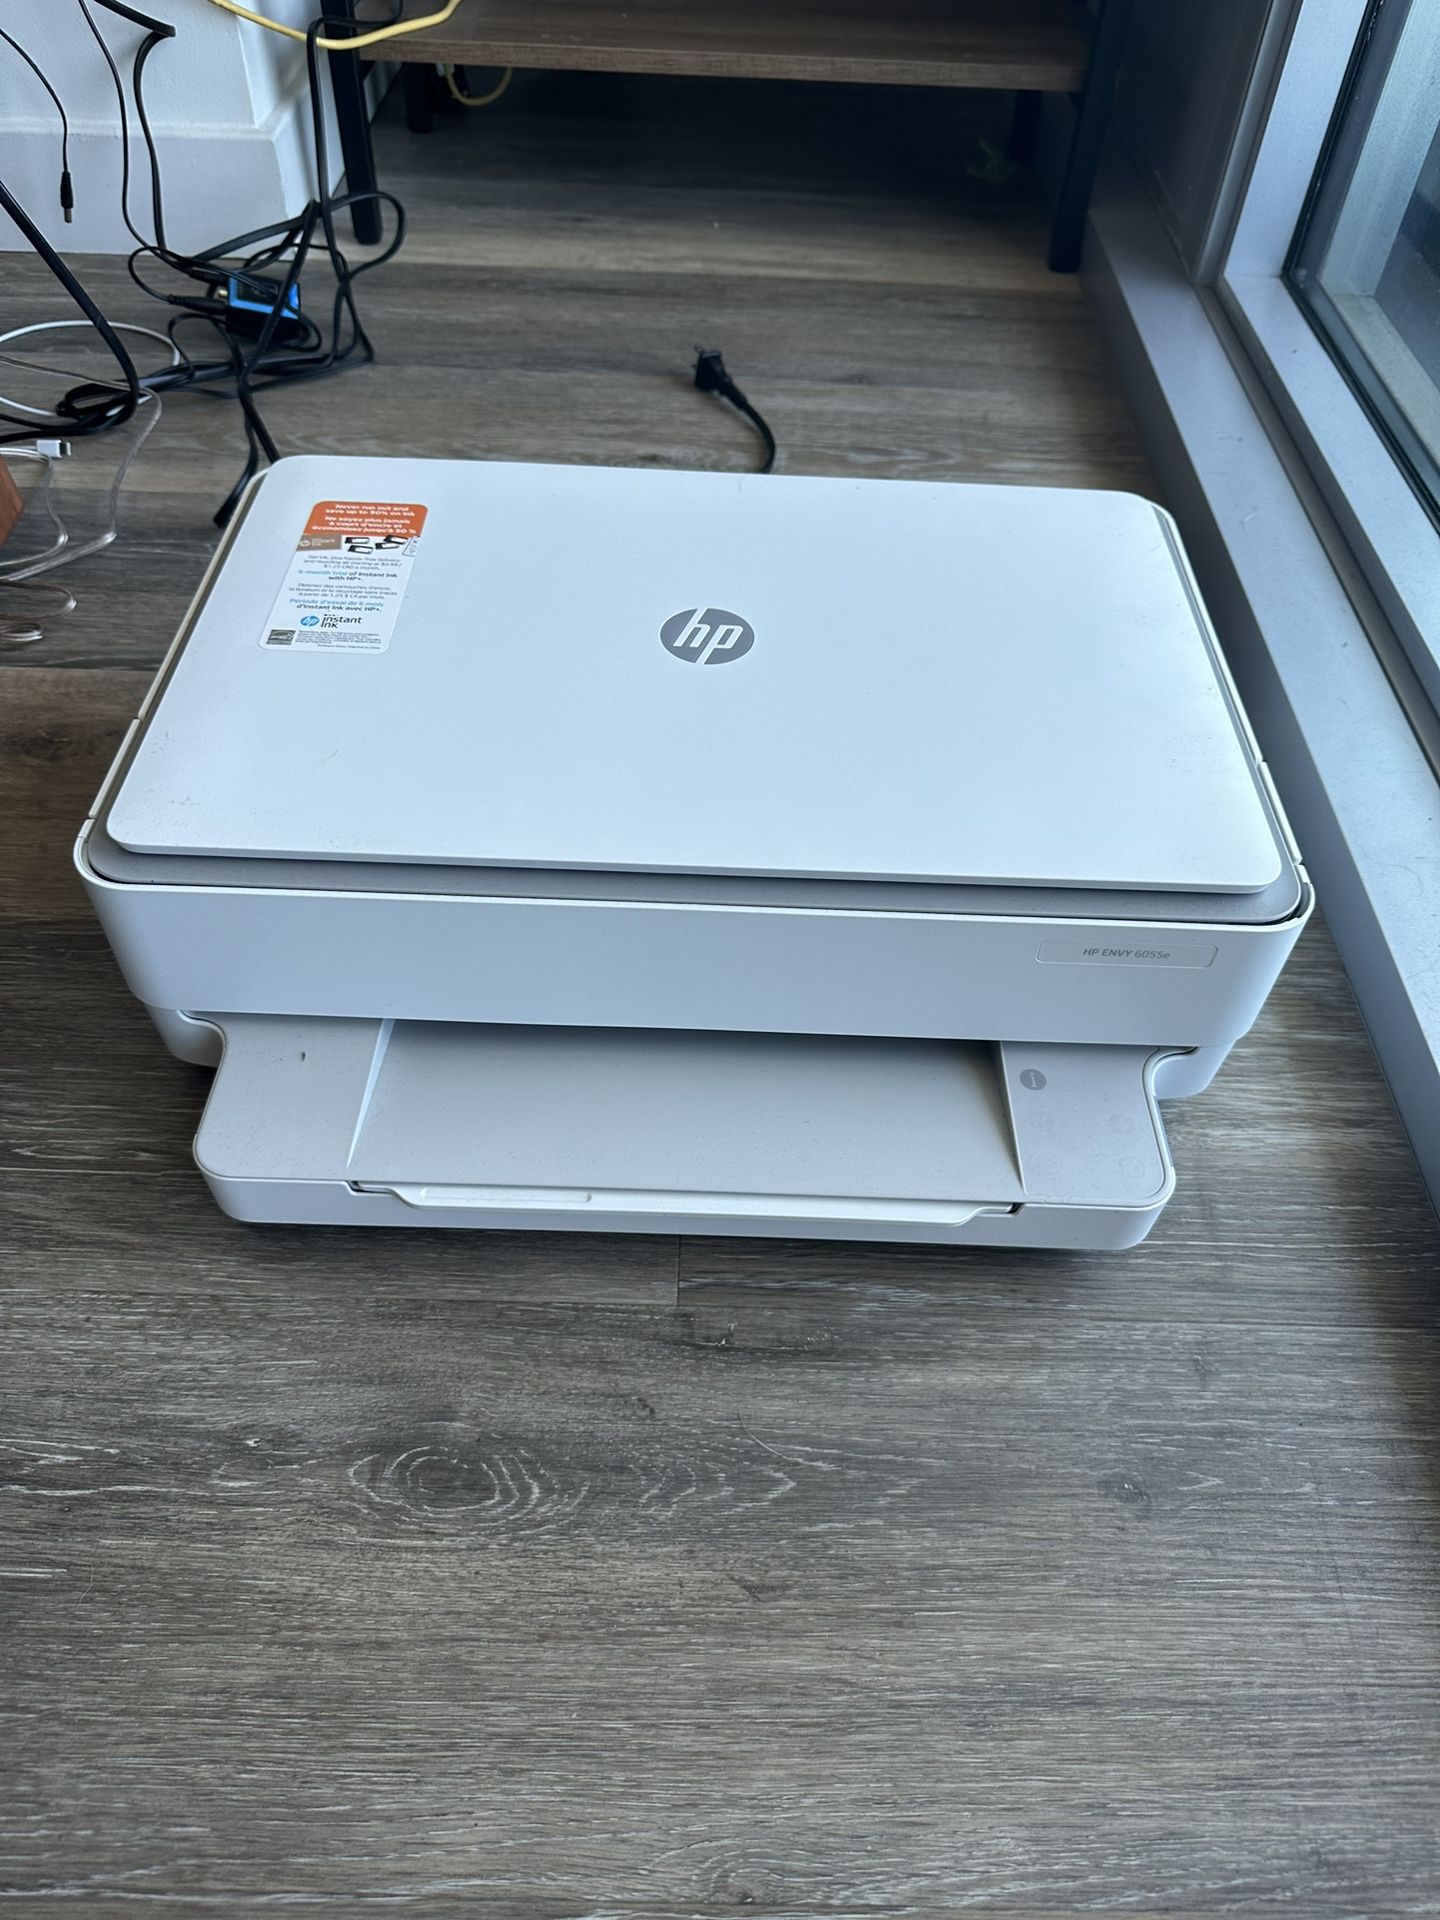
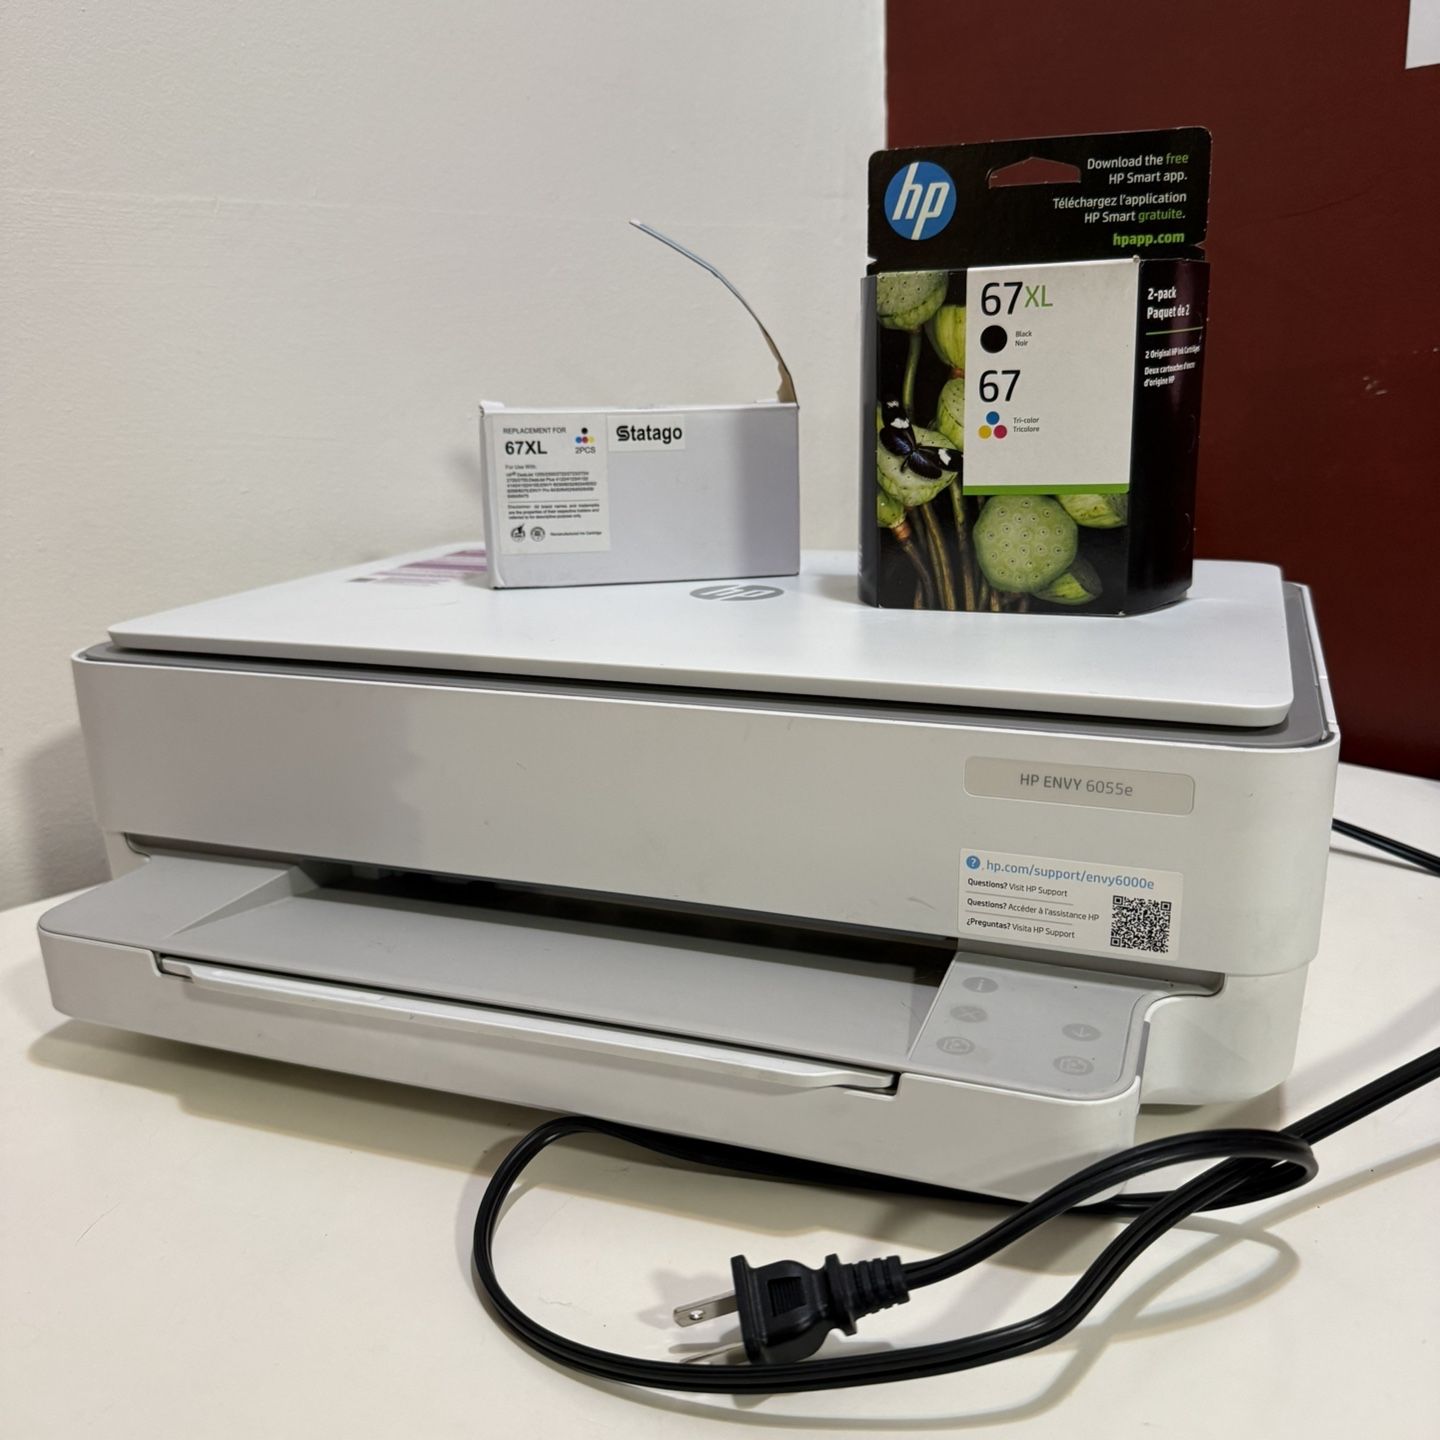
The HP Envy 6055e uses an intuitive lighting system comprising a status light bar across the front tray (Edge lighting) and control panel icons to report printer status, wireless connectivity, ink levels, and system errors. Decoding these light patterns—such as pulsing purple, solid cyan, or flashing amber—helps users instantly identify and resolve hardware or network issues.
Understanding the HP Envy 6055e Lighting System
Unlike traditional office printers equipped with multi-line LCD screens, the HP Envy 6055e relies on a modern, minimalist interface. It communicates device status using two primary illumination areas: the Edge Light Bar (the horizontal light strip located directly above the paper output tray) and the Control Panel Display (located on the right side of the top cover).
The Edge Light Bar changes colors, glow patterns, and movement directions to indicate operational status, setup modes, network connection states, and critical warnings. Meanwhile, the control panel uses dedicated illuminated icons—including the Number Counter display, Ink Caution lights, Paper Error icon, and Wireless button light—to pinpoint localized issues like low ink or paper jams.
Understanding how these two lighting systems interact enables rapid troubleshooting without needing to consult complex software menus every time an issue occurs.
7 Key HP Envy 6055e Light Signals and What They Mean
1. Pulsing Purple Edge Light (Wi-Fi Setup Mode)
What It Looks Like
The Edge Light Bar continuously pulses purple, glowing from the center outward toward the edges of the light strip.
What It Means
A pulsing purple light indicates that the printer is in Wi-Fi Setup Mode (also known as Auto Wireless Connect mode). In this state, Bluetooth Low Energy (BLE) and Wi-Fi broadcast networks are active, searching for a setup command from the HP Smart app on your smartphone, tablet, or computer.
Why It Occurs
- The printer was turned on for the first time or recently unboxed.
- Network settings were reset manually using the rear Wi-Fi button.
- The printer lost connection to its known Wi-Fi network for an extended period and automatically reverted to setup mode.
How to Resolve It
Open the HP Smart app on your mobile device or computer connected to your local 2.4 GHz or 5 GHz Wi-Fi network. Tap Add Printer or the + sign. The app will detect the HP Envy 6055e in setup mode and guide you through selecting your local network and entering the Wi-Fi password. Once completed, the light will transition from pulsing purple to solid cyan.
2. Solid Light Blue / Cyan Edge Light (Connected and Ready)
What It Looks Like
The entire Edge Light Bar glows steadily in a soft cyan or light blue color without blinking, pulsing, or shifting.
What It Means
The printer is online, successfully connected to your local wireless network, and in a Ready state. It is ready to accept print, scan, or copy jobs from any authorized device on the network.
Operational Notes
- If left idle for several minutes, the brightness of the cyan light bar will dim automatically to conserve power while remaining online.
- Sending a print job or opening the HP Smart app will immediately restore the light bar to full brightness.
3. Pulsing Cyan or Moving Light Blue Light (Processing or Connecting)
What It Looks Like
The light bar displays a light blue or cyan color that pulses steadily or animates side-to-side across the tray.
What It Means
The printer is active and performing an ongoing task. This pattern appears during several standard operations:
- Initial Connection: Connecting to a Wi-Fi router after powering on.
- Data Transmission: Receiving print data from a computer, phone, or cloud service.
- Active Printing or Scanning: The mechanical components are actively processing a document.
Troubleshooting Unresponsive States
If the cyan light bar pulses continuously for more than two minutes without printing, the job may be stuck in the operating system print queue. Cancel the print job within the HP Smart app or restart the print spooler service on your computer.
4. Glowing or Solid Amber Edge Light (Wi-Fi Connection Error)
What It Looks Like
The Edge Light Bar turns amber (orange/yellow). It may glow steadily, pulse in the center, or shift toward the outer edges.
What It Means
An amber light bar specifically signifies a wireless connection failure or network authentication error.
Common Causes
- Router Disconnection: The home or office Wi-Fi router restarted, changed settings, or went offline.
- Password Change: The network SSID or Wi-Fi password was modified, breaking the printer's stored credentials.
- Out of Range / Interference: Physical barriers or signal interference from other electronics prevent reliable connectivity.
- Band Steering Issues: The router forces the printer to switch between 2.4 GHz and 5 GHz bands unexpectedly.
How to Resolve It
- Restart your wireless router and wait two minutes for network services to stabilize.
- If the light remains amber, perform a Wi-Fi reset on the printer: Press and hold the Wireless button and Power button on the back of the printer simultaneously for 3 to 5 seconds until the light bar pulses purple.
- Re-add the printer in the HP Smart app to re-enter your network credentials.
5. Blinking Amber Light Bar with Control Panel Error Code (Paper Jam or Mechanical Error)
What It Looks Like
The Edge Light Bar blinks amber rapidly, often accompanied by an "E" and a number on the small numeric control panel display, or a flashing Paper/Resume light.
What It Means
The printer has encountered an operational or mechanical block preventing printing.
Display Error Code Breakdown
- E1 or E2: Paper size mismatch or paper length sensor error.
- E3: Carriage jam (the printhead carriage is blocked or unable to move side to side).
- E4: Paper jam inside the main paper tray, rear access door, or bottom duplex path.
How to Resolve It
- Clear Jams: Power off the printer, open the cartridge access door, check for stuck paper or torn fragments, and carefully remove them.
- Inspect the Carriage: Ensure no packaging tape, protective clips, or paper pieces impede the carriage movement path.
- Check Paper Tray: Adjust the paper width guides inside the tray to fit standard letter or A4 paper without bending the sheet edges.
6. Amber Ink Icon Light (Cartridge Missing, Low, or Error)
What It Looks Like
On the control panel on the right, one or both of the Ink Drop icons glow steady amber or flash, accompanied by a warning light near the cartridge access area.
What It Means
The printer detected an issue with the installed black or color HP 67 / 67XL ink cartridges.
Common Causes
- Low Ink: The cartridge ink level is depleted or near empty.
- Missing Cartridge: One of the cartridges is not installed or not fully seated in its slot.
- Tape Left on Contacts: The plastic protective tape covering the copper electrical contacts was not removed before installation.
- Cartridge Failure / Smart App Lockout: Non-original cartridges inserted into an HP+ enrolled printer (6055e model requiring original HP ink).
How to Resolve It
- Open the cartridge access door. Remove both cartridges and verify that the bright protective tape has been completely removed from the copper-colored contact strips.
- Firmly reinsert each cartridge until it snaps securely into place.
- If using non-HP or refilled cartridges on an HP+ enabled printer, replace them with original HP 67 cartridges, as HP Instant Ink / HP+ firmware enforces digital entitlement verification.
7. Fast-Flashing Amber Edge Light with All Buttons Lit (Critical System Error)
What It Looks Like
glowing red or fast-flashing amber light spans the entire light bar while all control panel button lights flash simultaneously.
What It Means
The printer has experienced an unrecoverable hardware exception or firmware crash (sometimes indicated as an E9 error).
Why It Occurs
- Firmware update failure interrupted mid-process.
- Internal power module voltage drop.
- Unresolvable mainboard logic failure.
How to Resolve It (Hard Reset Procedure)
- Disconnect the power cord directly from the back of the printer while the device is turned on.
- Unplug the power cord from the wall outlet or surge protector.
- Wait 60 seconds to allow all residual internal electrical charge to dissipate.
- Plug the power cord directly into a wall outlet (avoiding extension leads or ungrounded splitters).
- Reconnect the power cord to the printer and allow it to complete its startup calibration sequence.
Summary Table of HP Envy 6055e Light Signals & Solutions
| Light Signal / Pattern | Location | Meaning | Immediate Action Required |
|---|---|---|---|
| Pulsing Purple | Edge Light Bar | Wi-Fi Setup Mode active | Connect printer using the HP Smart app. |
| Solid Cyan / Light Blue | Edge Light Bar | Online, connected, ready | None. Printer is fully operational. |
| Pulsing Cyan / Blue | Edge Light Bar | Processing job or connecting | Wait for task to finish or clear stuck spooler queue. |
| Solid / Glowing Amber | Edge Light Bar | Wi-Fi connection lost | Restart router or reset wireless setup mode. |
| Fast Blinking Amber | Edge Light Bar | Mechanical error or jam | Clear paper path; check carriage path for obstructions. |
| Single / Dual Ink Icon Amber | Control Panel | Low ink, missing cartridge, or tape left on contacts | Inspect contacts, remove protective tape, or replace cartridge. |
| Blinking Amber + E1 / E2 Code | Display Counter | Paper size or paper sensor error | Match tray paper size settings with print job settings. |
| Blinking Amber + E3 / E4 Code | Display Counter | Carriage jam or paper jam | Clear paper jam from tray, rear, or carriage area. |
| Blinking Amber + E9 Code | Display Counter | Firmware error or HP+ entitlement issue | Perform hard power cycle; update via HP Smart app. |
| Fast Red / All Lights Flashing | Whole Printer | System hardware crash | Unplug power cord for 60 seconds; plug directly into wall. |
Decoding Common Display Error Codes (E0 - E9)
The HP Envy 6055e includes a small numeric LED display in the control panel cluster. When an error occurs, this screen alternates between the letter E and a single-digit number while the light bar flashes amber.
- Control Panel Display: Displays "E" alternating with Number
- Code E1/E2: Paper Mismatch
- Adjust Paper Guides
- Match Driver Settings
- Code E3/E4: Carriage/Paper Jam
- Clear Obstructions
- Inspect Tray Path
- Code E9: Firmware/HP+
- Power Cycle & Sync
- Check Smart App Status
- Code E1/E2: Paper Mismatch
Code E0: Unusable Cartridge
- Cause: The inserted ink cartridge is non-compatible, installed in the wrong slot, or damaged.
- Fix: Re-seat cartridges or replace with genuine HP 67 / 67XL cartridges.
Code E1 / E2: Paper Size & Length Mismatch
- Cause: The paper size loaded into the main paper tray does not match the print job settings sent from your app or driver (e.g., trying to print a 4x6 photo job on letter-sized paper).
- Fix: Press the Cancel button on the control panel. Open your printing dialog box on your phone or PC and update the media size settings before resending.
Code E3: Carriage Jam
- Cause: The ink cartridge carriage is physically stuck or blocked by debris, jammed paper, or unremoved packaging material.
- Fix: Power off the printer. Open the access door, move the carriage manually to verify free movement, clear obstructions, and turn the printer back on.
Code E4: Paper Jam
- Cause: Paper has become lodged inside the feed rollers, paper tray assembly, or automatic duplex unit.
- Fix: Remove all loose paper from the input tray. Open the bottom access door or cartridge door and gently pull out jammed sheets with both hands to prevent tearing.
Code E9: Firmware Update or HP+ Service Error
- Cause: The printer encountered a bad firmware flash or failed to validate its HP+ cloud service entitlement status over the internet.
- Fix: Ensure your internet connection is active, open the HP Smart app to re-sync device status, or perform a hard power reset.
Step-by-Step Troubleshooting Actions
If light signals indicate ongoing connection or firmware problems, follow these standardized procedures to restore factory defaults or power cycle the machine.
How to Reset Wi-Fi Setup Mode on the HP Envy 6055e
Restoring wireless setup mode is the primary solution for amber Wi-Fi lights, network password changes, or router upgrades.
- Back of Printer: Hold Power Button and Wireless Button simultaneously for 3 seconds
- Light Bar Pulses Purple (Setup Mode Active)
- Locate the Wi-Fi button and Power button on the rear panel of the printer.
- Press and hold the Wi-Fi button and Power button simultaneously for at least 3 to 5 seconds.
- Release both buttons when the Edge Light Bar flashes white and then transitions to a pulsing purple pattern.
- Launch the HP Customer Support application or open the HP Smart app on your mobile device to reconfigure the Wi-Fi profile.
How to Perform a Hard Power Cycle
Power cycling clears temporary memory (RAM) buffer errors, clears false carriage sensor trips, and resets network interface cards.
- While the printer is powered ON, pull the power cable directly from the back of the unit.
- Unplug the wall plug from the power outlet.
- Wait 60 full seconds.
- Plug the power cord back into a dedicated wall socket without using surge protectors or power strips, which can cause voltage fluctuations during thermal printhead heating cycles.
- Reconnect the cable to the back of the printer and press the Power button to restart.
Frequently Asked Questions
Why is my HP Envy 6055e light bar constantly pulsing purple?
A pulsing purple light bar means the printer is in Wi-Fi Setup Mode, broadcasting its Bluetooth Low Energy signal to connect to a mobile device or computer. Open the HP Smart app and select "Add Printer" to complete network setup and clear the purple light.
What should I do if my HP Envy 6055e shows a solid amber light?
A solid or glowing amber light bar indicates that the printer has lost its Wi-Fi connection. Check if your wireless router is turned on and operating correctly. If your network password changed, perform a Wi-Fi reset by holding the Wireless and Power buttons on the back of the printer for 3 seconds until the light turns purple, then re-connect using the HP Smart app.
What does the E4 error code mean on an HP Envy 6055e?
An E4 display code indicates a paper jam. Turn off the printer, open the front cartridge access door, check the tray path for stuck paper or small torn fragments, remove any paper carefully, and turn the printer back on.
Why is the ink icon light on even though I installed new ink?
If the ink icon light stays amber after installing a new cartridge, turn off the printer, open the access door, and ensure you removed the plastic protective tape over the copper contacts. Reinsert the cartridge firmly until it clicks into place. If you are using a third-party or remanufactured cartridge on an HP+ enabled printer, the printer software may lock out non-original ink.
How do I turn off or dim the bright lights on my HP Envy 6055e?
You can adjust or turn off the Edge Light Bar brightness using the HP Smart app. Open the app, select your printer, go to Printer Settings > Advanced Settings (EWS), click on System > Lights Configuration, and adjust the status light brightness to low or off.
Recommended Next Actions
If your HP Envy 6055e continues to display an error signal after following this guide:
- Verify Software & Firmware: Open the HP Smart app, navigate to Printer Information, and check for available firmware updates. Installing current firmware fixes known sensor glitch bugs and connectivity instability.
- Inspect Physical Components: Ensure genuine HP 67 ink cartridges are installed properly and check that the carriage path is completely clear of paper residue.
- Contact Support: If the printer light bar remains fast-flashing amber or solid red after a hard reset, visit HP Customer Support to check warranty coverage or initiate a repair request.