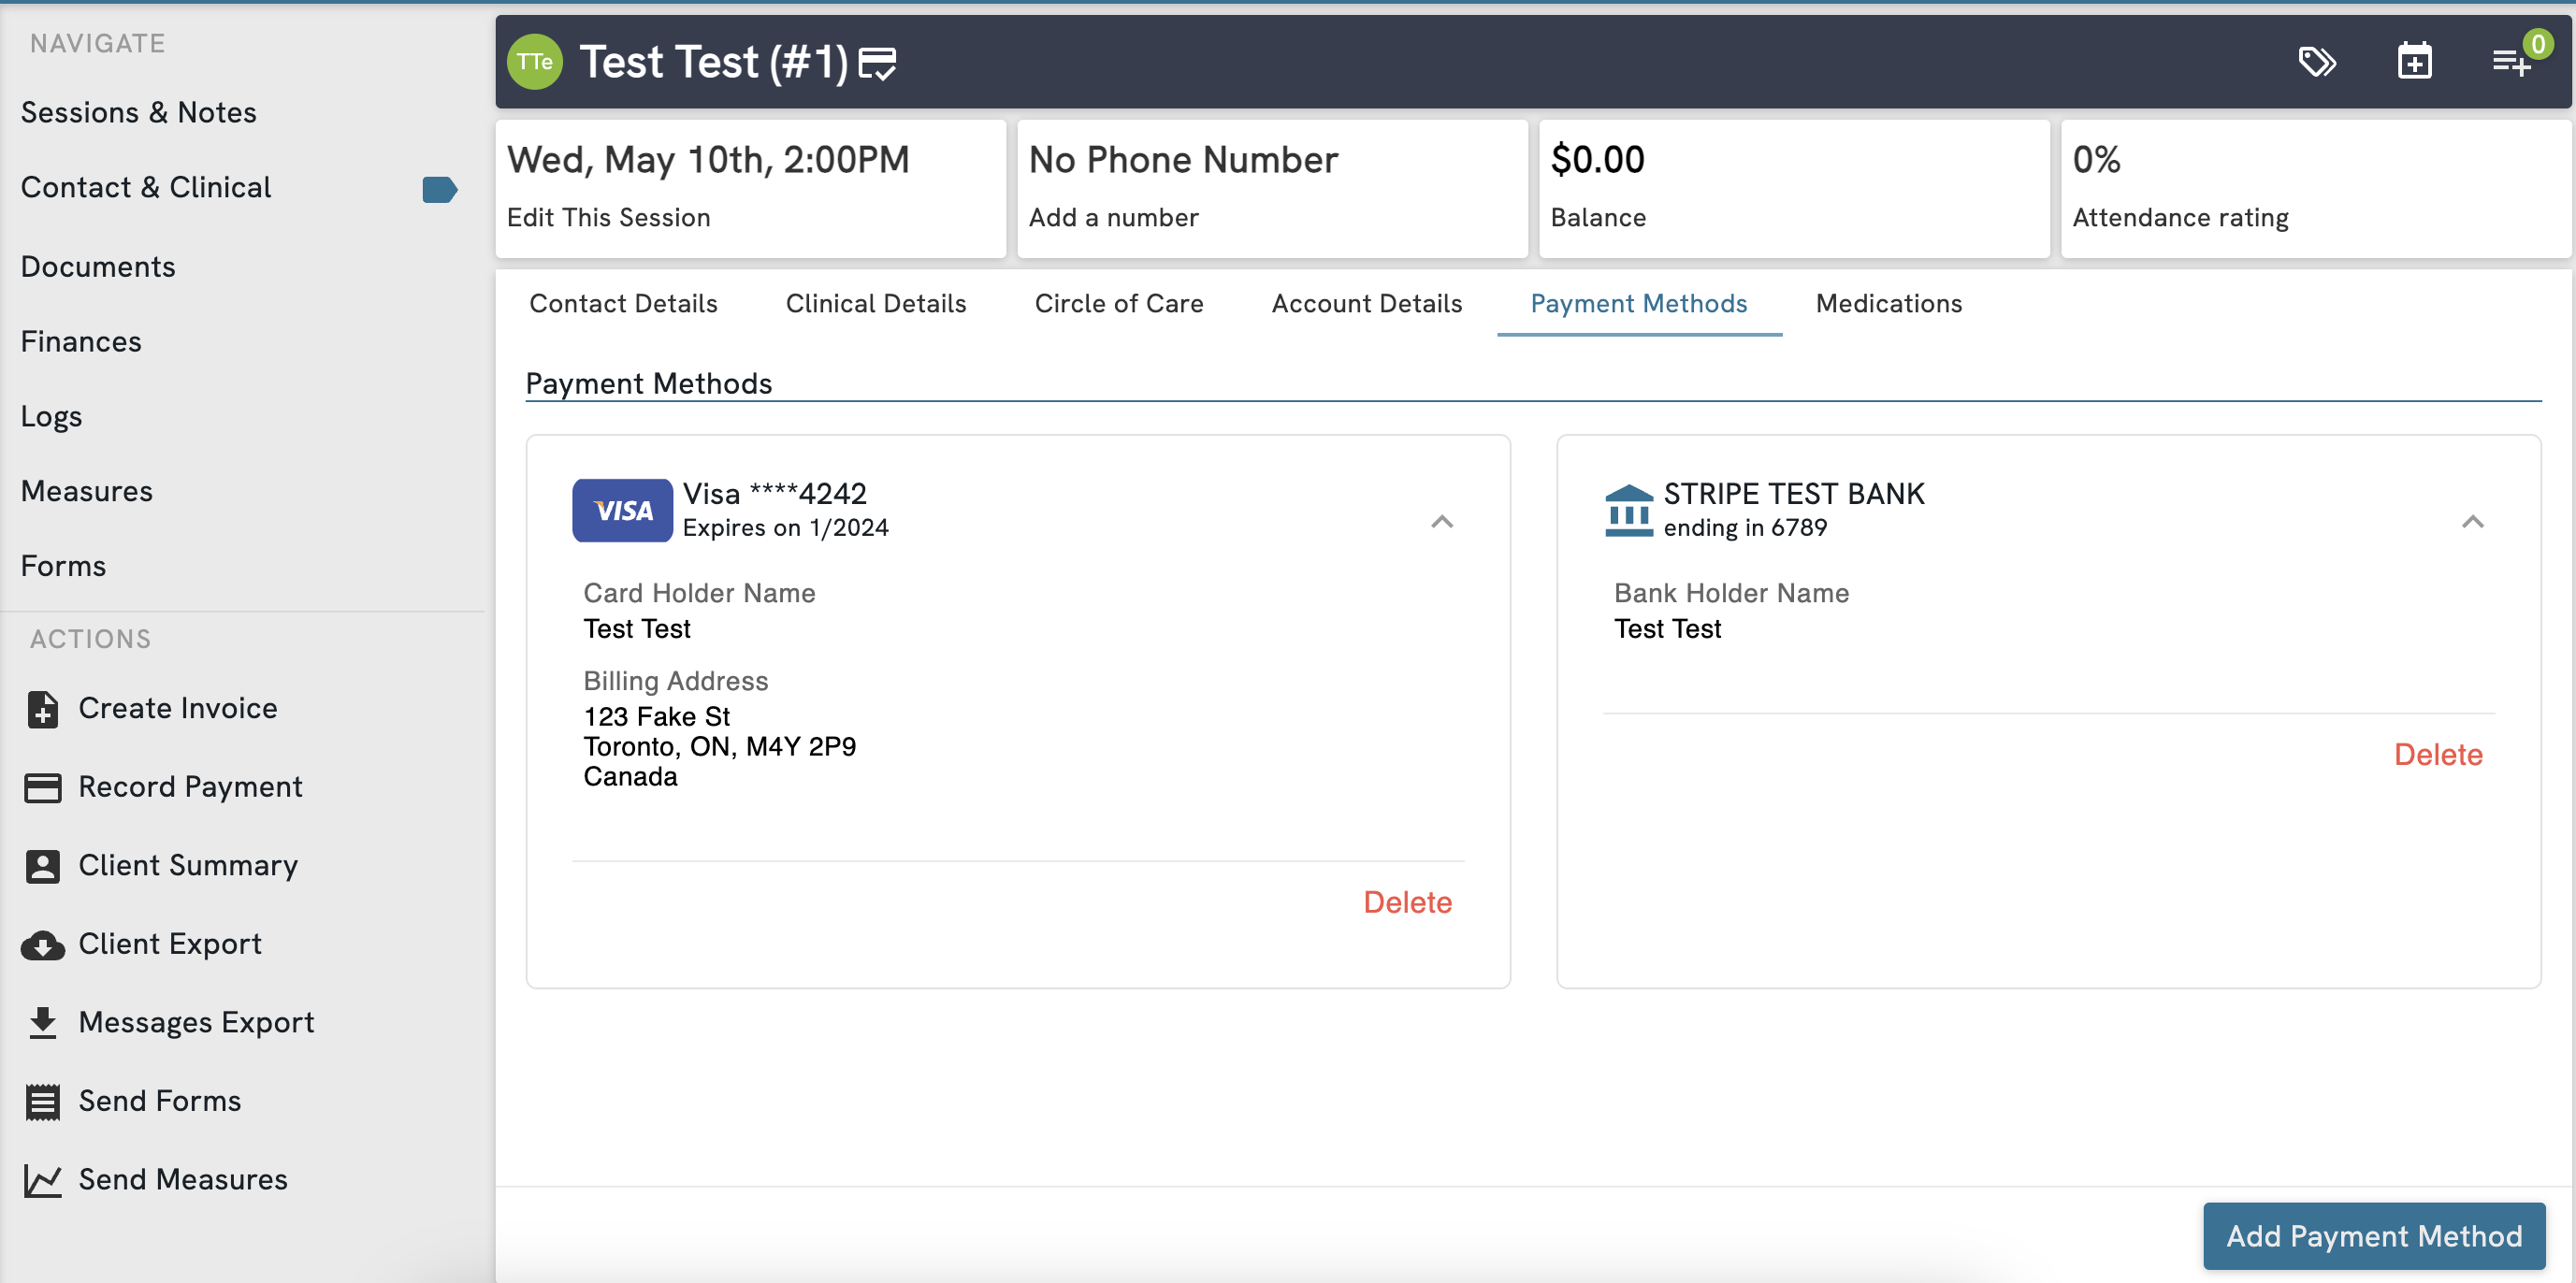
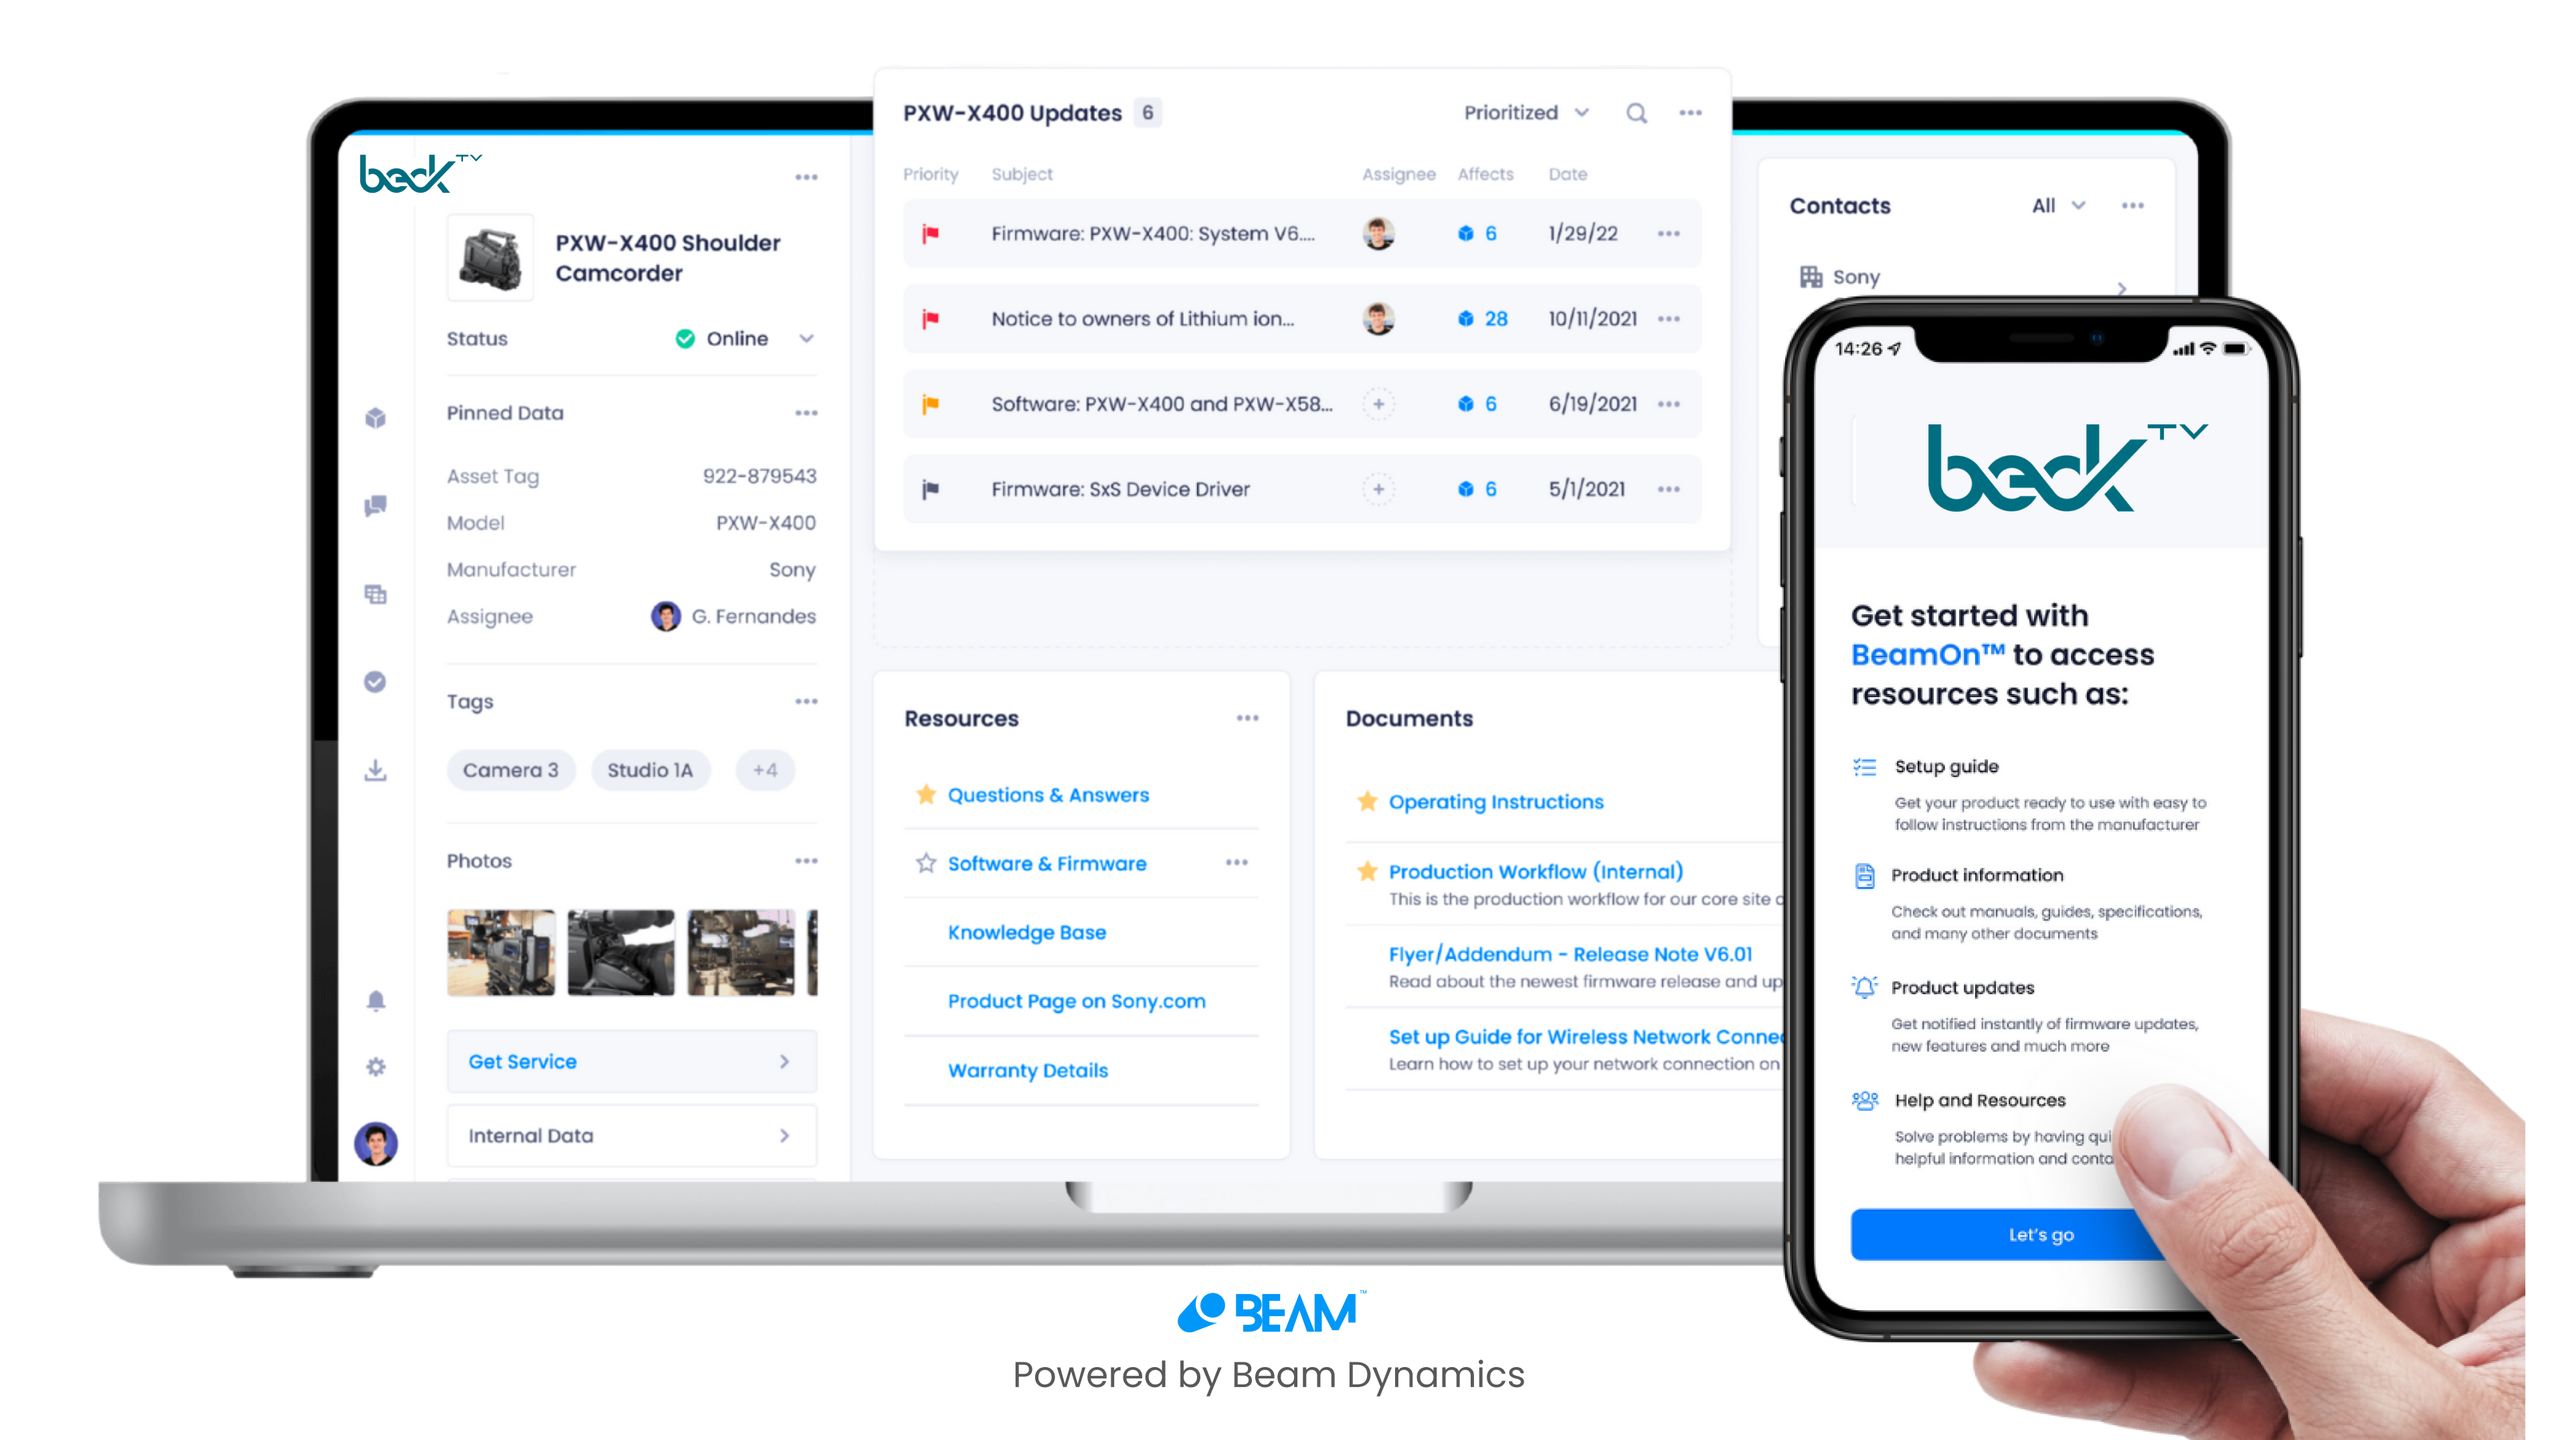
Adding a client to Beam Software’s CRM involves navigating to the "Clients" or "Contacts" module within the dashboard, selecting the "New Entry" function, and inputting mandatory data fields such as organization name, primary contact details, and account status. Maintaining accurate data entry at this stage is critical for ensuring seamless pipeline tracking, automated invoicing, and historical reporting within the platform.
Understanding the CRM Architecture in Beam Software
Beam Software is designed as a centralized hub for managing professional services and project-based workflows. Unlike generic customer relationship management (CRM) platforms that focus exclusively on sales funnels, Beam’s CRM architecture is tightly coupled with project management and billing modules. When you add a client, you are not merely creating a lead; you are establishing an entity that will likely be attached to project scopes, hourly billable rates, and contract milestones.
Understanding this distinction is vital. In many instances, "adding a client" is a multi-step process that involves defining the legal entity, assigning a project manager, and setting up the financial parameters that govern how that client interacts with your billing system. Before initiating the process, ensure you have the appropriate administrative permissions. Most organizational setups in Beam restrict the ability to create new client profiles to Managers, System Administrators, or Finance leads to prevent duplicate records and fragmented billing.
Prerequisites Before Onboarding a New Client
Before you begin the manual entry of a client, gather the necessary documentation to ensure the profile is robust from the moment of creation. Incomplete client profiles often lead to downstream issues, such as failed invoice generation or misdirected communications.
- Legal Entity Information: Have the full registered business name, tax identification numbers (if applicable for your region), and primary billing address ready.
- Point of Contact (POC) Hierarchy: Identify the primary contact person, the billing lead, and any technical stakeholders. Determine who should receive automated status reports versus who should only receive monthly financial summaries.
- Billing and Currency Preferences: Confirm the currency settings and payment terms. Beam Software often allows for client-specific billing rules, and knowing these beforehand prevents the need for retroactive edits to the financial module.
- Project Scope and Start Dates: While you can create a client profile in isolation, it is most efficient to create the client in tandem with the first project or contract phase. Having the start date and project ID handy allows you to link the client to their specific work environment immediately.
Step-by-Step Procedure for Adding a New Client
To add a client to the Beam Software CRM, follow this standardized workflow. Note that while minor UI updates occur periodically, the core logic of the "Client Management" module remains consistent.
1. Navigate to the Client Module
Log in to your Beam Software administrative dashboard. Locate the navigation bar, typically situated on the left-hand side or at the top of the interface. Select "Clients" or "Directory." If you do not see this option, verify your access level; you may need to request elevated privileges from your system admin.
2. Initiate the Add Process
Look for the "Create New" or "Add Client" button. This is usually highlighted in the primary theme color of the interface (often found in the top right corner of the client directory table). Clicking this will trigger a modal window or redirect you to a multi-page input form.
3. Populate Mandatory Fields
Input the required information. Mandatory fields are usually marked with an asterisk (*). This typically includes:
- Client Name: The formal business name.
- Client ID/Code: A unique identifier if your organization uses a specific internal filing system.
- Status: Set to "Active," "Lead," or "On Hold."
- Primary Contact: The email and phone number for the main liaison.
4. Configure Financial Settings
Navigate to the "Billing" or "Finance" tab within the client creation window. Here, you define the fiscal relationship. Choose the default currency, set the VAT or tax rate if applicable, and input the agreed-upon payment cycle (e.g., Net-30, Net-60, or immediate payment).
5. Verification and Save
Review the entries for typos or inaccuracies. A common error is entering an email address with a trailing space, which can prevent automated invoice delivery. Once confirmed, click "Save" or "Finish." The system will then generate the client profile and allow you to immediately link existing or new projects.
Comparative Overview of Client Management Features
The following table highlights the differences between managing a basic contact versus a full client profile within the Beam Software ecosystem.
| Feature | Basic Contact Profile | Full Client Profile |
|---|---|---|
| Purpose | Networking/Lead Tracking | Contract/Project Execution |
| Data Requirements | Name, Phone, Email | Legal Name, Tax ID, Billing Address |
| Project Linkage | None | Multi-project association |
| Billing Capability | Disabled | Fully enabled (Invoices/Quotes) |
| Data Retention | Optional | Required for audit/compliance |
Common Pitfalls and Troubleshooting
Even with a structured approach, users often encounter friction when adding new clients. Below are common issues and their resolutions.
Duplicate Entries The most frequent issue is the creation of duplicate client profiles. This happens when two team members add the same client under slightly different names. Before adding a client, use the global search bar to check for the existing name. If a duplicate is found, use the "Merge" function if available, or ask an administrator to deactivate one of the profiles to maintain data integrity.
Permission Errors If the "Save" button is greyed out or you receive an "Access Denied" notification, you likely lack the necessary permissions. In Beam Software, the ability to create clients is often restricted to ensure only vetted, billable entities are entered. Contact your internal IT or Project Lead to verify your role settings.
Incorrect Currency or Tax Settings If a client is added but billing fails, check the "Finance" tab. It is common for users to default to the organization's base currency without checking if the client requires a different regional currency. Once a project has been billed under a specific currency, changing it retroactively is difficult and may require manual reconciliation.
Best Practices for Data Maintenance
Keeping your CRM data "clean" is as important as the initial entry. In 2026, as data privacy regulations remain stringent, ensure that you are only storing necessary personal identifiable information (PII) for your clients.
- Periodic Audits: Review your client directory quarterly. Deactivate clients that have completed all projects and have no ongoing maintenance contracts.
- Standardize Naming: Adopt a naming convention for your clients (e.g., "Full Company Name - Region") to make searching and reporting more predictable.
- Linkages: Always ensure that your primary point of contact is correctly linked to the active projects. This ensures that when automated status emails are triggered, they reach the correct stakeholders without manual intervention.
FAQs Regarding CRM Usage
1. Can I bulk upload clients into Beam Software? Yes, most versions of Beam Software support CSV or Excel imports. This is recommended if you are migrating from a different CRM. Ensure your spreadsheet headers match the exact field requirements defined in the Beam template.
2. Is it possible to hide specific client data from project team members? Beam Software provides role-based access control. You can configure user permissions so that only account managers or finance staff can view the "Billing" tab of a client profile, while project staff can only view general contact details.
3. What happens if I accidentally delete a client? Depending on your organization's subscription tier, deleted data may be recoverable for a limited window (typically 30 days) via the "Trash" or "Recycle Bin" feature. Contact your administrator immediately if a deletion occurs.
4. Can I add a client without an email address? While the system may allow it, it is strongly advised against. Most of Beam’s functionality relies on digital communication logs. Without an email, you will not be able to send automated invoices, project updates, or password resets for client portals.
5. How do I change a client's status from "Lead" to "Active"? Navigate to the "Edit" function on the specific client’s profile. In the "General" settings, locate the "Status" dropdown menu, select "Active," and save your changes. This update usually triggers a change in how that client is indexed in your reporting dashboards.
Next Steps for Implementation
To ensure successful adoption, verify your internal organizational process first. If you are part of a larger team, confirm with your team lead that there isn't an existing naming convention or internal policy regarding who should handle the creation of new client records. Once confirmed, perform a test entry using a dummy client to familiarize yourself with the mandatory fields and the resulting dashboard layout. Following these steps will maintain the integrity of your CRM data and streamline your professional services workflows for the remainder of 2026.