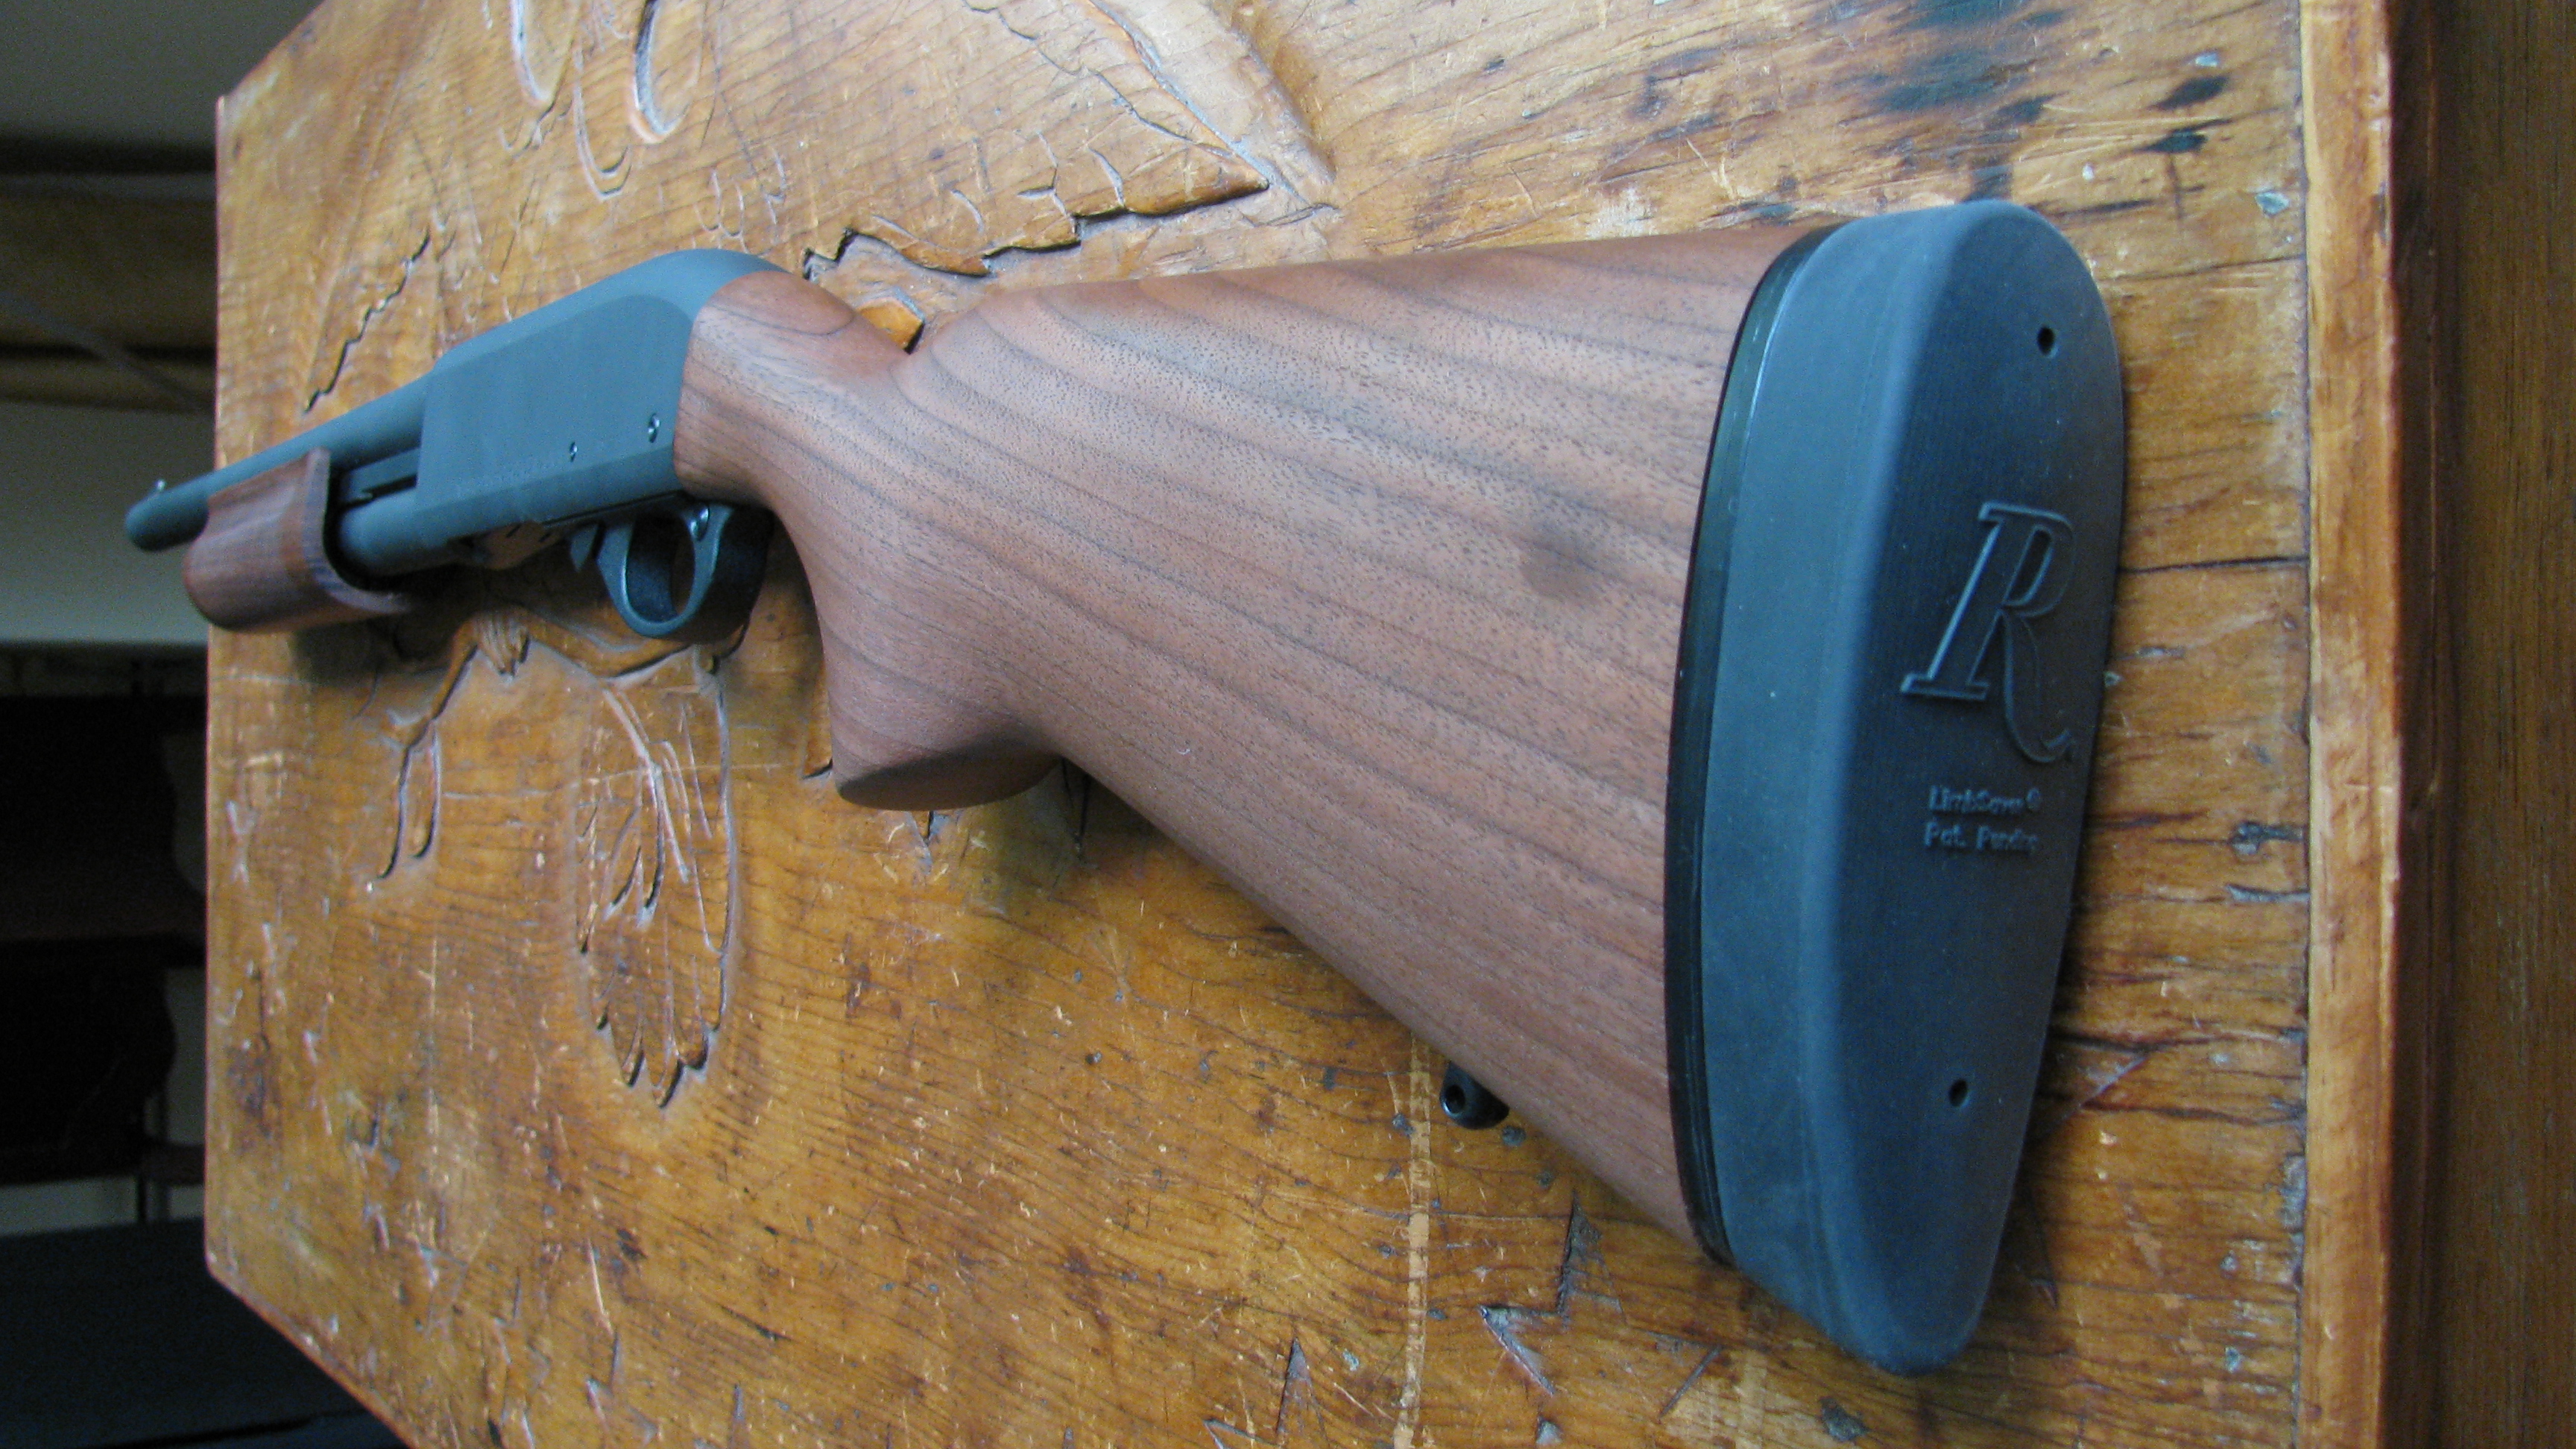
Disassembling a Remington 870 shotgun safely and efficiently requires following a precise sequence of five key steps: ensuring the firearm is unloaded, removing the barrel and magazine cap, sliding out the fore-end and bolt assembly, and finally removing the trigger plate assembly. Understanding this mechanical process is essential for proper cleaning, maintenance, and safe operation.
Introduction to Remington 870 Maintenance
The Remington 870 pump-action shotgun has earned its reputation as one of the most reliable and ubiquitous firearms in history since its introduction in 1950. Millions of units have been manufactured for law enforcement agencies, military branches, home defense, hunting, and sport shooting. Because of its heavy-duty steel receiver and dual action bars, the 870 is built to withstand rigorous use in harsh environments. However, reliability depends heavily on regular maintenance. Accumulated carbon, unburnt powder, moisture, and debris can lead to feeding malfunctions, extraction failures, or premature wear of internal components.
Mastering field stripping—the process of breaking down a firearm into its primary sub-assemblies for cleaning and inspection—is a foundational skill for every shotgun owner. While the Remington 870 features a relatively simple mechanical design compared to modern semi-automatic rifles and handguns, approaching the disassembly process without a structured plan can lead to lost parts, damaged components, or safety risks.
This guide outlines the five key steps required to disassemble a standard Remington 870 shotgun for routine cleaning. By understanding the mechanical principles behind each step, you can safely service your firearm, extend its operational lifespan, and ensure it functions reliably when needed.
Safety First: Verifying Clear Status
Before touching any tools or manipulating pins on a Remington 870, you must establish an absolute baseline of safety. Every firearm maintenance session must begin with a physical and visual inspection to ensure the weapon is completely unloaded. Neglecting this crucial protocol is the leading cause of accidental discharges during routine cleaning.
To verify that your Remington 870 is clear:
- Point the muzzle in a safe direction away from people, pets, and fragile objects.
- Engage the cross-bolt safety button located at the rear of the trigger guard, pressing it so that the red warning band is not visible.
- Depress the action bar lock, typically located on the left side of the trigger plate just in front of the trigger guard.
- Pull the fore-end (slide) firmly toward the rear to open the action.
- Visually and physically inspect both the chamber and the tubular magazine to confirm zero ammunition is present. Look directly into the ejection port and insert a finger into the loading port to feel the follower.
Once confirmed clear, leave the action open or close it with the hammer down, depending on the specific step of disassembly. Never assume a firearm is unloaded based on memory or past actions. Treat every weapon as if it were loaded until you have personally verified otherwise.
Step 1: Remove the Magazine Cap and Barrel
The first major physical step in breaking down the Remington 870 involves separating the barrel and the magazine cap from the receiver and magazine tube. This grants access to the gas cylinder, action bars, and the inner workings of the fore-end assembly.
Unscrewing the Magazine Cap
Begin by ensuring the shotgun's action is partially or fully open. Locate the magazine cap at the very front of the tubular magazine under the barrel. Grasp the knurled cap firmly and turn it counterclockwise (to the left). As you unscrew it, be mindful that the magazine spring and magazine spring retainer are housed directly inside the tube under tension.
On standard models, the magazine cap holds the barrel ring securely against the front of the magazine extension. Once the cap is completely unthreaded, set it aside in a secure location where it will not roll away or collect dirt.
Detaching the Barrel
With the magazine cap removed, locate the steel sling swivel stud or spacer if your model is equipped with one. Slide it off the magazine tube. Next, grasp the barrel with one hand and the receiver/stock assembly with the other. Pull the barrel forward, sliding the barrel ring off the end of the magazine tube while guiding the barrel extension out of its mortise slot in the front of the receiver.
If the barrel resists, wiggle it gently from side to side while pulling forward. Avoid using excessive force or metal tools, as this can mar the finish or bend the delicate barrel ring. Once separated, place the barrel on a clean, padded workbench.
Step 2: Remove the Fore-End and Bolt Assembly
With the barrel removed, the next phase involves sliding the slide assembly, action bars, and bolt forward and off the receiver and magazine tube. This exposes the internal rails and allows you to inspect the breech bolt and locking block.
Releasing the Action Bars
Depress the action bar lock once more if the slide is locked. Push the fore-end forward gently. As the dual action bars move forward out of the receiver channels, the breech bolt will naturally slide out with them, resting on top of the action bars.
Separating the Bolt and Carrier Dog
Carefully slide the fore-end completely off the front of the magazine tube. The bolt assembly, which includes the breech bolt, locking block, and firing pin, will slide off the action bars as you pull them forward. Pay close attention to how these components fit together:
- Breech Bolt: The primary housing that holds the firing pin and extractor.
- Locking Block: The rectangular steel wedge attached to the rear of the bolt that locks into the barrel extension upon firing.
- Action Bars: The twin steel arms welded to the fore-end tube that transmit motion from your hand to the bolt assembly.
Lay these parts flat on your cleaning mat. Avoid disassembling the firing pin and spring from the breech bolt unless deep repairs are necessary, as these small parts are under spring tension and easily lost.
Step 3: Remove the Trigger Plate Assembly
The trigger plate assembly houses the hammer, sear, trigger, and shell carrier. Removing this unit from the receiver allows you to clean out accumulated powder residue and debris from the drop-in trigger mechanism without necessarily stripping the individual springs and pins.
Punching Out Receiver Pins
Look at the side of the receiver just above the trigger guard. You will see two cylindrical metal receiver pins (or trigger plate pins) passing horizontally through the aluminum receiver.
Using a properly sized brass or polymer punch and a small hammer, gently tap the two pins from left to right until they emerge from the opposite side. Pull the pins completely out of the receiver. Note that the front pin is often slightly shorter or features a different retention groove than the rear pin; keep track of their original locations for reassembly.
Extracting the Trigger Plate
With both pins removed, grasp the trigger guard firmly. Pull the entire trigger plate assembly downward and backward out of the bottom of the receiver.
Be cautious not to force it; wiggle it slightly if it binds against the shell lifter (carrier). Once the trigger plate is free, set it aside. Do not submerge the entire trigger assembly in harsh chemical solvents unless absolutely necessary, as excessive solvent can wash away critical factory lubrication from internal pivot points.
Step 4: Remove the Follower and Magazine Spring (Optional Field Stripping)
For a standard field strip and cleaning, removing the barrel, fore-end, bolt, and trigger plate is sufficient. However, if your shotgun has been exposed to water, mud, or heavy carbon buildup inside the tubular magazine, you may need to clean the magazine tube, spring, and follower.
Securing the Magazine Spring Retainer
Warning: The magazine spring is compressed inside the tube and can project components forcefully if mishandled.
Look inside the end of the magazine tube. You will see a plastic or metal magazine spring retainer clip. Using a small flathead screwdriver or needle-nose pliers, carefully depress or disengage the retainer tabs from the internal notches of the magazine tube while keeping your thumb firmly over the opening to catch the spring.
Extracting Spring and Follower
Slowly release the tension on the magazine spring and pull it out of the tube, followed by the magazine follower (the brightly colored or metal plunger that pushes shells toward the action).
Wipe the interior of the tube clean with a rod and a patch soaked in solvent, followed by a dry patch and a light coat of oil to prevent rust. Reinsert the follower, followed by the spring, and press the retainer back into its locked position inside the mouth of the tube.
Step 5: Inspection, Cleaning, and Reassembly
With the Remington 870 fully disassembled into its primary components, you have achieved complete field strip status. The final phase involves methodical cleaning, inspection, and the reverse-order reassembly of the firearm.
Cleaning and Lubrication Protocol
Inspect all metal surfaces for signs of wear, pitting, or rust. Use a bore brush and solvent to clean the interior of the barrel, followed by clean patches until they emerge spotless. Wipe down the receiver rails, bolt, and action bars. Apply a thin, protective film of gun oil to all exterior metal surfaces to guard against corrosion, particularly if handled with bare hands.
| Component | Cleaning Agent | Lubrication Level |
|---|---|---|
| Barrel Bore | Bore Solvent / Hoppe's No. 9 | Light oil patch (dry before firing) |
| Receiver Interior | Mineral Spirits / Cleaner | Light film to prevent rust |
| Breech Bolt & Rails | Solvent / Degreaser | Moderate grease or oil |
| Trigger Assembly | Compressed Air / Dry Lube | Minimal oil on pivot points |
Reassembly Sequence (Reverse Order)
- Trigger Plate: Insert the trigger plate assembly back into the bottom of the receiver, ensuring the shell carrier aligns correctly. Tap the two receiver pins back into place from right to left.
- Bolt and Fore-End: Slide the breech bolt and locking block onto the action bars. Guide the action bars into the receiver rails while sliding the fore-end over the magazine tube.
- Barrel: Slide the barrel ring over the magazine tube and seat the barrel extension firmly into the receiver mortise.
- Magazine Cap: Thread the magazine cap clockwise onto the end of the magazine tube and tighten it hand-tight.
- Function Check: Perform an unloaded function check. Cycle the action multiple times, dry fire in a safe direction, and ensure the safety engages and disengages correctly.
Frequently Asked Questions
Do I need any special tools to disassemble a Remington 870?
No specialized gunsmithing tools are required for standard field stripping. A small brass or polymer punch and a lightweight hammer are helpful for driving out the trigger plate pins, though a suitably sized hex wrench or punch substitute can work in a pinch. Avoid using hardened steel nails, as they can scratch or warp the receiver.
How often should I perform a complete field strip on my shotgun?
You should perform a field strip and cleaning after every range session or hunting trip, especially if the firearm has been exposed to rain, mud, saltwater, or heavy shooting volumes (over 100 rounds). Routine maintenance prevents corrosion and ensures smooth mechanical cycling.
Can I remove the stock during a standard field strip?
Removing the buttstock requires a long flathead screwdriver or socket extension to reach the stock bolt located inside the rear of the stock cavity. This is considered advanced maintenance and is generally unnecessary for routine cleaning unless the shotgun was submerged in water and requires internal receiver-extension cleaning.
What causes the bolt to get stuck during reassembly?
If the bolt binds or fails to slide into the receiver, the locking block is likely out of position or the action bars are misaligned with the receiver grooves. Ensure the locking block is tilted correctly on the rear of the breech bolt before pushing the assembly forward into the receiver rails.
Is it safe to use brake cleaner on the Remington 870 trigger group?
Aerosol brake cleaners strip away all grease and oils rapidly, which can leave raw steel vulnerable to immediate flash rust. While they effectively remove carbon, you must re-lubricate all metal surfaces immediately afterward with a quality gun oil or CLP.
Final Recommendations for Safe Operation
Maintaining a Remington 870 goes beyond simple cleaning; it builds an intimate familiarity with the mechanical behavior of your firearm. Always ensure your workspace is well-lit, free of live ammunition, and equipped with appropriate cleaning supplies. By strictly adhering to these five key steps for disassembly, you protect your investment, maximize operational reliability, and ensure safe handling habits for years of shooting enjoyment.