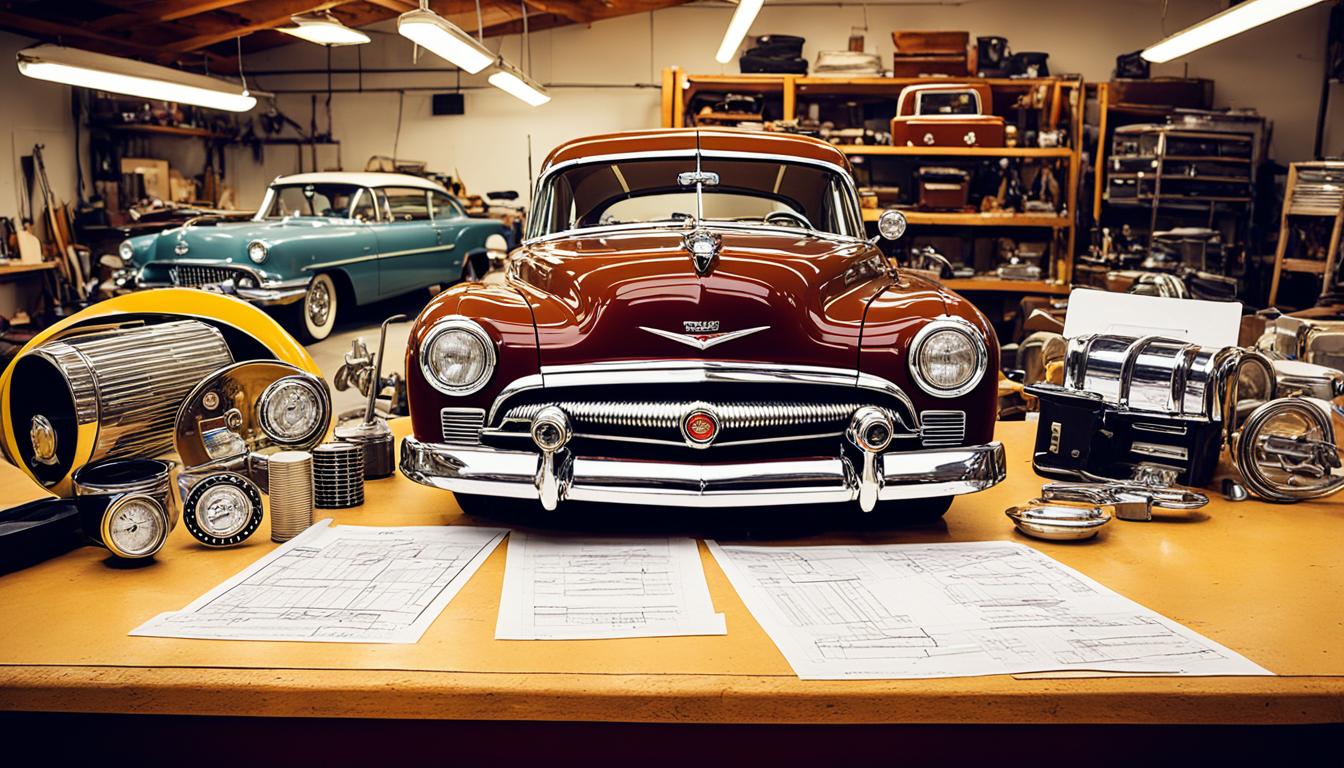
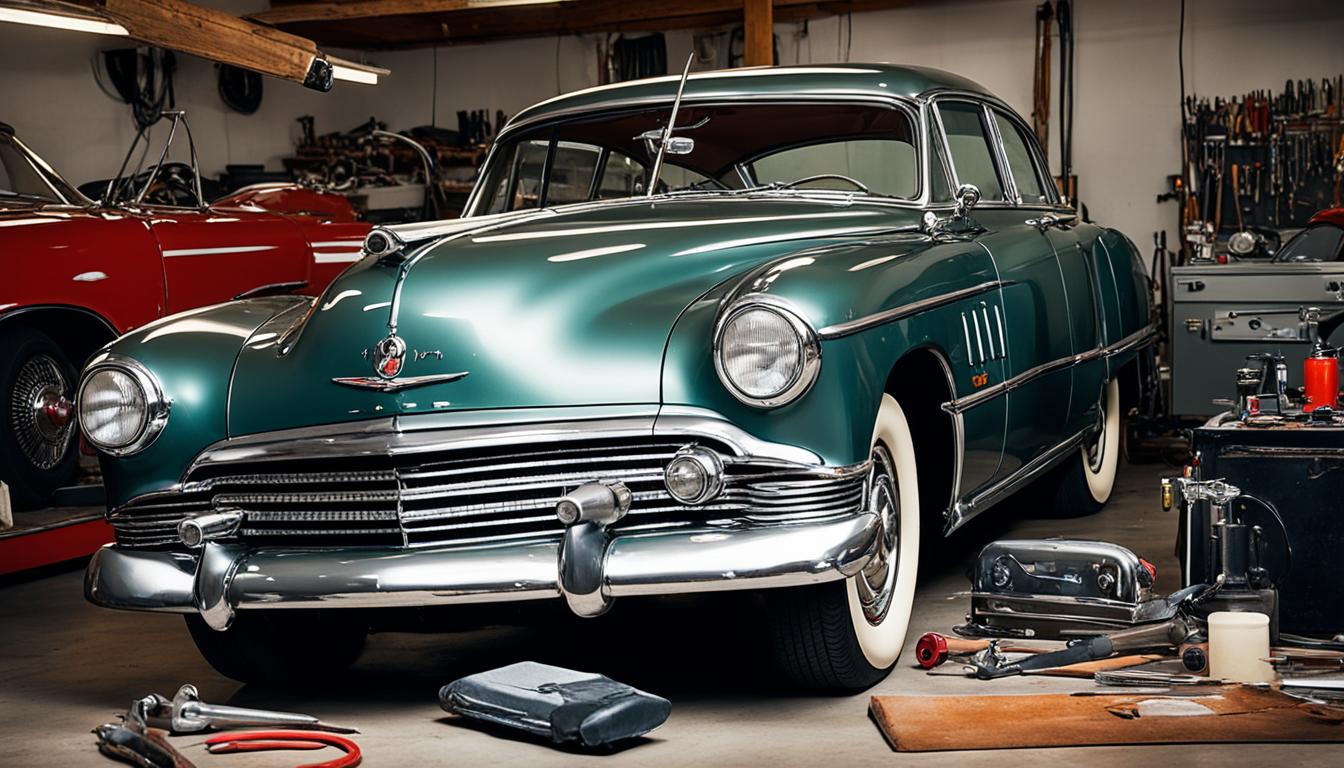
Embarking on a vintage car restoration project requires a dedicated workspace, meticulous planning, and precise technical execution to successfully transform a weathered classic into a roadworthy masterpiece. Finding the ideal location to house and restore your classic vehicle is arguably the most critical operational decision you will make, dictating the pace, quality, and ultimate cost-effectiveness of your entire project.
The Foundation of Vintage Restoration: Securing the 1 Perfect Place
The success of any classic car restoration project hinges heavily on the environment in which the work is performed. When restorers search for the single "perfect place," they are rarely looking for a magical workshop that eliminates hard work; rather, they seek an environment that systematically eliminates logistical headaches, environmental threats, and safety hazards. A substandard garage can compromise bare metal with flash rust, warp delicate body panels through extreme temperature swings, or restrict the specialized equipment needed for a frame-off restoration.
An optimal restoration environment provides climate stability, adequate square footage, and robust utility infrastructure. Without these baseline elements, even the most experienced mechanic will encounter preventable setbacks. The following analysis breaks down the physical, environmental, and spatial requirements necessary to establish a professional-grade restoration hub, whether you are building out a home garage or leasing a specialized workshop space.
Environmental Control and Climate Management
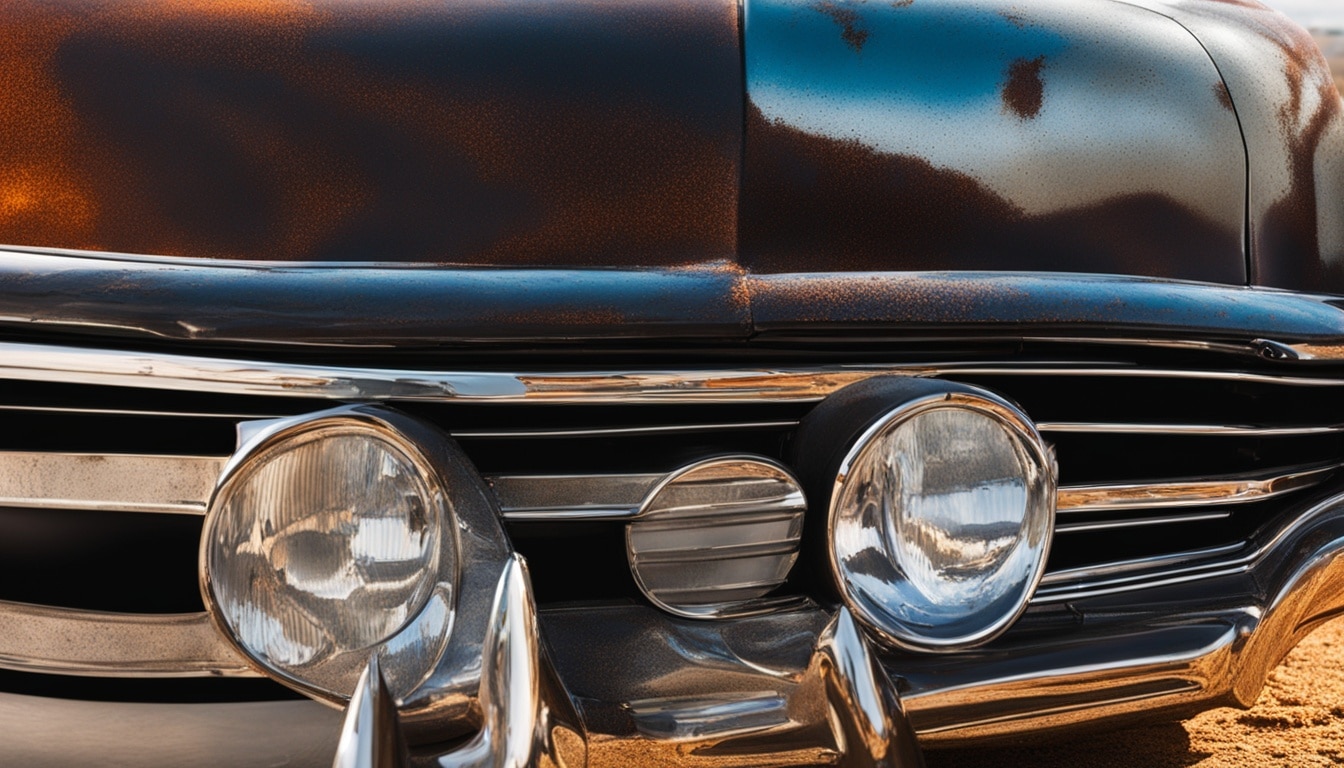
Environmental control is the single most vital factor in preserving automotive steel, aluminum, and fiberglass during a multi-year restoration. Humidity and temperature fluctuations act as silent catalysts for corrosion, chemical degradation, and material warping.
- Relative Humidity Control: Maintaining a relative humidity level below 50 percent is essential to prevent flash rust on freshly sandblasted panels or bare metal frames. Dehumidifiers and vapor-phase corrosion inhibitors (VCI) provide indispensable layers of protection.
- Temperature Stability: Rapid thermal expansion and contraction can cause curing body fillers to crack, paints to blush, and delicate vintage plastics to become brittle. A properly insulated space with a reliable HVAC or heating system protects both your materials and your physical comfort.
- Ventilation and Air Quality: Restoration work involves heavy use of chemical strippers, primers, body fillers, and two-pack urethane paints. A dedicated cross-ventilation system or an enclosed spray booth is mandatory to clear volatile organic compounds (VOCs) and protect respiratory health.
Spatial Dimensions and Layout Optimization
Many first-time restorers underestimate the physical footprint required to completely dismantle, restore, and reassemble a vintage vehicle. A cramped workspace leads to misplaced parts, accidental damage to finished components, and unsafe working conditions.
- Typical Restoration Bay Layout
- Parts Storage Area
- Racks, Shelves, Small Components
- Heavy Machinery Area
- Welding, Press, Parts Washer
- Vehicle Work Bay
- Minimum 24' x 14' Clear Area
- Workbench and Tools Area
- Vices, Hand Tools, Diagnostic Gear
- Finishing Station Area
- Sanders, Prep Area, Dust-Controlled
- Parts Storage Area
A functional restoration workspace must accommodate more than just the car’s footprint. You need a minimum perimeter of three to four feet around the entire vehicle to maneuver creepers, floor jacks, engine hoists, and rolling tool chests. Furthermore, dividing the space into distinct zones—such as a clean assembly room, a dirty fabrication area, and a secure parts inventory room—prevents grinding dust from contaminating freshly painted interior trim or engine components.
Utility Infrastructure and Power Requirements
Vintage car restoration is an energy-intensive endeavor. Standard residential 110-volt outlets are rarely sufficient to power the heavy-duty equipment required for structural metalwork and mechanical overhauls.
- Electrical Capacity: A 220V/240V electrical service panel is mandatory to run MIG/TIG welders, plasma cutters, large air compressors, and industrial heaters without constantly tripping circuit breakers.
- Compressed Air Systems: Pneumatic tools—including impact wrenches, paint spray guns, DA sanders, and die grinders—rely on a robust air supply. Install a stationary, high-capacity air compressor with a dedicated moisture separator and hard-piped copper or aluminum airlines to maintain consistent pressure.
- Lighting Quality: Shadowless illumination is critical for identifying body panel waves, hairline cracks, and wiring faults. Layered lighting combining overhead high-output LED fixtures with directional task lamps and portable drop lights ensures total visibility across all work surfaces.
Essential Technical Tips for Comprehensive Vintage Car Restoration
Once the physical workspace is established, executing the restoration requires adherence to proven mechanical and structural protocols. Rushing through the diagnostic or disassembly phases almost invariably leads to costly rework later in the project lifecycle.
1. Systematic Documentation and Disassembly
The dismantling phase sets the tone for the entire restoration. Every bolt, bracket, wire harness, and trim piece removed must be meticulously documented to ensure accurate reassembly months or even years down the road.
- Digital Photography: Capture multi-angle photographs of every component before, during, and after removal, paying special attention to routing paths, shims, and fastener orientations.
- The Tag-and-Bag Method: Utilize sealable plastic bags paired with weather-resistant labels or permanent markers. Group fasteners strictly by the assembly they belong to (e.g., "Left Front Fender Inner Apron").
- Detailed Journaling: Maintain a physical or digital restoration logbook. Record torque specs, part numbers, modifications made, and vendor sources for replacement items.
2. Strategic Structural and Metal Repair
Rust is the primary adversary of any vintage vehicle. Surface bubbling often conceals extensive structural degradation within rocker panels, floor pans, frame rails, and cowls.
- Complete Corrosion Removal: Do not rely on chemical rust converters for structural members. Cut out compromised metal entirely and butt-weld or flange-weld fresh, high-quality sheet metal of the correct gauge.
- Heat Management: When welding thin vintage body panels, employ intermittent stitch-welding techniques to minimize heat distortion and prevent panel warping.
- Cavity Wax Protection: After completing internal structural repairs and priming, apply an internal frame-coating or rust-inhibiting cavity wax through factory access holes to protect hidden seams from future moisture intrusion.
3. Mechanical Overhaul and Sourcing Authentic Parts
Restoring mechanical systems—engines, transmissions, suspension, and braking hydraulics—demands adherence to factory specifications combined with modern material upgrades where safety is concerned.
- Component Restoration vs. Replacement: Whenever possible, rebuild original numbers-matching components to preserve the historical integrity and value of the vehicle.
- Modern Braking Upgrades: While preserving originality is paramount for cosmetics, upgrading single-reservoir master cylinders to dual-reservoir configurations or converting drum brakes to front discs is a widely accepted modification that drastically improves safety without ruining historical aesthetics.
- Vendor Vetting: Source replacement sheet metal and mechanical components from reputable specialty suppliers known for precise OE-spec (Original Equipment Specification) stampings and high metallurgical standards.
Comparative Analysis: Home Garage Versus Professional Restoration Shop
Choosing where your vintage car restoration takes place involves balancing financial investment, time commitments, and technical skill levels. The table below compares undertaking the project in a dedicated home workshop versus contracting a professional restoration facility.
| Evaluation Metric | DIY Home Restoration Workspace | Professional Restoration Facility |
|---|---|---|
| Financial Cost | Lower initial capital outlay; labor is "free" (time investment). | High financial investment; hourly labor rates plus material markups. |
| Time Investment | Extended timeline; work is restricted to weekends and evenings. | Accelerated timeline managed by full-time technicians and fabricators. |
| Skill Requirement | Steeper learning curve; requires acquiring welding, bodywork, and mechanical skills. | Access to master craftsmen, specialized fabricators, and certified painters. |
| Equipment Access | Limited to purchased or rented tools (e.g., standard welders, hand tools). | Access to industrial machinery (rotisseries, sandblasters, paint booths, CNC). |
| Vehicle Valuation Impact | Value addition depends strictly on the quality of owner execution. | Documentation and craftsmanship from recognized shops often enhance resale value. |
Frequently Asked Questions About Vintage Car Restoration
How much space do I realistically need to restore a vintage car?
A single-car garage measuring at least 20 by 10 feet can accommodate a vehicle, but it severely limits working room and parts storage. The ideal minimum footprint is a 24 by 14-foot bay (or larger) with adjacent storage areas for tools, parts shelves, and fabrication equipment to allow unhindered access around all four sides of the car.
Is it better to strip the car down to bare metal completely?
Yes, for a comprehensive restoration, a complete teardown to bare metal is strongly recommended. This exposes hidden corrosion, structural cracks, and previous crash damage that surface preparation would otherwise miss, ensuring a solid foundation for primer and paint.
How do I prevent flash rust after chemical stripping or media blasting?
Bare steel begins to oxidize rapidly when exposed to ambient humidity. To prevent flash rust, apply a self-etching primer or a direct-to-metal (DTM) epoxy primer immediately—typically within hours—after completing the stripping or sanding process, ensuring the surface is wiped clean with a dedicated wax and grease remover first.
Can I restore a classic car outdoors or in a temporary car tent?
Restoring a vehicle outdoors or inside a soft-sided fabric tent is strongly discouraged. Environmental elements such as windblown dust, morning dew, direct sunlight, and fluctuating humidity levels make it virtually impossible to control paint curing, prevent rust, or protect sensitive electrical components.
What is the most common mistake made by beginner restorers?
The most frequent mistake is dismantling the entire vehicle too quickly without adequate cataloging, labeling, or photography. This leads to missing hardware, confusion during reassembly, and unnecessary frustration when trying to determine how complex sub-assemblies fit back together.
Conclusion and Next Action
Finding the 1 perfect place tips for vintage car restoration begins with securing a secure, climate-controlled, well-lit, and adequately powered workspace, followed by disciplined adherence to systematic disassembly and structural repair protocols. Your immediate next action should be to audit your available physical workspace against the environmental and spatial requirements outlined above, addressing any deficiencies in electrical capacity, humidity control, or ventilation before purchasing your project vehicle or turning a single wrench.