Replacing the cabin air filter in a 2018 Honda CR-V is a straightforward maintenance task that takes less than ten minutes, requires no tools, and can save you significant money compared to dealership service fees. Located directly behind the glove box, the cabin air filter traps dust, pollen, soot, and other airborne particulates before they can enter the vehicle's heating, ventilation, and air conditioning (HVAC) system. Performing this task regularly ensures clean air inside the cabin, reduces strain on the blower motor, and prevents unpleasant musty odors from developing within the ventilation ducts.
Understanding the Role and Importance of the Cabin Air Filter
The modern automotive cabin air filter is a vital component of your vehicle's environmental control system. Unlike the engine air filter, which protects the internal combustion components from abrasive dirt and debris, the cabin air filter is dedicated entirely to the health and comfort of the vehicle's occupants. In a 2018 Honda CR-V, this filter captures microscopic irritants such as pollen, road dust, industrial fallout, mold spores, and exhaust particulate matter.
Over time, these trapped contaminants accumulate, progressively clogging the filter media. When a filter becomes heavily laden with debris, several performance issues manifest. First, the overall airflow from the vehicle's vents diminishes noticeably, forcing the blower motor to work harder to push air through the dense blockage. Second, a neglected filter can become a breeding ground for bacteria and mold, resulting in a persistent musty smell whenever the air conditioning or heating is engaged. Third, reduced airflow places thermal and electrical stress on the blower motor resistor and fan assembly, potentially leading to premature component failure.
Maintaining a regular replacement schedule is particularly important for drivers who commute in heavy traffic, reside in dusty rural environments, or suffer from allergies and respiratory sensitivities. By keeping the air flowing freely, you maintain optimal defrosting and defogging capabilities, which is a critical safety consideration during humid or freezing weather conditions.
Recommended Replacement Intervals and Timing
Honda specifies general maintenance guidelines within the vehicle's owner's manual, typically suggesting that the cabin air filter be replaced every 15,000 to 30,000 miles. However, this interval is heavily dependent on operating conditions. Vehicles driven primarily in urban environments with high levels of smog and particulate matter, or those operated on unpaved, dusty roads, may require filter replacement as often as every 10,000 to 12,000 miles.
A proactive approach involves inspecting the filter during routine oil changes or at the change of each season—specifically in the spring after heavy pollen seasons and in the autumn before winter heating use. Visual inspection is the most reliable method to determine if a replacement is overdue. If the pleats of the filter are dark gray, black, or embedded with leaves, twigs, and insect fragments, replacement is necessary regardless of mileage.
| Operating Environment | Recommended Replacement Interval | Key Indicators for Early Replacement |
|---|---|---|
| Severe / Dusty / Urban | 10,000 to 15,000 miles | Heavy soot, visible black particulate layers, reduced vent airflow |
| Normal / Suburban / Highway | 15,000 to 30,000 miles | Seasonal pollen buildup, musty odors upon startup |
| Light Use / Rural | Up to 30,000 miles | Minor dust accumulation, inspection confirms structural integrity |
Selecting the Right Replacement Filter
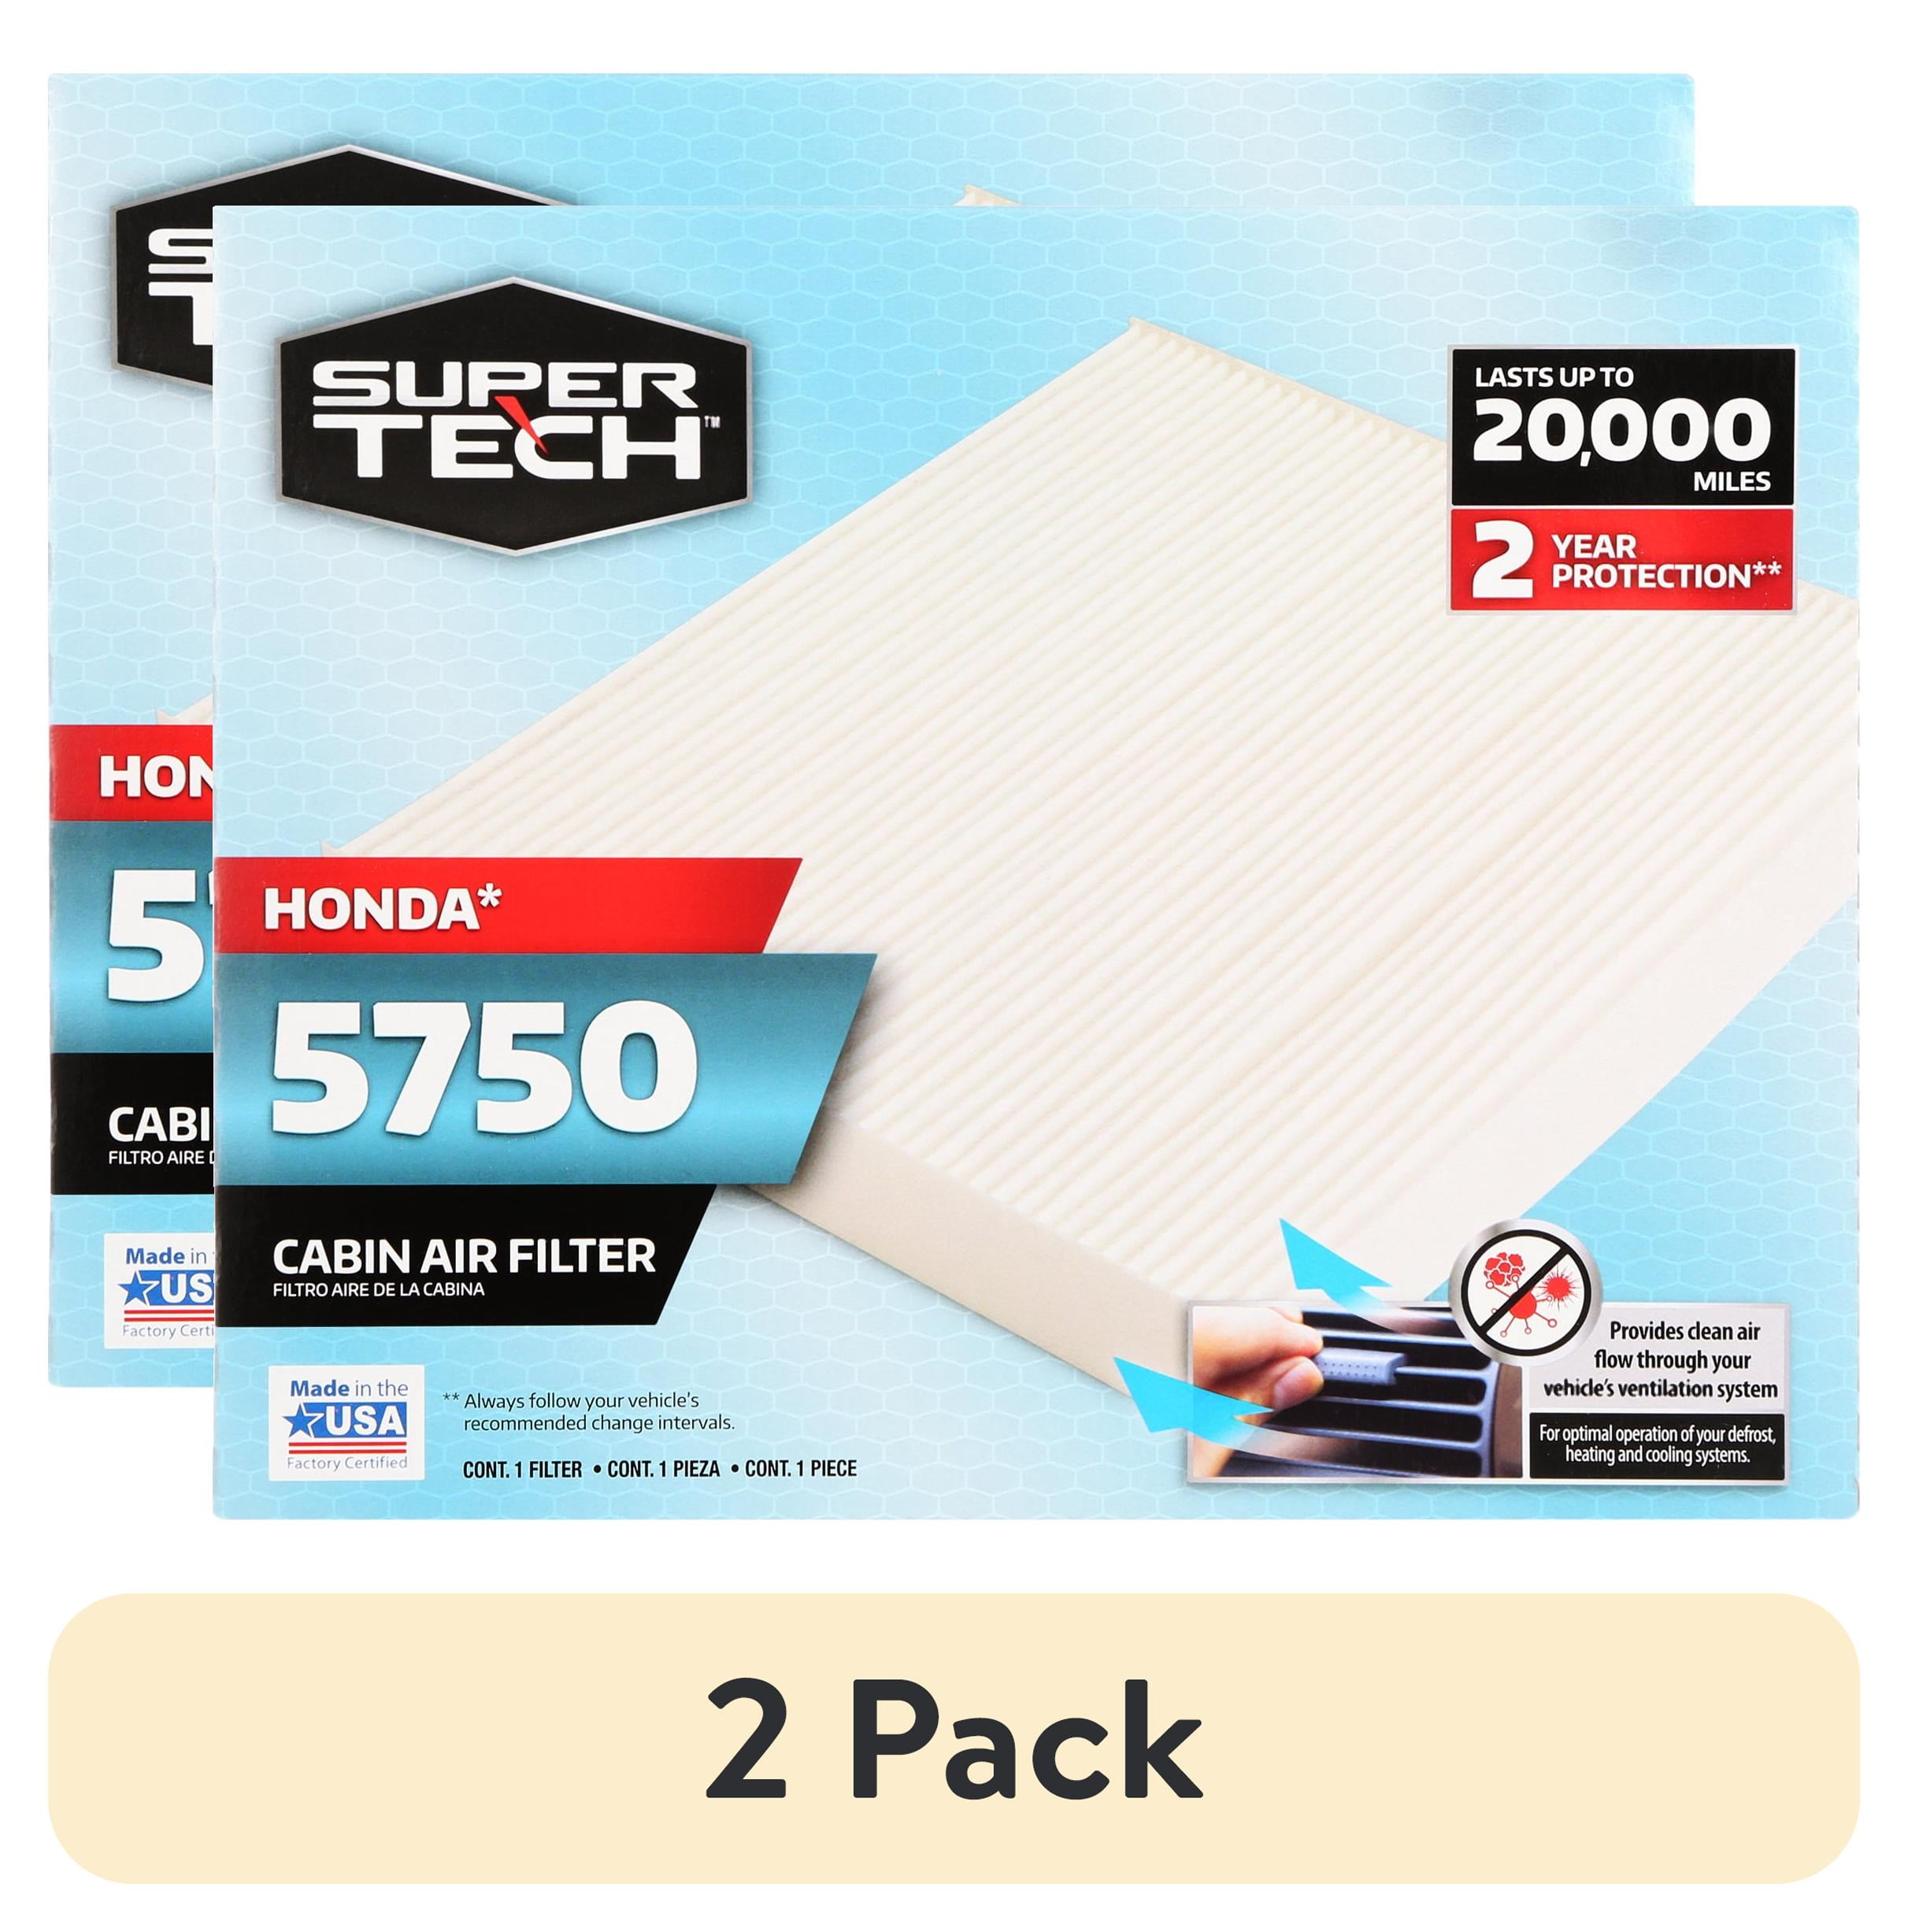
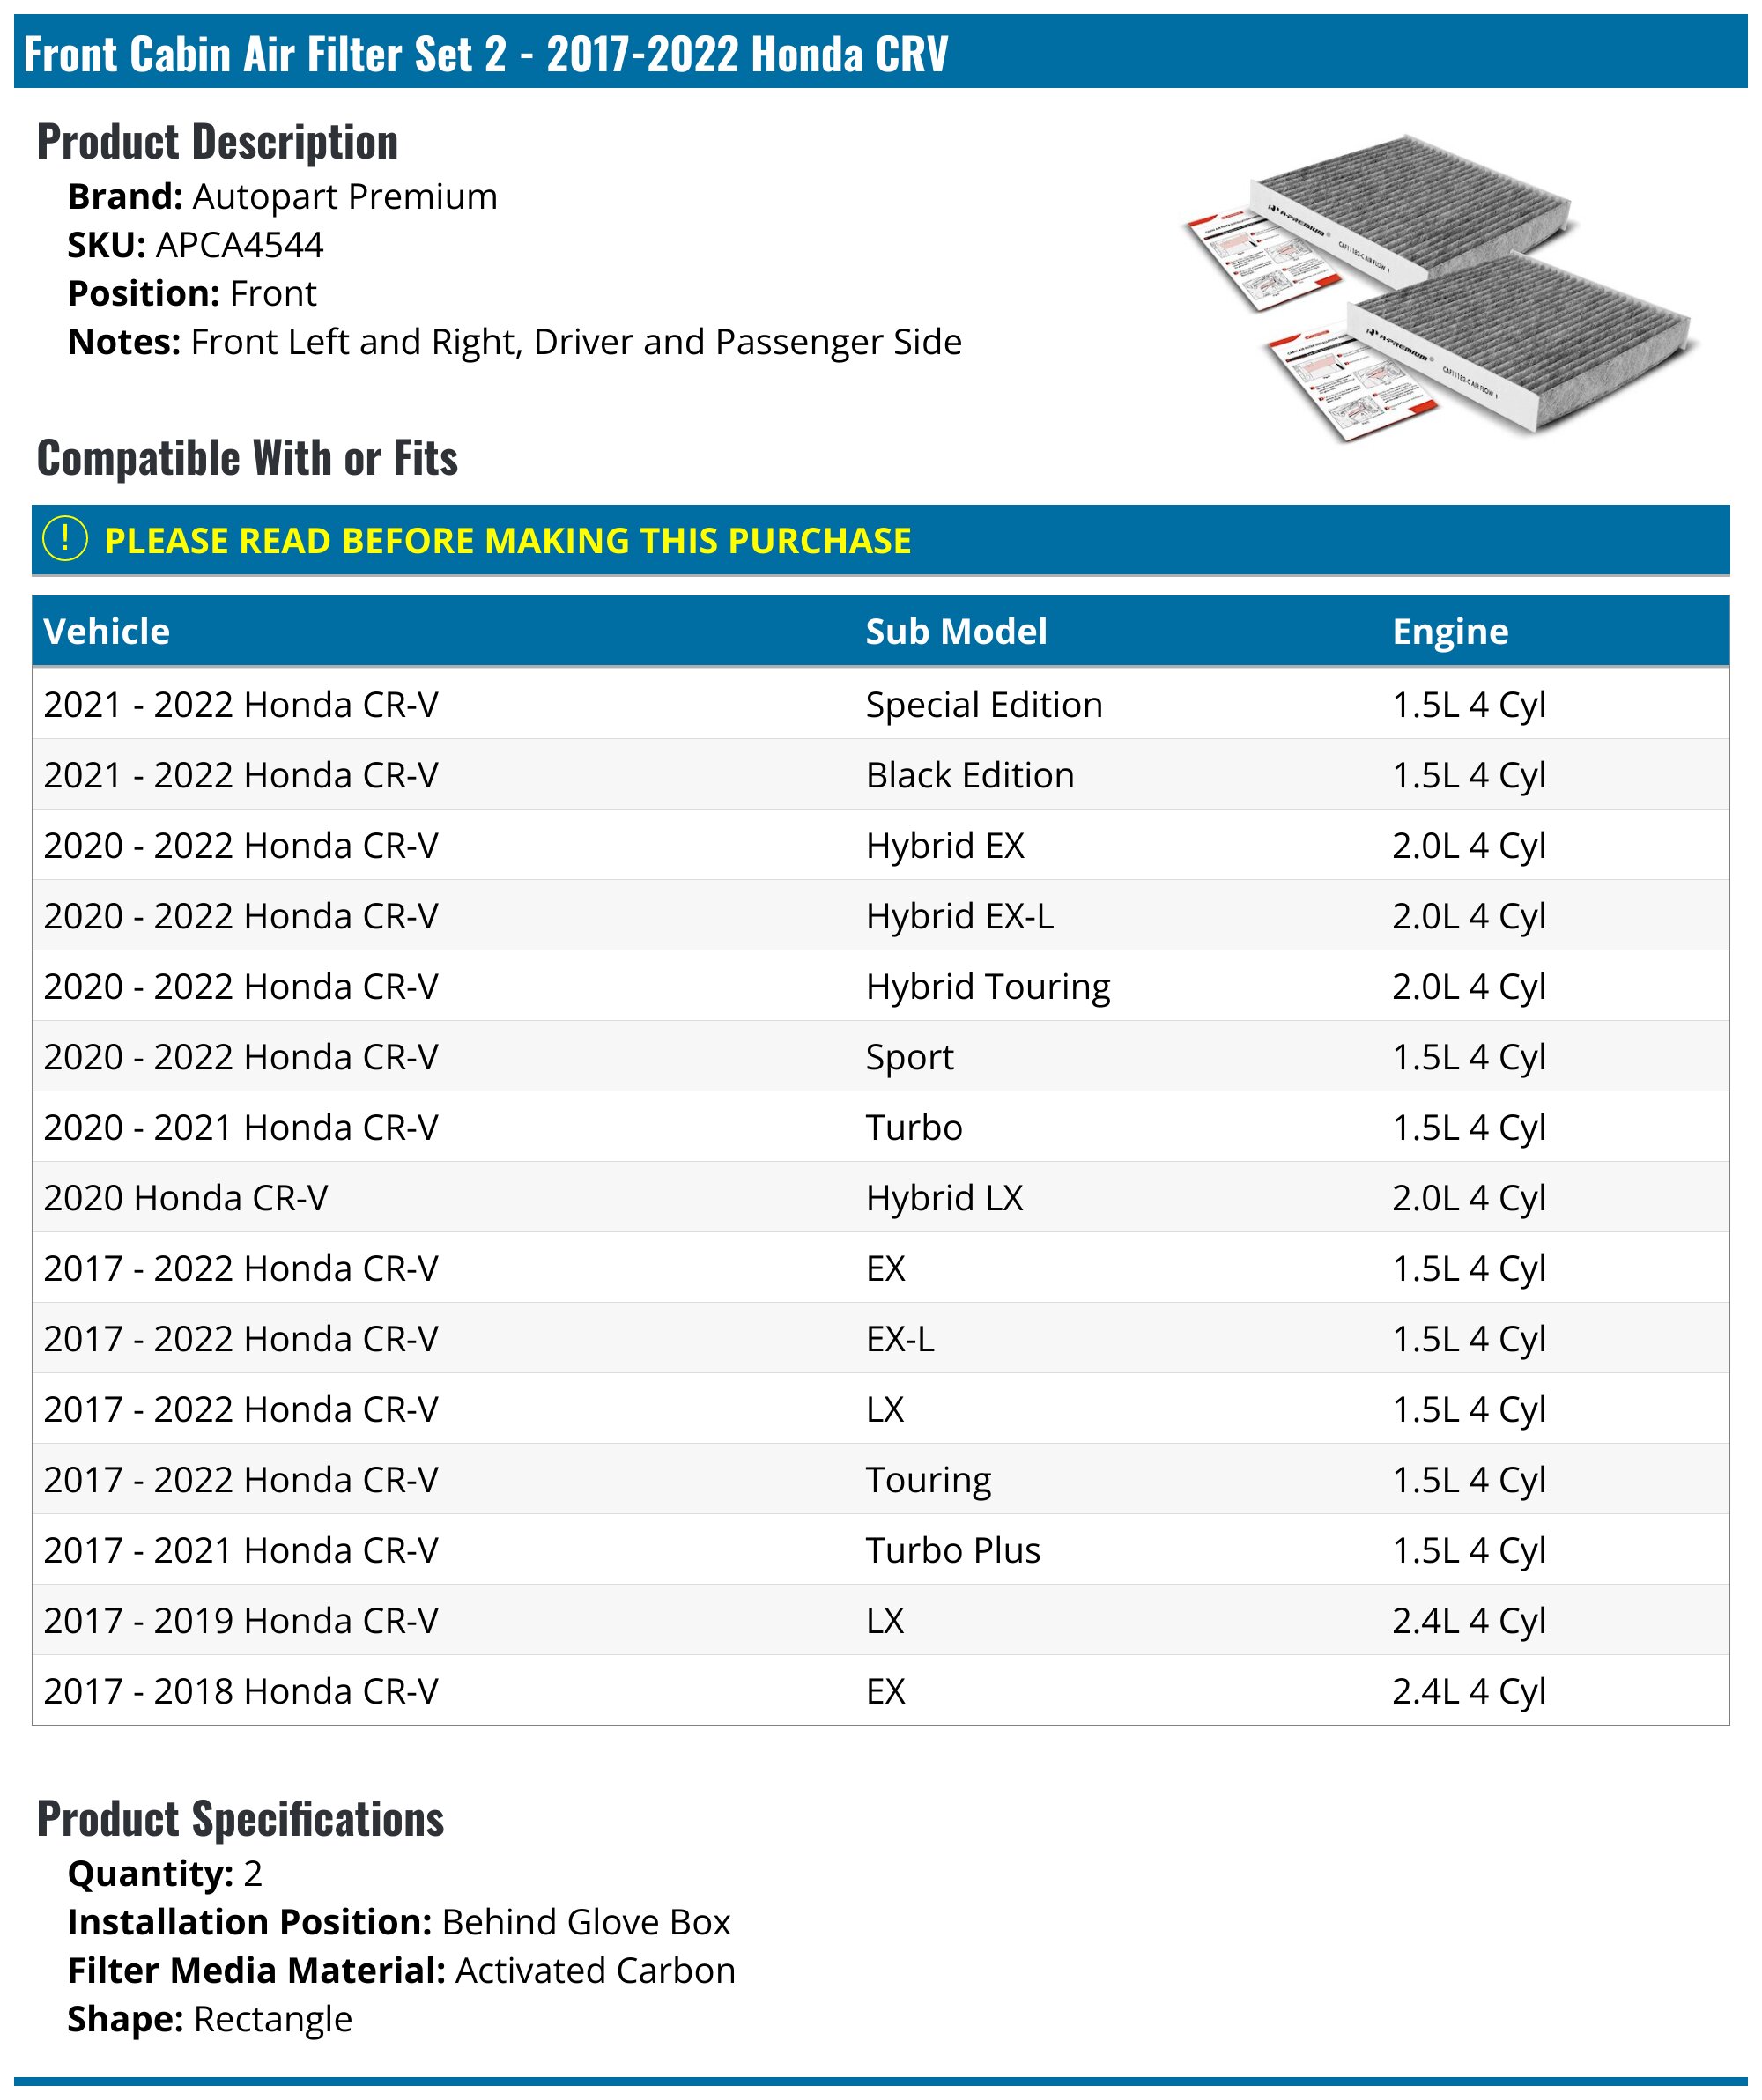
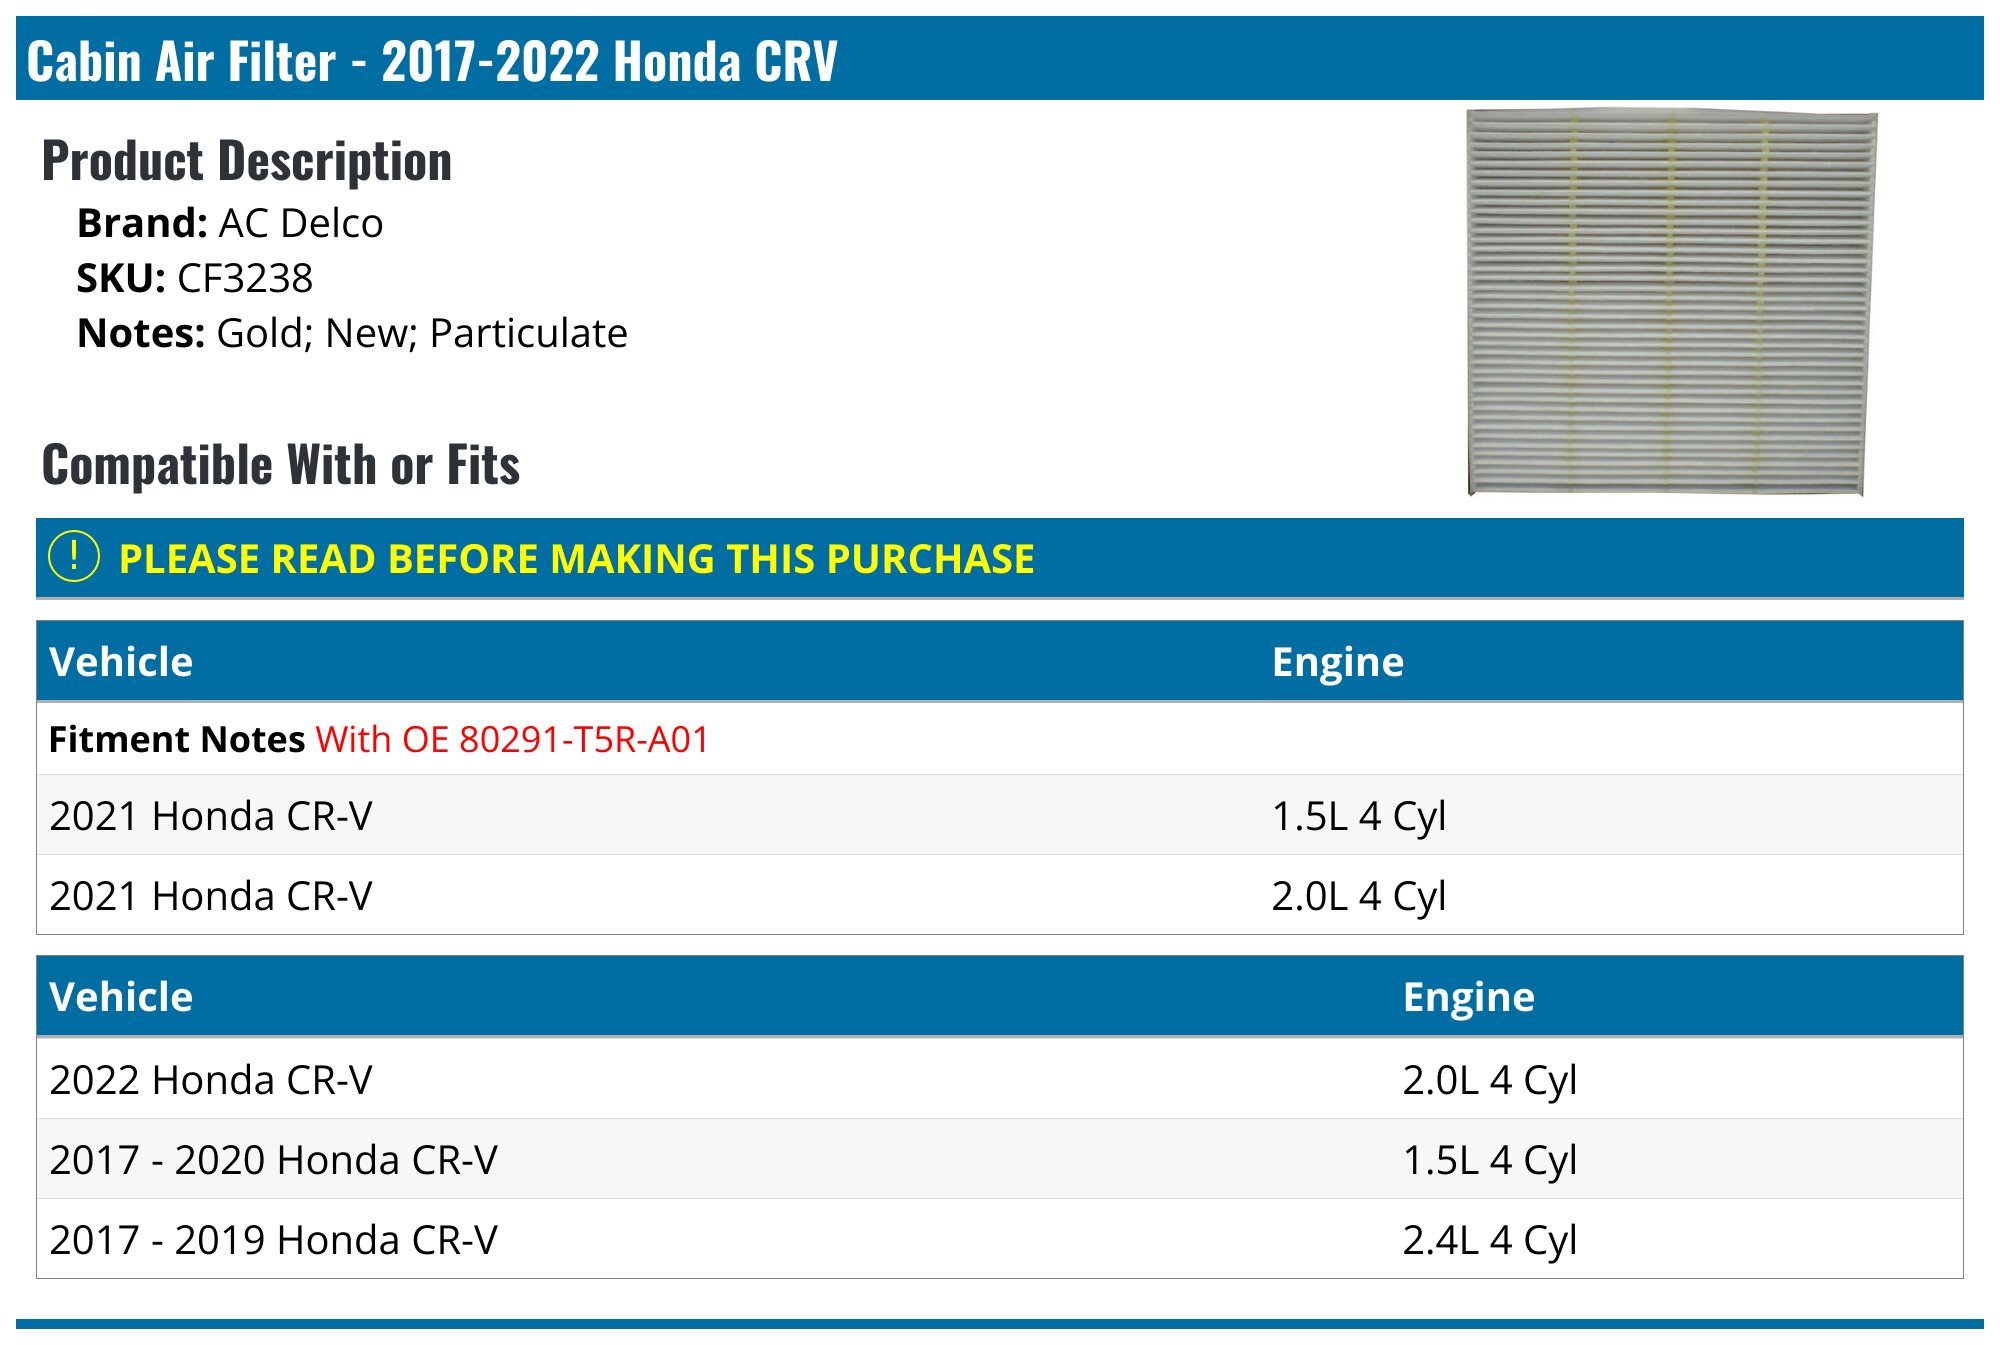
Before beginning the replacement process, you need to acquire a suitable replacement filter. For the 2018 Honda CR-V, aftermarket and OEM (Original Equipment Manufacturer) options generally fall into two distinct categories: standard particulate filters and activated carbon/charcoal filters.
Standard particulate filters are typically constructed from a paper-like synthetic fiber mesh designed to capture physical dust, pollen, and debris. They are cost-effective and perfectly adequate for basic filtration. Activated carbon filters, on the other hand, include an extra layer of porous charcoal designed to absorb noxious gases, exhaust fumes, and unpleasant roadside odors before they penetrate the cabin. While slightly more expensive, activated carbon filters offer a noticeable improvement in air quality, especially for drivers who frequently sit in bumper-to-bumper traffic.
When purchasing a filter, ensure it is specifically rated for the fifth-generation Honda CR-V (model years 2017 through 2022). Buying a reputable brand ensures that the frame dimensions match the factory housing precisely, preventing unfiltered air from bypassing the filter media through gaps along the edges.
Preparation and Workspace Setup
One of the primary benefits of performing a 2018 Honda CR-V cabin air filter replacement is that it requires absolutely zero mechanical tools. You do not need screwdrivers, pliers, or socket sets. However, proper preparation ensures the process goes smoothly without damaging delicate plastic trim or interior panels.
- Park on a Level Surface: Ensure your vehicle is safely parked with the ignition turned off and the parking brake engaged.
- Clear the Passenger Footwell: Remove any personal items, floor mats, or debris from the front passenger seat and footwell area. You will likely need to crouch or bend down to look underneath the glove box housing, so having an unhindered workspace is essential.
- Lighting: Because the work area is located underneath the dashboard, ensure you have adequate illumination. A headlamp or a portable LED work light will free up both of your hands.
- Prepare the New Filter: Remove the new cabin air filter from its packaging and keep it within arm's reach. Note the airflow direction arrow printed on the side of the filter frame, which will be crucial during reinstallation.
Step-by-Step Replacement Procedure
The cabin air filter in the 2018 Honda CR-V is housed directly behind the glove box assembly. Accessing it requires opening the glove box, releasing its support stops, and swinging it downward. Follow these detailed steps to complete the task safely and efficiently.
Step 1: Open the Glove Box and Empty Contents
Open the glove box door. To prevent items from spilling out onto the floor when the glove box is dropped down, remove all contents, such as insurance documents, owner's manuals, sunglasses, and personal items.
Step 2: Release the Glove Box Dampener Arm (If Applicable)
Look at the right-hand outer side of the glove box door. You will see a small, sliding arm or cord-style dampener that controls the smooth opening speed of the glove box. Gently unhook or slide this small arm away from its mounting peg on the glove box frame. Allow the dampener to retract or hang loosely. Note that some trim levels may rely purely on side-stop tabs, but locating and releasing this arm first prevents accidental snapping of the plastic linkage.
Step 3: Disengage the Glove Box Stop Tabs
This is the most critical physical step and requires careful handling. Push inward simultaneously on both the left and right outer walls of the glove box. By pressing these side walls inward, the upper rubber or plastic stopper tabs attached to the glove box will clear the edges of the dashboard frame. Once these tabs clear the frame, swing the glove box door completely downward toward the floorboard. The glove box will pivot freely downward on its lower hinge pins, exposing the black plastic filter housing cover directly behind it.
Step 4: Remove the Filter Housing Cover
Locate the rectangular black plastic cover plate situated horizontally behind where the glove box sat. This cover protects the blower housing inlet. On the left and right sides of this cover, you will find small plastic retaining clips or tabs. Pinch these tabs inward simultaneously to release the latches, and pull the cover straight toward you to remove it completely. Set the cover aside in a safe location.
Step 5: Extract the Old Filter and Housing Tray
Slide the old cabin air filter straight out of the housing slot. As you pull it out, try to keep it level to avoid spilling trapped leaves, dust, and debris down into the passenger footwell or directly into the blower motor fan blades below. Inspect the old filter to see the nature of the debris trapped inside. If any loose leaves or pine needles have fallen into the empty housing cavity, reach in with your fingers or use a small vacuum attachment to clear them out before installing the new component.
Step 6: Install the New Filter with Correct Airflow Orientation
Take your new cabin air filter and examine the printed text on its frame. You will see an arrow accompanied by the word "AIR FLOW" or "FLOW." In the 2018 Honda CR-V, air is drawn downward from the cowl area into the HVAC blower system. Therefore, the arrow on the filter side must point DOWNWARD.
Slide the new filter smoothly into the housing slot, ensuring the pleats are horizontal and the filter sits flush within the frame channels without binding or folding at the edges.
Step 7: Reassemble the Housing Cover and Glove Box
- Take the plastic housing cover and snap it firmly back into place over the filter slot, ensuring both left and right latches click securely.
- Swing the glove box door upward toward the dashboard.
- Gently squeeze the outer walls of the glove box inward again if necessary to allow the top stop tabs to clear the dashboard frame and return to their normal track.
- Reattach the right-side dampener arm to its mounting peg on the glove box.
- Test the glove box by opening and closing it normally to verify the dampener and hinges are functioning correctly.
- Return your belongings to the glove box.
Troubleshooting and Common Mistakes
While replacing a cabin air filter is simple, DIYers occasionally encounter minor issues during or after the process. Understanding these common pitfalls helps ensure a successful installation.
- Incorrect Airflow Direction: Installing the filter upside down (with the arrow pointing up) restricts proper airflow and reduces filtration efficiency. Always double-check that the arrow points downward toward the floor.
- Bumping the Blower Fan: If debris falls into the open housing during filter removal, it can land on the blower fan wheel. When you turn on the AC, this debris can rattle against the fan housing, creating an annoying buzzing or clicking sound. Always clean out the slot before inserting the new filter.
- Damaging Glove Box Tabs: Forcing the glove box down without pressing the side walls inward can snap the plastic retention stops. Always flex the sides inward gently. If the glove box feels stuck, check that you have released the side dampener arm first.
- Persistent Odors After Replacement: If you replace the filter and notice a persistent sour or mildew smell coming from the vents, the filter change alone may not be enough. Moisture in the evaporator core often causes mold growth. In such cases, applying an HVAC disinfectant spray or evaporator cleaner through the fresh air intake cowl or filter opening may be necessary.
Frequently Asked Questions
Do I need any tools to replace the cabin air filter in a 2018 Honda CR-V?
No tools are required. The entire process relies on releasing the glove box side stops by hand and unlatching the plastic housing cover manually. You can complete the entire procedure in under ten minutes without a single wrench or screwdriver.
How can I tell if my cabin air filter needs replacement before the scheduled interval?
The most reliable indicators are a noticeable decrease in airflow coming from the dashboard vents, persistent musty or dusty odors when the climate control system is running, or an excessive buildup of dust on interior dashboard surfaces. A quick visual check by dropping the glove box will immediately reveal if the filter media is dark and clogged.
Is there a difference between OEM Honda filters and aftermarket alternatives?
OEM Honda filters are manufactured to exact factory specifications and typically feature high-grade synthetic media. Reputable aftermarket brands often match or exceed OEM filtration levels, sometimes offering activated charcoal layers for odor control at a lower price point. The most important factor is ensuring the filter dimensions match the housing precisely to prevent air leaks.
What happens if I drive without a cabin air filter installed?
Driving without a cabin air filter allows unfiltered outside air, dust, road debris, and allergens to enter the HVAC system directly. This debris will accumulate on the evaporator core and blower motor, potentially causing mechanical damage, electrical strain, and blowing unwanted particles directly into the passenger cabin.
Can a clogged cabin air filter affect my air conditioning performance?
Yes. A heavily restricted cabin air filter chokes the volume of air passing through the evaporator core. This restriction reduces overall cooling and heating efficiency, decreases vent velocity, and forces the blower motor to draw excess electrical current, potentially leading to premature blower motor resistor failure.
Final Recommendations
Regularly replacing the cabin air filter is one of the most cost-effective and impactful maintenance tasks a 2018 Honda CR-V owner can perform. By bypassing dealership labor charges and handling this simple procedure yourself every 15,000 miles, you protect your HVAC system, enhance your driving comfort, and ensure clean air for all vehicle occupants. Make filter inspection a routine part of your seasonal vehicle care checklist to maintain optimal cabin air quality year-round.