The 2012 Nissan Altima utilizes several fuse boxes to protect its electrical circuits, primarily located in the passenger compartment (driver-side dash) and the engine compartment (near the battery and strut tower). To resolve electrical issues, you must identify the specific fuse related to the malfunctioning component, such as the power outlets, headlights, or fuel pump, using the diagrams embossed on the fuse box covers or the vehicle's service manual.
Understanding the electrical architecture of the 2012 Nissan Altima is essential for maintaining vehicle reliability. Whether you are dealing with a dead radio, a non-responsive power outlet, or more serious engine management issues, the fuse box is the first place a technician or DIY owner should look. This guide provides an exhaustive breakdown of every fuse location, amperage rating, and circuit description for the 2012 Nissan Altima, which remains a popular used vehicle in 2026 due to its longevity and straightforward mechanical design.
Locating the Fuse Boxes in a 2012 Nissan Altima
Nissan designed the 2012 Altima (the final year of the L32 fourth-generation model) with a distributed electrical protection system. This means fuses are not housed in a single location but are split between the interior and the engine bay to minimize wiring complexity.
1. The Passenger Compartment Fuse Box
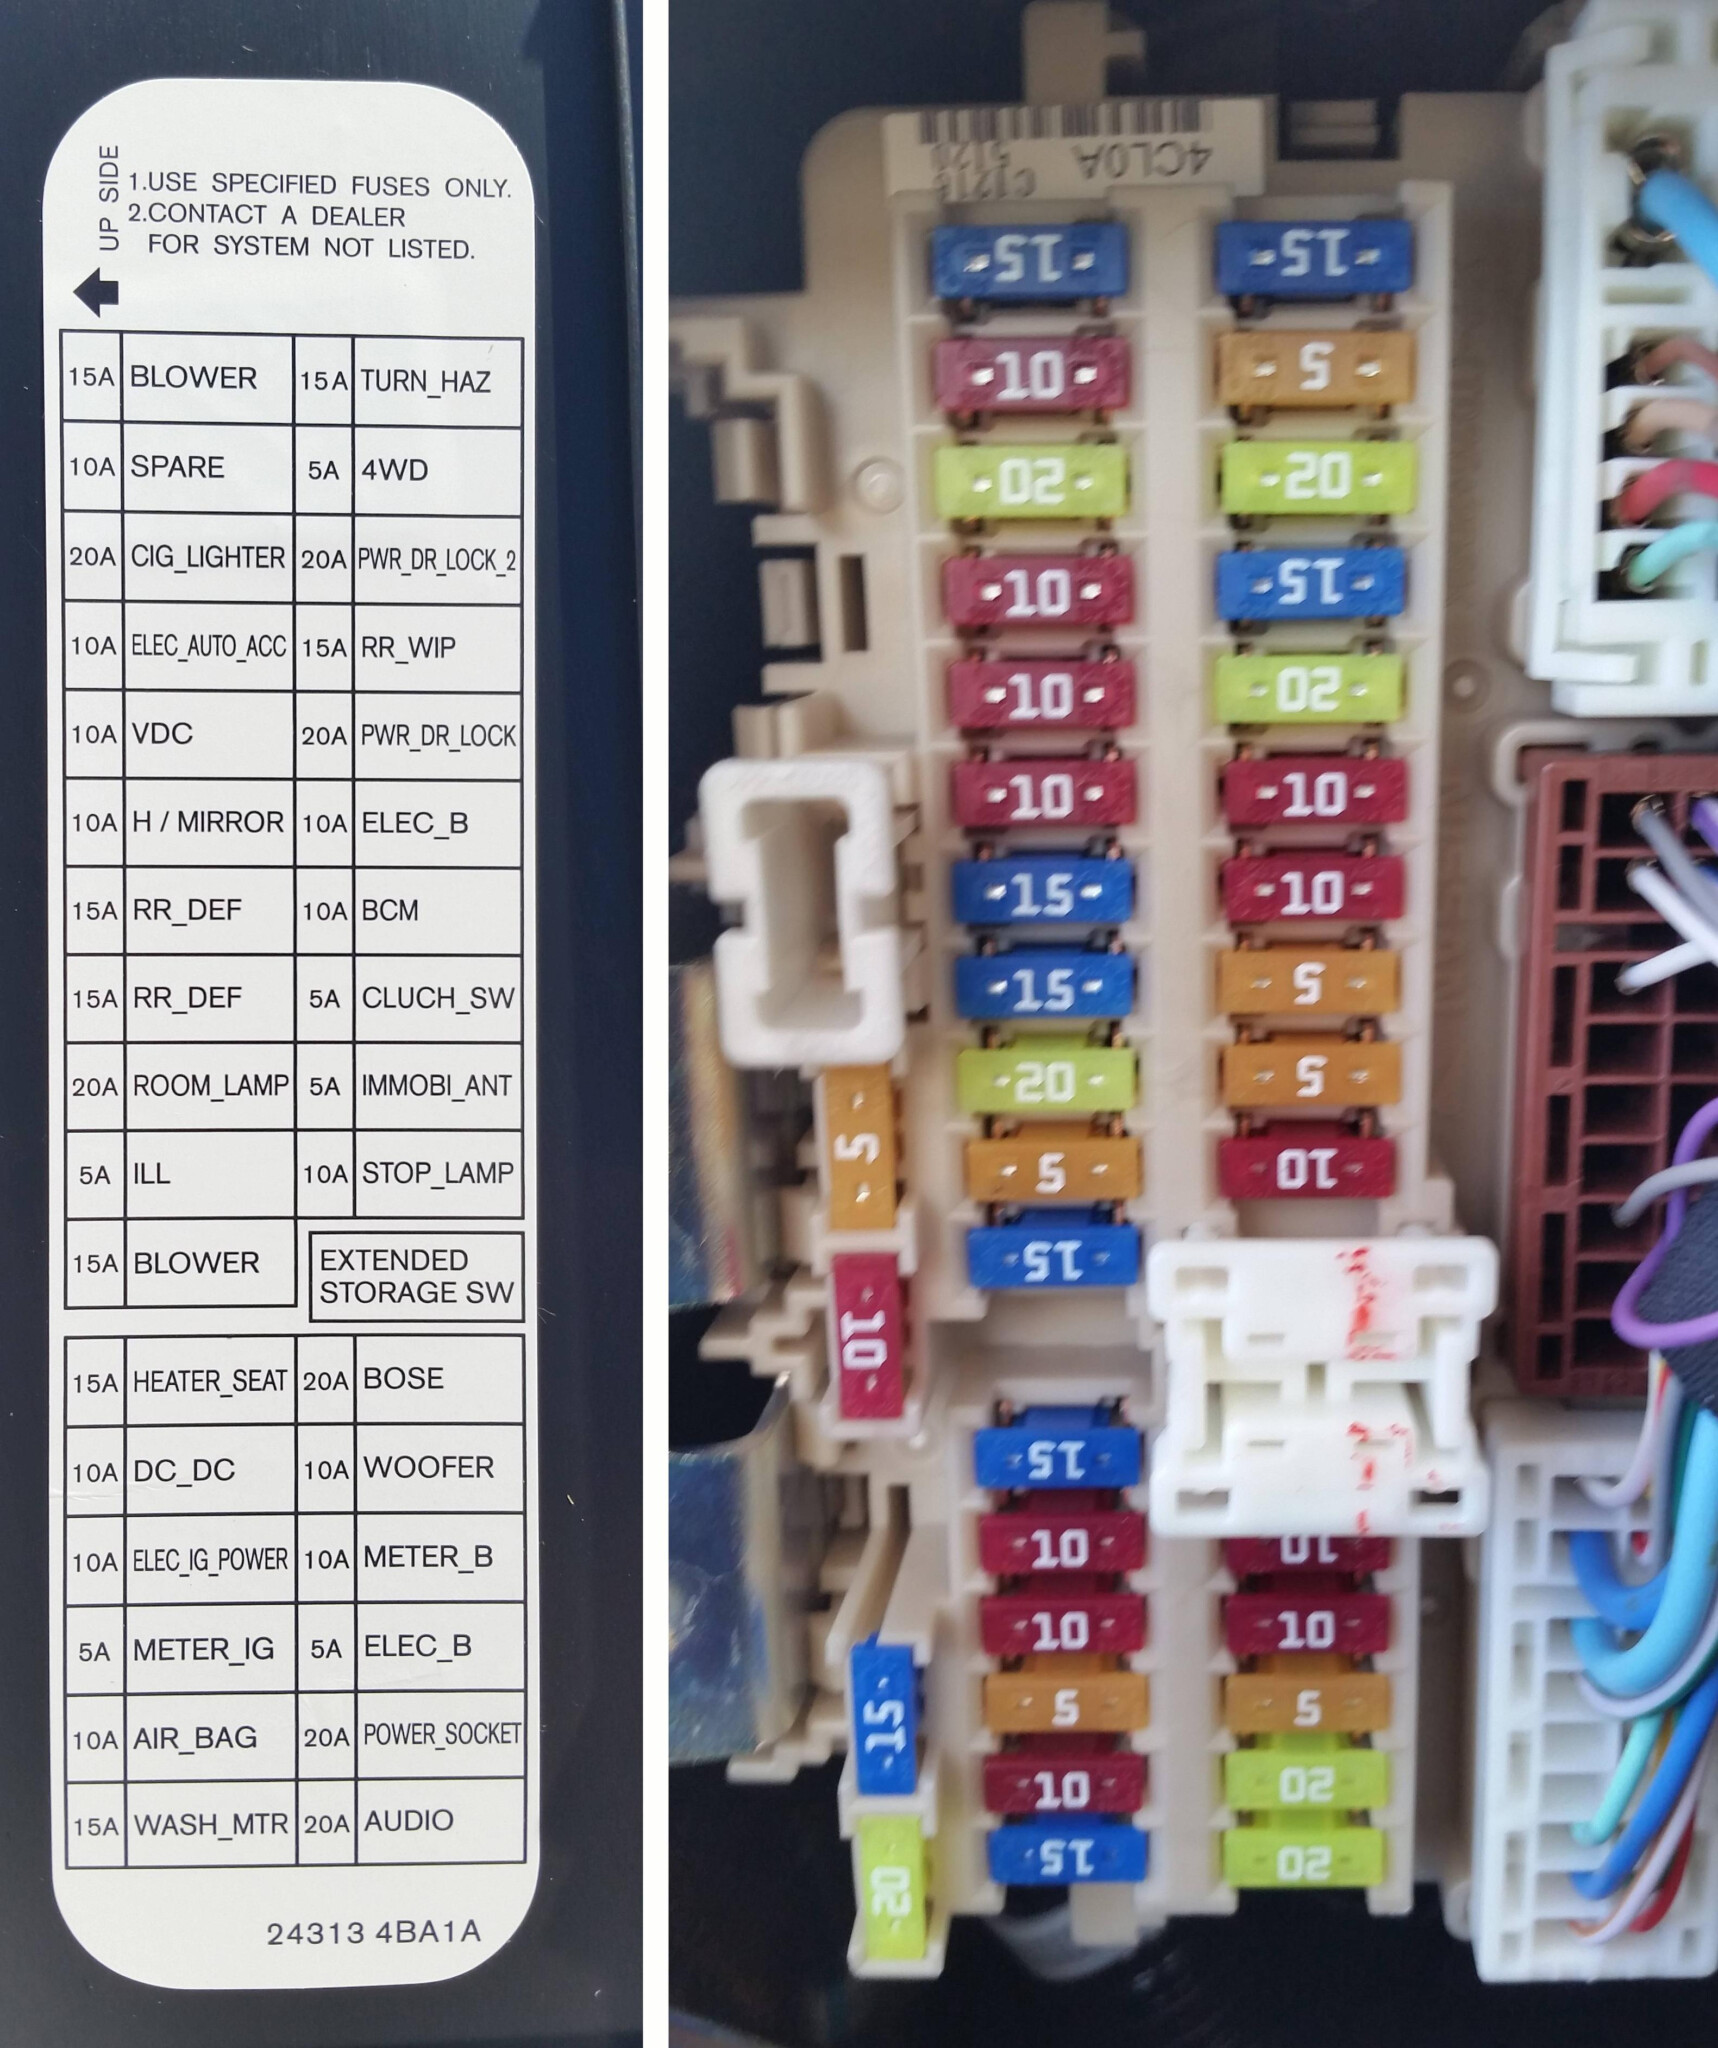
The interior fuse panel is the most frequently accessed box. It contains fuses for "comfort and convenience" features. You will find this panel on the lower left side of the instrument panel, near the driver’s left knee. To access it, you must pull the plastic cover toward you. On the back of this cover, Nissan has provided a basic layout sticker, though it can become unreadable over time.
2. The Engine Compartment Fuse Boxes
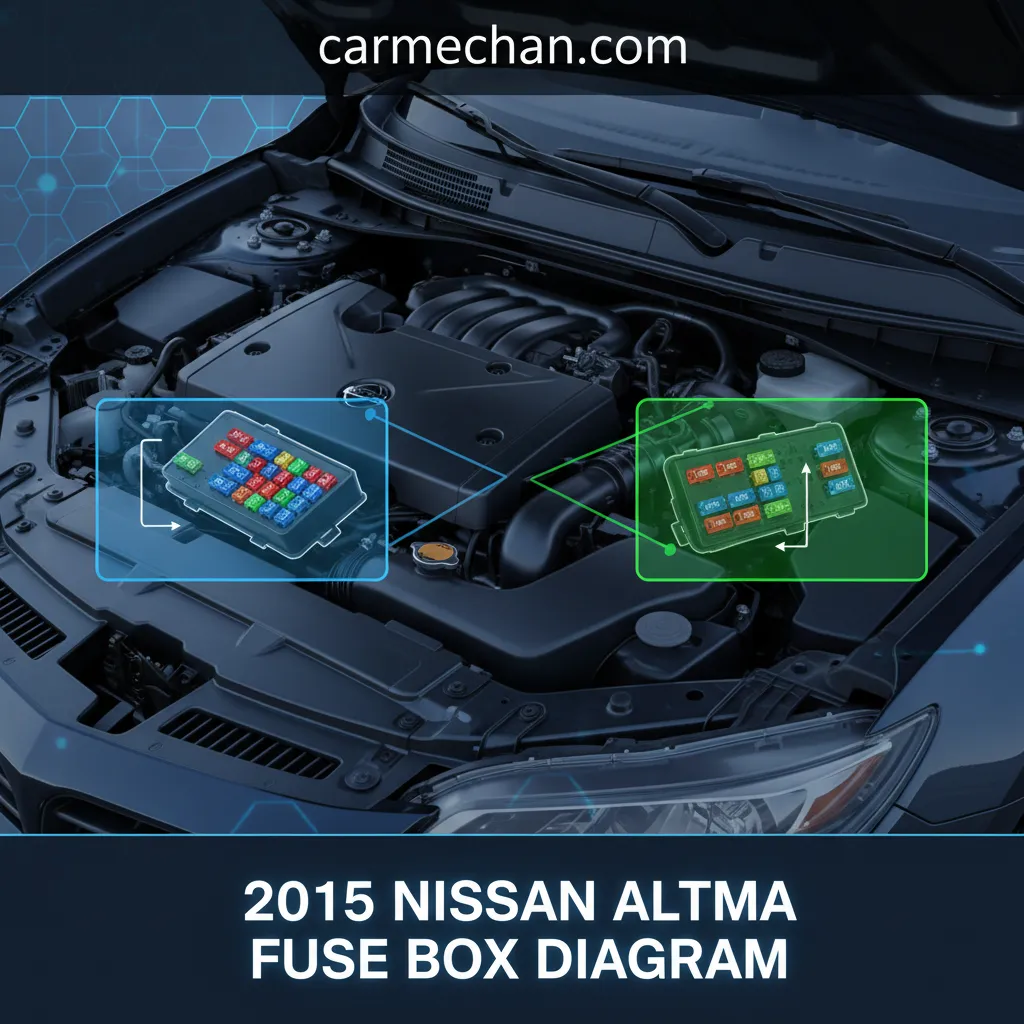
The engine bay contains three distinct areas for electrical protection:
- Fuse and Relay Box (Box A): Located on the passenger side of the engine compartment, near the windshield washer fluid reservoir. This box primarily handles lighting and horn functions.
- IPDM E/R (Intelligent Power Distribution Module Engine Room): This is a sophisticated control module located near the battery and the driver-side strut tower. It houses fuses for critical drivetrain components like the ECM (Engine Control Module) and the cooling fans.
- Fusible Link Block: This is mounted directly onto the positive terminal of the battery. These high-amperage links protect the entire vehicle’s electrical system from massive surges or battery reversal.
Passenger Compartment Fuse Box Diagram and Table
The interior panel uses "Mini" type fuses. If your cigarette lighter or 12V power outlet has stopped working—a common issue in the 2012 Altima—this is where you will find the culprit.
| Fuse Number | Amperage (A) | Protected Component/Circuit |
|---|---|---|
| 1 | 10A | Audio System, Mirror Control, Power Windows |
| 2 | 10A | Stop Lamps (Brake Lights) |
| 3 | 10A | Supplemental Restraint System (Airbags) |
| 4 | 10A | Meter / Instrument Cluster |
| 5 | 10A | Ignition Switch, Steering Lock |
| 6 | 20A | Front Wiper and Washer System |
| 7 | 10A | Electronic Parts / Control Modules |
| 8 | 10A | ABS (Anti-lock Braking System) Control |
| 9 | 10A | Air Conditioning Control |
| 10 | 10A | Interior Lighting (Room Lamps) |
| 11 | 10A | BCM (Body Control Module) |
| 12 | 10A | Electronic Parts |
| 13 | 10A | Blower Motor (Heater/AC Fan) |
| 14 | 10A | Fuel Pump (Main Signal) |
| 15 | 15A | Power Outlet (Lower/Cigarette Lighter) |
| 16 | 15A | Power Outlet (Inside Console) |
| 17 | 10A | Rear Defogger Signal |
| 18 | 10A | Audio System / Display Unit |
Note on Power Outlets: The 2012 Altima often suffers from blown fuses at positions 15 and 16 due to high-draw chargers or metallic debris falling into the socket. If your phone stops charging, check these two fuses first.
Engine Compartment: IPDM E/R (Intelligent Power Distribution Module)
The IPDM E/R is more than just a fuse box; it is an integrated computer that controls power distribution based on signals from the CAN bus. Accessing this requires removing the plastic cover near the driver-side fender.
| Fuse ID | Amperage (A) | Function |
|---|---|---|
| 31 | 30A | ABS / VDC (Vehicle Dynamics Control) |
| 32 | 30A | ABS / VDC |
| 33 | 20A | IPDM E/R Control Logic |
| 34 | 15A | Front Fog Lamps (if equipped) |
| 35 | 15A | Horn |
| 36 | 10A | Headlamp Low Beam (Right) |
| 37 | 10A | Headlamp Low Beam (Left) |
| 38 | 10A | Headlamp High Beam (Right) |
| 39 | 10A | Headlamp High Beam (Left) |
| 40 | 10A | Parking / Side Marker Lamps |
| 41 | 20A | Engine Control (ECM) |
| 42 | 15A | Engine Control (Injectors) |
| 43 | 15A | Engine Control (Ignition Coils) |
| 44 | 10A | Air Conditioning Compressor Clutch |
| 45 | 10A | Alternator / Charging System |
The IPDM is notoriously difficult to diagnose if the internal relays fail, as they are often soldered into the board. However, the fuses listed above are replaceable and should be checked before assuming the entire module is faulty.
Engine Compartment: Auxiliary Fuse Box and Fusible Links
The auxiliary box near the washer fluid reservoir contains several high-draw fuses and relays for secondary systems.
| Fuse ID | Amperage (A) | Function |
|---|---|---|
| 46 | 50A | Cooling Fan (High Speed) |
| 47 | 30A | Cooling Fan (Low Speed) |
| 48 | 40A | Blower Motor (Main Power) |
| 49 | 30A | Rear Window Defogger |
| 50 | 50A | ABS Motor |
| 51 | 10A | Daytime Running Lights (Canada Models) |
The Battery Terminal Fusible Link
This is a critical component located directly on the positive battery post. If the car has no power whatsoever—no lights, no dash, no starter—and the battery is confirmed to be good, this link has likely melted. It usually contains links ranging from 80A to 140A for the main alternator feed and total vehicle power. These cannot be "fixed"; the entire block must be replaced if a link is blown.
Technical Depth: How to Identify a Blown Fuse
Visual inspection is the most common method for identifying a blown fuse in a 2012 Altima, but it is not always foolproof. To properly verify a fuse, follow these steps:
- Visual Inspection: Pull the fuse using the white fuse puller tool (usually located inside the interior fuse box cover). Look at the metal wire inside the translucent plastic. If the wire is broken or if there is a dark "scorch" mark inside the plastic, the fuse is blown.
- Continuity Testing: Using a digital multimeter (DMM) set to the continuity or ohms setting, touch the leads to the two small exposed metal tabs on the top of the fuse while it is still installed. If the meter beeps or shows near-zero resistance, the fuse is intact. If the meter shows "OL" (Open Loop), the fuse is blown.
- Voltage Testing: With the vehicle’s ignition in the "ON" position, touch the black lead of a multimeter to a bare metal ground on the chassis. Touch the red lead to each of the two metal tabs on top of the fuse. Both sides should read approximately 12.6V. If one side reads 12.6V and the other reads 0V, the fuse is blown.
Common Electrical Issues and Solutions
Radio or Navigation Screen Won't Power On
Before replacing an expensive head unit, check fuses #1 and #18 in the passenger compartment. It is also important to check the "Audio" fuse in the engine bay IPDM E/R. Sometimes, a surge from a jump-start can blow the secondary fuse on the back of the radio itself, but the fuse box is the primary suspect.
Air Conditioning Not Blowing Cold
If the AC fan works but the air isn't cold, the AC compressor clutch might not be engaging. Check fuse #44 (10A) in the IPDM E/R. If the fuse is good, the AC relay (also located in the IPDM) may have failed. You can find more information on HVAC recalls and technical service bulletins at the National Highway Traffic Safety Administration (NHTSA) website.
Headlights Out (One or Both)
The 2012 Altima uses separate fuses for the left and right sides, and for high and low beams (Fuses 36–39). If only one headlight is out and the bulb is new, check the corresponding fuse. If both are out, the issue might lie in the headlight switch on the steering column or the IPDM E/R logic.
Safety Precautions and Professional Advice
Working on automotive electrical systems carries inherent risks. Always follow these safety guidelines:
- Never bypass a fuse: Do not use wire or aluminum foil to bridge a blown fuse. Fuses are designed to be the "weak link" to prevent your wiring harness from catching fire.
- Match the Amperage: If a 10A fuse blows, replace it only with a 10A fuse. Installing a higher amperage fuse (e.g., 20A) allows more current through the circuit than the wires can handle, potentially leading to a fire.
- Disconnect the Battery: For major electrical work or when checking the fusible links, disconnect the negative battery cable first.
- Professional Diagnosis: If a fuse blows immediately after you replace it, there is a "short to ground" in that circuit. Continuing to replace the fuse will not fix the problem; the wiring or the component itself must be repaired.
Disclaimer: This guide is for informational purposes only. Electrical repairs should be performed by qualified individuals. Consult the official Nissan Service Manual for specific wiring diagrams and torque specifications.
Frequently Asked Questions
Where is the fuse puller in a 2012 Nissan Altima?
The fuse puller is a small white plastic tool located inside the cabin fuse box. If you open the cover by the driver's knee, you will see it clipped into the plastic housing. If it is missing, a pair of needle-nose pliers works just as well.
Why does my cigarette lighter fuse keep blowing?
This is almost always caused by a foreign object (like a coin or a piece of a broken charger) falling into the socket and creating a short. Inspect the inside of the socket with a flashlight before replacing the fuse. If the socket is clear, the charger you are using may be drawing more than 15 Amps.
What kind of fuses does the 2012 Altima use?
The 2012 Altima primarily uses ATM Mini Fuses for the interior and ATC/ATO Regular Fuses or J-Case Fuses for the engine compartment. It is a good idea to keep a variety pack of mini fuses in your glove box for emergencies.
Can a blown fuse cause the car not to start?
Yes. Several fuses can cause a no-start condition. If fuse #14 (Fuel Pump) or #41 (ECM) is blown, the engine will crank but will not fire. If the fusible link at the battery is blown, the car will have no electrical power at all and will not even attempt to crank.
How do I reset the IPDM E/R?
You can perform a "battery reset" by disconnecting both battery terminals and holding them together (away from the battery) for 30 seconds to drain the capacitors. Alternatively, some technicians use a "hidden" self-test mode by cycling the door switch and ignition, which tests all relays in the IPDM sequentially.
Recommended Next Steps
If you have identified and replaced a blown fuse but the electrical issue persists, your next step should be a thorough inspection of the wiring harness for signs of fraying or rodent damage. For complex issues involving the IPDM E/R or the Body Control Module (BCM), utilizing an OBD-II scanner with manufacturer-specific code reading capabilities is recommended. These tools can identify "B" (Body) and "U" (Network) codes that generic scanners might miss, providing a clearer picture of why a specific circuit is losing power.