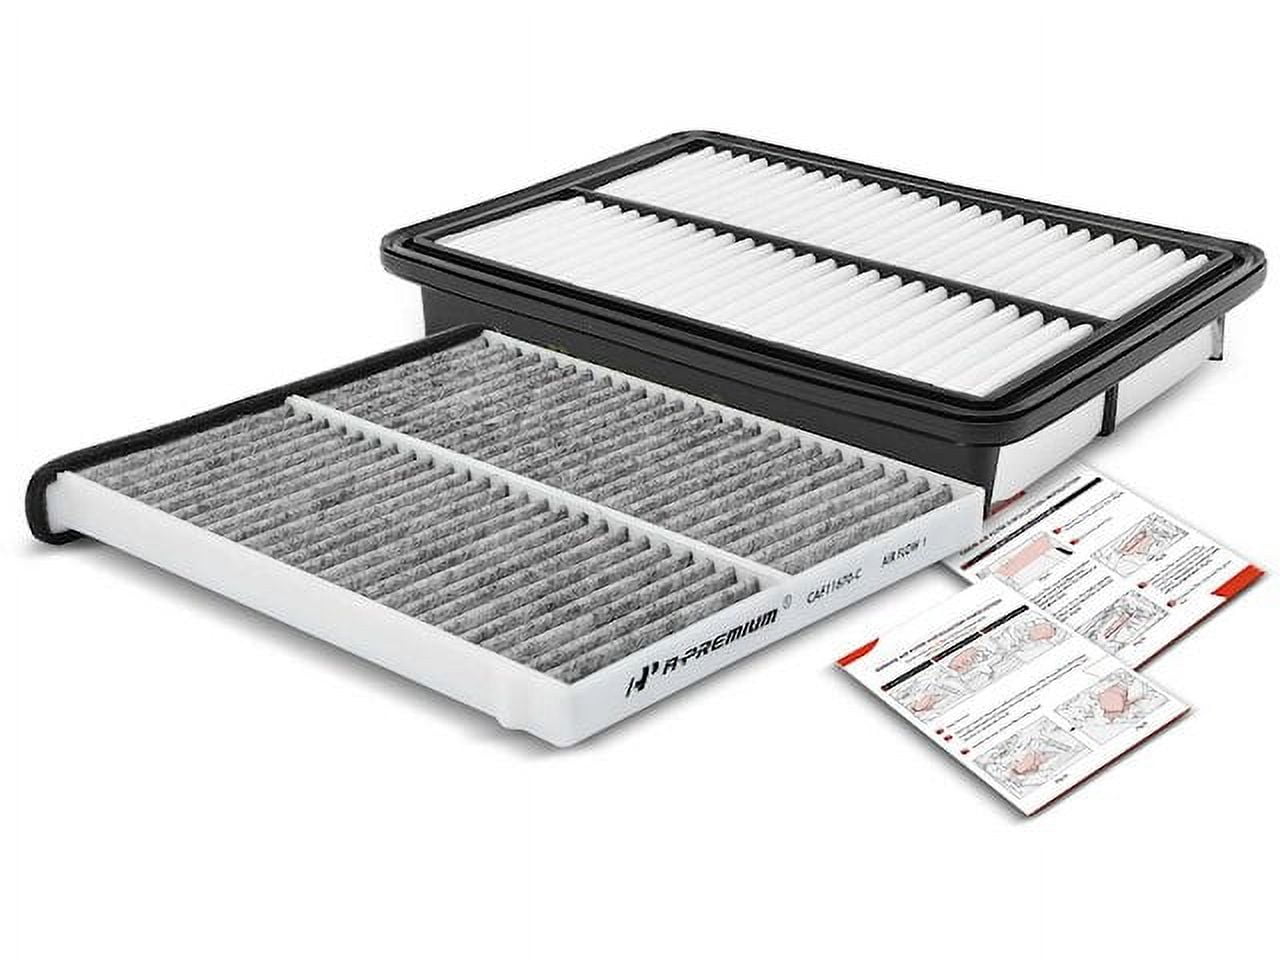
Replacing the cabin air filter in a 2020 Mazda CX-5 is a simple maintenance task that takes less than ten minutes, requires no tools, and can save you significant money compared to dealership service fees. Located behind the glove box, this filter traps dust, pollen, soot, and unpleasant odors before they enter the vehicle's climate control system. Regularly changing it ensures optimal airflow, protects your heating and air conditioning components, and maintains a clean interior environment for all passengers.
Understanding the Role of Your Cabin Air Filter
The cabin air filter acts as the primary defense mechanism for the interior atmosphere of your 2020 Mazda CX-5. Unlike the engine air filter, which cleans the air entering the combustion chambers under the hood, the cabin filter purifies the air circulating through the dashboard vents.
How the Ventilation System Interacts with the Filter
When you turn on the heater, air conditioner, or simple fan, outside air (or recirculated cabin air) is drawn into the cowl intake beneath the windshield wipers. This air is forced through a pleated media barrier—the cabin air filter—which is housed in a dedicated plastic tray directly behind the glove box. As the air passes through the filter media, particulate matter is trapped.
Types of Filter Media Available
When shopping for a replacement 2020 Mazda CX-5 cabin air filter, you will typically encounter two primary constructions:
- Particulate (Standard Cellulose or Synthetic) Filters: These use dense paper or synthetic fiber mats to capture physical debris such as dust, dirt, pollen, and mold spores. They are highly effective at maintaining clean airflow and preventing dust accumulation on your dashboard and interior trim.
- Activated Carbon (Charcoal) Filters: These feature an additional layer of impregnated activated carbon granules. The porous carbon structure absorbs exhaust gases, industrial pollutants, smog, and foul roadside odors before they reach the cabin. They are ideal for drivers who frequently commute in heavy traffic or urban environments.
When and Why to Change Your 2020 Mazda CX-5 Cabin Air Filter
Mazda outlines specific maintenance intervals in the vehicle owner's manual, but real-world driving conditions heavily dictate when a filter truly requires replacement.
Recommended Replacement Intervals
Under normal operating conditions, automotive manufacturers generally suggest replacing the cabin air filter every 12,000 to 15,000 miles, or once every 12 months, whichever comes first. However, if you drive in severe conditions—such as unpaved dirt roads, heavy construction zones, desert climates with high dust levels, or metropolitan areas with dense traffic smog—you should inspect and replace the filter every 7,500 miles or six months.
Warning Signs of a Clogged Filter
Ignoring a dirty cabin air filter leads to a cascade of performance issues. Watch for these common indicators:
- Reduced Airflow: If you notice that your blower fan needs to be set to a higher speed than usual to achieve the same amount of airflow from the vents, the filter is likely choked with debris.
- Musty Odors: A damp, stale smell when you first turn on the air conditioning indicates trapped moisture, mold, or decomposing organic matter (such as leaves) inside the filter housing.
- Persistent Window Fogging: A clogged filter restricts the volume of air moving through the defroster system, causing moisture to linger on the interior glass surface.
- Excessive Dust: If a fine layer of dust rapidly accumulates on the dashboard shortly after you clean it, the filter has lost its structural integrity or saturation capacity.
Step-by-Step Replacement Procedure
Replacing the cabin air filter in a 2020 Mazda CX-5 does not require wrenches, screwdrivers, or specialized mechanical knowledge. Follow this straightforward procedure to complete the job safely.
Preparation and Tools
- New Replacement Filter: Ensure you have the correct part matching OEM specifications (often cross-referenced with Mazda part number KD33-61-J6X or equivalent aftermarket numbers like FRAM CF11811 or WIX 24484).
- Optional Items: A clean microfiber towel and a household vacuum cleaner to clean out any loose debris from the housing tray.
Step 1: Empty the Glove Box
Open the glove box and remove all contents. While you do not strictly need to remove the glove box entirely, clearing its weight makes handling the assembly much easier and prevents items from spilling onto the floorboards during the process.
Step 2: Disengage the Dampener Arm
Look at the right-hand outer side of the glove box. You will see a small plastic arm (the dampener arm) that controls how smoothly the glove box drops open.
- Push or gently pull the dampener arm outward away from the mounting peg on the glove box frame.
- Unhook the slotted end of the arm from the peg and let it hang downward.
Step 3: Release the Glove Box Retaining Stops
- Push inward on both the left and right outer sides of the glove box simultaneously. This action flexes the plastic side walls inward just enough to clear the rubber stop tabs embedded in the dashboard frame.
- Lower the glove box completely downward, pivoting it on its bottom hinges until it hangs upside down toward the passenger floorboard. Note: You do not need to detach the lower hinges; letting it swing down provides clear, unobstructed access to the filter housing door directly behind it.
Step 4: Open the Cabin Filter Housing Cover
- Locate the black rectangular access door positioned horizontally behind where the glove box sat.
- Find the plastic locking tabs located on the left and right ends of this cover.
- Pinch or press the tabs inward to unlatch them, and pull the cover straight toward you to remove it. Set the cover aside in a safe place.
Step 5: Remove the Old Filter
- Pull the old filter straight out of the housing slot. Be careful as you slide it out; if it is heavily laden with trapped leaves, pine needles, or loose dust, tilting it upward can spill debris into the blower motor housing below.
- Note the directional airflow arrow printed on the edge of the old filter before discarding it.
Step 6: Clean the Housing and Install the New Filter
- Inspect the empty plastic housing tray. If there is dust or dead foliage inside, wipe it out with a damp microfiber towel or use a handheld vacuum nozzle.
- Take your new cabin air filter and check the frame for an arrow labeled "AIR FLOW" or "UP."
- Insert the new filter into the housing with the airflow arrows pointing downward (matching the direction air is pulled through the dash toward the floorboard). Ensure the filter seats snugly within the track without bending the delicate pleats.
Step 7: Reassemble the Dashboard
- Push the black housing access door back into place until you hear both side tabs snap firmly into a locked position.
- Lift the glove box upward, flexing the side walls inward again to clear the dashboard retaining stops.
- Reattach the dampener arm onto the mounting peg on the right side of the glove box.
- Close the glove box and test the climate control system across various fan speeds to verify smooth, quiet operation.
Comparison of Common 2020 Mazda CX-5 Filter Options
Choosing the right aftermarket or OEM filter depends on your local environment, budget, and sensitivity to airborne allergens.
| Filter Type | Primary Benefit | Best Suited For | Maintenance Interval | Approximate Cost Range |
|---|---|---|---|---|
| OEM Paper Filter | Exact factory fit and reliable basic filtration. | Standard driving environments with minimal heavy pollution. | 12,000 – 15,000 miles | $15 – $25 |
| Standard Aftermarket Particulate | Affordable, widely available, solid dust protection. | Budget-conscious owners looking for quick replacements. | 10,000 – 12,000 miles | $10 – $18 |
| Activated Carbon / Charcoal | Neutralizes exhaust fumes, smoke, and chemical odors. | City driving, heavy traffic, and allergy sufferers. | 10,000 – 12,000 miles | $20 – $35 |
| Reusable High-Flow Synthetic | Washable and designed to last the lifetime of the vehicle. | Long-term owners seeking to eliminate recurring replacement costs. | Wash every 12,000 miles | $40 – $55 |
Frequently Asked Questions
Do I need any tools to change the cabin air filter on a 2020 Mazda CX-5?
No tools are required. The entire replacement process relies on flexible plastic clips and a dampener arm that can be easily manipulated by hand in under ten minutes.
Which direction should the airflow arrow point when installing the filter?
The airflow arrow printed on the side of the filter frame must point downward. In the Mazda CX-5, the HVAC system pulls air downward from the cowl intake through the housing and into the blower motor beneath.
Can a dirty cabin air filter damage my car's air conditioning system?
Yes. When a cabin air filter becomes heavily clogged, it restricts airflow across the evaporator core and strains the blower motor resistor. Over time, this restriction forces the blower motor to work harder, which can lead to premature motor burnout, electrical strain, or reduced cooling efficiency.
What is the difference between an engine air filter and a cabin air filter?
The engine air filter is housed under the hood and cleans the air mixed with fuel in the engine cylinders. The cabin air filter is located inside the passenger compartment behind the glove box and cleans the air breathed by vehicle occupants. They are two entirely separate components and cannot be interchanged.
How can I tell if my aftermarket filter fits correctly?
A correct-fitting filter should slide smoothly into the housing slot without forcing, bending, or leaving gaps along the edges. If a filter is too small, un-filtered air will bypass the media; if it is too large, it will warp the plastic track and prevent the housing door from snapping shut.
Final Recommendations
Maintaining the air quality inside your 2020 Mazda CX-5 is an easy, satisfying DIY task that requires no mechanical background. By inspecting your cabin air filter biannually—especially before the heavy pollen seasons of spring or the dusty conditions of summer—you protect your HVAC blower motor, eliminate unwanted odors, and ensure crisp, clean air for every drive. Keep a spare filter in your garage so you are always prepared when the scheduled maintenance interval arrives.