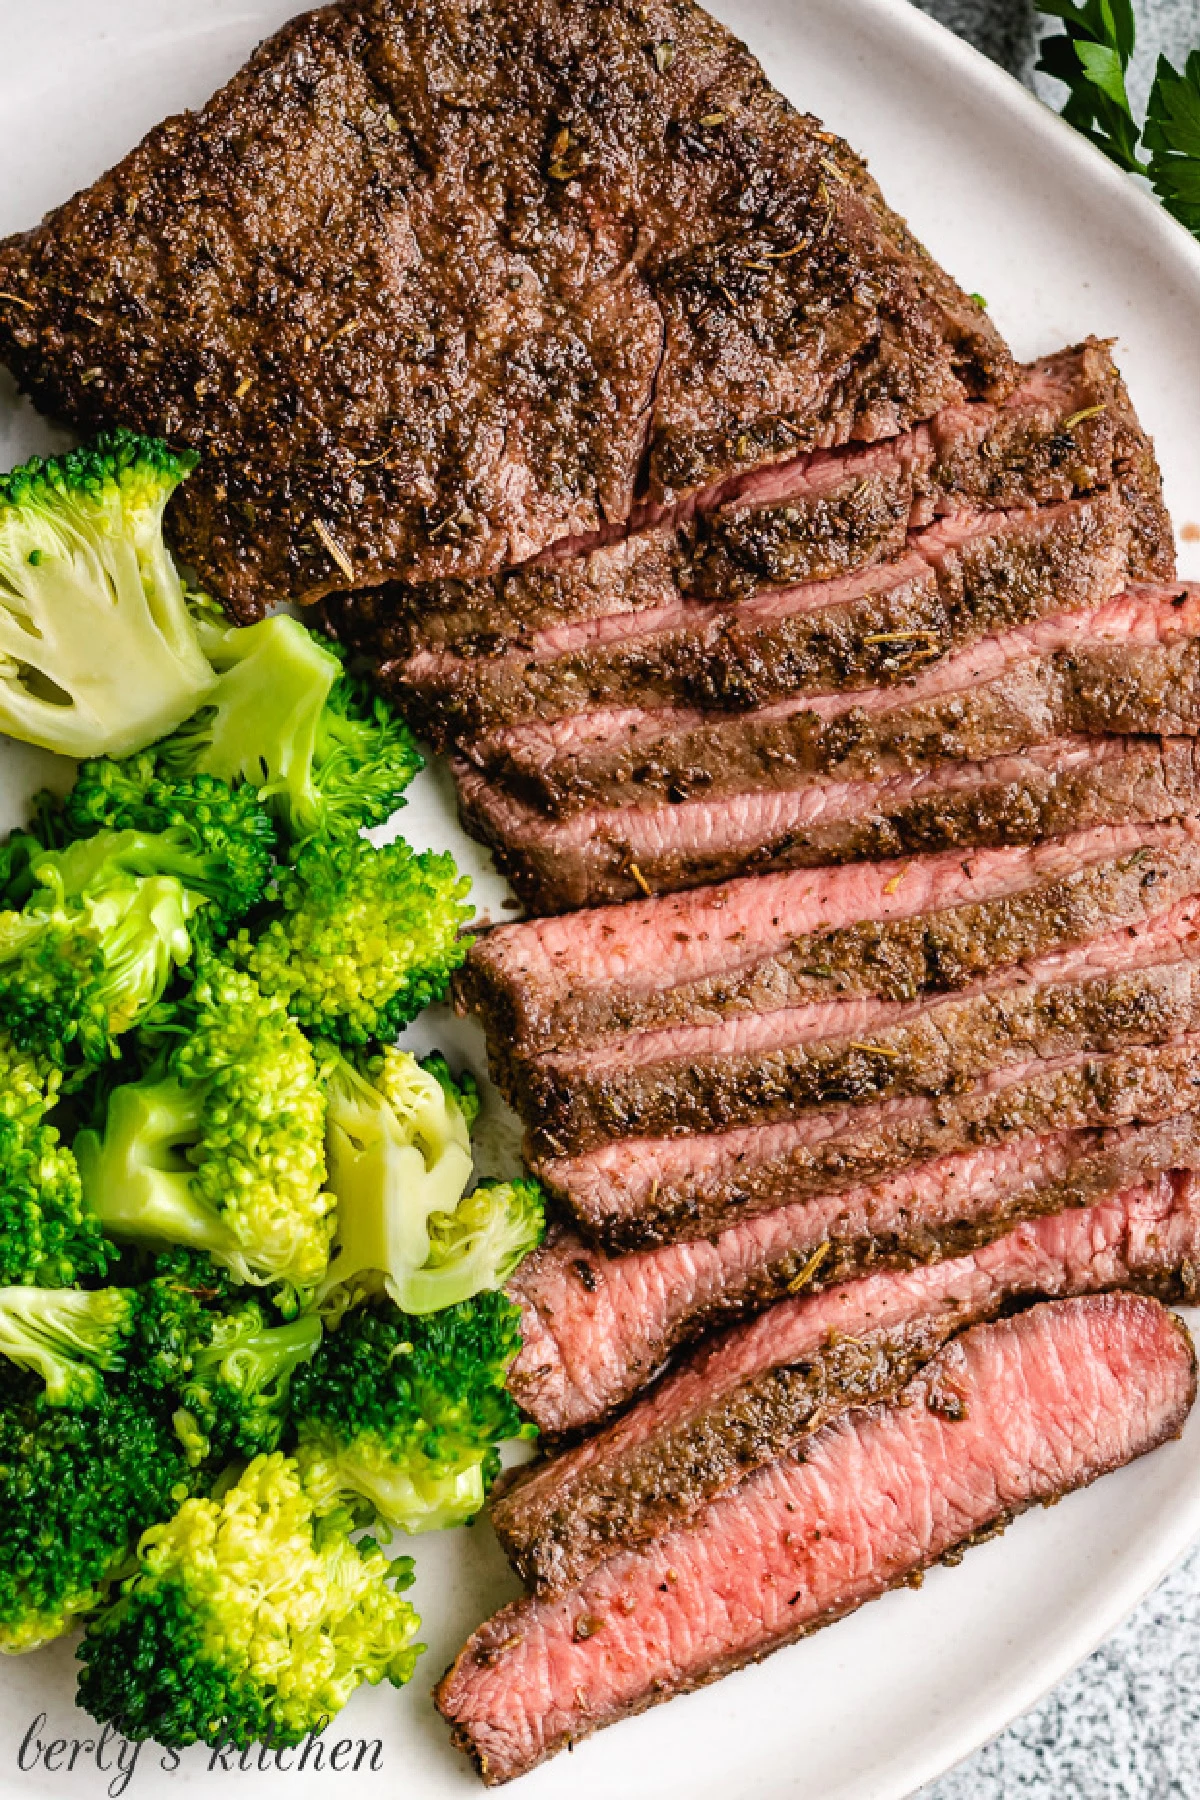
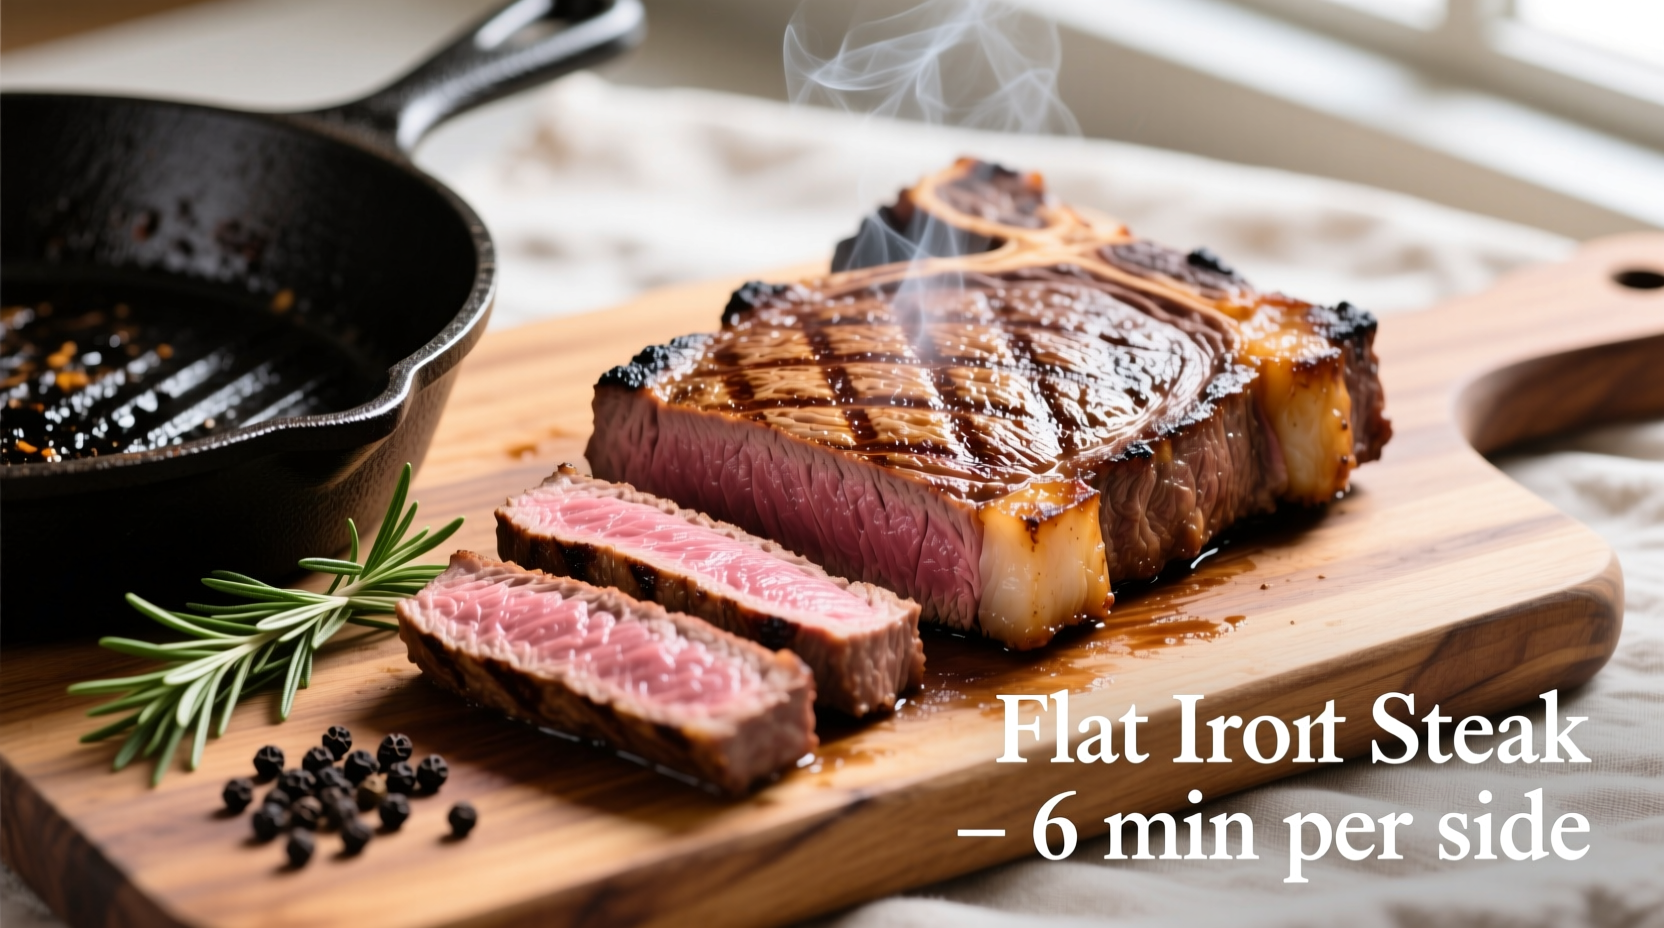
Mastering the flat iron steak requires a delicate balance of high-heat searing and precise internal temperature management to break down its rich marbling without overcooking the tender center. By combining a reliable dry-brining technique with a classic cast-iron pan-searing and butter-basting method, home cooks can consistently achieve a restaurant-quality crust and a juicy, medium-rare finish.
Understanding the Flat Iron Steak: Anatomy and Characteristics
Before applying heat to any cut of beef, it is essential to understand its structural composition. The flat iron steak—scientifically known as the infraspinatus muscle and derived from the animal's shoulder or chuck primal—has experienced a massive surge in popularity among culinary professionals and home cooks alike. For decades, this portion of the chuck was largely ignored or ground into hamburger meat because a tough connective tissue membrane ran right through the middle of it.
In the early 2000s, researchers at the University of Nebraska and the University of Florida developed a butchering technique that removed this central gristle, splitting the muscle lengthwise into two distinct, flat, heavily marbled steaks. This yielded a cut second only to the tenderloin in tenderness, but with the rich, robust beef flavor characteristic of hard-working chuck muscles.
However, because the flat iron is relatively thin and uniform in thickness compared to a thick-cut ribeye or porterhouse, it cooks very quickly. This rapid cooking window means that traditional high-heat-only methods can easily overshoot the desired internal temperature, leaving you with a dry, grey piece of meat. Therefore, adopting a proven, repeatable culinary framework is mandatory to showcase the cut's unique attributes.
Essential Prerequisites for Success
Achieving culinary perfection with a flat iron steak relies on preparation long before the meat touches the heat source. Skipping these foundational steps will significantly compromise the final texture, crust development, and moisture retention of the beef.
Sourcing and Quality Selection
When purchasing a flat iron steak, look for USDA Choice or USDA Prime grades that exhibit heavy, even distribution of white flecks of intramuscular fat (marbling). Avoid steaks that look overly lean or dry, as fat is the primary vehicle for flavor and juiciness during the cooking process. A standard flat iron usually weighs between 8 and 12 ounces and is roughly three-quarters of an inch to an inch thick.
The Science of Dry Brining
Moisture is the ultimate enemy of a great sear. When a wet steak hits a hot pan, the surface moisture must first evaporate before the Maillard reaction—the chemical reaction between amino acids and reducing sugars that gives browned food its desirable flavor—can begin. This steam cushion prevents a deep, mahogany crust from forming.
- Salting: Generously season your flat iron steak with kosher salt at a rate of roughly 1/2 teaspoon per pound.
- Resting: Place the salted steak on a wire rack set inside a baking sheet and refrigerate it uncovered for 2 to 24 hours.
- The Effect: The salt dissolves in the surface moisture, creating a brine that is reabsorbed into the muscle fibers, seasoning the meat throughout. Concurrently, the circulating air in the refrigerator dries out the outermost layer of the steak, creating a dry, tacky surface ideal for searing.
Step-by-Step Execution: The Cast-Iron Butter-Baste Method
This proven method utilizes heavy cast iron for superior heat retention, utilizing high-heat searing followed by a gentle butter-and-aromatic basting phase to finish the steak gently.
| Step Phase | Action Required | Key Parameter / Temperature |
|---|---|---|
| 1. Preparation | Remove steak from fridge, apply high-smoke-point oil. | Room temp for 15 mins; thin coat of avocado oil. |
| 2. Preheating | Heat heavy cast-iron skillet over high heat. | 5 minutes until smoking slightly. |
| 3. Initial Sear | Sear first side to develop a deep crust. | 90 seconds to 2 minutes, undisturbed. |
| 4. The Flip & Baste | Flip steak, add butter, garlic, and herbs. | Lower heat to medium; baste continuously for 60-90 seconds. |
| 5. Resting | Transfer to a warm board or plate to redistribute juices. | 5 to 8 minutes before slicing. |
Step 1: Prepping for the Pan
Remove your dry-brined flat iron steak from the refrigerator roughly 15 to 20 minutes before cooking to take the absolute chill off the center. Pat the surface completely dry with paper towels one last time. Rub a minimal amount of a neutral, high-smoke-point oil (such as avocado, grapeseed, or canola oil) directly onto the steak—just enough to give it a glistening sheen, rather than soaking it. Season lightly with freshly cracked black pepper.
Step 2: Getting the Skillet Screaming Hot
Place a heavy 10- or 12-inch cast-iron skillet or carbon-steel pan over medium-high to high heat. Allow the pan to preheat thoroughly for a full 4 to 5 minutes. A properly heated pan is crucial; if the metal is not hot enough, the meat will stick, and you will steam the protein instead of searing it. Do not add oil to the pan itself; oiling the meat prevents localized smoking and flare-ups.
Step 3: The Initial Sear
Lay the flat iron steak into the center of the dry, smoking-hot cast-iron skillet, laying it away from you to prevent hot oil splashes. You should hear an immediate, aggressive sizzle. Leave the steak entirely undisturbed for 90 seconds to 2 minutes. This uninterrupted contact allows a rich, dark-brown crust to form across the bottom surface of the meat.
Step 4: Butter Basting (Arrosé)
Flip the steak. Immediately reduce the burner heat to medium. Drop 2 to 3 tablespoons of unsalted butter into the pan alongside the steak, quickly followed by 2 smashed cloves of garlic and a few sprigs of fresh herbs like thyme and rosemary.
As the butter melts and begins to foam, tilt the skillet slightly toward you and use a large spoon to scoop up the foaming, aromatic butter and cascade it continuously over the top of the steak. This technique, known in classical French cooking as arrosé, cooks the upper layers of the meat more gently via hot fat conduction while infusing the beef with rich, nutty, herbaceous flavors.
Step 5: Temperature Verification and Pulling
Because flat iron steaks can vary slightly in thickness, relying solely on visual cues is risky. Insert an instant-read digital meat thermometer into the thickest part of the steak.
- Rare: Pull at 120°F (49°C)
- Medium-Rare (Recommended): Pull at 130°F (54°C)
- Medium: Pull at 140°F (60°C)
Keep in mind that carryover cooking will raise the internal temperature by roughly 5°F while the meat rests. Remove the steak from the skillet immediately once your target pull temperature is reached, and place it on a warm cutting board or a clean plate.
Resting and Slicing Properly
Even the most perfectly cooked steak will turn dry and tough if sliced immediately. When meat is exposed to high heat, the muscle fibers contract and force the internal moisture toward the center.
Allow the flat iron steak to rest undisturbed for 5 to 8 minutes. During this resting window, the muscle fibers relax, and the flavorful juices redistribute evenly throughout the entire cut of beef.
The Grain Rule
When it is time to carve, inspect the physical orientation of the muscle fibers (the "grain"). Because the flat iron is a shoulder cut, the grain runs lengthwise down the steak. To maximize tenderness with every bite, you must slice perpendicular (against the grain) into thin strips rather than cutting parallel chunks.
Common Mistakes to Avoid
- Skipping the Dry Brine: Cooking a straight-out-of-the-package, damp steak guarantees a weak crust and uneven seasoning. Always dry brine when time permits.
- Using Low-Smoke-Point Oils: Butter or extra virgin olive oil used during the high-heat searing phase will burn, turn acrid, and create unpleasant smoke. Use high-smoke-point oils for searing, and save butter for the low-heat basting phase.
- Overcooking: Due to its lean nature compared to fattier ribeyes, flat iron steak quickly loses its succulence if pushed past medium. Stick strictly to a medium-rare finish for optimal texture.
- Ignoring Grain Orientation: Slicing a tender cut of meat with the grain leaves long, chewy muscle fibers intact, ruining the mouthfeel. Always look closely at the direction of the lines before making your knife cuts.
Frequently Asked Questions
Is flat iron steak tough?
No, when butchered correctly with the central connective tissue removed, the flat iron steak is one of the most tender cuts of beef available. However, because it comes from a working muscle, failing to slice it against the grain or overcooking it past medium can make it feel tough.
Can I cook a flat iron steak on a grill instead of cast iron?
Yes, a flat iron steak performs exceptionally well over a blazing-hot charcoal or gas grill. Set up a two-zone fire, sear the steak directly over the high-heat coals for 2 minutes per side to build a crust, and then move it to the indirect side to finish cooking gently with the lid closed.
How do I know when the steak is medium-rare without a thermometer?
While the tactile "hand test" (comparing the firmness of the meat to the base of your thumb) is a common kitchen heuristic, it is notoriously unreliable due to variations in steak thickness. Using a reliable instant-read digital meat thermometer inserted into the geometric center is the only foolproof way to ensure a medium-rare 130°F internal temperature.
Should I wash my flat iron steak before cooking?
Culinary safety authorities, including the United States Department of Agriculture (USDA), strongly advise against washing raw meat or poultry. Washing raw beef splashes invisible bacteria across your kitchen counters, cutting boards, and utensils via aerosolized water droplets, while doing nothing to eliminate pathogens that are neutralized effectively by the high-heat cooking process anyway.
Conclusion and Next Actions
Mastering the flat iron steak is entirely achievable by treating the cut with respect: dry brining to manage surface moisture, utilizing a blistering hot cast-iron skillet for a Maillard crust, finishing with an aromatic butter baste, and observing a proper resting and slicing protocol. For your next cooking session, source a well-marbled flat iron, commit to the dry-brining timeline, and use a digital thermometer to verify your target temperature.