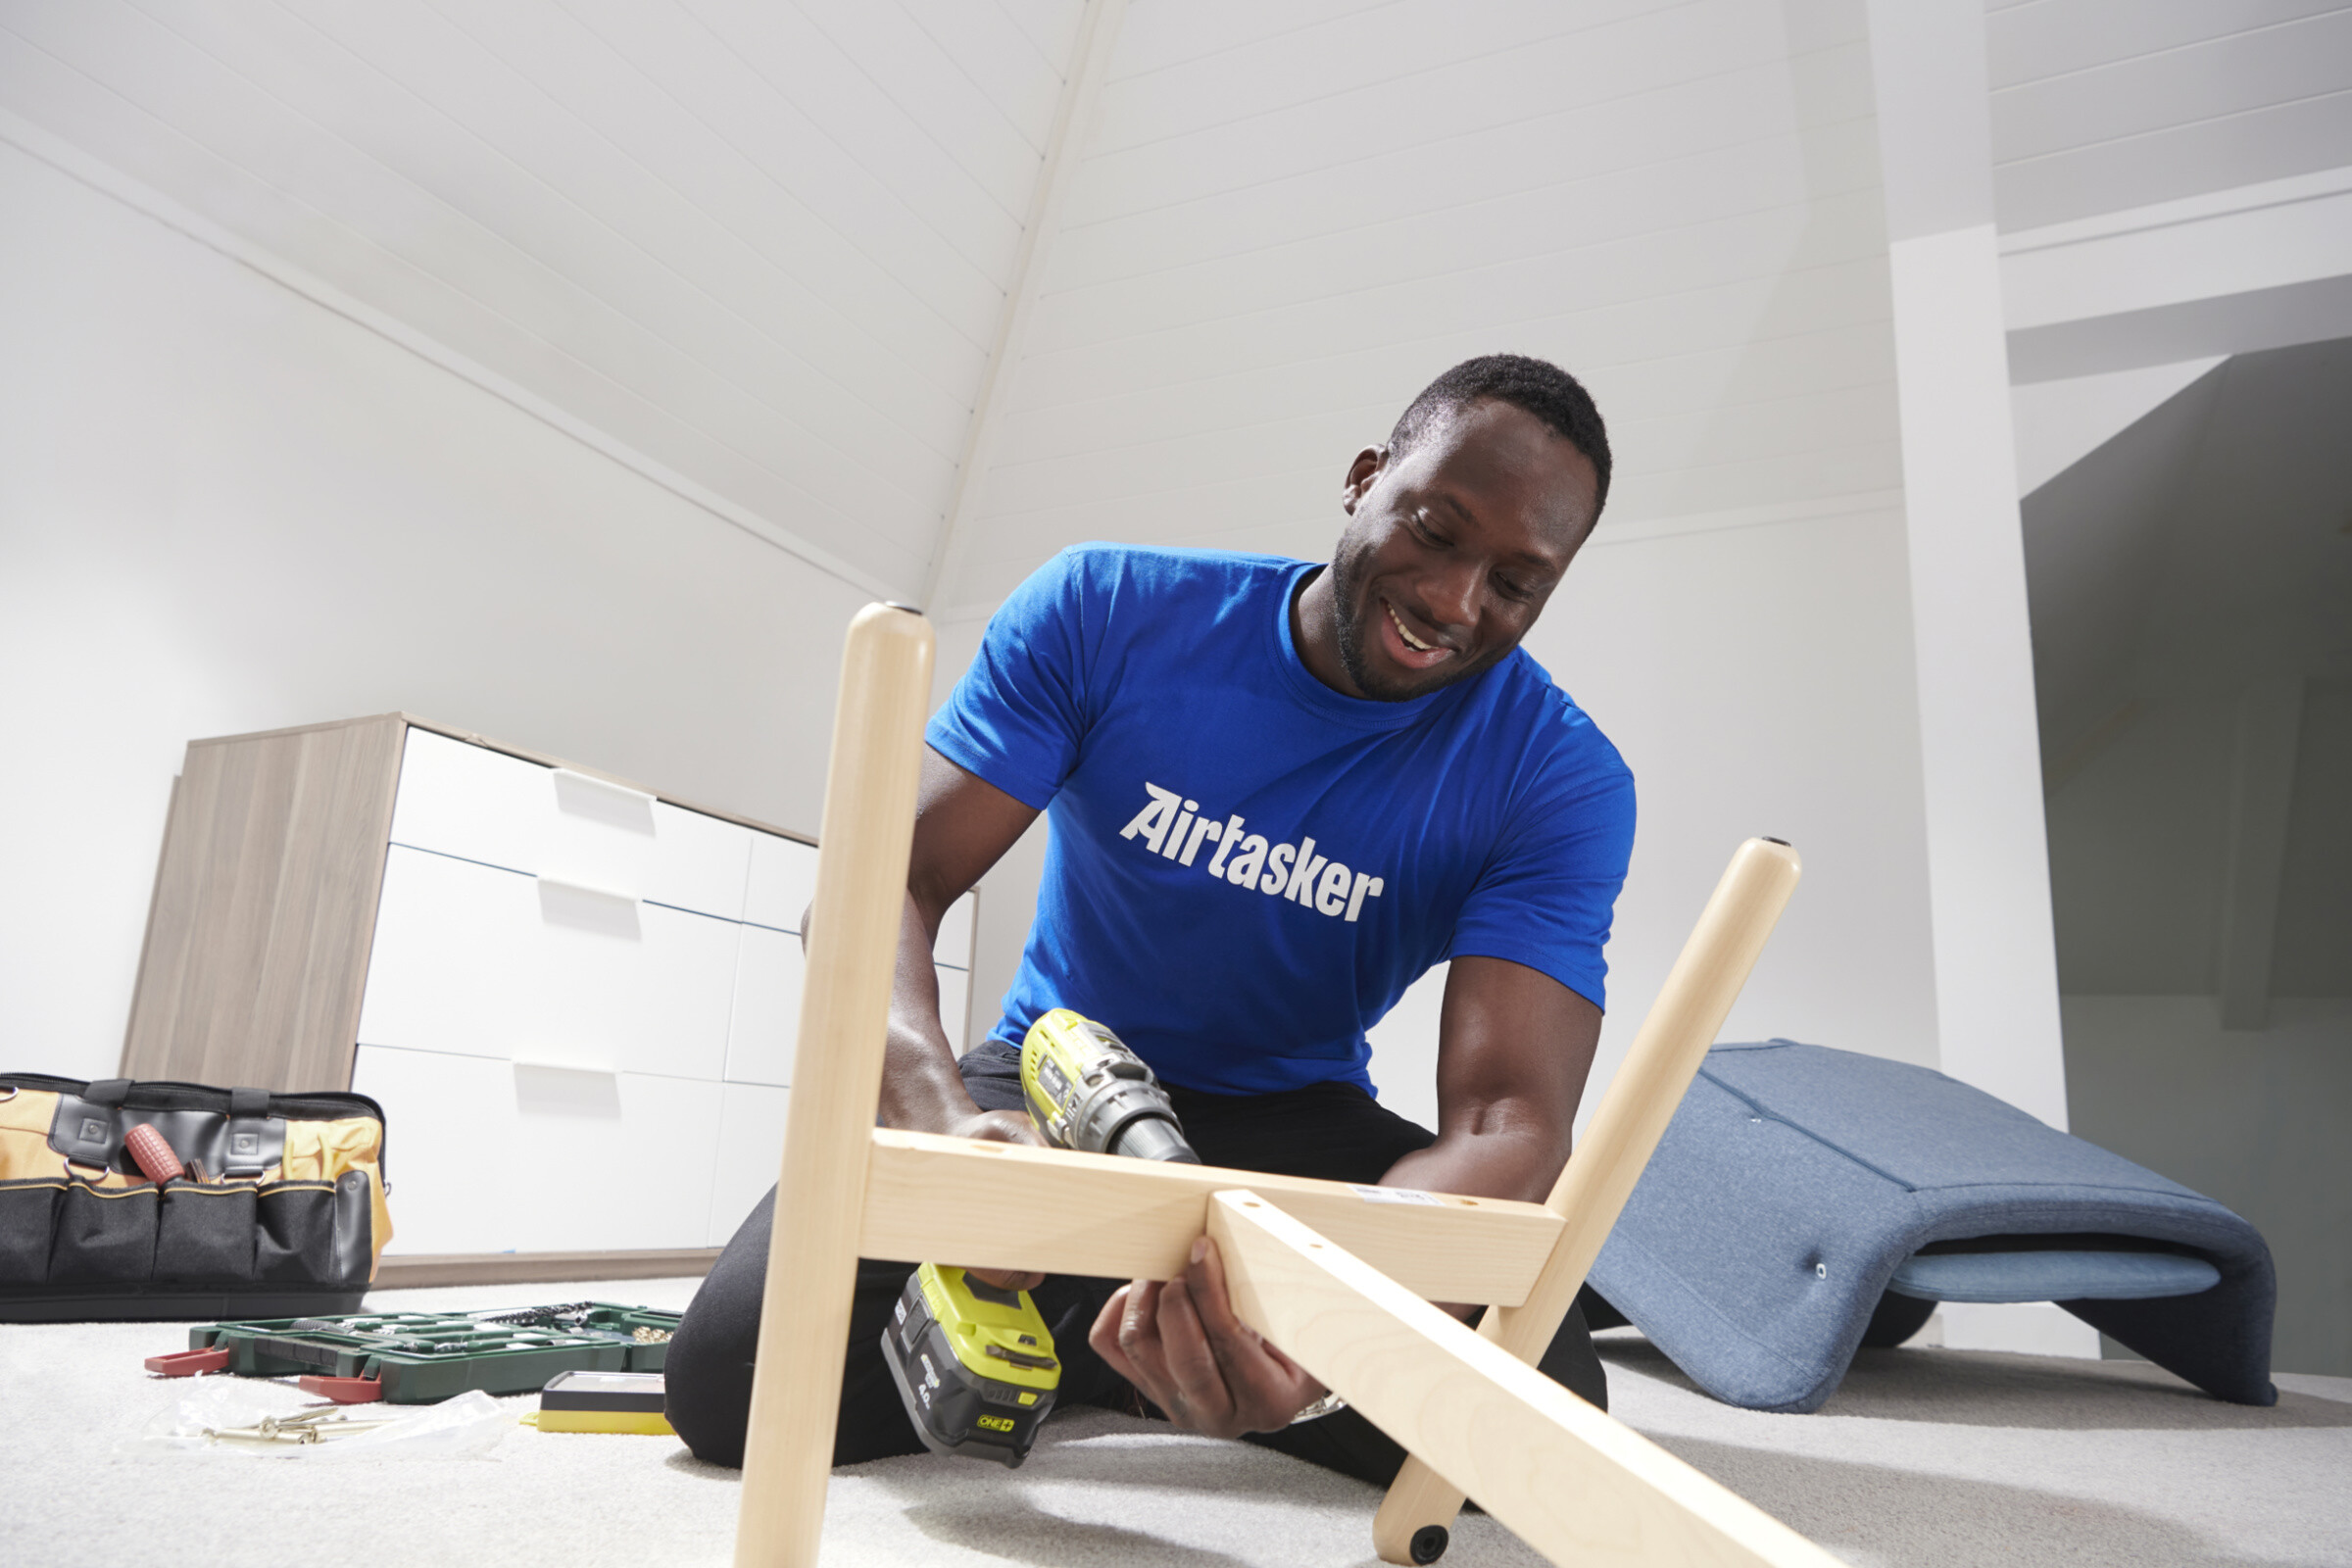
Assembling furniture successfully requires organized preparation, the correct tools, and a systematic approach to hardware identification. By following manufacturer-specific sequences—typically involving sorting fasteners, preparing panels with dowels or cam locks, and ensuring structural squaring—users can create stable, durable pieces while avoiding common pitfalls like over-tightening or incorrect orientation.
The Foundation of Furniture Assembly: Preparation and Workspace
Before the first screw is turned, the environment in which the assembly occurs determines the ease and eventual quality of the finished product. In 2026, while many "tool-less" furniture designs have gained popularity, the majority of flat-pack or Ready-to-Assemble (RTA) furniture still relies on traditional mechanical fasteners.
Creating an Optimized Environment
The most common mistake in furniture assembly is working in a cramped space. An ideal workspace should be at least twice the size of the final piece of furniture. This allows for the "staging" of panels—laying them out in the orientation they will appear in the final build.
- Surface Protection: Always assemble furniture on a soft surface, such as a clean rug or the flattened cardboard box the furniture arrived in. This prevents scratches on the finish and protects your flooring.
- Lighting: High-quality, directional lighting is essential. Many assembly errors, such as installing a drawer slide backward, occur because the user could not see small pre-drilled pilot holes or subtle grain patterns.
- Inventory Management: Open all hardware bags and sort them into small containers or a magnetic tray. Do not rely on the plastic bags they came in; these often tear, leading to lost screws and frustration. Verify the count against the "Parts List" in the manual immediately.
Understanding Material Limitations
Modern furniture is typically constructed from one of three materials: solid wood, plywood, or engineered wood (MDF/Particle Board). Understanding these is vital for technical execution.
- Engineered Wood: Found in most RTA furniture, this material is susceptible to "blowout" if a screw is driven too forcefully or at an angle. It does not have a grain structure to hold threads as effectively as solid wood, making the use of cam locks and dowels critical for structural integrity.
- Solid Wood: More forgiving but prone to splitting if pilot holes are not used or if hardware is forced into tight tolerances.
The Essential Toolkit for 2026
While most manufacturers provide a basic "L-shaped" hex key (Allen wrench), relying solely on provided tools is inefficient and often leads to hand fatigue or stripped fasteners. A professional-grade approach involves a dedicated kit.
Manual vs. Power Tools
The debate between manual screwdrivers and power drills is settled by torque control.
- The Case for Manual: For most RTA furniture, a high-quality ratcheting screwdriver with interchangeable bits is superior. It provides tactile feedback, allowing you to feel when a fastener is seated without over-compressing the material.
- The Case for Power: A cordless screwdriver or a drill with a clutch setting is acceptable if set to the lowest torque. Using a high-torque impact driver on particle board is a recipe for permanent damage, as it can easily strip the internal bore of a pre-drilled hole.
Specialized Hardware Needs
- Rubber Mallet: Essential for seating wooden dowels and joining panels without marring the finish. Never use a metal hammer directly on furniture surfaces.
- Level and Square: To ensure a wardrobe or cabinet doesn't lean (which causes doors to misalign), a 24-inch level is necessary once the unit is standing.
- Long-Reach Hex Bits: If using a drill or ratcheting driver, invest in a set of metric and SAE hex bits. These are far more ergonomic than the tiny wrenches included in the box.
Hardware Science: Cam Locks, Dowels, and Fasteners
The structural integrity of flat-pack furniture relies on specific mechanical connections. Understanding how these function is the difference between a piece that lasts a decade and one that wobbles within a month.
The Cam-and-Bolt System
The cam lock is the backbone of modern furniture assembly. It consists of a metal "cam" (the circular part) and a "bolt" or "pin."
- The Mechanism: The bolt is screwed into one panel. The cam is inserted into a large hole in the mating panel. When the panels are joined, the bolt head enters the cam. Turning the cam (usually 180 degrees clockwise) pulls the bolt head inward, locking the two panels together under tension.
- Technical Tip: Ensure the arrow on the cam face points toward the hole where the bolt enters before joining. Over-turning a cam can snap the internal cast metal; once it feels firm (roughly at the 2 o'clock or 3 o'clock position), stop.
Wooden Dowels and Glue
Dowels provide shear strength, preventing panels from sliding against each other, while the metal fasteners provide the tension that holds them together.
- The Pro Move: While many instructions do not explicitly require it, adding a small drop of wood glue into the dowel holes significantly increases the lifespan of the furniture. Note that this makes the furniture permanent; you will not be able to disassemble it for moving later without breaking the joints.
Step-by-Step Methodology: A Systematic Approach
Following the instructions in the correct sequence is non-negotiable. Most manuals are designed by engineers who have calculated the most stable way to support the weight of the piece during the build.
- Panel Preparation: Before joining any large pieces, install all "pre-hardware" like cam bolts, wooden dowels, and shelf pins into the individual panels.
- Sub-Assembly Construction: Build drawers, doors, or internal shelving units first. These are often repetitive and smaller, allowing you to clear space for the main carcass.
- The Carcass Build: Join the main vertical and horizontal panels. This is where a second person is often needed to hold panels upright while the first few fasteners are secured.
- Squaring the Backing: Most cabinets use a thin fiberboard back panel. This is not just aesthetic; it provides the lateral stability (preventing "racking"). Before nailing or screwing the back on, use a tape measure to check the diagonals of the unit. If the diagonal from the top-left to bottom-right is exactly the same as top-right to bottom-left, the unit is perfectly square.
- Final Adjustments: Once the unit is upright, adjust the leveling feet (if present) and the hinges. Modern European-style hinges (Clip-top) have three adjustment screws for height, depth, and side-to-side alignment.
Professional vs. DIY Assembly: 2026 Cost and Effort Analysis
Deciding whether to assemble furniture yourself or hire a professional depends on the complexity of the piece and the value of your time.
| Furniture Type | Average DIY Time | Professional Cost (Est. 2026) | Complexity Level | Key Challenge |
|---|---|---|---|---|
| Basic Bookshelf | 45–60 mins | $50 – $80 | Low | Squaring the back panel |
| Office Desk | 1.5–3 hours | $90 – $150 | Medium | Cable management/Drawers |
| Bed Frame | 1–2 hours | $100 – $180 | Medium | Structural stability/Weight |
| Large Wardrobe | 3–6 hours | $200 – $450 | High | Vertical alignment/Hinges |
| Kitchen Cabinets | 2–4 hours/unit | $150 – $300/unit | Very High | Leveling/Wall mounting |
Hiring a professional is often recommended for large wardrobes (like the IKEA PAX system) or pieces requiring wall anchoring into specialized substrates like steel studs or lath-and-plaster. Professionals often bring their own insurance, which covers damage during assembly—a significant benefit for high-end RTA brands.
Safety and Structural Integrity
Furniture safety is a critical concern, particularly regarding "tip-over" accidents. According to the Consumer Product Safety Commission (CPSC), thousands of injuries occur annually due to unanchored furniture.
Anti-Tip Kits
In 2026, most jurisdictions and major retailers follow strict safety standards (such as the STURDY Act in the United States) requiring clothing storage units to include tip-over restraints.
- Installation: Anchoring must be done into a wall stud. Using drywall anchors alone is often insufficient for heavy dressers. If a stud is not available, toggle bolts are the preferred technical alternative for hollow walls.
- Weight Distribution: Always place the heaviest items in the bottom drawers to lower the center of gravity.
Ergonomics during Assembly
Assembling furniture often involves prolonged kneeling or bending. Use knee pads or a gardening cushion. If a piece is heavy, use the "team lift" principle. Attempting to flip a large wardrobe alone can cause the joints to "rack" or twist, potentially snapping cam bolts or tearing the engineered wood.
Troubleshooting Common Assembly Issues
Even with careful preparation, issues can arise. Here is how to handle the most common technical hurdles:
- Missing Hardware: Most major manufacturers (IKEA, Wayfair, Target) have automated systems to ship missing parts. Check the manual for the specific part number (e.g., "100345") to ensure the correct replacement.
- Misaligned Holes: If a hole doesn't seem to line up, check if the panel is upside down or backward. In 95% of cases, the hardware is correct and the orientation is wrong. If the hole is truly misaligned, you can fill it with a mixture of wood glue and toothpicks, let it dry, and drill a new pilot hole.
- Stripped Screws: If a screw head is stripped, use a wide rubber band between the screwdriver tip and the screw for extra grip. If the wood hole is stripped, use the "toothpick and glue" method mentioned above to create new material for the screw to bite into.
- Wobbly Furniture: This is usually caused by an uneven floor or a failure to square the back panel. Adjust the leveling feet or use shims under the base until the unit is stable.
Frequently Asked Questions
Can I use a power drill for furniture assembly? Yes, but only if it has a variable torque clutch. Set it to the lowest possible setting to prevent stripping the soft engineered wood. For final tightening, always use a manual screwdriver to ensure the fastener is properly seated without damage.
Why is my furniture "leaning" to one side? This typically happens when the back panel was attached while the frame was not perfectly square. To fix this, you may need to remove the back panel, use a carpenter's square to realign the frame, and reattach the backing.
How do I identify which side of a panel faces forward? Look at the edges. Most RTA furniture only applies "edge banding" (the finished veneer) to the visible sides. Unfinished, raw particle board edges almost always face the back or the floor.
What should I do if a cam lock won't turn? Do not force it. Ensure the cam bolt is screwed in deep enough. If the bolt is sitting too high, the cam cannot "grab" the head. Also, ensure the cam itself is seated fully into its hole; sometimes sawdust gets trapped underneath, preventing it from reaching the necessary depth.
Is wood glue necessary? While not strictly required by most instructions, wood glue adds significant structural rigidity and prevents the furniture from becoming "wobbly" over time. Only use it if you are certain you will not need to disassemble the piece in the future.
Final Recommendations for a Successful Build
To ensure the longevity and safety of your furniture, always perform a "30-day tighten." Mechanical fasteners in RTA furniture can settle or loosen slightly after the first month of use, especially in items like chairs or tables that see frequent movement. Re-checking the cam locks and screws after 30 days ensures the piece remains rigid. Furthermore, always prioritize wall anchoring for any item taller than 30 inches to ensure a safe home environment. By treating the assembly as a technical project rather than a chore, you can achieve professional-grade results that rival pre-assembled furniture.