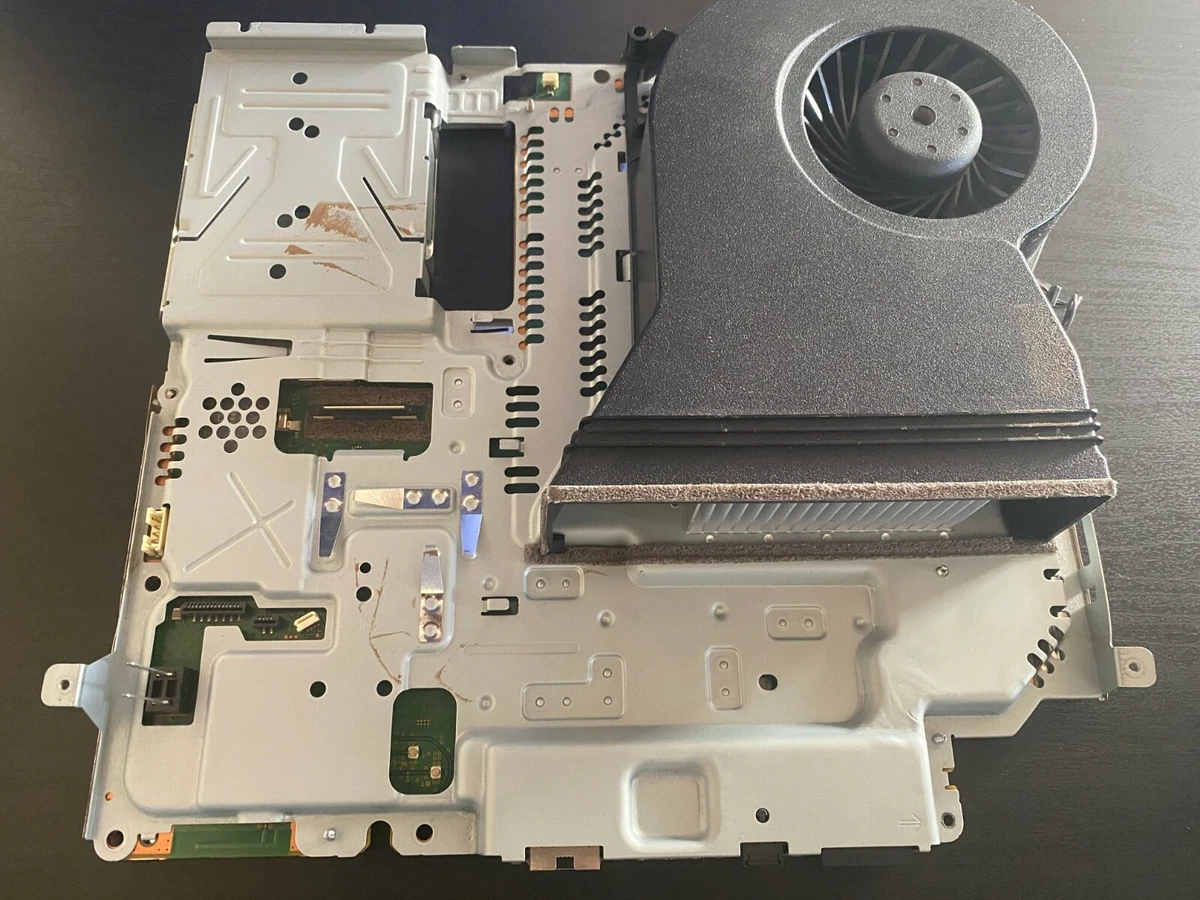
Reviving a failing PlayStation 3 system requires targeted diagnostic testing, micro-soldering precision, and thermal management restructuring. Addressing underlying hardware failures on the console's main circuit board involves dismantling the chassis, cleaning degraded thermal interfaces, identifying short circuits or BGA solder fractures, executing localized reflow or reballing procedures, and reassembling the device for rigorous testing.
Understanding the PlayStation 3 Architecture and Failure Modes
The PlayStation 3 remains a celebrated piece of gaming history, housing complex architecture centered around the proprietary Cell Broadband Engine (Cell BE) and the RSX (Reality Synthesizer) graphics processing unit. Over years of operation, thermal expansion and contraction cycles degrade the microscopic solder balls connecting these processors directly to the motherboard. This degradation frequently manifests as the notorious Yellow Light of Death (YLOD), where the console attempts to boot, registers a critical hardware fault within seconds, and shuts down with a flashing red light.
Before attempting any hardware intervention, understanding the revision history of the console is paramount. Early "fat" models featuring backward compatibility with PlayStation 2 games use a 90nm or 65nm RSX chip that draws significant power and generates immense heat, making them exceptionally prone to thermal stress failures. Later "slim" and "super slim" models mitigated these thermal issues by transitioning to smaller 40nm and 28nm manufacturing nodes, though they remain vulnerable to power supply surges, physical drops, and liquid damage.
Undertaking a motherboard repair requires patience, specialized equipment, and realistic expectations. While temporary fixes like a quick heat gun application can restore functionality briefly, a permanent solution demands a methodical approach, proper chemical supplies, and strict adherence to safety protocols. The following sections outline a structured, five-step framework to diagnose, service, and test a damaged PlayStation 3 motherboard safely and effectively.
Step 1: Complete Disassembly and Motherboard Extraction
The first phase of any successful motherboard repair is gaining safe, unhindered access to the circuit board itself. Rushing the disassembly process can easily result in stripped screws, snapped plastic retention clips, or severed ribbon cables connecting the power button, Bluetooth/Wi-Fi module, and disk drive.
Required Tools and Workspace Preparation
Before lifting a single screwdriver, prepare an antistatic (ESD) workstation. You will need a magnetic Phillips head screwdriver set (specifically sizes PH0 and PH1), a set of plastic spudgers or opening picks, isopropyl alcohol (99% purity), lint-free microfiber cloths, and an antistatic wrist strap.
Systematic Disassembly Sequence
- Remove the Hard Drive Cover and Bay: Locate the small plastic cover on the side or bottom of the console depending on the model. Pry it open gently, remove the blue Phillips screw securing the metal hard drive caddy, and slide the hard drive out. Set it aside safely.
- Peel Hidden Screws and Outer Shell: Peel away any warranty or structural rubber feet to uncover hidden screws. Remove the outer plastic housing by releasing the internal clips using a plastic spudger, working slowly around the perimeter until the top shell lifts free.
- Lift the Metal Shielding: Early models feature a heavy top metal EMI (electromagnetic interference) shield secured by numerous short screws. Keep track of screw lengths and placements, as mixing them up during reassembly can puncture internal traces.
- Disconnect Peripherals and Power Supply: Carefully unlock the ribbon cables for the front control board and disc drive. Disconnect the internal power supply unit (PSU), noting that some slim models feature direct-pin connections while older fat models use multi-pin wire harnesses.
- Extract the Motherboard: With all peripheral boards, the Blu-ray drive, and the heatsink assemblies detached, lift the bare motherboard out of the bottom plastic housing. Inspect both sides for physical damage, blown capacitors, liquid corrosion, or scorch marks.
Step 2: Diagnostic Evaluation and Cleaning
With the motherboard fully exposed on your workbench, conduct a comprehensive visual and electrical inspection. Many apparent BGA (Ball Grid Array) failures are actually symptoms of other underlying issues, such as shorted surface-mount device (SMD) components, blown fuses, or heavy conductive dust bridges.
Cleaning and Inspection Protocols
Apply high-purity isopropyl alcohol to a soft-bristled brush to gently scrub away accumulated dust, pet hair, and oxidized residue, particularly around the cooling fan headers and power regulation circuits. Inspect the NEC/TOKIN capacitors on older fat models; degraded capacitors can cause random freezing or sudden shutdowns that mimic YLOD symptoms.
Identifying Core Faults
Use a digital multimeter set to continuity mode to check the main power rails for short circuits to ground. A dead short on the main 12V or 5V rails indicates a failed MOSFET or ceramic capacitor that must be replaced before applying power. If the board passes continuity checks without shorts, proceed to evaluate the physical condition of the Cell BE and RSX chips. Look for hairline cracks in the surrounding resin or discoloration of the board substrate, which indicates excessive historical heat exposure.
Step 3: Thermal Interface Renewal and De-lidding Considerations
Thermal management is the single most critical factor in the longevity of a repaired PlayStation 3. Over time, factory thermal paste dries out, loses its thermal conductivity, and hardens into an insulating crust that traps heat directly against the silicon dies.
Replacing Thermal Paste
Thoroughly scrape away all dried legacy thermal paste from the top surfaces of the RSX and Cell BE processors and their corresponding copper heatsink blocks. Use 99% isopropyl alcohol and cotton swabs to polish the metal IHS (Integrated Heat Spreader) surfaces until they shine. Apply a high-quality, non-conductive thermal paste—such as Arctic MX-4 or Noctua NT-H1—using a pea-sized drop or an evenly spread cross pattern to ensure maximum surface contact when the heatsink clamps are re-secured.
Understanding the De-lidding Debate
Some advanced technicians perform "de-lidding," which involves separating the metal IHS from the actual silicon die underneath to replace the secondary thermal compound. For the RSX chip on older 90nm models, this can drastically reduce temperatures. However, de-lidding carries an extreme risk of slicing microscopic surface traces or chipping the fragile silicon die, instantly destroying the motherboard. For standard repairs, replacing the external thermal paste between the IHS and the heatsink is sufficient and dramatically safer.
Step 4: Solder Reflow, Reballing, and Component Repair
When a PlayStation 3 suffers from a true BGA solder fracture under the main processors, standard thermal paste replacement will not resolve the fault. Fixing cracked solder joints requires controlled thermal remediation.
The Reflow Process Versus Professional Reballing
A temporary thermal reflow involves using a dedicated infrared (IR) rework station or hot air station to heat the processor uniformly until the lead-free solder beneath melts and re-establishes electrical contact. While hobbyists often use consumer heat guns, this approach risks warping the motherboard PCB or lifting solder pads due to uneven heating profiles. Professional repair facilities perform a full "reballing" process: removing the chip entirely, cleaning the pads with flux and solder wick, applying fresh leaded or lead-free solder balls using a precision stencil, and re-soldering the chip to the board using a precise thermal profile.
Addressing Minor Circuit Board Deficiencies
Beyond the main processors, inspect the HDMI encoder IC (often the Panasonic MN864739 on slim models). If a console turns on with solid green lights and audio but outputs no video signal, the HDMI encoder chip is frequently shorted and requires replacement using a hot air rework station and fresh flux.
Step 5: System Reassembly and Thermal Stress Testing
Once the motherboard has been cleaned, serviced, and fitted with fresh thermal interfaces, reassemble the console in reverse order of disassembly. Take meticulous care to route antenna wires correctly, secure all ribbon cable latches firmly, and ensure the metal shielding plates make secure contact with thermal pads on the power supply and southbridge chips.
Verification and Benchmarking
Before snapping the final outer shell into place, perform a preliminary bench test. Connect the hard drive, power cable, and an HDMI cord, then boot the console into Safe Mode. Run the file system restoration utility if necessary to ensure the hard drive integrity remains intact after the physical intervention.
Monitor the console's performance by playing a resource-intensive game for at least one hour while observing fan behavior. A properly repaired and serviced console should spin its fan up smoothly under load without instantly triggering emergency thermal shutdowns.
| Repair Method | Complexity Level | Equipment Required | Long-Term Reliability |
|---|---|---|---|
| Thermal Paste Replacement | Moderate | Screwdrivers, Isopropyl Alcohol, Paste | High (Preventative / Maintenance) |
| Circuit Board Cleaning & Refuse Removal | Low | Compressed Air, Brushes, Multimeter | Moderate (Depends on root cause) |
| BGA Solder Reflow | Advanced | IR Rework Station, Flux, Microscope | Low to Moderate (Often temporary) |
| BGA Reballing | Expert | Rework Station, Stencils, Solder Balls | High (Permanent fix if done correctly) |
| HDMI Encoder Replacement | Advanced | Hot Air Station, Soldering Iron, Flux | High (Resolves specific video faults) |
Conclusion and Ongoing Maintenance
Repairing a PlayStation 3 motherboard is a meticulous undertaking that bridges precision electronics work with historical hardware preservation. By systematically executing complete disassembly, rigorous diagnostics, thermal renewal, and professional-grade solder repair, you can successfully rescue a failing console from electronic obsolescence. To preserve your restored hardware, keep the console in a well-ventilated area away from carpeted floors, clean dust out of the intake vents every six months, and avoid blocking the rear exhaust ports during long gaming sessions.