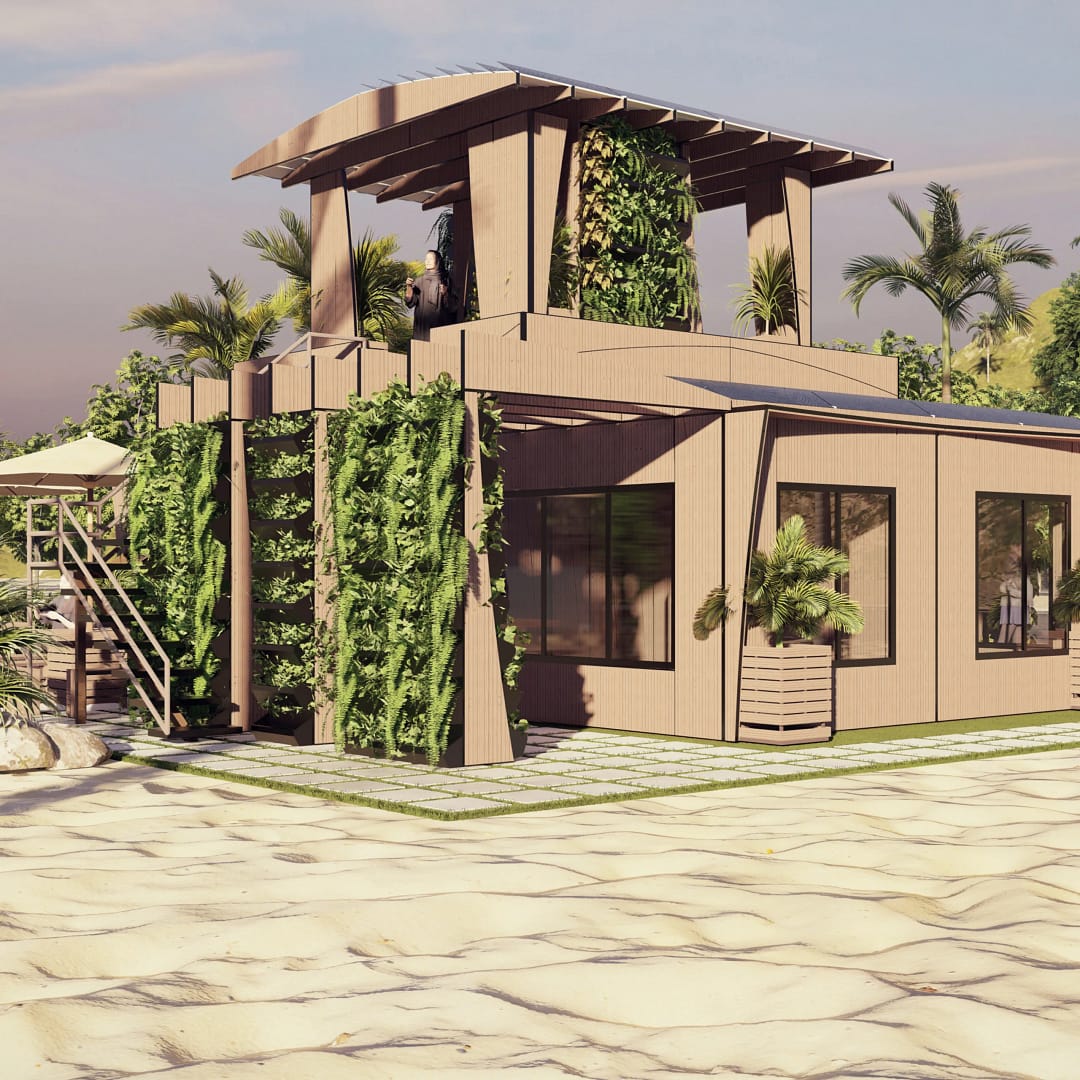
A 30-square roof refers to a roofing system with a total surface area of 3,000 square feet, as a single "square" in roofing terminology equals 100 square feet. Implementing a roof of this scale requires precise architectural planning, structural load calculations, material selection, and rigorous adherence to local building codes to ensure long-term durability and weather resistance.
Understanding the 30-Square Roof Measurement
In the roofing and construction industries, surface area is rarely measured in individual square feet when estimating materials and labor. Instead, professionals rely on the concept of the roofing square. One square is equivalent to 100 square feet of roof deck coverage. Therefore, a 30-square roof represents exactly 3,000 square feet of actual sloped or flat roof surface area, rather than the building's footprint.
Homeowners and contractors must remember that the total surface area of a roof is almost always larger than the footprint of the structure itself. Pitch, overhangs, gables, valleys, and dormers all increase the total square footage. For example, a home with a 2,000-square-foot footprint and a steep pitch may easily feature a 30-square roof due to the slope angle and architectural extensions.
Converting Roof Squares to Building Materials
When ordering materials for a 30-square roof, calculations must account for more than just the baseline 3,000 square feet. Waste factors play a critical role in the design and implementation phase:
- Standard Gable Roofs: Typically require a 5% to 10% waste factor to account for field cuts along rakes and ridges.
- Complex Hip or Mansard Roofs: Require a 10% to 15% waste factor due to hip cuts, valleys, and intricate intersections.
- Underlayment and Decking: Must match or exceed the total square footage plus overlap requirements, often calculated at 10% to 20% extra to ensure complete moisture protection.
Accurate measurement prevents costly mid-project shortages while minimizing excess material waste that drives up project budgets.
Architectural Design Principles for Large Roof Systems
Designing a 30-square roof involves balancing aesthetic appeal with structural engineering constraints. A roof of this size exerts substantial downward dead weight and lateral thrusts on the supporting walls, making proper truss or rafter design essential.
Pitch and Drainage Dynamics
The pitch—or slope—of a 30-square roof dictates how effectively it sheds water, snow, and debris. Slopes are expressed as a ratio of vertical rise to horizontal run (e.g., a 6-in-12 pitch rises 6 inches for every 12 inches of horizontal run).
- Low-Slope Systems (2:12 to 4:12): Common in modern residential and commercial architecture. These require specialized membrane or metal systems because water moves more slowly across them.
- Conventional Slope Systems (4:12 to 9:12): Accommodate traditional asphalt shingles, cedar shakes, and tiles, providing efficient drainage while remaining walkable for maintenance crews.
- Steep-Slope Systems (10:12 and above): Offer dramatic architectural styling and rapid shedding of precipitation, though they require specialized safety harnesses and labor-intensive installation techniques.
Structural Load Calculations
A 30-square roof must withstand both dead loads (the permanent weight of the roofing materials, decking, and framing) and live loads (temporary forces such as wind, rain, maintenance workers, and heavy snow accumulations).
Engineers use local building codes to determine the minimum pounds per square foot (PSF) capacity required. Asphalt shingles add roughly 2 to 3 PSF, while heavy concrete or clay tiles can add 10 to 15 PSF or more. The underlying roof trusses or rafters must be engineered to transfer these loads evenly down to the foundation without sagging or structural failure.
Material Selection and Performance Comparisons
Choosing the right material for a 30-square roof impacts upfront installation costs, long-term maintenance requirements, energy efficiency, and overall curb appeal.
| Roofing Material | Expected Lifespan | Typical Weight (PSF) | Maintenance Requirements | Best Suited Architectural Style |
|---|---|---|---|---|
| Architectural Asphalt Shingles | 25–30 Years | 2.5–4.5 | Low; periodic inspections and clearing debris | Traditional, Colonial, Ranch, Craftsman |
| Standing Seam Metal | 40–70 Years | 1.0–2.5 | Very low; annual fastener and sealant checks | Modern, Contemporary, Industrial, Barndominium |
| Concrete/Clay Tile | 50–100+ Years | 9.0–15.0 | Moderate; occasional cracked tile replacement | Spanish, Mediterranean, Southwestern, Mission |
| Natural Slate | 75–150+ Years | 8.0–14.0 | Low to moderate; fragile under foot traffic | Historic, Gothic, Victorian, High-End Estates |
Evaluating Durability and Weather Resistance
For a project spanning 30 squares, material longevity directly influences life-cycle costs. While architectural asphalt shingles provide an economical entry point, premium materials like standing seam metal or slate offer extended service lives that offset their higher initial investments. Wind uplift ratings and impact resistance classifications (such as UL 2218 Class 4) are vital considerations for regions prone to severe storms, hurricanes, or hail.
Step-by-Step Implementation and Installation Workflow
Executing a 30-square roofing project requires a structured workflow to maintain job-site safety, protect the interior of the structure from weather exposure, and ensure compliance with manufacturer installation guidelines.
Phase 1: Preparation and Tear-Off
- Site Protection: Set up debris catchers, ground tarps, and designated zones for waste disposal containers (dumpsters).
- Removal of Existing Layers: Strip the old roofing down to the bare wooden deck. Building codes typically limit roofs to a maximum of two layers of asphalt shingles before a complete tear-off is mandated.
- Deck Inspection: Inspect the exposed plywood or OSB decking for signs of rot, delamination, or sagging. Replace compromised panels with matching thickness code-approved decking.
Phase 2: Underlayment and Flashing
- Drip Edge Installation: Install metal drip edges along all eaves and rakes to direct water away from the fascia boards.
- Waterproofing Underlayment: Apply self-adhering polymer-modified bitumen (ice and water shield) along all eaves, valleys, rake edges, and roof penetrations to prevent ice damming and wind-driven rain intrusion.
- Roof Deck Protection: Cover the remaining deck area with high-strength synthetic underlayment, secured with cap staples or plastic cap nails according to manufacturer specifications.
Phase 3: Ventilation and Flashing Integration
- Valley Flashing: Install corrosion-resistant metal valley flashing in all interior roof intersections, sealing edges per best practices.
- Penetration Flashing: Install step flashing around chimneys, dormers, and sidewalls, alongside boot flashings for plumbing vent pipes and exhaust fans.
- Attic Ventilation: Balance intake ventilation (soffit vents) with exhaust ventilation (ridge vents, box vents, or power fans) to maintain continuous airflow, preventing moisture buildup and premature shingle degradation.
Phase 4: Field Shingle Application and Finishing
- Starter Strip: Apply starter shingles along the eaves and rakes to lock down the first course of roofing material against wind uplift.
- Field Installation: Install field shingles or panels working from the bottom edge upward, staggering end joints to prevent water infiltration and maintain aesthetic alignment.
- Ridge Caps and Sealing: Install hip and ridge cap shingles over the peak, fastening them securely and sealing exposed fastener heads where required by metal or tile specifications.
Cost Considerations and Budgeting
Budgeting for a 30-square roof involves calculating material costs, labor rates, tear-off fees, disposal charges, and structural repairs. Because material costs are calculated per square, homeowners can estimate baseline product expenses by multiplying the material cost per square by 30.
- Labor Rates: Vary significantly by region, roof pitch, and complexity. Steep slopes or multi-story structures command higher labor premiums due to safety equipment and handling requirements.
- Permits and Inspections: Most municipalities require building permits for full roof replacements. Fees typically range from $150 to $500 depending on local assessment guidelines.
- Hidden Contingencies: Always allocate a 10% to 15% contingency fund within the overall project budget to cover unexpected structural framing repairs, rotted decking replacement, or damaged masonry flashing discovered during the tear-off phase.
Common Implementation Mistakes to Avoid
Executing a 30-square roofing project successfully requires vigilance against common installation errors that can invalidate warranties and lead to premature failure.
- Inadequate Ventilation: Failing to calculate net free ventilating area correctly leads to trapped attic heat and moisture, which bakes asphalt shingles from underneath and rots wooden framing.
- Improper Fastener Placement: Over-driving, under-driving, or placing nails outside the designated nailing strip on shingles reduces wind resistance and allows moisture penetration.
- Neglecting Valley Details: Weaving shingles through valleys or failing to install proper metal flashing beneath underlayment layers creates high-risk leak zones during heavy downpours.
- Ignoring Manufacturer Guidelines: Mixing different brands of underlayment, shingles, and accessories can void system-wide material warranties. Sticking to a single manufacturer's integrated ecosystem ensures warranty validity.
Frequently Asked Questions
How many bundles of shingles are required for a 30-square roof?
Most standard 3-tab and architectural asphalt shingles require three bundles to cover one square (100 square feet). Therefore, a 30-square roof requires approximately 90 bundles of shingles, plus an additional 5% to 10% to account for waste, bringing the total order to roughly 95 to 100 bundles.
How long does it take professional contractors to install a 30-square roof?
For a standard gable roof with favorable weather conditions, an experienced crew of four to six workers can typically complete a full tear-off and installation of a 30-square architectural shingle roof in two to three working days. Complex designs involving multiple valleys, steep pitches, or heavy tile materials can extend the timeline to a week or more.
Can a new layer of shingles be installed over an existing layer on a 30-square roof?
While some building codes permit a second layer of asphalt shingles over a single existing layer, it is generally discouraged by professional roofing contractors and manufacturers. A overlay prevents thorough inspection of the roof deck for rot, adds significant dead weight to the framing, and often shortens the lifespan of the new materials.
What is the most cost-effective material for a 30-square roof?
Architectural asphalt shingles represent the most cost-effective option for a 30-square roof, offering a balanced combination of affordable upfront material costs, widespread contractor availability, solid wind resistance, and warranties typically ranging from 25 to 30 years.
How do I verify that my roof deck can support a 30-square installation?
Verifying deck capacity requires a structural engineer or qualified contractor to inspect the attic framing size, spacing, and wood condition. If you are upgrading from lightweight asphalt shingles to heavy materials like slate or concrete tile, professional engineering calculations are essential to confirm that the existing rafters or trusses can handle the increased load.
Conclusion and Next Actions
Implementing a 30-square roof is a major structural investment that protects the integrity, safety, and value of a building. Begin the process by obtaining multiple professional bids, verifying contractor licensing and insurance, and securing all required local building permits. Prioritize comprehensive underlayment systems, balanced attic ventilation, and high-quality materials tailored to your local climate to ensure maximum performance and longevity.