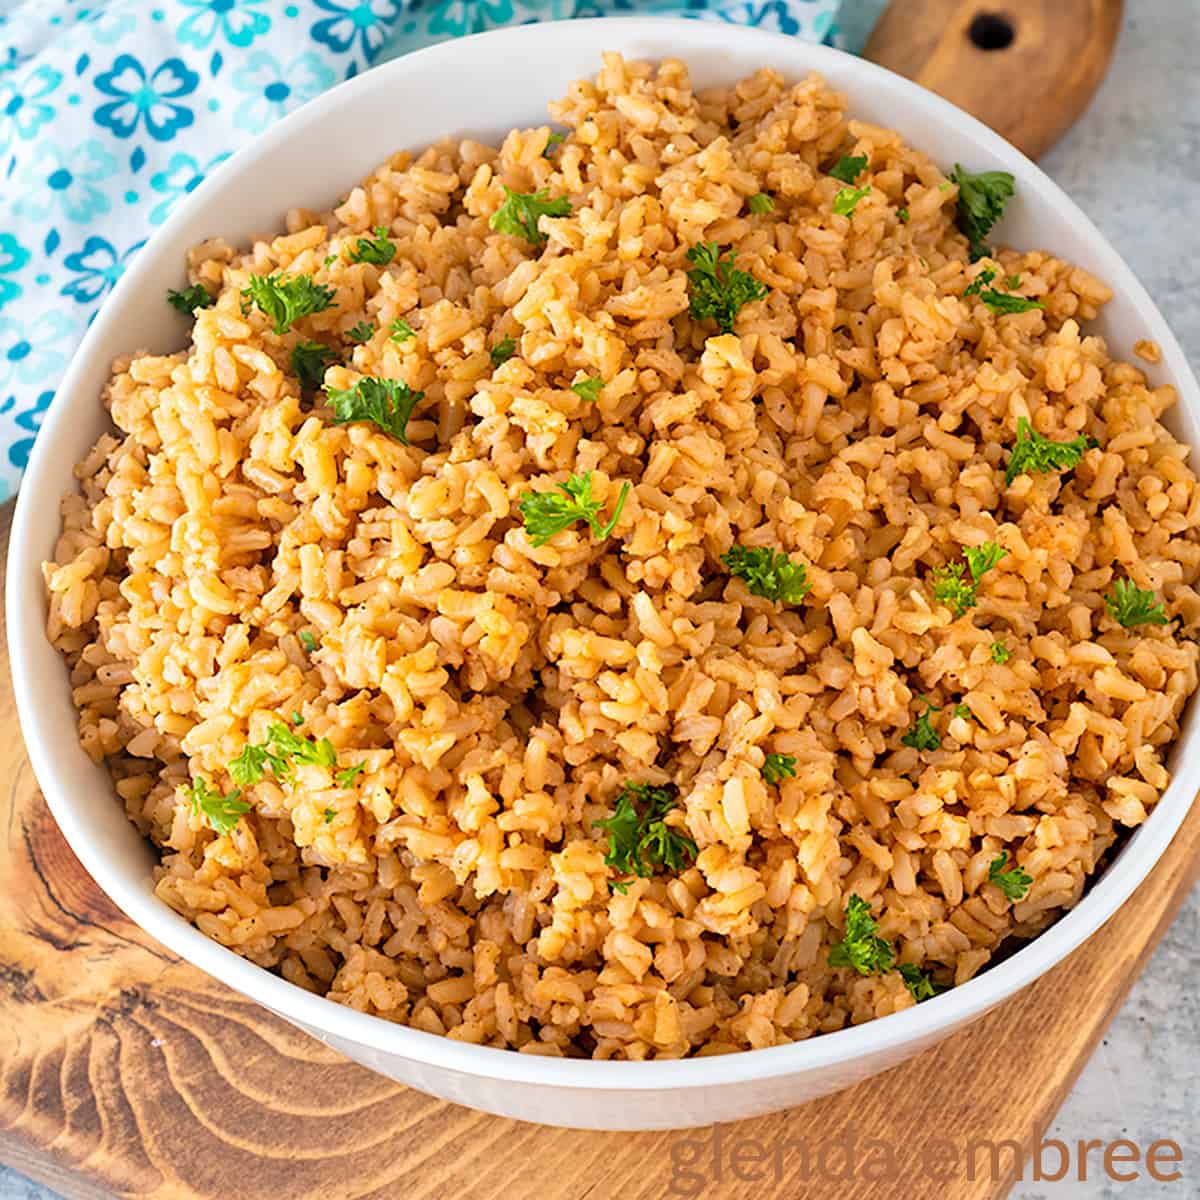
To cook brown rice in an Aroma rice cooker, use the provided measuring cup to add rice and then fill the inner pot with water to the corresponding line. Select the Brown Rice function, which includes a built-in soaking period. Allow the rice to rest for 10 minutes after cooking before fluffing.
Brown rice is often considered the "final boss" of home grain preparation. Unlike white rice, which has had its fibrous bran and nutrient-dense germ removed, brown rice remains a whole grain. This protective outer layer is what gives brown rice its nutty flavor and chewy texture, but it also presents a significant challenge: it is remarkably resistant to moisture. Without the correct technique, you often end up with rice that is either unpleasantly crunchy or a mushy, exploded mess.
Aroma Housewares has spent decades refining their "Brown Rice" technology to solve this specific dilemma. As of 2026, Aroma digital rice cookers remain the industry standard for balancing affordability with specialized sensor logic designed to penetrate that tough bran layer. This guide provides a comprehensive breakdown of how to utilize your Aroma rice cooker to achieve professional-grade results, covering everything from basic ratios to advanced troubleshooting.
Understanding the Science of the Aroma Brown Rice Setting
One of the most common mistakes users make is treating brown rice like white rice but simply adding more water. While more water is necessary, the factor that truly determines success is time and temperature progression.
When you press the "White Rice" button on an Aroma cooker, the device immediately moves to a high-heat boil to quickly gelatinize the starch. If you do this with brown rice, the outside of the grain cooks and potentially splits while the interior remains hard.
The Brown Rice function on an Aroma digital cooker utilizes a specific "soak and simmer" logic. When you engage this setting, the cooker does not immediately boil. Instead, it maintains a lower, sub-simmer temperature for the first 20 to 30 minutes of the cycle. This allows water to gradually permeate the bran layer and hydrate the germ without overcooking the exterior. Only after this pre-soak phase does the machine ramp up the heat to a full boil. This is why a brown rice cycle typically takes 60 to 90 minutes, whereas white rice is done in 20 to 30.
Preparation: The Foundation of Good Texture
Before you even touch the power button, the preparation of the grain dictates the final quality.
Rinsing vs. Not Rinsing
There is a persistent debate about whether brown rice needs rinsing. While it has less surface starch than white rice, rinsing is still highly recommended for two reasons. First, it removes any debris or dust from the processing plant. Second, and more importantly for rice cooker users, it helps manage foaming. Brown rice contains more proteins and fats than white rice; these can create a starchy foam that might clog the steam vent of your Aroma cooker. Rinsing the rice in a fine-mesh strainer until the water runs mostly clear will significantly reduce the "boil-over" effect.
The Measuring Cup Mystery
Every Aroma rice cooker comes with a specific measuring cup. In the world of rice cookers, a "cup" is not a standard 8-ounce US cup. It is a 6.1-ounce (180ml) measure, based on the traditional Japanese gō unit.
If you lose this cup, do not simply use a standard measuring cup from your baking set. Doing so will throw off the ratios indicated by the lines inside the inner pot. If you must use a standard US cup, you will need to ignore the lines in the pot and use a ratio of approximately 2.25 parts water to 1 part rice.
Step-by-Step Guide to Cooking Brown Rice in an Aroma Cooker
Follow these steps for consistent results across all Aroma digital models.
- Measure the Rice: Use the provided Aroma cup to measure your desired amount of dry brown rice. Level off the top of the cup; do not heap it.
- Rinse the Grain: Place the rice in a fine-mesh sieve and run cold water over it, agitating the grains with your hand for about 30 seconds.
- Add to Inner Pot: Transfer the rinsed rice into the Aroma inner cooking pot. Ensure the rice is leveled out across the bottom.
- Add Water to the Line: Look for the "Brown Rice" or "Water Line" markings on the inside of the pot. If you put in 2 Aroma cups of rice, fill the water exactly to the line marked "2". Note that for brown rice, the line is higher than it would be for the same amount of white rice.
- Secure the Lid: Ensure the inner pot is dry on the outside before placing it into the heating base. Close the lid until it clicks.
- Select the Function: Press the Power/Keep Warm button to turn the unit on, then press the Brown Rice button. The indicator light will flash or stay solid, and the cooker will begin its cycle.
- The Resting Period: When the cooker beeps and switches to "Keep Warm" mode, the rice is not yet ready. Do not open the lid. Let the rice sit undisturbed for at least 10 to 15 minutes. This "carry-over" steaming allows the remaining moisture to distribute evenly throughout the pot, preventing the bottom layer from being soggy and the top from being dry.
- Fluff and Serve: Open the lid and use the provided rice paddle (which is non-scratch) to gently fold and fluff the rice.
Aroma Rice Cooker Comparison Table: Ratios and Timelines
The following data is based on standard Aroma Digital Cool-Touch models as of 2026. Note that times are approximate and can vary based on the specific grain age and local altitude.
| Amount of Dry Rice (Aroma Cups) | Water Line (Inside Pot) | Approx. Cooking Time | Yield (Cooked Cups) |
|---|---|---|---|
| 1 Cup | Line 1 | 50–60 Minutes | 2 Cups |
| 2 Cups | Line 2 | 60–70 Minutes | 4 Cups |
| 3 Cups | Line 3 | 65–75 Minutes | 6 Cups |
| 4 Cups | Line 4 | 70–85 Minutes | 8 Cups |
| 6 Cups | Line 6 | 80–95 Minutes | 12 Cups |
| 8 Cups | Line 8 | 85–105 Minutes | 16 Cups |
Navigating Different Brown Rice Varieties
Not all brown rice is created equal. Your Aroma cooker is designed for standard "long-grain" or "medium-grain" brown rice, but other varieties may require slight adjustments.
Short-Grain Brown Rice
Short-grain varieties (like those used for brown rice sushi) are starchier and stickier. They benefit from a slightly longer soak. If your Aroma model has a "Delay Timer," you can set it to start in 30 minutes, effectively giving the rice an extra-long soak before the machine's own soaking cycle begins.
Sprouted (GABA) Brown Rice
Sprouted brown rice has been germinated to increase its nutritional profile and soften the texture. Because it is already partially softened, it may require slightly less water than standard brown rice. Some premium Aroma models now include a dedicated "GABA" or "Sprouted" button, which manages this delicate process automatically.
Brown Basmati or Jasmine
These are aromatic long-grain rices. They tend to be less sticky. To preserve their distinct floral aroma, avoid over-rinsing. Use the standard brown rice water lines, but consider adding a teaspoon of oil or butter to the pot to enhance the "separate-grain" texture typical of these varieties.
Troubleshooting Common Issues
Even with a high-quality cooker, external factors can affect your results.
The Rice is Too Crunchy
If the rice is consistently too hard, your water may be evaporating too quickly, or your local water is "hard" (mineral-rich), which can interfere with absorption.
- The Fix: Add an extra 2 to 4 tablespoons of water per cup of rice next time. You can also try soaking the rice in the pot for 20 minutes before even hitting the "Brown Rice" button.
The Rice is Too Mushy or Exploded
This usually happens when there is too much water or the rice has been over-processed.
- The Fix: Reduce the water slightly below the line. Additionally, ensure you are not using the "White Rice" setting, as the rapid boil can cause the grains to "blow out" before they are cooked through.
The Cooker Boils Over
A "starchy geyser" coming out of the steam vent is a common frustration.
- The Fix: Thoroughly rinse the rice. Adding a small amount of fat (butter, olive oil, or coconut oil) to the water helps break the surface tension of the starch bubbles, preventing them from climbing up the sides of the pot and out the vent.
The Bottom Layer is Scorched
While a little browning (called tahdig or okoge) is desirable in some cultures, actual scorching is not.
- The Fix: This often happens if you leave the rice on "Keep Warm" for more than 2 or 3 hours. If your rice is done, fluff it and serve it promptly, or turn off the unit if you plan to eat much later.
Enhancing Flavor and Nutrition
While water is the standard liquid, your Aroma cooker is capable of much more. You can substitute water with chicken, beef, or vegetable broth for a more savory grain. However, be cautious with liquids containing high sugar or dairy (like coconut milk), as these can burn on the bottom of the heating element.
Adding aromatics like a bay leaf, a smashed clove of garlic, or a sprig of thyme directly into the pot before cooking can infuse the rice with deep flavor without changing the cooking chemistry.
Maintenance for Long-Term Performance
To ensure your Aroma cooker continues to produce perfect brown rice through 2026 and beyond, regular maintenance is required. The inner pot is usually non-stick; never use metal utensils to fluff the rice, as scratches will cause the rice to stick and burn.
The most important part to clean is the removable steam vent. On most Aroma models, this is a plastic cap on the lid that can be pulled off. Starch from brown rice often accumulates here. If it becomes clogged, the internal pressure sensor will malfunction, leading to undercooked or overcooked rice. Wash this vent in warm, soapy water after every 3–4 uses.
Frequently Asked Questions
Can I use the "Quick Rice" function for brown rice?
No. The "Quick Rice" function bypasses the soaking phase and uses high heat to cook rice as fast as possible. Using this for brown rice will result in grains that are hard and inedible on the inside. Brown rice requires the gradual heat progression of the dedicated Brown Rice setting.
Why does brown rice take so much longer to cook?
Brown rice takes longer because of the bran layer. Water must penetrate this fibrous shell before it can reach the starchy interior. The Aroma "Brown Rice" cycle includes a mandatory 20-30 minute soaking period at the beginning of the cycle to facilitate this, which is why the total time is nearly double that of white rice.
My Aroma cooker doesn't have a "Brown Rice" button. Can I still cook it?
Yes. If you have a simple "on/off" Aroma pot-style cooker, you can still cook brown rice. You will need to manually soak the rice in the water for at least 30 minutes inside the pot before pressing the switch down. You should also use slightly more water than the standard white rice instructions.
Is the 2:1 water-to-rice ratio accurate for Aroma cookers?
Not exactly. Because the Aroma inner pot is designed to minimize evaporation, a strict 2:1 ratio (like you would use on a stovetop) often results in mushy rice. It is best to follow the internal water lines of the Aroma pot, which are calibrated for the machine's specific evaporation rate.
How long can I keep brown rice on the "Keep Warm" setting?
While the "Keep Warm" setting is safe, brown rice tends to dry out faster than white rice. For the best texture, try to serve the rice within 1 to 2 hours of it finishing. If you must keep it longer, add a tablespoon of water and fluff it occasionally to maintain moisture.
Moving Forward: Getting the Most Out of Your Grains
Mastering brown rice in your Aroma cooker is a matter of respecting the grain's biology. By utilizing the dedicated Brown Rice function, adhering to the specialized Aroma measuring system, and allowing for the essential post-cook resting period, you can transform a notoriously difficult grain into a consistent staple of your diet. Your next step should be experimenting with different liquid bases—such as mushroom dashi or herb-infused broths—to find the specific flavor profile that complements your favorite meals.