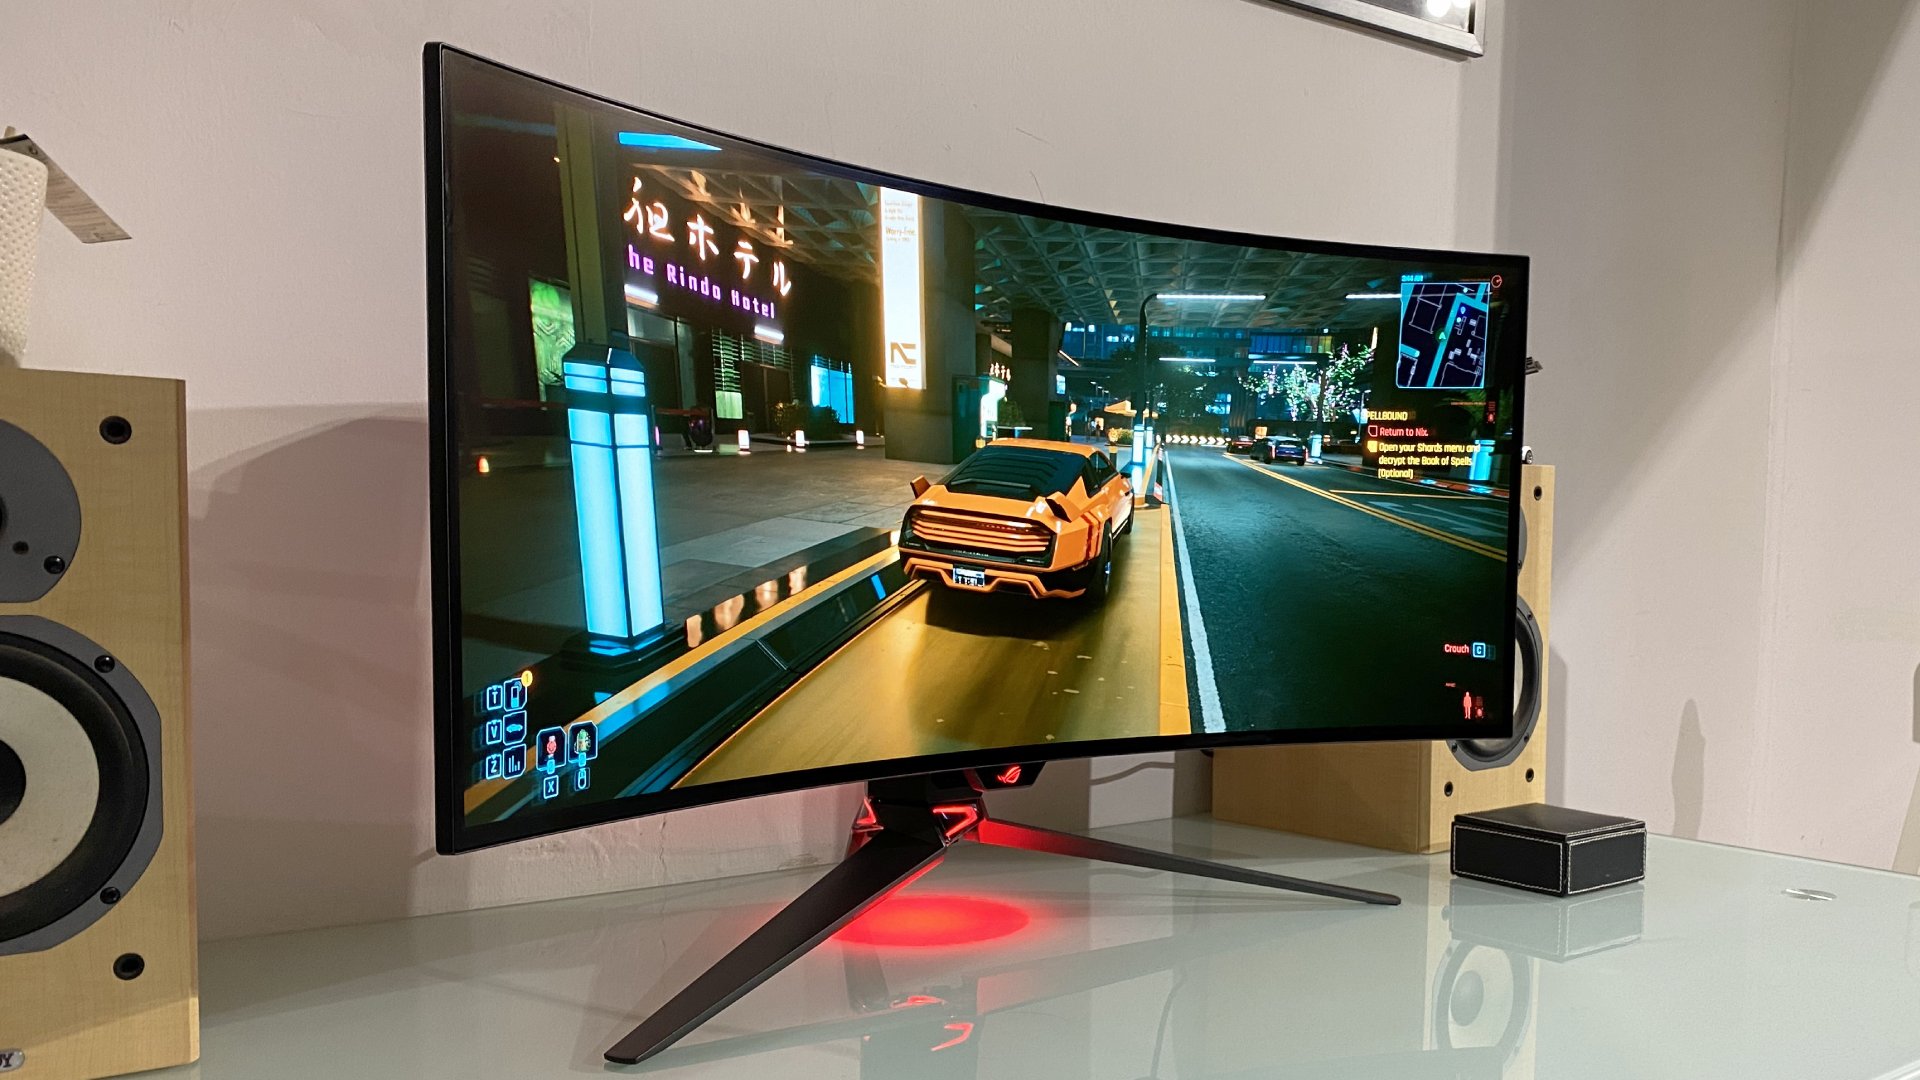
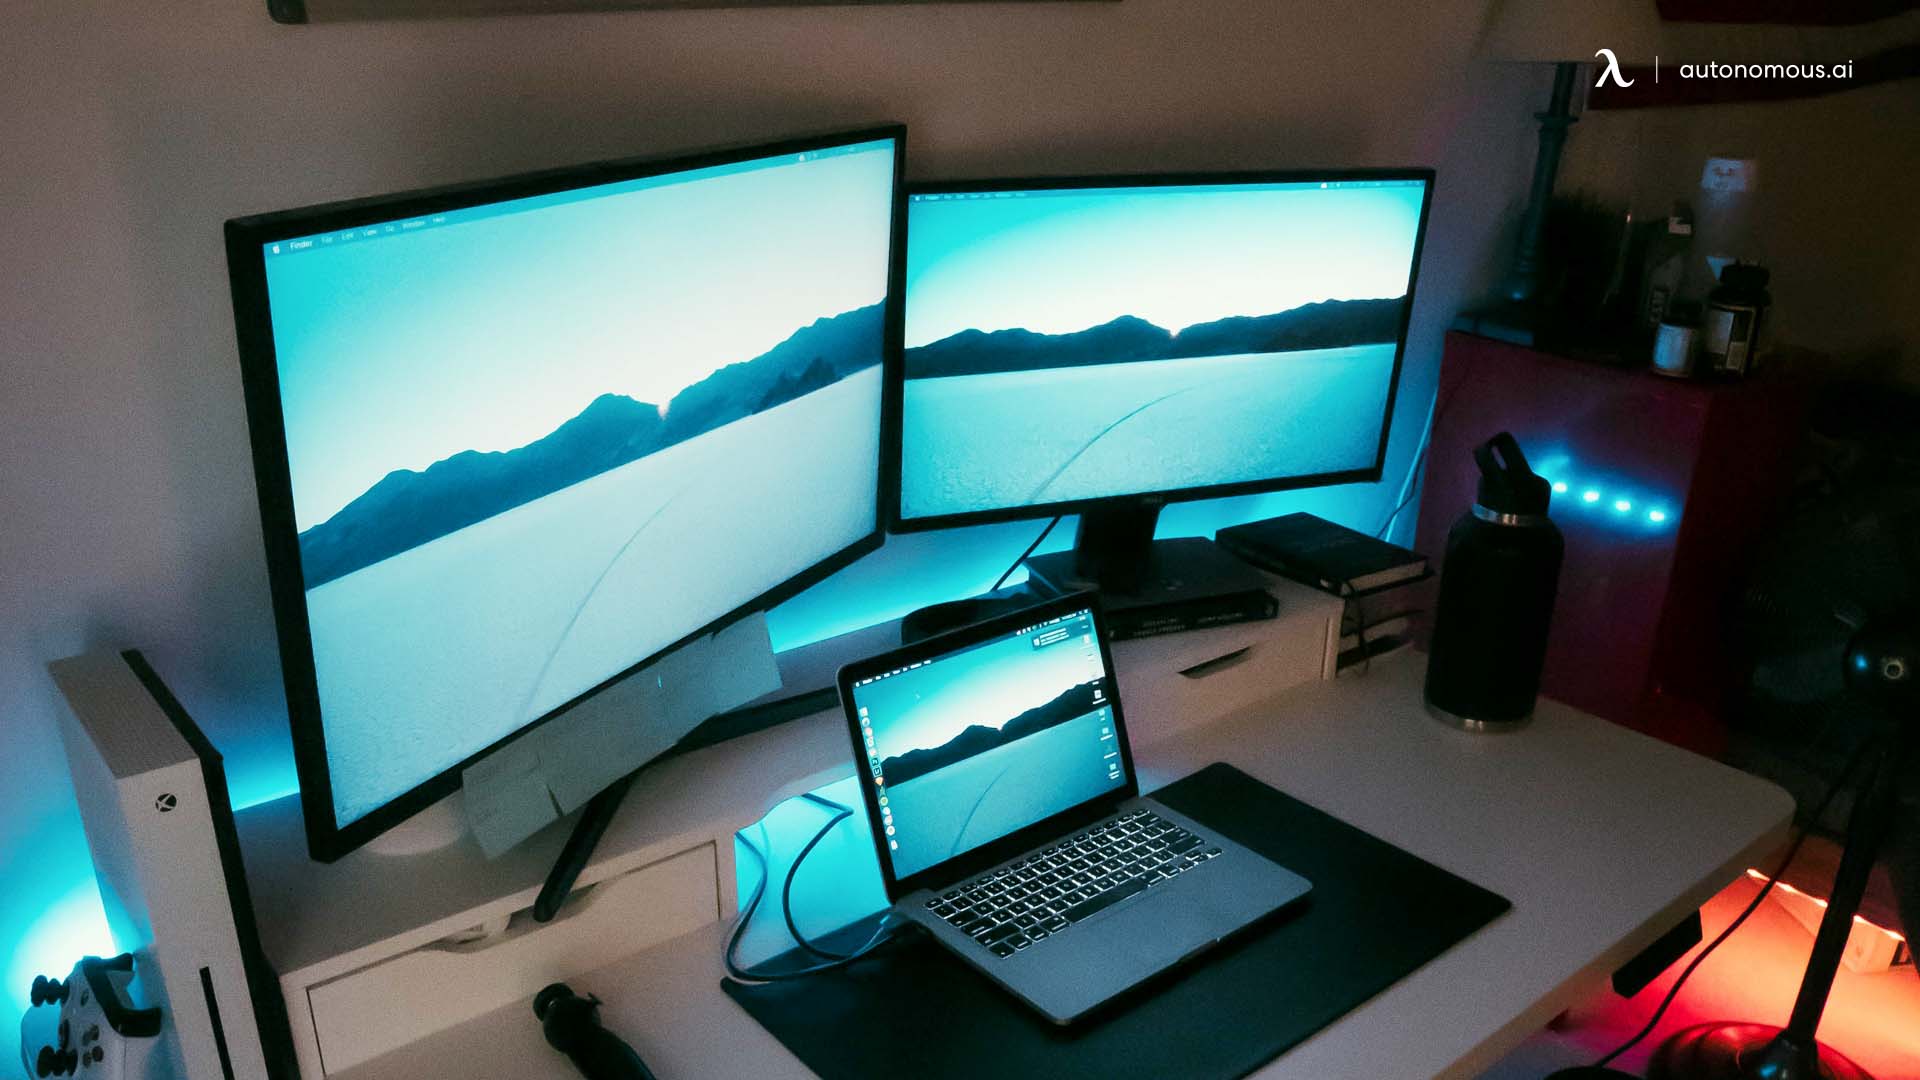
Achieving optimal visual performance requires balancing refresh rates, color accuracy, and response times through your monitor's on-screen display (OSD) and GPU control panel. By properly configuring refresh rate, adaptive sync, color calibration, response time, and local dimming, you unlock the full capabilities of your hardware for both immersive gaming and color-critical creative work.
Modern desktop displays are marvels of engineering, combining high-speed panel technology with wide color gamuts. Yet, pulling a new gaming or creator monitor out of the box and plugging it in rarely yields its optimal visual potential. Out-of-the-box profiles are typically calibrated for brightly lit retail showroom floors, which means they feature blown-out contrast, artificially saturated colors, and overly aggressive sharpness filters that destroy fine textures.
Whether you are trying to spot enemies hiding in dark corners during a competitive match or grading footage for a professional video project, proper configuration is essential. This guide examines the five best PC monitor settings for gamers and creators, explaining the technical mechanics behind each option, how to set them up, and why they matter for your daily workflow.
1. Refresh Rate and Resolution: Maximizing Motion Clarity and Workspace Real Estate
The foundational settings of any modern display are its resolution and refresh rate. Resolution determines the sharpness and canvas workspace of your screen, while refresh rate—measured in Hertz (Hz)—governs how many times per second the display draws a new image.
For gamers, a high refresh rate is non-negotiable. Moving from a standard 60Hz office panel to a 144Hz, 240Hz, or even 360Hz gaming monitor dramatically reduces motion blur, lowers input latency, and provides smoother visual tracking in fast-paced titles. Creators also benefit from high refresh rates because timeline scrubbing and UI animations become significantly more fluid. However, creators often prioritize resolution, choosing 1440p (QHD) or 4K (UHD) panels to fit complex timeline tools, high-resolution source assets, and multiple windows on a single screen without clutter.
How to Configure Refresh Rate and Resolution
Many users buy high-refresh-rate monitors but accidentally leave them running at the default 60Hz in Windows. To ensure your hardware operates at its peak:
- Right-click your Windows desktop and select Display settings.
- Scroll down and click on Advanced display.
- Locate the Choose a refresh rate dropdown menu and select the highest available Hz rating for your panel.
- Open your dedicated GPU control panel (NVIDIA Control Panel or AMD Software: Adrenalin Edition) to confirm that the resolution matches the native pixel count of the panel and that color depth is set to its maximum capability (typically 10-bit or 8-bit + FRC).
2. Adaptive Sync (G-Sync and FreeSync): Eliminating Screen Tearing and Stutter
Screen tearing occurs when your graphics card renders frames faster or slower than the monitor can refresh, resulting in a horizontal split across the image where two different frames overlap. V-Sync (Vertical Synchronization) traditionally fixed this by locking your frame rate to the monitor's refresh rate, but it introduced severe input lag.
Adaptive Sync technologies—namely NVIDIA G-Sync and AMD FreeSync (alongside VESA Adaptive-Sync)—solve this problem dynamically. They allow the monitor to match its refresh rate on-the-fly to the exact frame rate outputted by your GPU. For gamers, this means buttery-smooth motion without tearing or stuttering. For video editors and colorists, adaptive sync prevents distracting visual artifacts during playback previews, though it is often disabled during strict color-critical rendering phases to maintain a fixed reference refresh rate (such as exact 24fps or 60fps playback).
Best Practices for Adaptive Sync
- Enable in Both Places: Ensure Adaptive Sync is turned on within your monitor's physical OSD menu and enabled in your NVIDIA Control Panel or AMD Software settings.
- Pair with Frame Capping: To get the best out of G-Sync or FreeSync without hitting the input lag ceiling of V-Sync, cap your in-game frame rate just a few frames below your monitor’s maximum refresh rate (e.g., cap at 141 FPS on a 144Hz monitor).
3. Color Accuracy, Gamut, and Gamma: Achieving True-to-Life Visuals
While gamers want punchy, vibrant visuals, creators require absolute color fidelity. If you edit a video or design graphics on an uncalibrated monitor with excessive blue tones and crushed blacks, your content will look completely different on client screens, mobile devices, or televisions.
Key settings within this category include color temperature, color space clamping, and gamma response curves:
- Color Temperature: Aim for the industry standard of 6500K (D65), which mimics natural daylight. Avoid "Cool" or "Warm" presets unless verified by a hardware colorimeter.
- Color Gamut: Modern wide-gamut monitors can display colors beyond the standard sRGB spectrum, reaching DCI-P3 or AdobeRGB. Many monitors feature a sRGB Clamp mode in the OSD. Creators should use this clamp when working on web content to prevent hyper-saturated skin tones.
- Gamma: Set your monitor's gamma setting to 2.2, which is the standard baseline for Windows operating systems, web browsing, and standard-dynamic-range (SDR) media production.
4. Response Time and Overdrive: Balancing Pixel Transitions and Ghosting
Response time measures how quickly a pixel can change from one color to another, usually measured in gray-to-gray (GtG) transitions. If a monitor's response time is too slow, fast-moving objects leave a trailing shadow or blur behind them, known as ghosting or inverse ghosting.
To combat this, monitor manufacturers include an Overdrive (or Trace Free / Response Time) setting in the OSD. Overdrive applies an extra surge of voltage to the liquid crystals to make them shift faster.
Navigating Overdrive Settings
Choosing the right overdrive setting requires a delicate balance:
- Off / Low: Results in minimal pixel overshoot, but visible motion blur may persist in fast games.
- Medium / Normal: Usually the sweet spot for the vast majority of IPS, VA, and OLED panels. It sharpens motion without introducing visual artifacts.
- Maximum / Extreme: Often marketed as "1ms response time," this setting forces voltage so high that it causes inverse ghosting (or coronas), leaving bright, glowing trails behind moving objects. Avoid maximum overdrive settings for both gaming and creative work.
5. Local Dimming and HDR Settings: Enhancing Contrast and Dynamic Range
High Dynamic Range (HDR) allows monitors to display a much wider range of brightness and shadow detail simultaneously. However, true HDR performance depends entirely on the underlying display technology. Edge-lit LCD monitors with basic HDR support often wash out images, whereas OLED panels and Mini-LED displays with Full Array Local Dimming (FALD) offer incredible contrast by dimming dark zones while keeping bright highlights intensely luminous.
For gamers, HDR makes explosions, neon lights, and sunlit environments pop with realism. For video editors working with HDR footage (such as HDR10 or Dolby Vision workflows), proper local dimming configuration is mandatory to evaluate shadow clipping and peak highlight preservation.
OSD and Windows HDR Configuration
- Turn on HDR within your monitor’s physical OSD if it features an automatic or manual HDR mode.
- Open Windows Display settings, select HDR, and run the Windows HDR Calibration app provided by Microsoft to map your monitor's exact peak luminance and color volume.
- For creative work involving standard web delivery, switch off HDR and revert to sRGB mode to ensure your color space remains standardized.
Comparative Matrix: Gaming vs. Creator Monitor Settings
| Setting | Recommended Setting for Gamers | Recommended Setting for Creators | Why It Matters |
|---|---|---|---|
| Refresh Rate | Maximum available (144Hz–360Hz+) | 60Hz to 144Hz (stable reference) | Reduces motion blur; ensures smooth cursor tracking and timeline navigation. |
| Adaptive Sync | Enabled (G-Sync / FreeSync) | Optional / Disabled during critical grading | Eliminates screen tearing during motion; can interfere with exact frame-rate mastering. |
| Color Profile | Vibrant / Native or sRGB | Calibrated sRGB / DCI-P3 (6500K, 2.2 Gamma) | Ensures color accuracy across client devices and web standards. |
| Overdrive | Medium / Normal | Low / Off | Prevents inverse ghosting and trailing while maintaining crisp text rendering. |
| HDR / Local Dimming | Enabled (Max brightness & FALD active) | Enabled only for HDR grading workflows | Delivers deep blacks and bright highlights for immersive contrast. |
Frequently Asked Questions
What is the ideal brightness setting for daily PC use?
For a standard indoor office or bedroom environment, set your monitor's brightness to between 120 and 150 nits (roughly 30% to 50% on most consumer panels). Running a monitor at 100% brightness in a dimly lit room causes eye strain, distorts perceived contrast, and accelerates panel degradation over time.
Should I use game-specific preset modes like FPS or RTS?
Generally, you should avoid factory game presets. Modes labeled "FPS" or "RTS" often artificially boost sharpness, crush shadow detail, and push color temperatures into an unnatural blue hue. It is almost always better to start from a "Standard" or "User" profile and manually adjust your brightness, contrast, and color temperature.
How do I know if my monitor is actually running at its advertised refresh rate?
You can verify your refresh rate instantly by opening a browser test utility like TestUFO or checking your Windows Advanced Display settings. If your operating system is capped at 60Hz, ensure you are using a high-bandwidth DisplayPort 1.4+ or HDMI 2.1 cable plugged directly into your dedicated graphics card rather than your motherboard.
Does turning on HDR affect my color accuracy in creative applications?
Yes. Enabling HDR in Windows alters the desktop color pipeline. If you are editing standard dynamic range (SDR) photos or web graphics, having Windows HDR enabled can cause colors to look washed out or oversaturated. Toggle HDR on exclusively when gaming or editing HDR-mastered video content.
What is the difference between IPS, VA, and OLED panels regarding settings?
Panel technology dictates how settings behave. IPS panels offer great color accuracy and viewing angles but suffer from low contrast (greyish blacks). VA panels offer deep contrast but slower dark-pixel response times (ghosting). OLED panels feature self-lit pixels with infinite contrast and near-instantaneous response times, making them exceptional for both high-end gaming and professional grading, though they require care to prevent burn-in.
Conclusion and Next Actions
Calibrating your PC monitor is a one-time setup process that yields immediate dividends in visual fidelity, reaction times, and creative accuracy. Begin by verifying your Windows display settings to ensure your resolution and refresh rate match your hardware limits. Next, fine-tune your adaptive sync, dial in a balanced overdrive level to eliminate ghosting, and anchor your color temperature to 6500K with a 2.2 gamma curve. Take time to evaluate your workspace lighting and adjust your brightness downward to protect your vision during long gaming and working sessions.