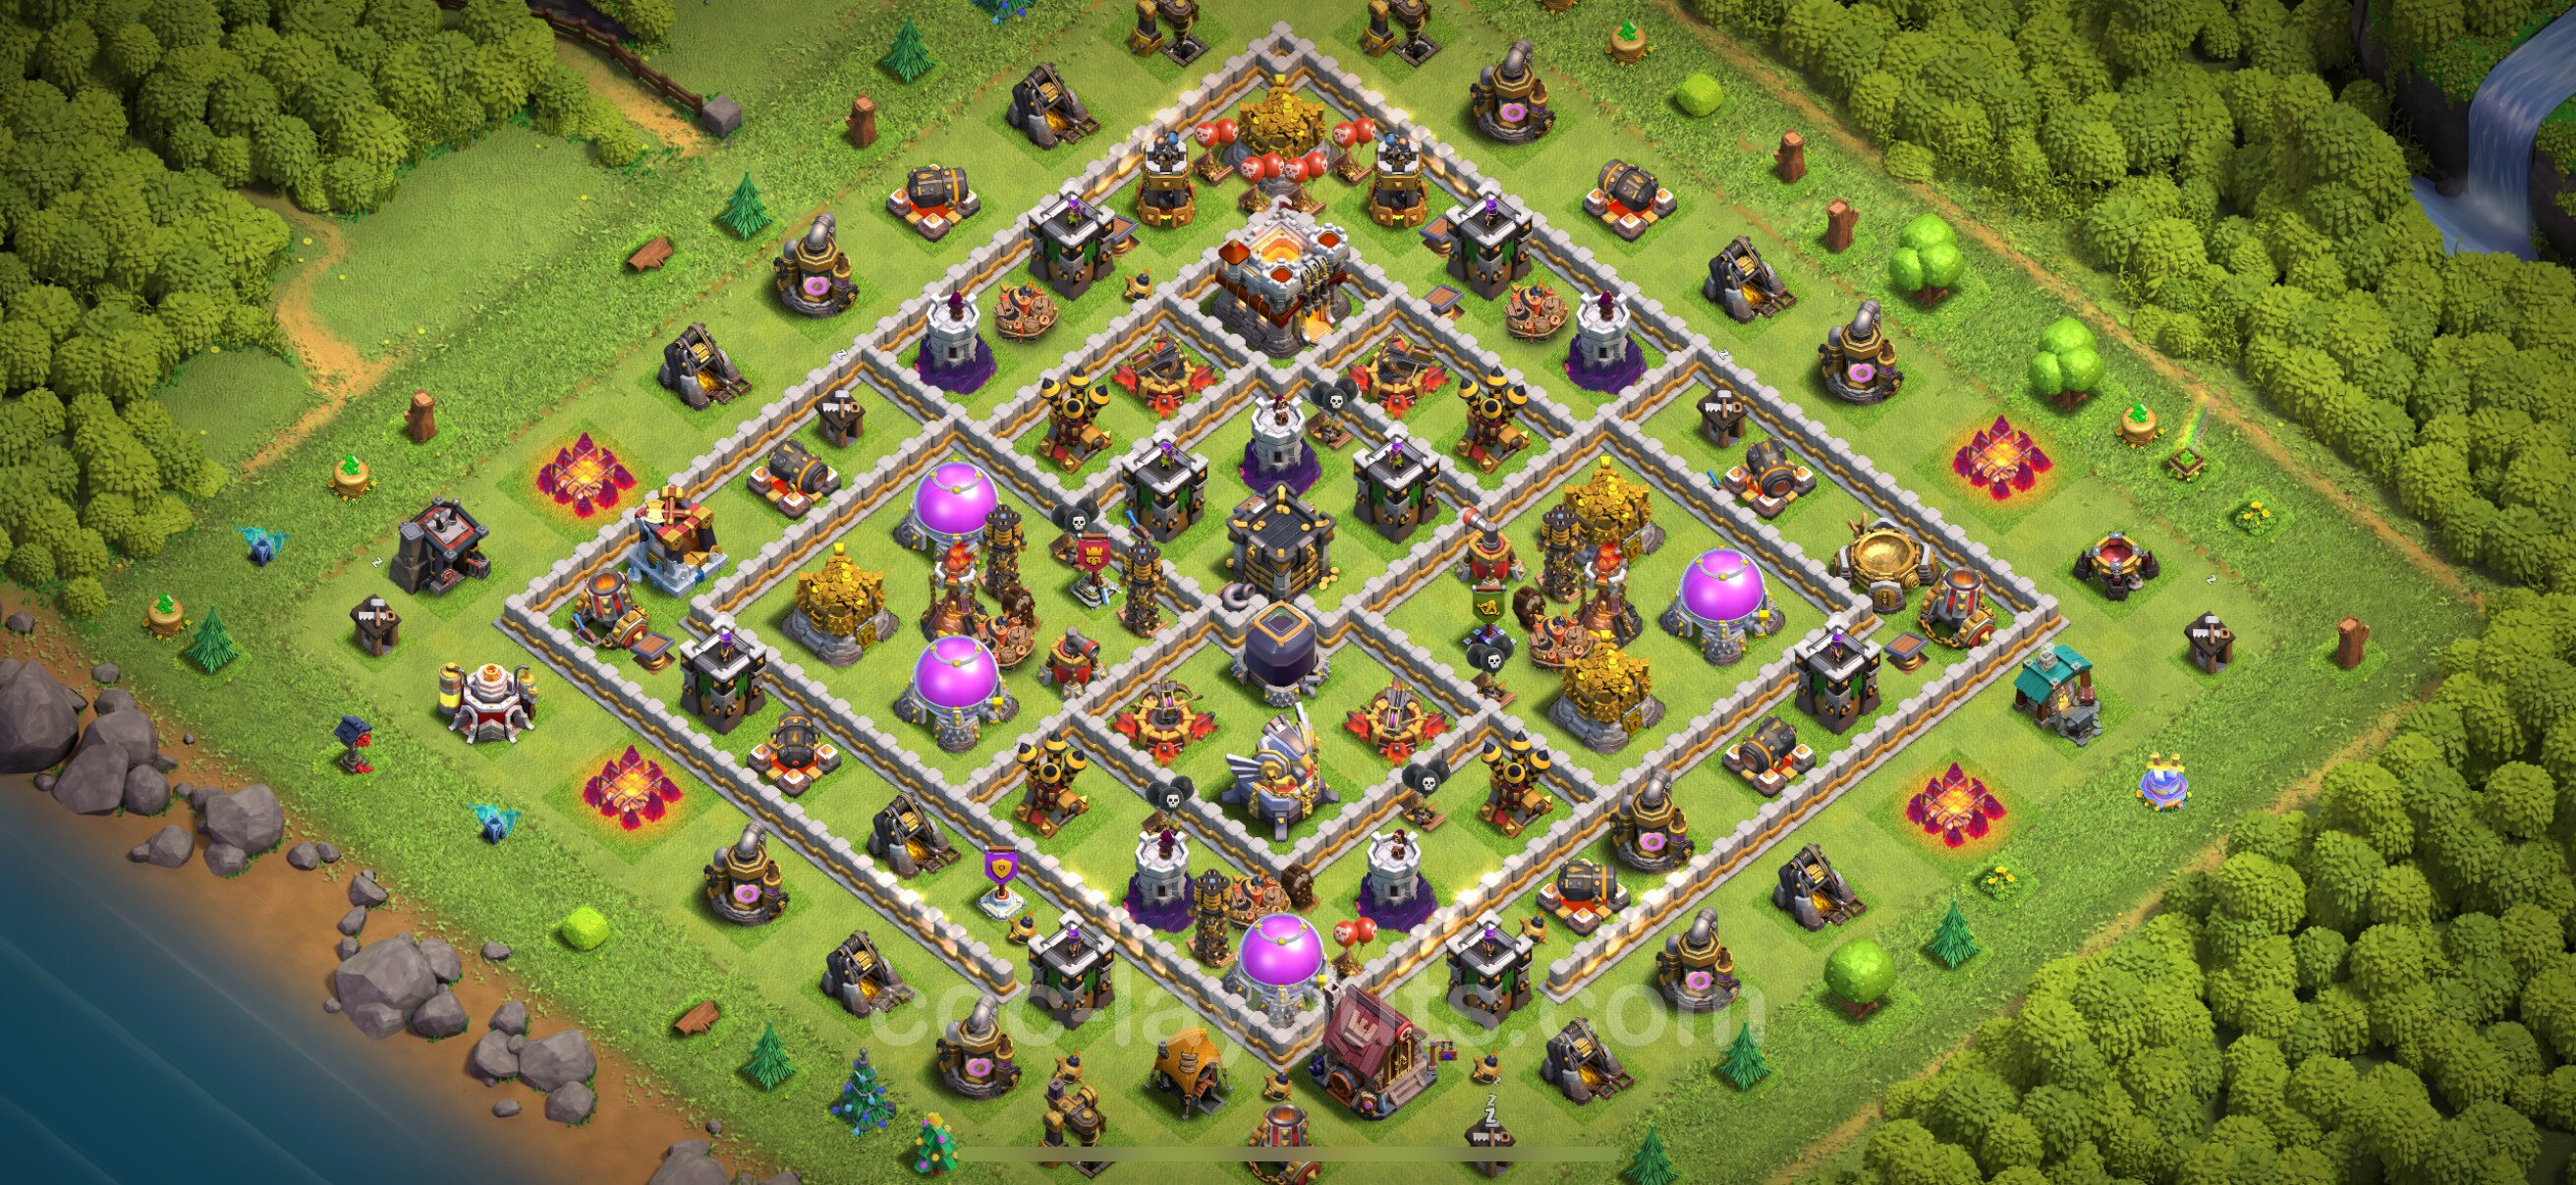
Mastering the single best strategy for Town Hall 11 in Clash of Clans—specifically the legendary DragBat (Dragon and Bat Spell) attack—requires precision, spell timing, and a deep understanding of multi-target Inferno Towers. DragBat stands out above traditional ground attacks like Bowler Witch or specialized Hybrid combinations due to its incredible versatility, ability to three-star both maxed and rushed bases, and its devastating air-to-ground synchronization.
Town Hall 11 marks a massive shift in Clash of Clans gameplay. It introduces the Grand Warden, the Eagle Artillery, and multi-target Inferno Towers, which can quickly melt traditional air or ground spam attacks. To consistently secure three stars against hyper-designed war bases and dense multiplayer layouts, you must utilize an army composition that systematically neutralizes these high-value defenses before unleashing your main swarms. DragBat achieves this by using an Electro Dragon or Queen Charge to carve out a path, followed by a massive wall of regular Dragons backed by Bat Spells to sweep away remaining point defenses.
Understanding the Town Hall 11 Meta and Why DragBat Reigns Supreme
When players transition to Town Hall 11, the defensive landscape changes dramatically. The Eagle Artillery activates once a specific housing space threshold is deployed, raining down heavy explosive payloads across the map. Concurrently, Inferno Towers can be set to single-target mode (which shreds heroes and large units like PEKKAs) or multi-target mode (which obliterates groups of squishy units like Witches, Wizards, and Bats).
While ground strategies such as GoWiPe, Mass Witches, and QW Hybrid (Queen Walk Miners and Hogs) remain exceptionally viable, they often suffer from pathing issues, giant bomb traps, and unpredictable clan castle troop interactions. Conversely, aerial troops bypass walls entirely, completely neutralizing ground-based spring traps, giant bombs, and skeleton traps.
The DragBat strategy dominates Town Hall 11 because it exploits a fundamental weakness in base design: many base builders protect their Town Hall and Eagle Artillery near the core while leaving their Wizard Towers, Archer Towers, and multi-target Inferno Towers exposed on the outer compartments. By systematically removing Wizard Towers—the absolute nemesis of Bat Spells—DragBat turns the remainder of the base into an effortless sweep.
Essential Army Composition and Spells
A successful DragBat attack relies on precise troop and spell ratios. Bringing the wrong mix of spells or neglecting clean-up troops will cause your bats to get vaporized or your timing to run out.
Standard Town Hall 11 DragBat Loadout
- Troops:
- 7 to 8 Dragons
- 2 to 3 Electro Dragons (or 1 in the army and 1 in the Clan Castle)
- 3 to 4 Balloons (primarily used to test for air mines or snipe exposed Archer Towers)
- Clean-up units: 2 Minions or 2 Archers
- Spells:
- 1 Freeze Spell (or Poison depending on Clan Castle defense)
- 5 Bat Spells
- Clan Castle Reinforcements:
- 1 Stone Slammer (Siege Machine)
- 1 Electro Dragon + 1 Balloon (or Ice Golem + Yeti if doing a ground funnel, though air is preferred)
- 1 Freeze Spell (in CC)
Spell and Troop Breakdown Rationale
The core of this attack is the Bat Spell. At max level for Town Hall 11, Bat Spells spawn a massive swarm of bats that attack defenses rapidly. However, Wizard Towers, Multi-Target Inferno Towers, and the Gigant Tesla inside the Town Hall deal splash damage that can wipe out entire waves of bats in seconds. Therefore, your entire game plan revolves around neutralizing Wizard Towers before deploying your bats.
Step-by-Step Execution Guide for DragBat
Executing a three-star DragBat attack requires a multi-phase approach. Rushing the deployment will lead to uncoordinated troops and failed funnels.
Phase 1: Creating the Funnel
Before deploying your main army, you must ensure your Dragons do not wander off to the sides of the base.
- Deploy an Electro Dragon on one side of your intended entry point to chain-lightning through adjacent buildings, clearing out structural trash.
- Use your Archer Queen or King on the opposite flank to create the other side of the funnel.
- Ensure a clear corridor points directly toward the core defenses, such as the Eagle Artillery and enemy Archer Queen.
Phase 2: Main Army Deployment and Grand Warden Ability
- Release your main pack of Dragons and any remaining Electro Dragons in a wide line behind your funnel.
- Drop your King and Queen to support the entry point or clear a secondary flank.
- Launch your Stone Slammer loaded with an Electro Dragon and Balloon directly behind your Dragons. The Stone Slammer will target defenses, drop massive payload damage upon destruction, and release high-damage troops right into the core.
- Activate the Grand Warden’s Eternal Tome ability (Life Warden) just as your army enters the range of the Eagle Artillery and enemy air defenses. This grants your Dragons and Stone Slammer temporary invulnerability, allowing them to tank the initial burst of heavy damage.
Phase 3: The Bat Wave Execution
This is the most critical phase of the attack. Watch your main army as it pushes into the base.
- Identify where the remaining Wizard Towers are located.
- Deploy your Bat Spells in a sweeping wave or targeted swarm heading directly toward a Wizard Tower that your Dragons have not yet reached.
- Use your Freeze Spells proactively. If a Wizard Tower, Multi-Target Inferno Tower, or the activated Town Hall is about to target your incoming bats, drop a Freeze Spell on it immediately. A frozen defensive structure cannot attack your bats, allowing the swarm to demolish it in seconds.
- Once the Wizard Towers are down, the remaining bats will combine with your surviving Dragons to overwhelm the base effortlessly.
Comparing TH11 Attack Strategies
To understand why DragBat is frequently ranked as a top-tier strategy, it helps to compare it against other prominent Town Hall 11 compositions.
| Strategy Name | Primary Troop Types | Difficulty Level | Best Base Layout Match | Common Failure Point |
|---|---|---|---|---|
| DragBat | Dragons, Bats, Electro Dragons | Medium-High | Compact to medium bases with exposed Wizard Towers | Failing to freeze Wizard Towers |
| QW Hybrid | Queen, Miners, Hog Riders | High | Spread-out, symmetrical war bases | Queen charge dying or running out of time |
| Bowler Witch (BoWitch) | Witches, Bowlers, Healers | Low-Medium | Open compartment designs with predictable pathing | Giant bombs and single-target infernos |
| Lalo (LavaLoon) | Lava Hounds, Balloons | High | Anti-air bases requiring precision pathing | Traps and backend clean-up failure |
Common Mistakes to Avoid
Even experienced players occasionally fail with DragBat due to avoidable tactical errors. Keep these pitfalls in mind during your attacks:
- Ignoring Wizard Towers: Dropping bat spells without accounting for active Wizard Towers is the #1 cause of failure. Always map out where the splash damage defenses are located before the battle begins.
- Bad Freeze Timing: Freezing a defense too early or too late results in dead bats. Practice dropping your freeze spells right as the defense begins its attack animation.
- Poor Funneling: If your Dragons drift to the outside edges of the base, the core defenses will remain untouched, leaving your bats with zero support when they enter the layout.
- Forgetting Clean-up Units: Always save two or three Minions or Archers to place in corners of the map to prevent time failures, especially when dealing with stray builder huts or outlying collectors.
Frequently Asked Questions
Why are Wizard Towers dangerous to Bat Spells?
Wizard Towers deal rapid splash damage that instantly eliminates grouped-up bats. A single Wizard Tower can wipe out dozens of bats in two or three attacks if they are not frozen or destroyed beforehand.
Should I use Single or Multi Inferno settings to defend against DragBat?
As a defender, Multi-Target Inferno Towers are significantly better at stopping air spam and bat waves because they deal continuous damage to multiple targets simultaneously. As an attacker, always anticipate multi-infernos and be ready to deploy freeze spells.
Is DragBat effective against maxed Town Hall 11 bases?
Yes. DragBat is frequently used in competitive Clan War Leagues (CWL) and regular wars precisely because it can three-star maxed defensive layouts when executed with precise timing.
What should I keep in my Clan Castle for this attack?
A Stone Slammer carrying an Electro Dragon and a Balloon provides exceptional core destruction and helps clear out high-value interior defenses while drawing point-defense fire away from your primary Dragon swarm.
Final Recommendation
To master the DragBat strategy, start by practicing friendly challenges within your clan. Focus heavily on your funnel creation and train your eye to spot Wizard Towers instantly. Once you master the timing of your Freeze and Bat spells, you will consistently secure three-star victories and elevate your Clan War performance.