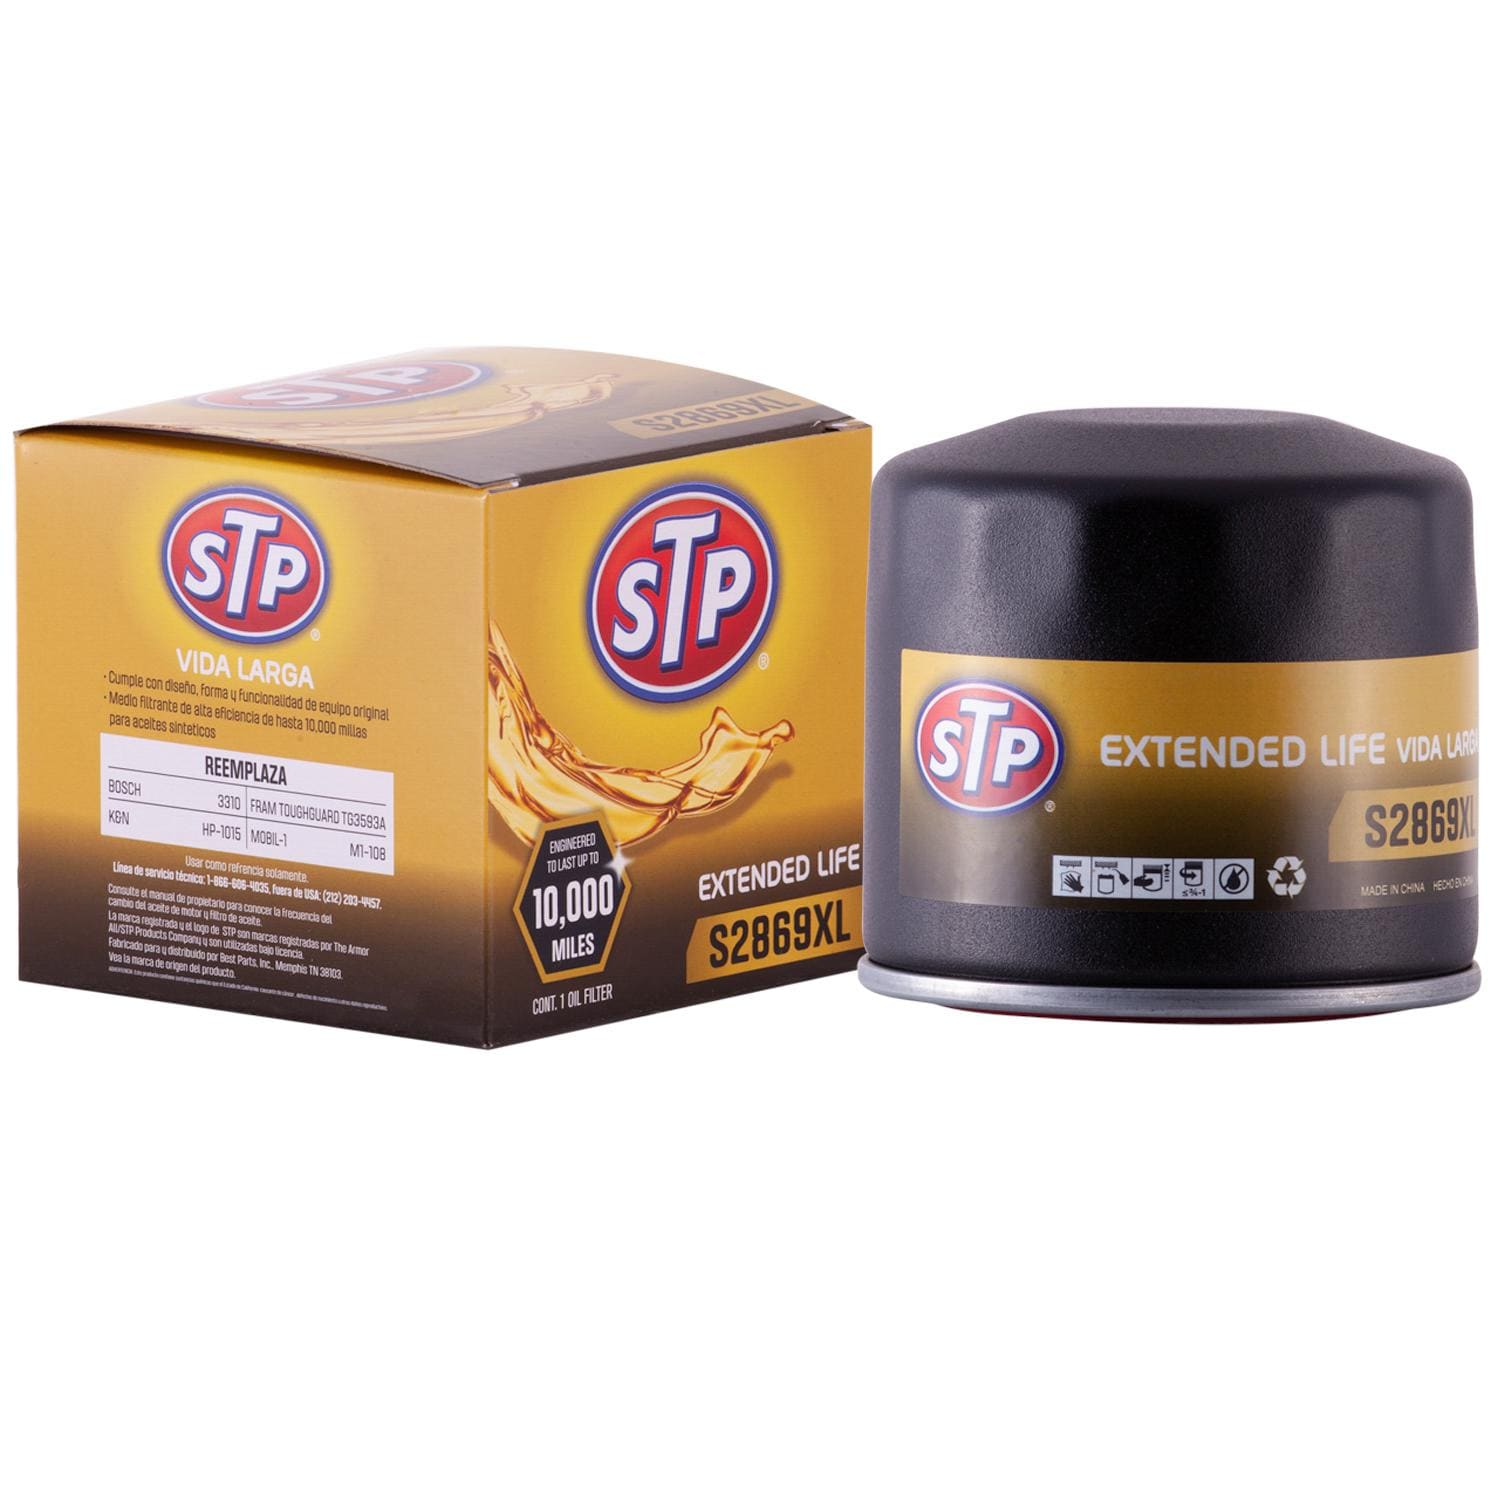
Replacing the oil filter on a 2002 Ford F-150 is a straightforward maintenance task that plays a critical role in preserving engine longevity. For the 2002 model year, the standard replacement filter across most factory engine configurations is the Motorcraft FL-820-S, though exact fitment depends heavily on whether your truck is equipped with a 4.2L V6, a 4.6L V8, or a 5.4L V8 engine. Understanding thread specifications, anti-drain back valve requirements, and proper torque sequences ensures a leak-free installation and optimal oil pressure delivery.
Understanding the 2002 Ford F-150 Engine Options
The tenth-generation Ford F-150, produced for the 2002 model year, featured three primary gasoline powerplant options. While all three engines generally utilize the same spin-on oil filter specification from the factory, verifying your specific engine code is a vital first step in routine maintenance.
The 4.2L OHV V6 Engine
The Essex 4.2-liter pushrod V6 served as the base engine for the 2002 F-150. Known for its low-end torque, this engine relies on consistent lubrication to protect its camshaft bearings and rotating assembly. The oil filter mounting point is easily accessible near the front passenger side of the engine block, making quick work of filter changes during standard oil and filter services.
The 4.6L Modular V8 Engine
The 4.6-liter modular overhead cam (OHC) V8 offered a balance of towing capacity and highway efficiency. Modular engines feature overhead camshafts that demand rapid oil pressure delivery upon startup to prevent upper valvetrain wear. Using a high-quality filter equipped with an internal silicone anti-drain back valve is particularly critical for this engine family to prevent dry starts.
The 5.4L Modular V8 Engine (Including Lightning and Harley-Davidson)
The 5.4-liter Triton V8—and its supercharged variant found in the SVT Lightning and Harley-Davidson editions—shares the same modular architecture family as the 4.6L. The supercharged 5.4L, in particular, places high thermal and mechanical demands on engine oil. Ensuring correct filtration and frequent oil change intervals help protect both the standard valvetrain and the supercharger's internal lubrication pathways.
OEM and Aftermarket Oil Filter Specifications
Selecting the correct oil filter requires examining physical dimensions, thread pitch, bypass valve settings, and internal valve construction. The industry benchmark for the 2002 Ford F-150 is the Motorcraft FL-820-S, which is engineered specifically to meet Ford's strict original equipment manufacturer (OEM) tolerances.
Thread Size and Gasket Dimensions
- Thread Pitch: M22 x 1.5 metric threads
- Gasket Outside Diameter: Approximately 2.73 inches (69.3 mm) to 2.82 inches (71.6 mm) depending on exact manufacturing tolerances
- Filter Canister Diameter: Standard spin-on canister design, roughly 3 inches wide by 3.75 to 4 inches tall
- Bypass Valve Setting: Typically opens at 12 to 15 PSI to ensure oil flow during cold starts or if the filter media becomes restricted
Anti-Drain Back Valve Importance
The anti-drain back valve is a flexible rubber or silicone internal flap covering the inlet holes inside the filter. When the engine is turned off, this valve closes to prevent engine oil from draining out of the filter and back into the oil pan.
Because Ford modular engines feature top-end valvetrains positioned far above the oil pan, a failing or missing anti-drain back valve results in a momentary delay in oil pressure upon startup. This delay causes audible valvetrain clatter ("dry start") and accelerates mechanical wear. The Motorcraft FL-820-S utilizes a robust silicone anti-drain back valve designed to withstand extreme engine bay temperatures without hardening or degrading.
| Filter Brand & Part Number | Anti-Drain Back Valve Material | Bypass Valve Setting | Gasket Type |
|---|---|---|---|
| Motorcraft FL-820-S | Silicone | 12–15 PSI | Nitrile/Rubber Molded |
| WIX 51372 | Nitrile | 8–11 PSI | Nitrile Molded |
| Fram Extra Guard PH2 | Nitrile | 12–15 PSI | Nitrile Molded |
| K&N HP-2010 | Nitrile/Rubber | 12–15 PSI | Nitrile Molded |
Tools and Materials Required for Replacement
Before sliding underneath your 2002 Ford F-150, gather all necessary tools and safety equipment to perform a clean and efficient oil filter change.
- New Oil Filter: Motorcraft FL-820-S (or equivalent high-efficiency aftermarket filter)
- Fresh Engine Oil: Correct viscosity (typically 5W-20 or 5W-30 per your owner's manual) and correct capacity for your engine size
- Oil Filter Wrench: End-cap style or band wrench sized for a standard FL-820-S canister
- Drain Pan: Large enough to catch both engine oil and filter runoff (at least 8–10 quarts capacity)
- Rags or Shop Towels: For wiping up drips and cleaning the mounting pad
- Floor Jack and Jack Stands: Never rely solely on a hydraulic jack; always secure the vehicle with heavy-duty jack stands and wheel chocks.
- Safety Glasses: To protect eyes from falling debris and hot oil droplets
Step-by-Step Replacement Procedure
Replacing the oil filter on a 2002 Ford F-150 is a manageable DIY job when approached systematically. Follow these structured steps to ensure a secure installation.
1. Preparation and Safety
Park your truck on a flat, level surface, engage the parking brake, and block the rear wheels. If necessary to gain clearance, raise the front end of the truck safely using a hydraulic floor jack and support it securely with certified jack stands. Place your oil drain pan beneath the oil filter location.
2. Locating and Removing the Old Filter
Locate the oil filter on the lower side of the engine block. Place your drain pan directly underneath. Using your oil filter wrench, loosen the filter counterclockwise by about one-half to one full turn until oil begins to seep past the threads. Stop turning and allow the oil to drain into the pan for a minute. Once drainage slows, unscrew the filter completely, keeping the open end facing upward as much as possible to minimize spills.
3. Inspecting the Mounting Base (Crucial Step)
This is the most critical step in preventing catastrophic engine failure. Look at the face of the removed filter and ensure the old rubber gasket came off with it. Sometimes, the old rubber gasket sticks to the engine mounting pad (known as a "double gasket"). If a new filter is screwed onto an old gasket, oil will blow out instantly under pressure, leading to total engine oil loss within seconds. Wipe the metal mounting pad clean with a lint-free shop towel.
4. Preparing the New Filter
Dip a clean gloved finger into a small amount of fresh engine oil and smear a thin film around the rubber gasket of your new filter. This lubricates the gasket, ensures an even seal, and prevents the gasket from sticking to the engine block during your next oil change. Pre-filling the filter slightly with fresh oil (if mounting orientation allows) can also reduce startup dry-run time.
5. Installing and Torquing the New Filter
Thread the new filter clockwise onto the engine mounting stud. Ensure the threads spin smoothly without cross-threading. Once the rubber gasket makes firm contact with the engine mounting pad, turn the filter an additional 3/4 to 1 full turn by hand.
Warning: Never use a wrench to tighten a new oil filter. Overtightening can crush the gasket, distort the canister, or ruin the mounting threads, leading to severe leaks.
Post-Installation Verification and Testing
Once the new filter is secured and your drain plug is reinstalled to proper factory torque specifications, refill the engine crankcase with the correct volume and viscosity of fresh motor oil.
- Remove all tools, rags, and equipment from beneath the vehicle.
- Lower the truck safely to the ground.
- Pull the fuel pump relay or ignition fuse (optional) or simply start the engine normally.
- Let the engine idle while observing the instrument cluster oil pressure gauge or indicator light. The pressure should stabilize within 3 to 5 seconds.
- Step out of the vehicle and inspect underneath with a flashlight to verify there are no leaks around the oil filter base or drain plug.
- Shut off the engine, wait five minutes for oil to settle back into the pan, and verify the oil level on the dipstick, topping off if necessary.
Common Mistakes to Avoid
- Leaving the Old Gasket Behind: Failing to check the mounting pad results in a double gasket, causing an immediate blowout of engine oil upon startup.
- Overtightening with a Wrench: Using mechanical leverage to tighten the filter distorts the rubber seal, pinching it and creating slow leaks that worsen under high RPMs.
- Using the Wrong Filter Part Number: Selecting a filter with incorrect internal bypass pressures or thread pitches can cause oil restriction or cause the filter to unscrew under vibration.
- Failing to Lubricate the Gasket: Dry rubber seals can catch, twist, or tear during installation, preventing a proper seal.
Frequently Asked Questions
Can I use a larger oil filter on my 2002 Ford F-150?
Many owners of older modular Ford engines look into swapping the standard FL-820-S for larger filters (such as the Motorcraft FL-1A). However, the 4.2L, 4.6L, and 5.4L engines in the 2002 F-150 require the specific M22 x 1.5 thread pitch and bypass specifications found in the FL-820-S. Using an incorrect filter type due to physical size preference can lead to mounting clearance issues or improper filtration pressure. Stick to the manufacturer-specified filter design.
How often should I change the oil filter on a 2002 Ford F-150?
The oil filter should be replaced during every routine oil change. For conventional oil, this typically means every 3,000 to 5,000 miles, or every 6 months, whichever comes first. If you use high-quality synthetic oil, follow your oil manufacturer's recommended mileage intervals, but always install a fresh filter at the same time.
What causes an oil filter to leak after replacement?
An oil filter leak usually points to one of three issues: the old rubber gasket was left stuck to the engine block (double gasket), the new filter was cross-threaded during installation, or the filter was under-tightened or over-tightened, damaging the sealing ring. Shut off the engine immediately if you notice an oil leak after service.
Is the oil filter location difficult to reach on a 2002 F-150?
Compared to modern passenger cars with tightly packed engine bays, the 2002 Ford F-150 offers relatively good ground clearance and open engine access. Depending on whether your truck sits at stock height or has a suspension lift, you may or may not need a floor jack to slide underneath comfortably, but specialized tools are rarely required beyond a standard filter wrench.
What should I do with the used oil and filter?
Used engine oil and old filters are classified as hazardous waste and cannot be thrown into household trash. Drain all excess oil from the old filter into your collection pan, wrap the filter in a plastic bag, and take both the used oil and the filter to a local auto parts store, recycling center, or municipal waste facility that accepts automotive fluids for free recycling.