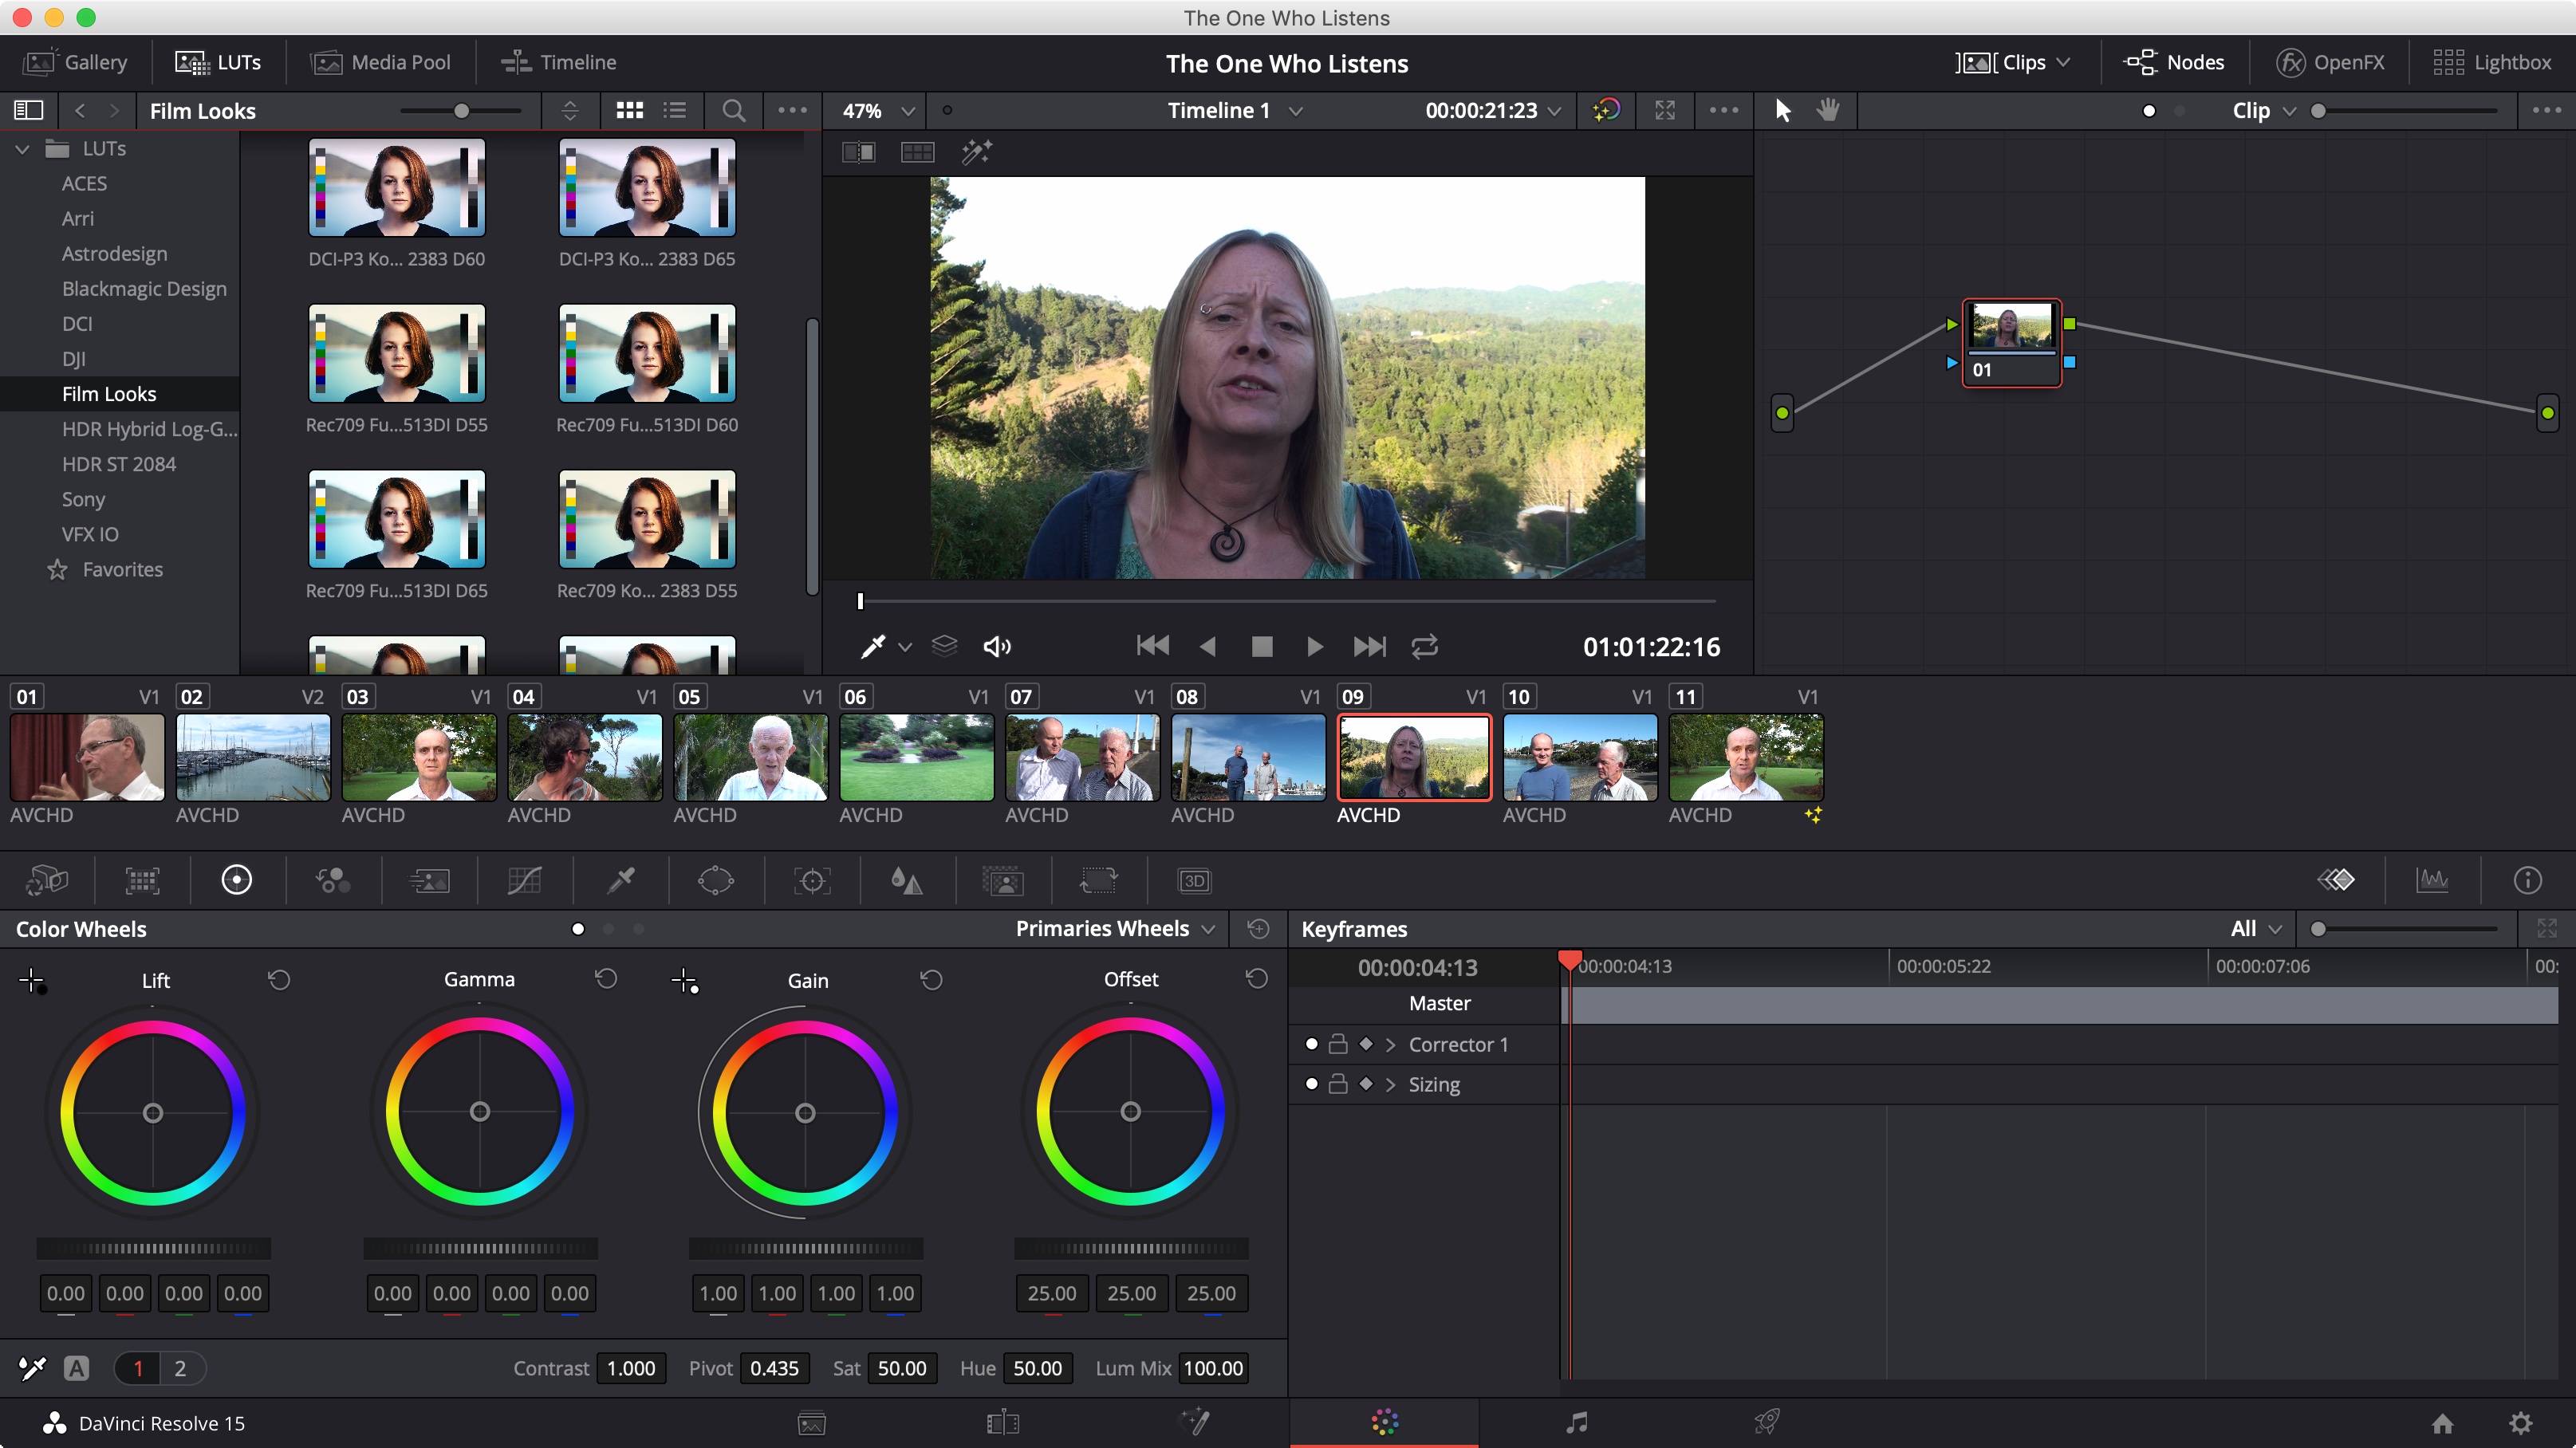
Adding a Look-Up Table (LUT) to DaVinci Resolve allows you to quickly apply professional color grades, standardize your workflow, or preview specific color spaces. By importing LUTs into the application’s dedicated LUT folder, you gain persistent access to these files directly within your nodes, allowing for seamless integration into both color grading and editing pipelines.
Understanding the Role of LUTs in DaVinci Resolve
In the context of professional post-production, a LUT is essentially a mathematical formula that maps input colors to output colors. In DaVinci Resolve, these are primarily used for two purposes: technical transformation and creative styling. Technical LUTs, such as those provided by camera manufacturers (like Blackmagic Design, ARRI, or RED), are used to convert log-encoded footage—which appears flat and desaturated—into a standard color space like Rec.709. Creative LUTs, on the other hand, provide a stylistic "look," emulating specific film stocks or cinematic color palettes.
Adding these to your library is a vital step for any editor or colorist. Instead of manually re-creating a grade for every project, you can simply load your preferred LUTs into Resolve, making them instantly available in your Project Settings or the LUT browser within the Color page.
Prerequisites Before Importing
Before you begin, ensure your LUT files are in the correct format. DaVinci Resolve supports the industry-standard .cube format. While some older or proprietary formats exist, .cube is the universal language for color science in digital cinema.
Additionally, ensure your folder structure is clean. If you have a large library of LUTs, organize them into subfolders on your computer before moving them into Resolve. This keeps your LUT browser organized, preventing you from having to scroll through hundreds of files to find the one you need.
The Step-by-Step Process to Add LUTs
To make LUTs available in DaVinci Resolve, you must move the files into the application’s designated color management directory. Follow these steps to ensure the software detects them correctly:
- Open DaVinci Resolve: Launch the application and open any project.
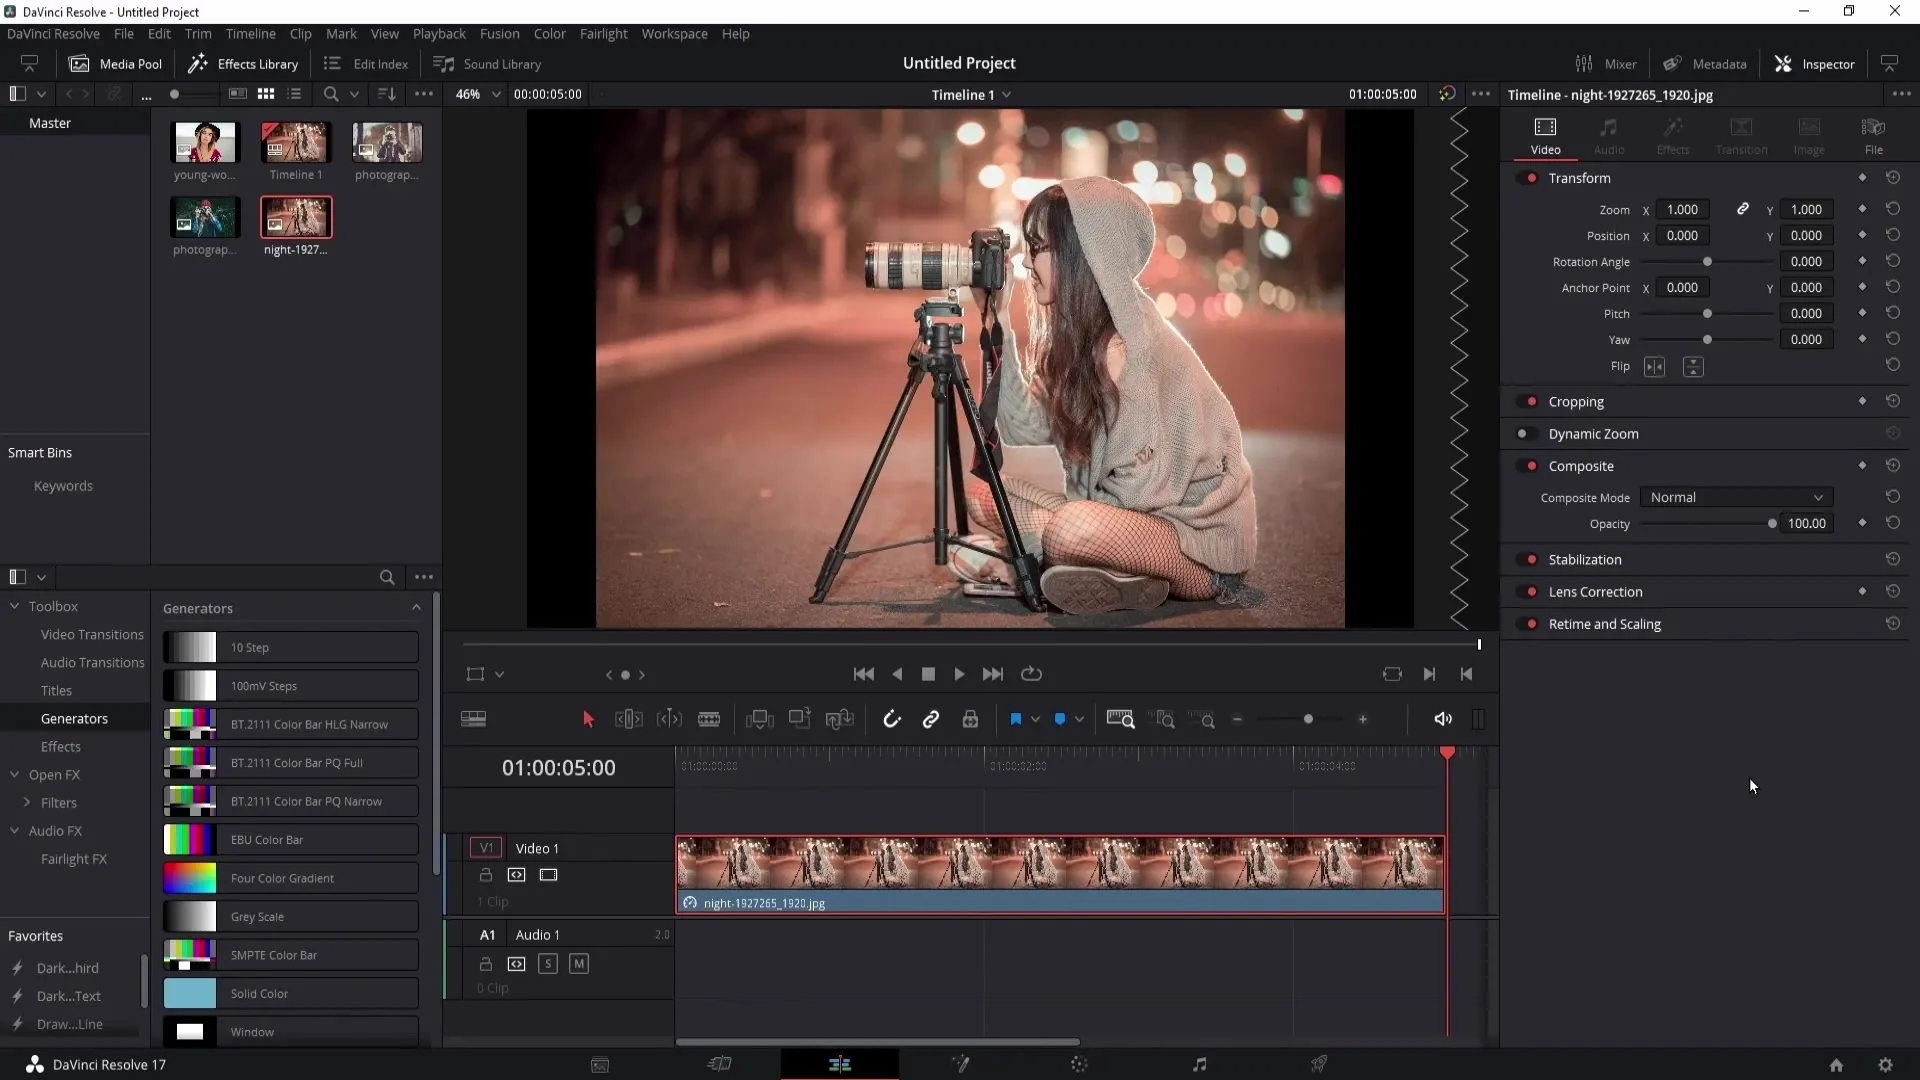
- Access Project Settings: Click the gear icon located in the bottom right corner of the interface.
- Navigate to Color Management: In the left-hand sidebar, select the "Color Management" tab.
- Open the LUT Folder: Scroll down to the "Lookup Tables" section and click the button labeled "Open LUT Folder." This action opens the root directory on your operating system where Resolve stores all its LUT data.
- Install Your LUTs: Paste your
.cubefiles (or folders containing them) into this directory. If you want them organized, create a new folder inside the directory and place your files within it. - Refresh the LUT List: Once the files are moved, navigate back to DaVinci Resolve. Click the "Update Lists" button within the Lookup Tables section of the Project Settings.
- Verify: Close the Project Settings window. You can now access your newly imported LUTs by right-clicking on any node in the Color page, selecting "LUT," and navigating through the menu to find your folders.
Organizing Your LUT Workflow
Once you have successfully imported your files, the next challenge is effective management. If you are working on professional projects, you might accumulate dozens of LUTs. Managing these through the software’s native menu is essential for maintaining a fast workflow.
If you find that your LUT list has become bloated, go back to the directory you opened in the previous steps. By creating a hierarchical folder structure (e.g., "Vintage," "Technical," "Blackmagic," "Customer A"), you can find the exact grade you need in seconds. Remember that Resolve will reflect the folder structure you create within the LUT folder directly in the node-based menu.
Troubleshooting Common LUT Issues
Even when following the steps above, you may occasionally run into issues where LUTs do not appear. Most problems stem from incorrect file formats or file path errors.
- Incorrect File Extension: Ensure your files end in
.cube. If they are in other formats like.3dl, they may not be recognized by all versions of Resolve. You may need to use a conversion tool if your LUTs are in a non-standard format. - Failure to Update: If you have added the files but they do not appear, you must click the "Update Lists" button in the Color Management settings. Resolve does not always auto-detect changes made to the directory while the software is open.
- File Corruption: If a specific LUT causes a node to turn red or display an error message, the file itself may be corrupted. Try re-downloading or re-exporting the LUT.
- System Permissions: On some operating systems, the folder where Resolve stores LUTs may be protected. Ensure you have read/write permissions for the folder, especially if you are working on a multi-user workstation.
Table: Comparison of LUT Application Methods
| Method | Best For | Pros | Cons |
|---|---|---|---|
| Node-Based LUTs | Selective Grading | Offers full control using opacity and blending modes. | Takes time to set up per node. |
| Project Settings LUTs | Uniform Look | Applies to all footage in a project automatically. | Less flexibility for different clips. |
| Color Management | Primary Correction | Standardizes inputs for technical log footage. | Requires understanding of color science. |
Advanced Usage: The "LUT Opacity" Feature
One of the most powerful features in DaVinci Resolve is the ability to adjust the intensity of a LUT. When you apply a LUT to a node, you are not locked into the full 100% strength of that look. By right-clicking the node and selecting "Key Output," you can adjust the gain of the entire node.
Alternatively, you can use the "Key" tab in the Inspector to dial back the opacity of the LUT. This is particularly useful for creative LUTs that might be too aggressive for a specific shot. By lowering the opacity, you can blend the look, achieving a more subtle, natural effect that still captures the desired color palette without destroying the underlying image information.
Managing LUTs in Multi-User Environments
In 2026, collaborative workflows are standard. If you are working on a team project, you must ensure that all editors and colorists are using the same LUTs. If one person uses a custom LUT that is not present on another workstation, the look will break, often resulting in a "Missing LUT" error.
The best practice is to store your project-specific LUTs in the project folder itself or within a shared network location that is mapped to every machine. This ensures that when someone else opens the project, Resolve can locate the files. If you are sending a project to a third-party facility, always remember to export your project archive ("DRA" file), which typically includes the media and LUTs used, preventing compatibility issues.
Frequently Asked Questions
Can I import a LUT directly onto a clip without using the Project Settings?
Yes. You do not need to add a LUT to the global library to use it. You can simply right-click a node, hover over "LUT," and select "Load LUT." This will open a file browser where you can select any .cube file from your computer. This is faster for one-off tests but does not store the LUT for permanent library use.
Why does my footage look worse after applying a LUT? This often happens if you apply a creative LUT to raw or Log footage without first applying a technical conversion LUT. Creative LUTs are usually designed for "finished" or Rec.709 images. If you apply them to flat, log-encoded footage, the contrast and saturation will look unnatural. Always transform your footage to your target color space first.
Is there a limit to how many LUTs I can have in my library? There is no hard-coded limit to the number of LUTs you can add, but having thousands of files in the directory can lead to slower menu load times. It is recommended to keep only the LUTs you actively use in your main folder and archive the rest in a separate location.
Can I create my own LUTs in DaVinci Resolve?
Absolutely. Once you have finished a grade, you can right-click on the thumbnail of the clip in the Color page and select "Generate LUT." This allows you to save your grade as a .cube file, which you can then apply to other projects or share with colleagues.
Do LUTs work differently on the Free version versus the Studio version? The core functionality of applying LUTs is the same in both versions. However, the Studio version offers more advanced color management tools and GPU acceleration for complex color pipelines, which can make processing large LUTs or high-bit-depth files more stable.
Recommendations for Your Workflow
For the most efficient workflow, adopt a "Folder-First" approach. Create a master folder on your local drive titled "My LUTs" and organize it by source (e.g., Camera LUTs, Film Print Emulations, Utility LUTs). When you install DaVinci Resolve, link this folder path or move your organized files into the default LUT directory.
If you are just starting out, prioritize learning the difference between "Technical" and "Creative" LUTs. Always start your node tree with a technical conversion to get your footage into the correct working space, and save the creative LUT for a node near the end of your tree. This prevents the creative look from interfering with your primary balance and exposure adjustments. As you grow more comfortable, experiment with keying and opacity to refine your grades, ensuring that every frame you deliver is as polished and intentional as possible.