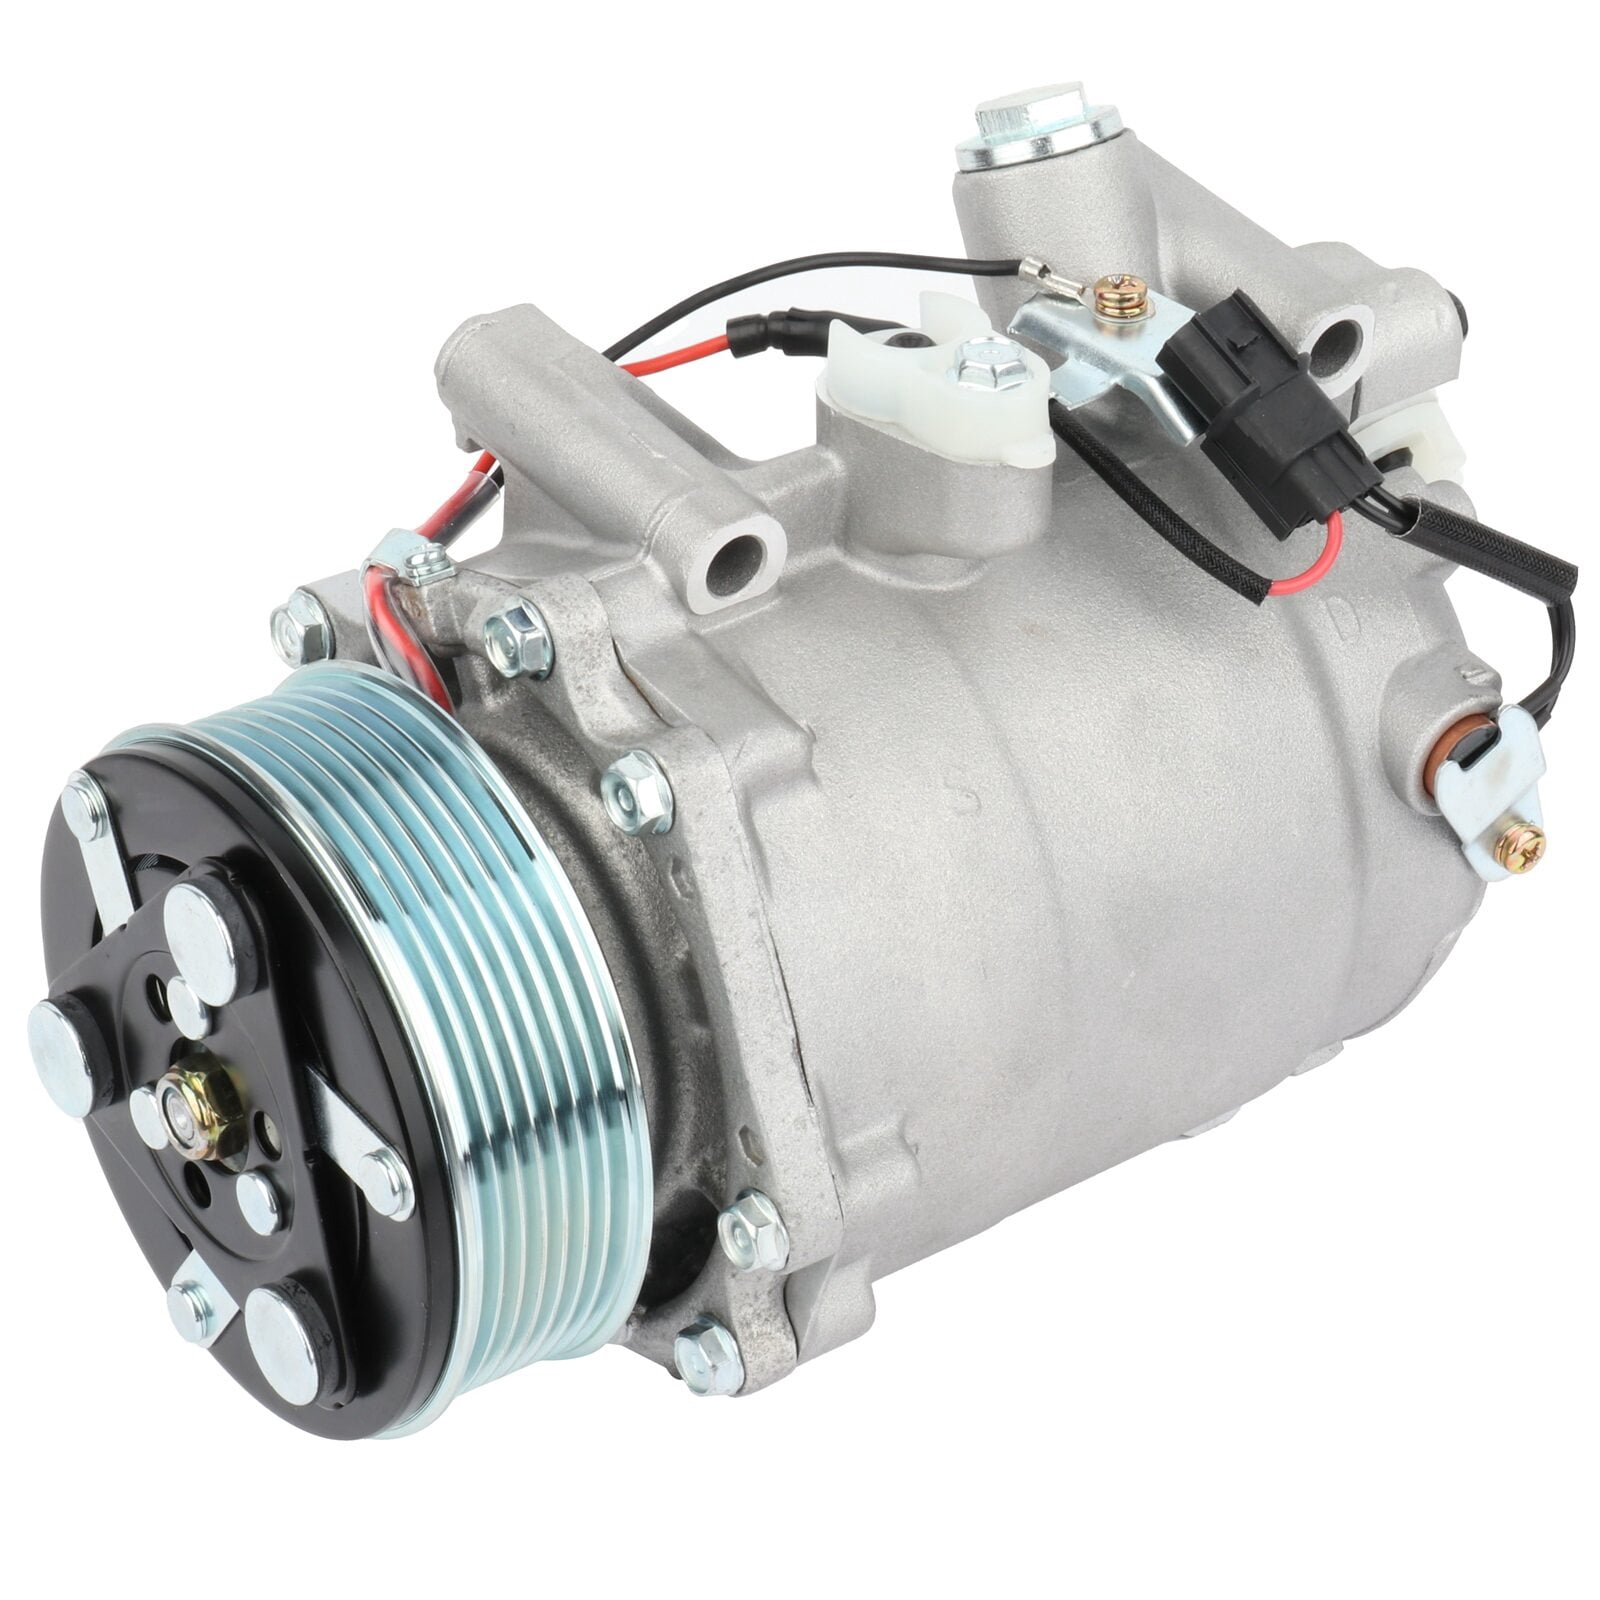
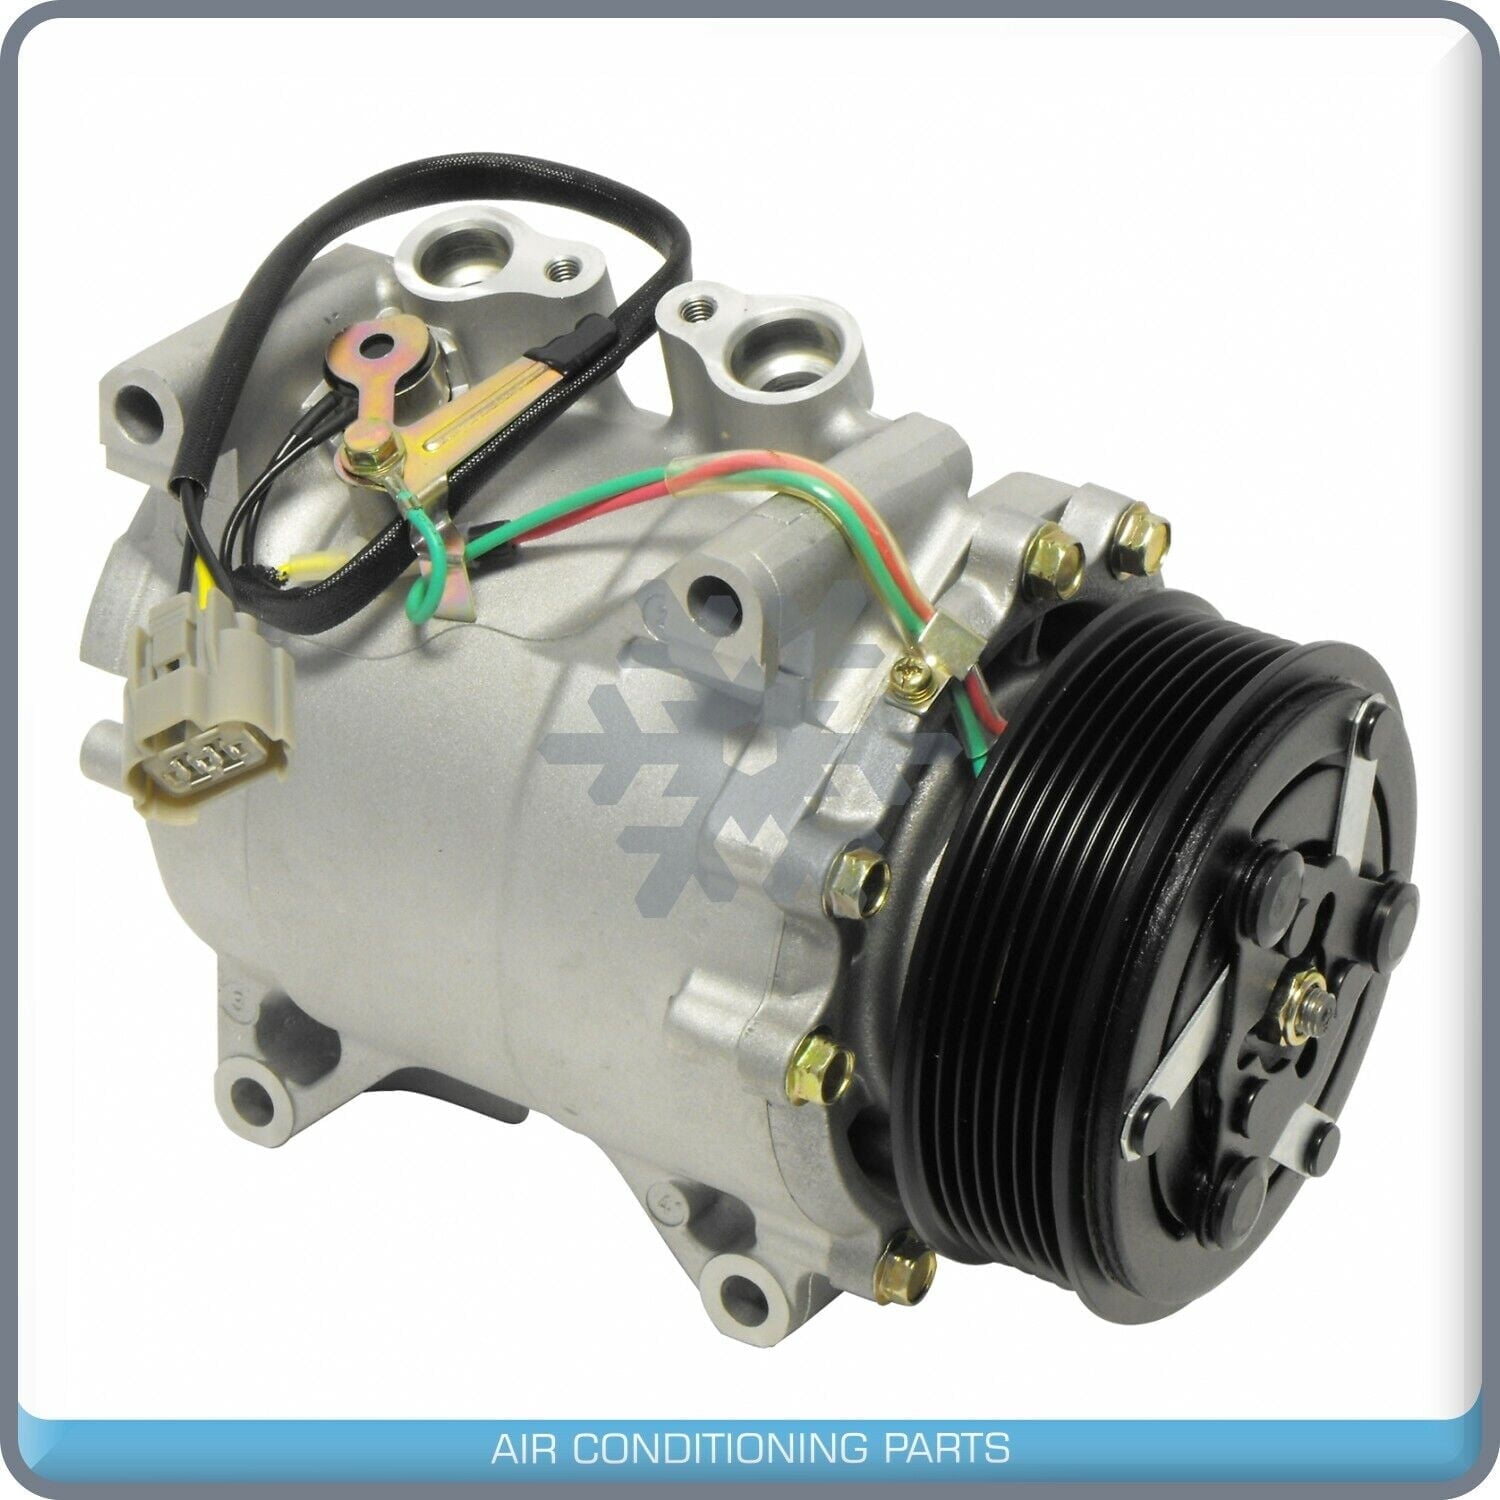
The 2010 Acura TSX air conditioning compressor is a core component of the vehicle's climate control system, responsible for pressurizing and circulating refrigerant throughout the evaporator and condenser loop. When this unit fails, it typically causes a total loss of cabin cooling, unusual mechanical noises from the accessory belt area, or visible refrigerant leaks, requiring a comprehensive compressor replacement and system flush.
Maintaining the HVAC system in a second-generation Acura TSX (manufactured for the 2009 through 2014 model years) involves understanding how the air conditioning compressor operates, recognizing early symptoms of mechanical failure, and following proper replacement procedures. Because modern automotive climate control systems are closed, high-pressure loops, addressing a faulty compressor requires specialized tools, chemical flushing, and meticulous attention to refrigerant capacities.
Understanding the 2010 Acura TSX AC System Architecture
The climate control layout in the 2010 Acura TSX relies on a belt-driven, variable displacement or clutch-type compressor depending on the specific engine trim (the 2.4-liter inline-four K24Z3 or the 3.5-liter V6 J35Z6). The compressor is mounted low on the passenger side of the engine block, making it vulnerable to road debris, moisture, and oil contamination.
As the heart of the refrigeration cycle, the compressor pulls low-pressure refrigerant gas from the evaporator, compresses it into a high-pressure, high-temperature gas, and pushes it toward the condenser located in front of the radiator. A heavy-duty electromagnetic clutch engages and disengages the pulley based on signals from the climate control unit and the Powertrain Control Module (PCM). When sensors detect pressure anomalies, evaporator freezing conditions, or engine overheating, the PCM cuts power to the compressor clutch coil to protect the engine and drivetrain.
Key Components Linked to the Compressor
- AC Clutch and Pulley Assembly: Receives belt rotation and engages the compressor shaft via an electromagnetic coil.
- Receiver-Drier / Desiccant Bag: Filters moisture and debris out of the liquid refrigerant line.
- Expansion Valve: Regulates the flow of liquid refrigerant into the evaporator core.
- Condenser: Dissipates heat absorbed from the cabin to the outside air.
- Evaporator Core: Absorbs heat from the interior air as liquid refrigerant boils into a gas.
Common Symptoms of a Failing 2010 Acura TSX Compressor
Recognizing the early warning signs of compressor degradation can prevent total system lockup, which distributes microscopic metal shavings throughout the entire aluminum tubing network.
1. Loud Mechanical Grinding or Squealing Noises
If you hear a harsh metallic screech when the AC is turned on, the internal bearings of the compressor or the clutch pulley have likely failed. A persistent squeal can also indicate a seized compressor shaft forcing the serpentine belt to slip across the pulley face.
2. Warm Air Blowing from Vents
When internal valving or pistons wear out, the compressor loses its ability to build necessary system pressure. If the refrigerant charge is verified as full via manifold gauges but the discharge air remains ambient, the compressor is no longer pumping effectively.
3. Visible Leaks and Oily Residue
AC compressors utilize internal PAG oil to lubricate moving parts. Over time, the front shaft seal degrades, allowing oil and refrigerant to escape. Look for dark, oily buildup on the compressor housing, nearby frame rails, or the under-engine splash shield.
4. Intermittent Operation or Blown Fuses
An internal electrical short within the electromagnetic clutch coil will repeatedly blow the under-hood AC clutch fuse. Alternatively, a failing thermal protector switch on the compressor body will shut down operation to prevent catastrophic overheating.
Diagnosing Compressor Failure vs. Supporting Issues
Before investing in a replacement compressor, technicians must verify that the root cause of the climate control failure lies within the compressor itself rather than a peripheral electrical or electronic component.
- Diagnostic Start: AC Blows Warm
- Check AC Clutch Engagement?
- No -> Check Fuses, Relays, Pressure Switch, Coil Resistance
- Yes -> Check High/Low Manifold Pressures
- Pressures Equalized / Low Performance?
- Yes (No Compression) -> Internal Compressor Failure
- Abnormal -> Check Expansion Valve or Blockage
- Metallic Debris in System?
- Yes -> Complete Flush + Condenser Replacement
- No -> Standard Compressor Swap + Drier Change
- Check AC Clutch Engagement?
Electrical and Sensor Checks
- AC Relay and Fuse: Inspect the designated AC compressor relay in the under-hood fuse box. A stuck-open or burned relay will prevent voltage from reaching the clutch.
- Pressure Transducer: The TSX utilizes a pressure sensor on the high-side liquid line. If refrigerant pressure drops below a minimum threshold (due to a leak) or spikes too high (due to a blocked condenser), the sensor commands the system off.
- Clutch Coil Resistance: Measure the resistance across the clutch coil terminals using a multimeter. Specifications generally fall between 3.5 and 4.2 ohms at room temperature; an open circuit or zero resistance indicates a failed coil.
Step-by-Step Replacement Procedure
Replacing the AC compressor on a 2010 Acura TSX is an advanced mechanical procedure that requires refrigerant recovery equipment, vacuum pumps, and precise fluid measurements. Note: Federal and local environmental regulations prohibit venting R-134a refrigerant into the atmosphere.
Phase 1: Preparation and Recovery
- Refrigerant Evacuation: Connect a certified AC manifold gauge set and recovery machine to the high and low service ports. Extract all remaining refrigerant from the system and record the weight recovered to help diagnose potential leak volumes.
- Disconnect Battery: Disconnect the negative battery terminal to prevent accidental electrical shorts while working around the alternator and starter wiring harnesses.
- Access Components: Remove the front passenger-side wheel, inner fender splash shield, and the under-engine splash guard to gain clear visual and physical access to the compressor.
Phase 2: Removal of the Old Compressor
- Remove Serpentine Belt: Release tension on the automatic belt tensioner using a serpentine belt tool or a long-handled socket wrench, and slip the belt off the compressor pulley.
- Disconnect Electrical Connectors: Unplug the wiring harness connector for the electromagnetic clutch and the compressor control valve (if equipped on variable-displacement models).
- Unbolt Refrigerant Lines: Remove the single manifold bolt securing the suction and discharge lines to the rear of the compressor. Immediately plug or tape off the open line ends to prevent atmospheric moisture and debris from entering the aluminum tubing.
- Warning: Replace the O-rings on these lines every time they are opened. Never reuse old rubber O-rings.
- Remove Mounting Bolts: Unbolt the structural mounting bolts securing the compressor body to the engine block or mounting bracket. Carefully maneuver the heavy unit down and out through the wheel well opening.
Phase 3: System Flushing and Component Inspection
When a compressor suffers catastrophic internal mechanical failure, metal debris contaminates the entire closed loop.
- Condenser Replacement: Modern parallel-flow condensers cannot be effectively flushed. If the old compressor shed metal flakes, you must replace the condenser.
- Line Flushing: Use professional-grade, fast-evaporating AC flush solvent and dry compressed air to clear out the evaporator and remaining lines.
- Receiver-Drier: Replace the desiccant element or receiver-drier assembly to absorb any residual moisture trapped during the open-system repair.
Phase 4: Installation of the New Compressor
- Oil Balancing: Check the oil capacity of the new replacement compressor. Pour out any shipping oil and measure the exact amount of fresh PAG oil specified by Acura service manuals (typically PAG 46 or PAG 100, depending on manufacturer specifications). Distribute the correct oil volume across the compressor, condenser, and drier.
- Mounting: Position the new compressor into the mounting brackets and torque the bolts to factory specifications in a crisscross pattern.
- Line Connection: Install brand-new, refrigerant-compatible O-rings lubricated with clean PAG oil onto the suction and discharge fittings. Tighten the manifold bolt securely.
- Reinstall Belt and Shielding: Route the serpentine belt correctly over the new compressor pulley and release the tensioner. Reinstall the inner fender liner and wheel.
Evacuation and Refrigerant Charging
Once all mechanical components are bolted into place, the system must undergo a strict evacuation process to boil off ambient moisture and verify seal integrity.
| Phase | Target Metric | Purpose |
|---|---|---|
| Deep Vacuum | 29.9 inHg (or below 500 microns) | Removes air and vaporizes residual moisture inside the lines. |
| Vacuum Hold Test | Zero loss over 15–20 minutes | Verifies that all line connections, service ports, and O-rings are airtight. |
| Refrigerant Charge | Precise weight (per vehicle sticker) | Fills the system with the exact gram weight of R-134a specified under the hood. |
Do not rely on "guess charging" by low-side pressure alone when filling a modern automotive air conditioning system. Use an electronic refrigerant scale to inject the exact weight specified on the under-hood vehicle emission control information (VECI) or AC specification label. Overcharging causes high head pressures and compressor strain, while undercharging reduces cooling efficiency and starves the compressor of oil return.
Cost Analysis: DIY vs. Professional Replacement
When facing a failed 2010 Acura TSX compressor, vehicle owners must weigh the financial investment of professional labor against the technical requirements of DIY repair.
- Parts Cost (New Compressor, Drier, Expansion Valve, O-Rings, R-134a): $250 – $600 USD
- Specialized Tool Investment (Vacuum Pump, Manifold Gauges, Scale, Flush Kit): $200 – $400 USD (if not rented)
- Professional Labor Cost (Independent Shop or Dealership): $600 – $1,200 USD (includes labor, recovery, and refrigerant recharging)
Choosing a professional repair guarantees that the shop will handle hazardous chemical recovery safely and provide a parts-and-labor warranty. However, mechanically inclined owners with access to evacuation equipment can save significantly on labor expenses.
Frequently Asked Questions
Can I replace just the AC clutch instead of the entire 2010 Acura TSX compressor?
Yes, if the compressor is mechanically sound, pumping properly, and free of internal leaks, you can replace just the electromagnetic clutch coil, pulley, and armature plate. However, if the compressor has high mileage or internal damage, replacing the entire assembly is recommended to prevent secondary failures.
What type of refrigerant does the 2010 Acura TSX use?
The 2010 Acura TSX factory system uses R-134a refrigerant. Do not mix R-134a with other refrigerants such as R-1234yf or hydrocarbon-based "alternative" sealants, as these can damage the compressor seals and contaminate recovery machinery.
How much oil does the replacement compressor require?
You must verify the exact oil capacity listed in the manufacturer service manual for your specific engine type (2.4L four-cylinder or 3.5L V6). Typically, when replacing a compressor, you drain the old unit, measure what came out, and add that exact amount plus an additional quantity if major components like the condenser or drier were also replaced.
Why does my new compressor make noise shortly after installation?
Noise shortly after installation is frequently caused by air pockets, incorrect belt tension, an unlubricated shaft seal during initial startup, or an incorrect refrigerant/oil charge. Turn off the system immediately and check system pressures and belt alignment.
Is it safe to drive with a seized AC compressor?
If the compressor internal components seize completely while the engine is running, the continuous friction from the serpentine belt can cause the belt to snap, shred, or burn through. This will disable the alternator, power steering pump, and water pump, leaving the vehicle stranded. If the compressor seizes, unplug the clutch connector immediately or bypass the compressor with a shorter accessory belt if emergency driving is necessary.
Final Recommendation and Best Practices
When servicing the air conditioning system on a 2010 Acura TSX, never cut corners on cleanliness or fluid measurements. Always replace the receiver-drier, inspect for metallic contamination, and pull a complete deep vacuum before introducing fresh refrigerant. Investing in quality replacement components and adhering strictly to torque specifications ensures long-term reliability and restores factory cooling performance.