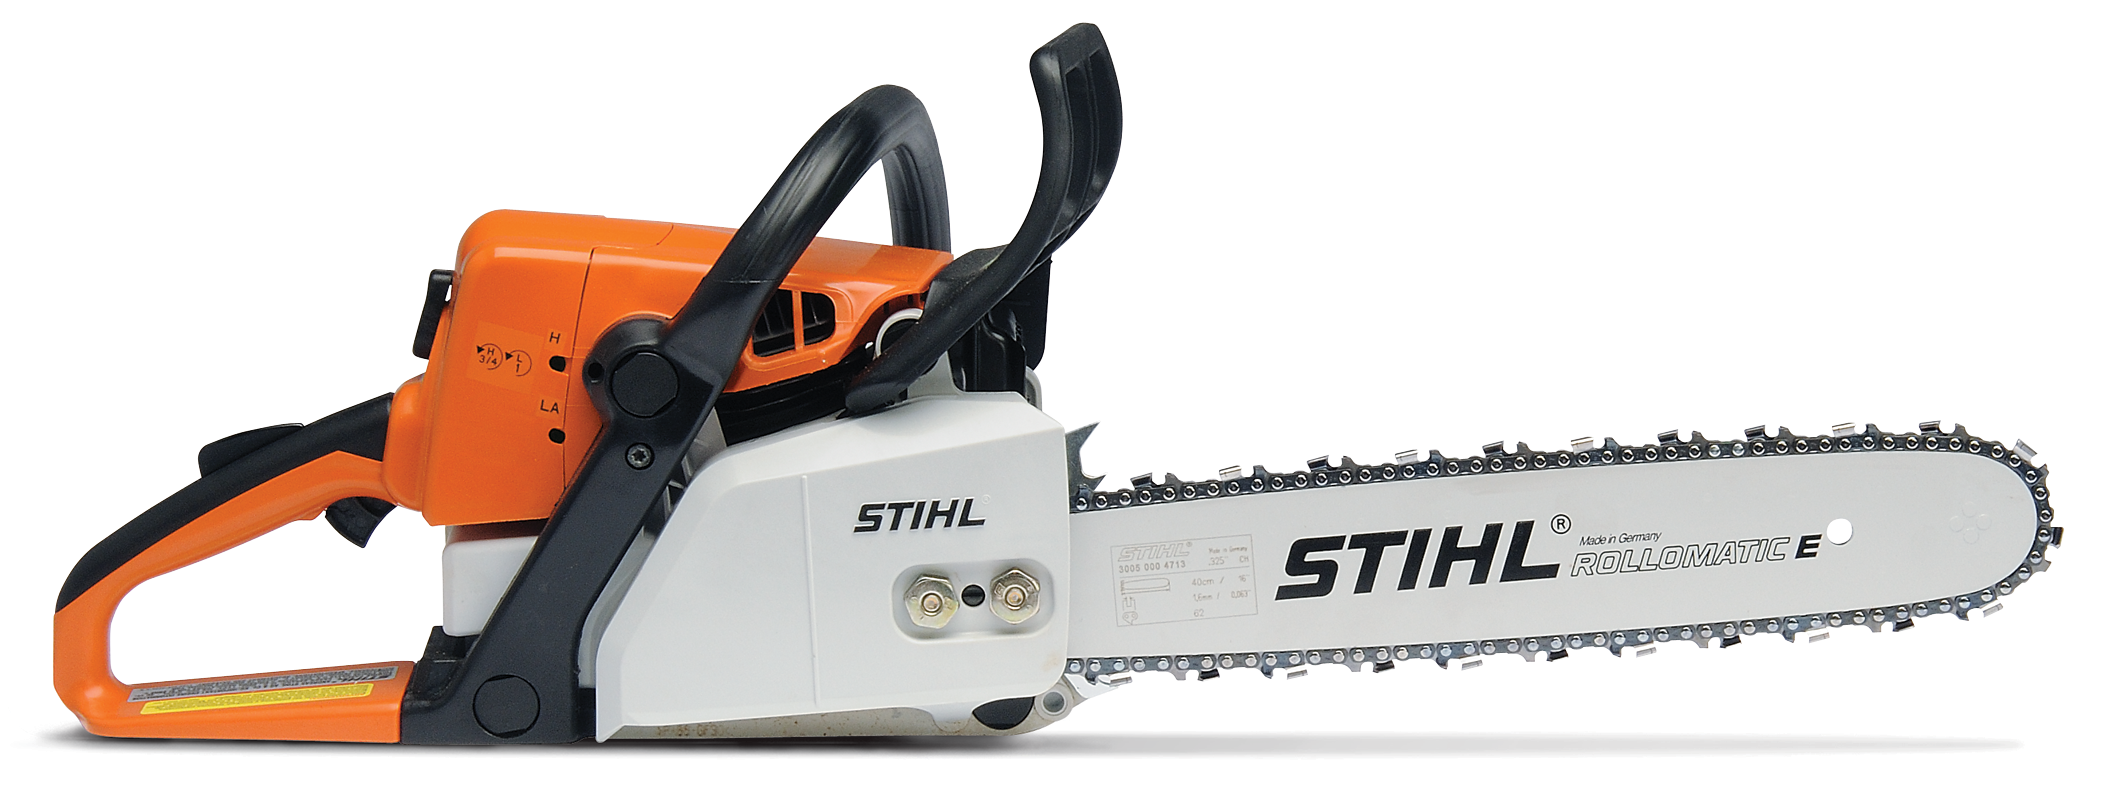
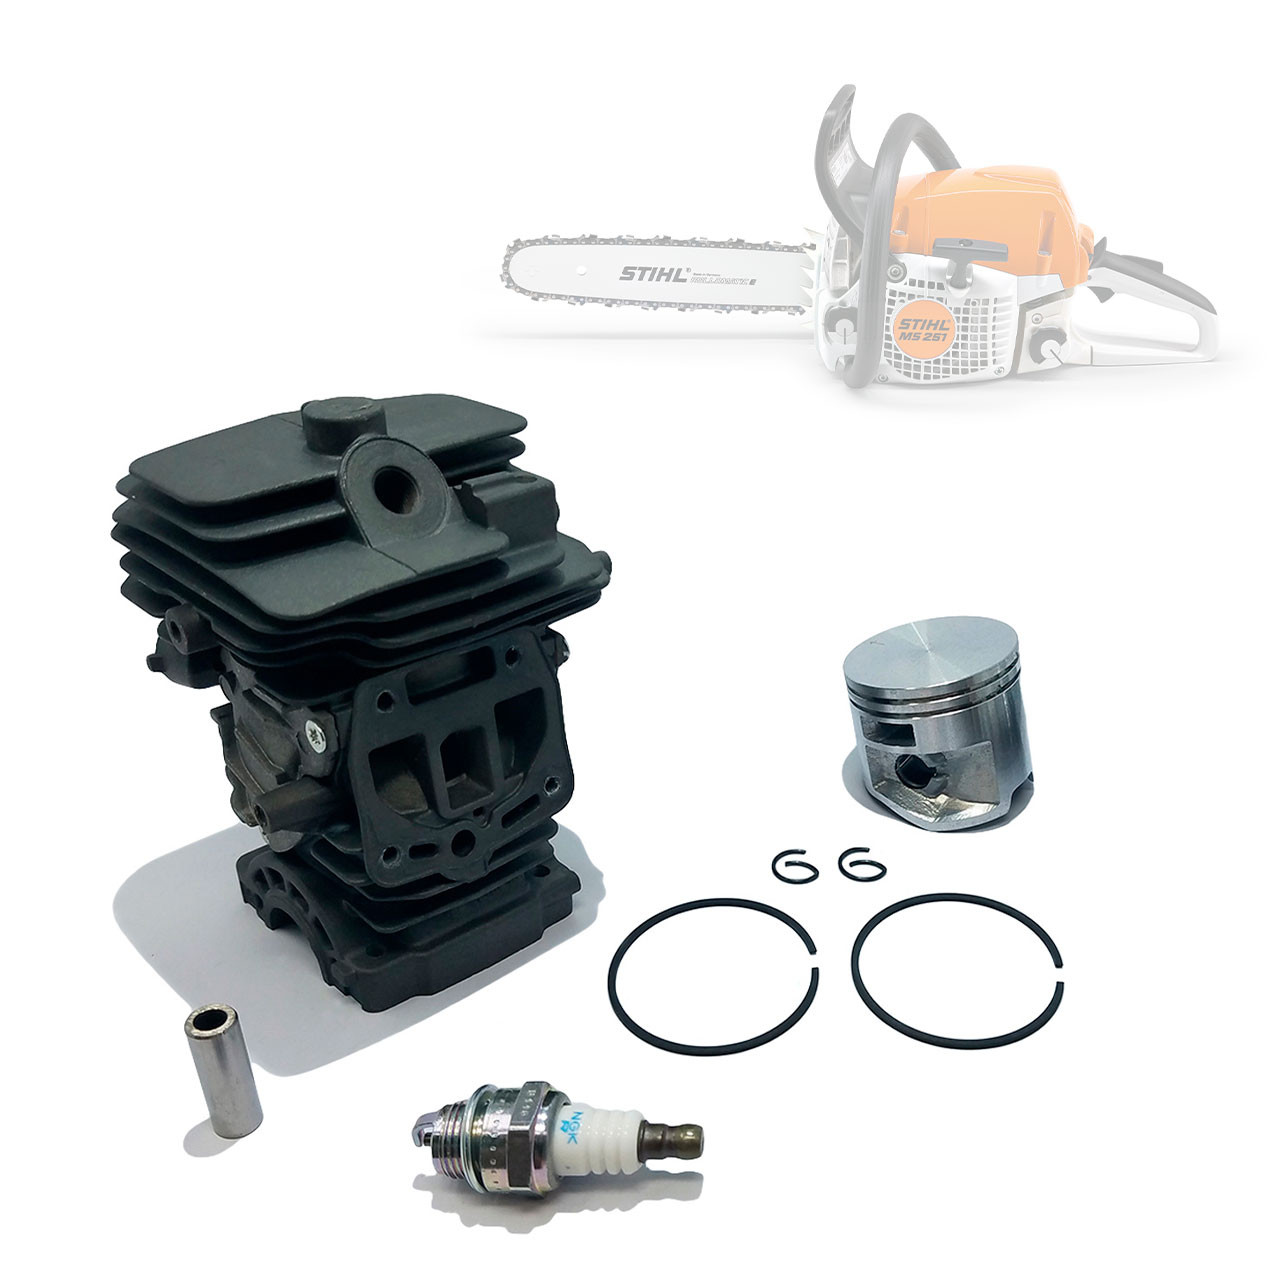
When a Stihl MS 250 chainsaw experiences a no-spark condition, the ignition system fails to deliver high-voltage current to the spark plug, preventing the fuel-air mixture from igniting. Resolving this issue requires a systematic inspection of the ignition module, flywheel air gap, kill switch wiring, and spark plug to restore proper engine function.
Understanding the Stihl MS 250 Ignition System
The Stihl MS 250 is a popular, reliable homeowner chainsaw powered by a two-stroke internal combustion engine. To understand why an engine refuses to start or loses its spark entirely, it is essential to look closely at how the ignition system operates. Unlike older vintage chainsaws that relied on breaker points and condensers, modern Stihl MS 250 units utilize an electronic solid-state ignition system, often referred to as an electronic magneto or module (commonly known as the ignition coil).
In this solid-state setup, there are no mechanical points to wear out or pit. Instead, as the engine's flywheel spins rapidly via the recoil starter mechanism, powerful permanent magnets embedded within the flywheel sweep past the legs of the ignition module. This movement induces a small electrical current in the primary winding of the coil. As the piston nears top dead center (TDC), an internal electronic switch interrupts this primary current, causing a sudden collapse of the magnetic field. This rapid collapse induces a massive voltage spike in the secondary winding of the coil, which travels down the ignition lead, through the spark plug boot, and leaps across the gap of the spark plug, creating the combustion-initiating spark.
When this sequence breaks down, the engine cranks smoothly but never fires. A no-spark condition can stem from a variety of causes, ranging from simple external user controls like a faulty master control lever to internal component failures such as a shorted ignition module or a sheared flywheel key. Diagnosing the issue methodically saves time, prevents unnecessary parts purchasing, and ensures the chainsaw is safely restored to peak operational capacity.
Essential Safety Precautions and Tools Required
Before diving into the mechanical and electrical components of a Stihl MS 250, you must establish a safe working environment. Two-stroke engines utilize flammable gasoline-oil mixtures, and troubleshooting ignition systems involves handling high-voltage electrical components.
Safety Protocols
- Work in a Well-Ventilated Area: Always perform small engine diagnostics outdoors or in a heavily ventilated shop to avoid inhaling carbon monoxide if the saw unexpectedly fires, or fuel vapors if the carburetor floods.
- Disconnect the Spark Plug Boot: Whenever your hands are near the cylinder head, flywheel, or pull-cord during disassembly, keep the spark plug boot securely disconnected and propped away from the metal cylinder fins to prevent accidental starting.
- Fire Safety: Keep a Class B or ABC dry chemical fire extinguisher nearby whenever working with gasoline and electrical ignition systems.
- Wear Personal Protective Equipment: Safety glasses are mandatory to protect your eyes from flying debris, old gasket material, or snapping pull-cords. Work gloves protect your hands from sharp cooling fins and sheet metal edges.
Required Diagnostic Tools
To accurately perform Stihl MS 250 no-spark troubleshooting, gather the following diagnostic and hand tools:
- Spark Plug Tester (In-Line Spark Checker or Spark Gap Tester): This tool is far more reliable than resting a plug against the cylinder head, as it provides a calibrated air gap to measure spark intensity.
- Digital Multimeter: Essential for checking electrical continuity in the kill switch wiring harness and grounding circuits.
- Torque Wrench and T27 Torx Bits: The Stihl MS 250 utilizes Torx hardware extensively. A T27 driver is required to remove the shroud, muffler, and ignition module.
- Feeler Gauge: Used to set the precise air gap between the ignition module and the flywheel.
- Clean Rags and Contact Cleaner: To clear away oil, sawdust, and metallic debris from the flywheel and ignition module mounting pads.
Step-by-Step Troubleshooting Procedure
Methodical progression is the key to accurate diagnosis. Rushing to replace an expensive ignition module before checking simpler wiring issues is a common and costly mistake. Follow this sequence to isolate the root cause of the no-spark issue.
Step 1: Inspect and Replace the Spark Plug
The spark plug is the final frontier of the ignition system and the most common point of failure. Over time, spark plugs suffer from electrode erosion, carbon fouling (wet or dry), cracked porcelain insulators, or internal resistor failure.
- Removal: Remove the top cylinder cover by releasing the twist-lock or loosening the Torx screws. Pull the rubber boot straight off the spark plug. Use a standard 19mm/16mm combination scrench (spark plug wrench) to loosen and remove the spark plug.
- Visual Inspection: Inspect the firing tip. A wet, shiny black tip indicates flooding or unburned fuel, while a heavily fouled, white-ash or blistered tip points toward lean running conditions or an incorrect heat range. Check the ceramic insulator for hairline cracks where high voltage could escape to ground before reaching the tip.
- Testing and Replacement: Even if a plug looks clean, internal failures can suppress a spark. Install a known-good, correctly gapped NGK BPMR7A or Bosch WSR 6 F spark plug (standard for the MS 250). Alternatively, insert the existing plug into an in-line spark tester, ground the tester clip to a clean metal part of the cylinder, and pull the starter rope briskly while observing the viewing window for a crisp, blue spark. If no spark appears, proceed to the next step.
Step 2: Test the On-Off Switch and Wiring Harness
The Stihl MS 250 uses a master control lever (often combining choke, half-throttle, run, and stop functions) that grounds the primary ignition circuit to shut the engine down. If this grounding circuit is stuck in the "Stop" position due to a pinched wire, a faulty switch contact, or accumulated conductive debris, the ignition module will be permanently grounded and unable to produce a spark.
- Locating the Kill Wire: Trace the thin black wire leading from the ignition module down to the switch assembly at the base of the rear handle or housing.
- Continuity Testing: Disconnect the kill wire terminal from the ignition module. Use a digital multimeter set to continuity (ohms) mode. Place one probe on the disconnected terminal of the kill wire and the other probe on a clean engine ground.
- Switch Evaluation: When the master control lever is in the "Run" position, the meter should show no continuity (infinite resistance/open circuit), meaning the ignition is free to fire. When switched to the "Stop" position, the meter should show zero resistance (closed circuit), indicating the spark is being successfully grounded out. If the circuit shows continuity in the "Run" position, the wire is pinched against the metal crankcase or the switch is shorted internally. Repair or replace the wiring harness as necessary.
Step 3: Inspect the Ignition Module (Coil) and Air Gap
If the spark plug is verified and the kill wire is disconnected (ruling out an accidental ground-out), the ignition module itself may be defective. However, before condemning the coil, you must check its mounting security and air gap.
- Air Gap Significance: The distance between the flywheel magnets and the legs of the ignition module dictates the strength and timing of the induced magnetic pulse. If the gap is too wide, the magnetic field is too weak to trigger a spark. If it is too narrow, the flywheel may strike the module, destroying both components.
- Checking and Setting the Gap: Loosen the two T27 Torx screws holding the ignition module to the crankcase so the module slides freely. Insert a business card or a dedicated feeler gauge (typically set between 0.20 mm and 0.40 mm, or roughly 0.008 to 0.015 inches, per Stihl specifications) between the flywheel magnets and the coil legs. Rotate the flywheel until the magnets align directly beneath the coil legs. Push the module firmly against the gauge/card, and tighten the mounting screws securely to the manufacturer's torque specification. Spin the flywheel by pulling the starter cord to ensure there is no mechanical scraping or rubbing sound.
Step 4: Examine the Flywheel and Woodruff Key
Sometimes the issue is not the electrical generation of the coil, but the timing of when that generation occurs relative to the piston's position. This is governed by the flywheel and its retaining Woodruff key.
- Removing the Starter Assembly: Remove the screws securing the recoil starter housing and pull the assembly away from the saw. Expose the flywheel and starter cup.
- Inspecting the Flywheel Nut and Key: Check that the center flywheel nut is torqued securely. A loose flywheel nut allows the flywheel to rock on the crankshaft taper, which frequently shears the small semi-circular metal piece known as the Woodruff key.
- Verifying Timing: If the Woodruff key is sheared, the flywheel will slip out of time, meaning the magnets pass the ignition module while the piston is in the wrong position, resulting in no spark at the correct firing interval. Remove the flywheel puller tool, inspect the keyway on both the crankshaft and the flywheel, and replace a sheared key with an exact OEM replacement. Ensure the mating surfaces on the tapered shaft are clean, dry, and free of oil before reassembly.
Diagnostic Comparison Table
To quickly determine which component requires your attention during a troubleshooting session, review the symptoms and diagnostic outcomes outlined in the table below.
| Symptom / Test Finding | Likely Root Cause | Recommended Corrective Action |
|---|---|---|
| Wet spark plug tip, no spark visible in tester | Flooded cylinder or fouled plug | Dry out combustion chamber, install new NGK spark plug |
| Spark present when kill wire is disconnected, but gone when connected | Shorted kill switch wire or faulty master control lever | Test continuity; repair pinched wire or replace switch |
| No spark, coil air gap is visibly wide or uneven | Incorrect air gap or loose ignition module | Reset coil air gap using a feeler gauge/card and torque screws |
| No spark, flywheel wobbles or turns loosely | Loose flywheel nut or sheared Woodruff key | Remove starter housing, inspect keyway, replace sheared key |
| Engine cranks, kill wire disconnected, new plug installed, zero spark output | Internal winding failure within the ignition module | Replace the electronic ignition module (coil assembly) |
Frequently Asked Questions
Can I test a Stihl MS 250 ignition coil with a standard multimeter?
While a multimeter can check for continuity in external wires or measure primary winding resistance, it cannot reliably diagnose an electronic solid-state ignition module. These modules contain internal semiconductor micro-switches and capacitors that fail under high-voltage operating conditions. A module that appears to have correct resistance on a bench multimeter can still break down internally when subjected to engine-speed magnetic induction. The most reliable test is substitution with a known-good coil or checking for output with an in-line spark tester.
What is the correct spark plug gap for a Stihl MS 250?
The correct electrode gap for a Stihl MS 250 spark plug is 0.5 mm (approximately 0.020 inches). Using a wire-type spark plug gapping tool, check the gap before installing a new plug. An incorrect gap can either prevent the spark from jumping (if too wide) or weaken the ignition kernel's exposure to the fuel mixture (if too narrow).
Why does my saw have spark when cold, but loses spark when the engine gets hot?
This is a classic symptom of thermal breakdown within the electronic ignition module. As the engine reaches operating temperature, microscopic cracks in the internal wiring or failing semiconductor junctions expand under heat, causing an open circuit. Once the saw cools down, the materials contract, and the saw may start again, only to die once hot. The only permanent fix for a thermally failing coil is replacement.
Can a bad flywheel magnet cause a no-spark condition?
Yes, though it is rare. Permanent magnets can lose their magnetic strength over time if exposed to extreme heat, physical impact, or external magnetic interference. If you have verified the air gap, replaced the spark plug, and ensured the kill circuit is functional, but still lack spark, the flywheel magnets may have degraded and require flywheel replacement.
How do I properly disconnect the kill wire during troubleshooting?
To isolate the ignition module from the rest of the saw's electrical system, locate the female spade connector where the thin black wire attaches to the ignition module terminal. Gently pull the connector straight off using insulated needle-nose pliers. Never pull on the wire itself, as this can fatigue the copper strands inside the insulation. With this wire disconnected, the ignition system is completely independent of the handlebar switch.
Practical Final Recommendations
When tackling a no-spark issue on a Stihl MS 250, always start with the least expensive and most accessible components before purchasing major parts. Begin by swapping out the spark plug and checking the air gap of the ignition module. Next, isolate the electrical system by disconnecting the kill wire to rule out a faulty switch or grounded harness.
If these diagnostic steps confirm that the ignition module or flywheel key is at fault, replace the damaged components with genuine Stihl OEM replacement parts to ensure precise electrical matching and long-term durability. Once reassembled, torque all fasteners to factory specifications, verify the coil air gap once more, and test-run the chainsaw in a safe environment to confirm reliable ignition performance.