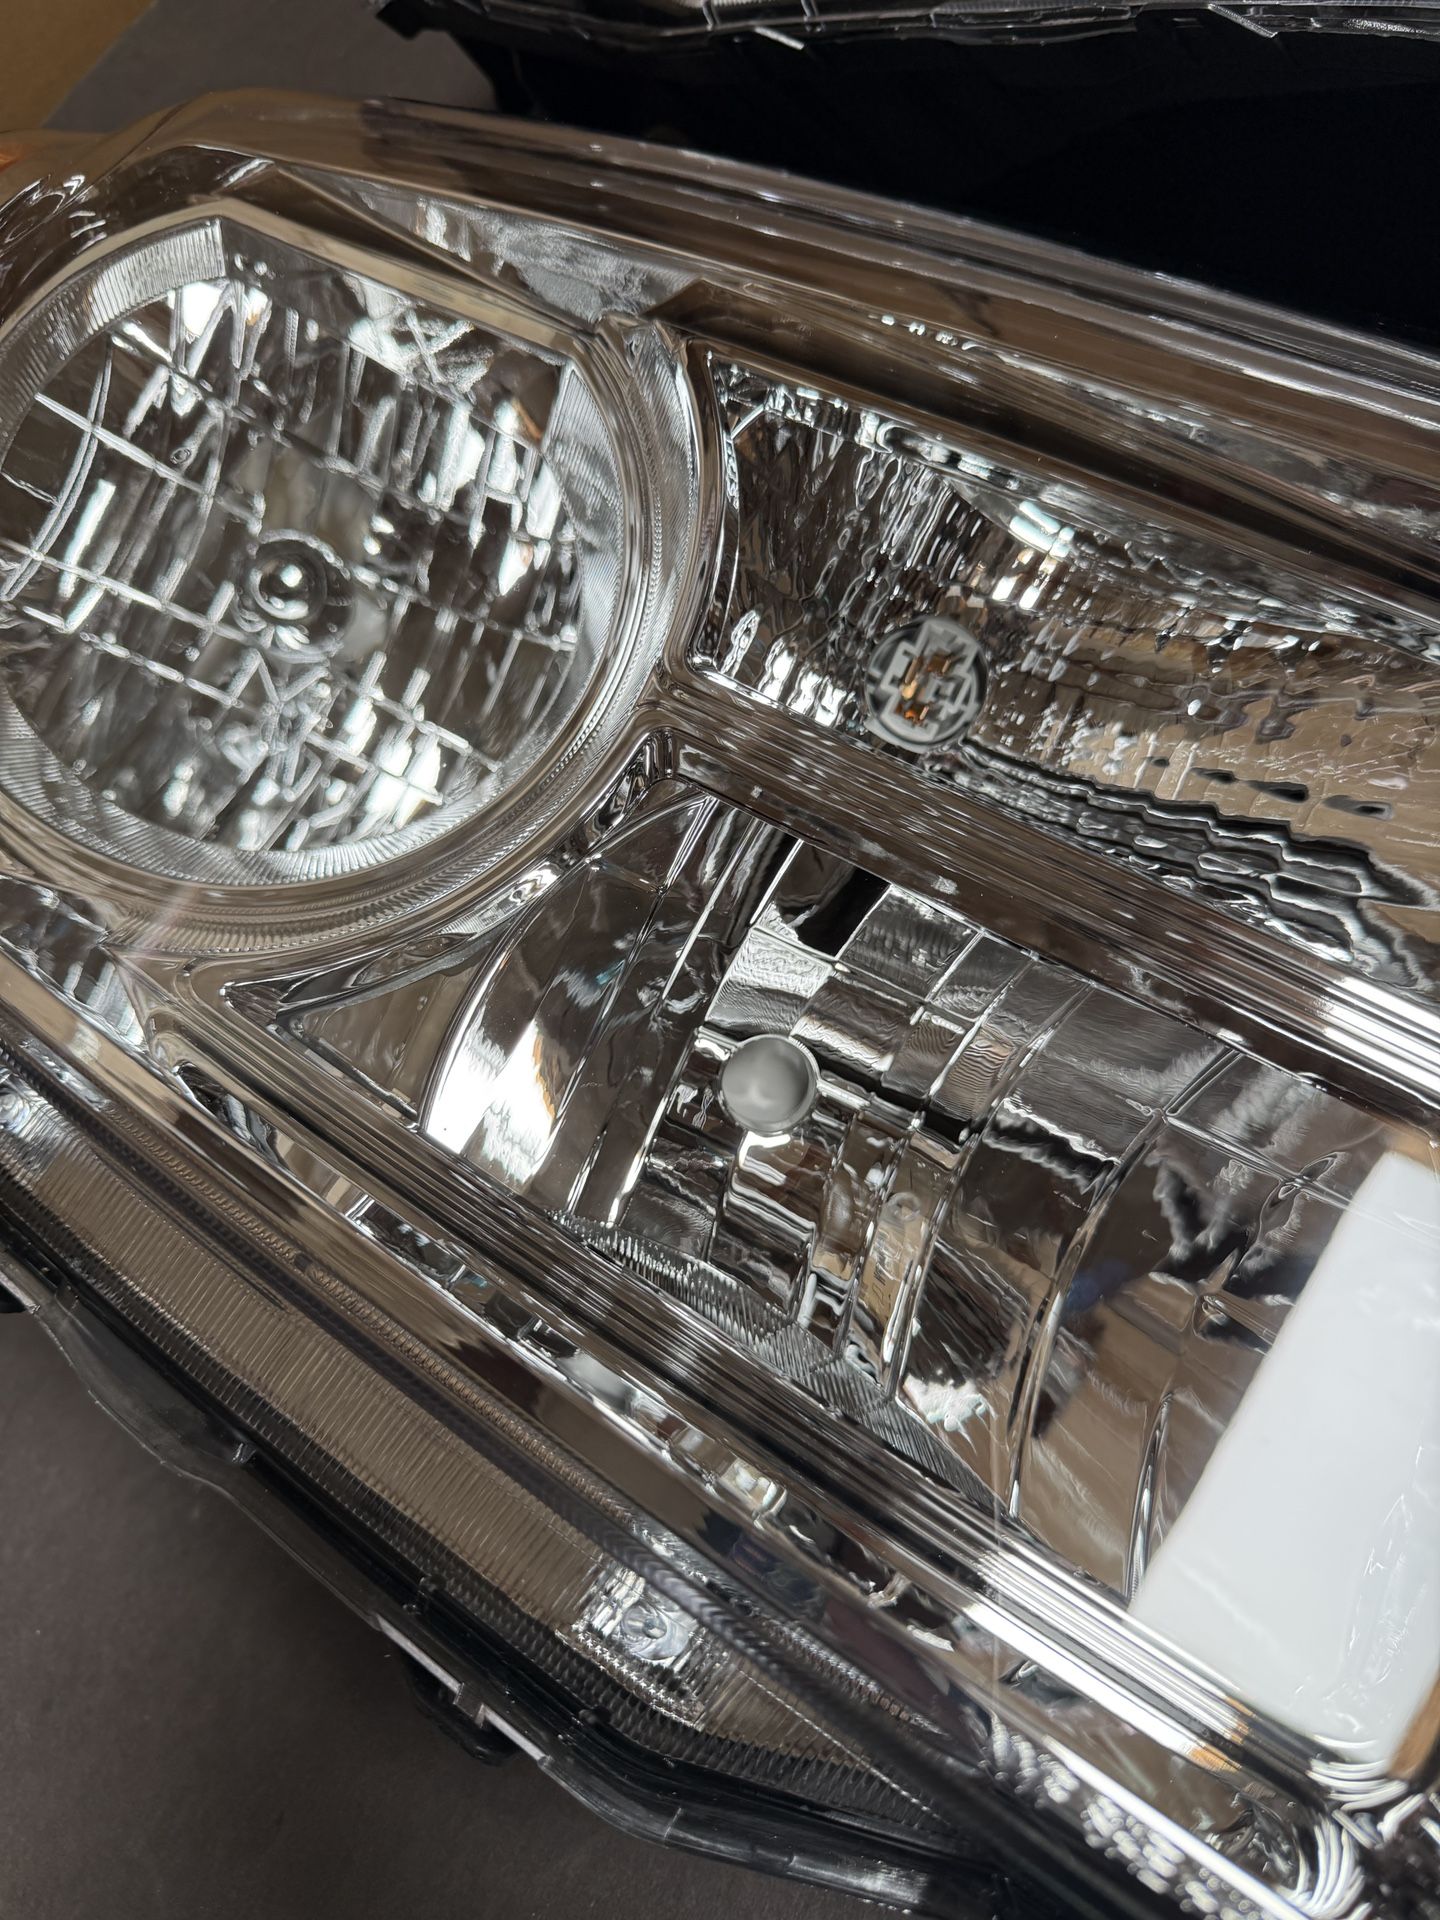
Replacing the headlight bulbs on a 2015 Honda Pilot is a straightforward maintenance task that can be completed at home with basic hand tools or even bare hands, saving you time and money compared to a dealership visit. Whether your low beam has burned out, your high beams lack clarity, or you are upgrading to a brighter aftermarket bulb, understanding the specific bulb sizes, component layouts, and step-by-step procedures ensures the job is done correctly without damaging your vehicle's delicate plastic housings or electrical connectors.
Understanding Your 2015 Honda Pilot Headlight System
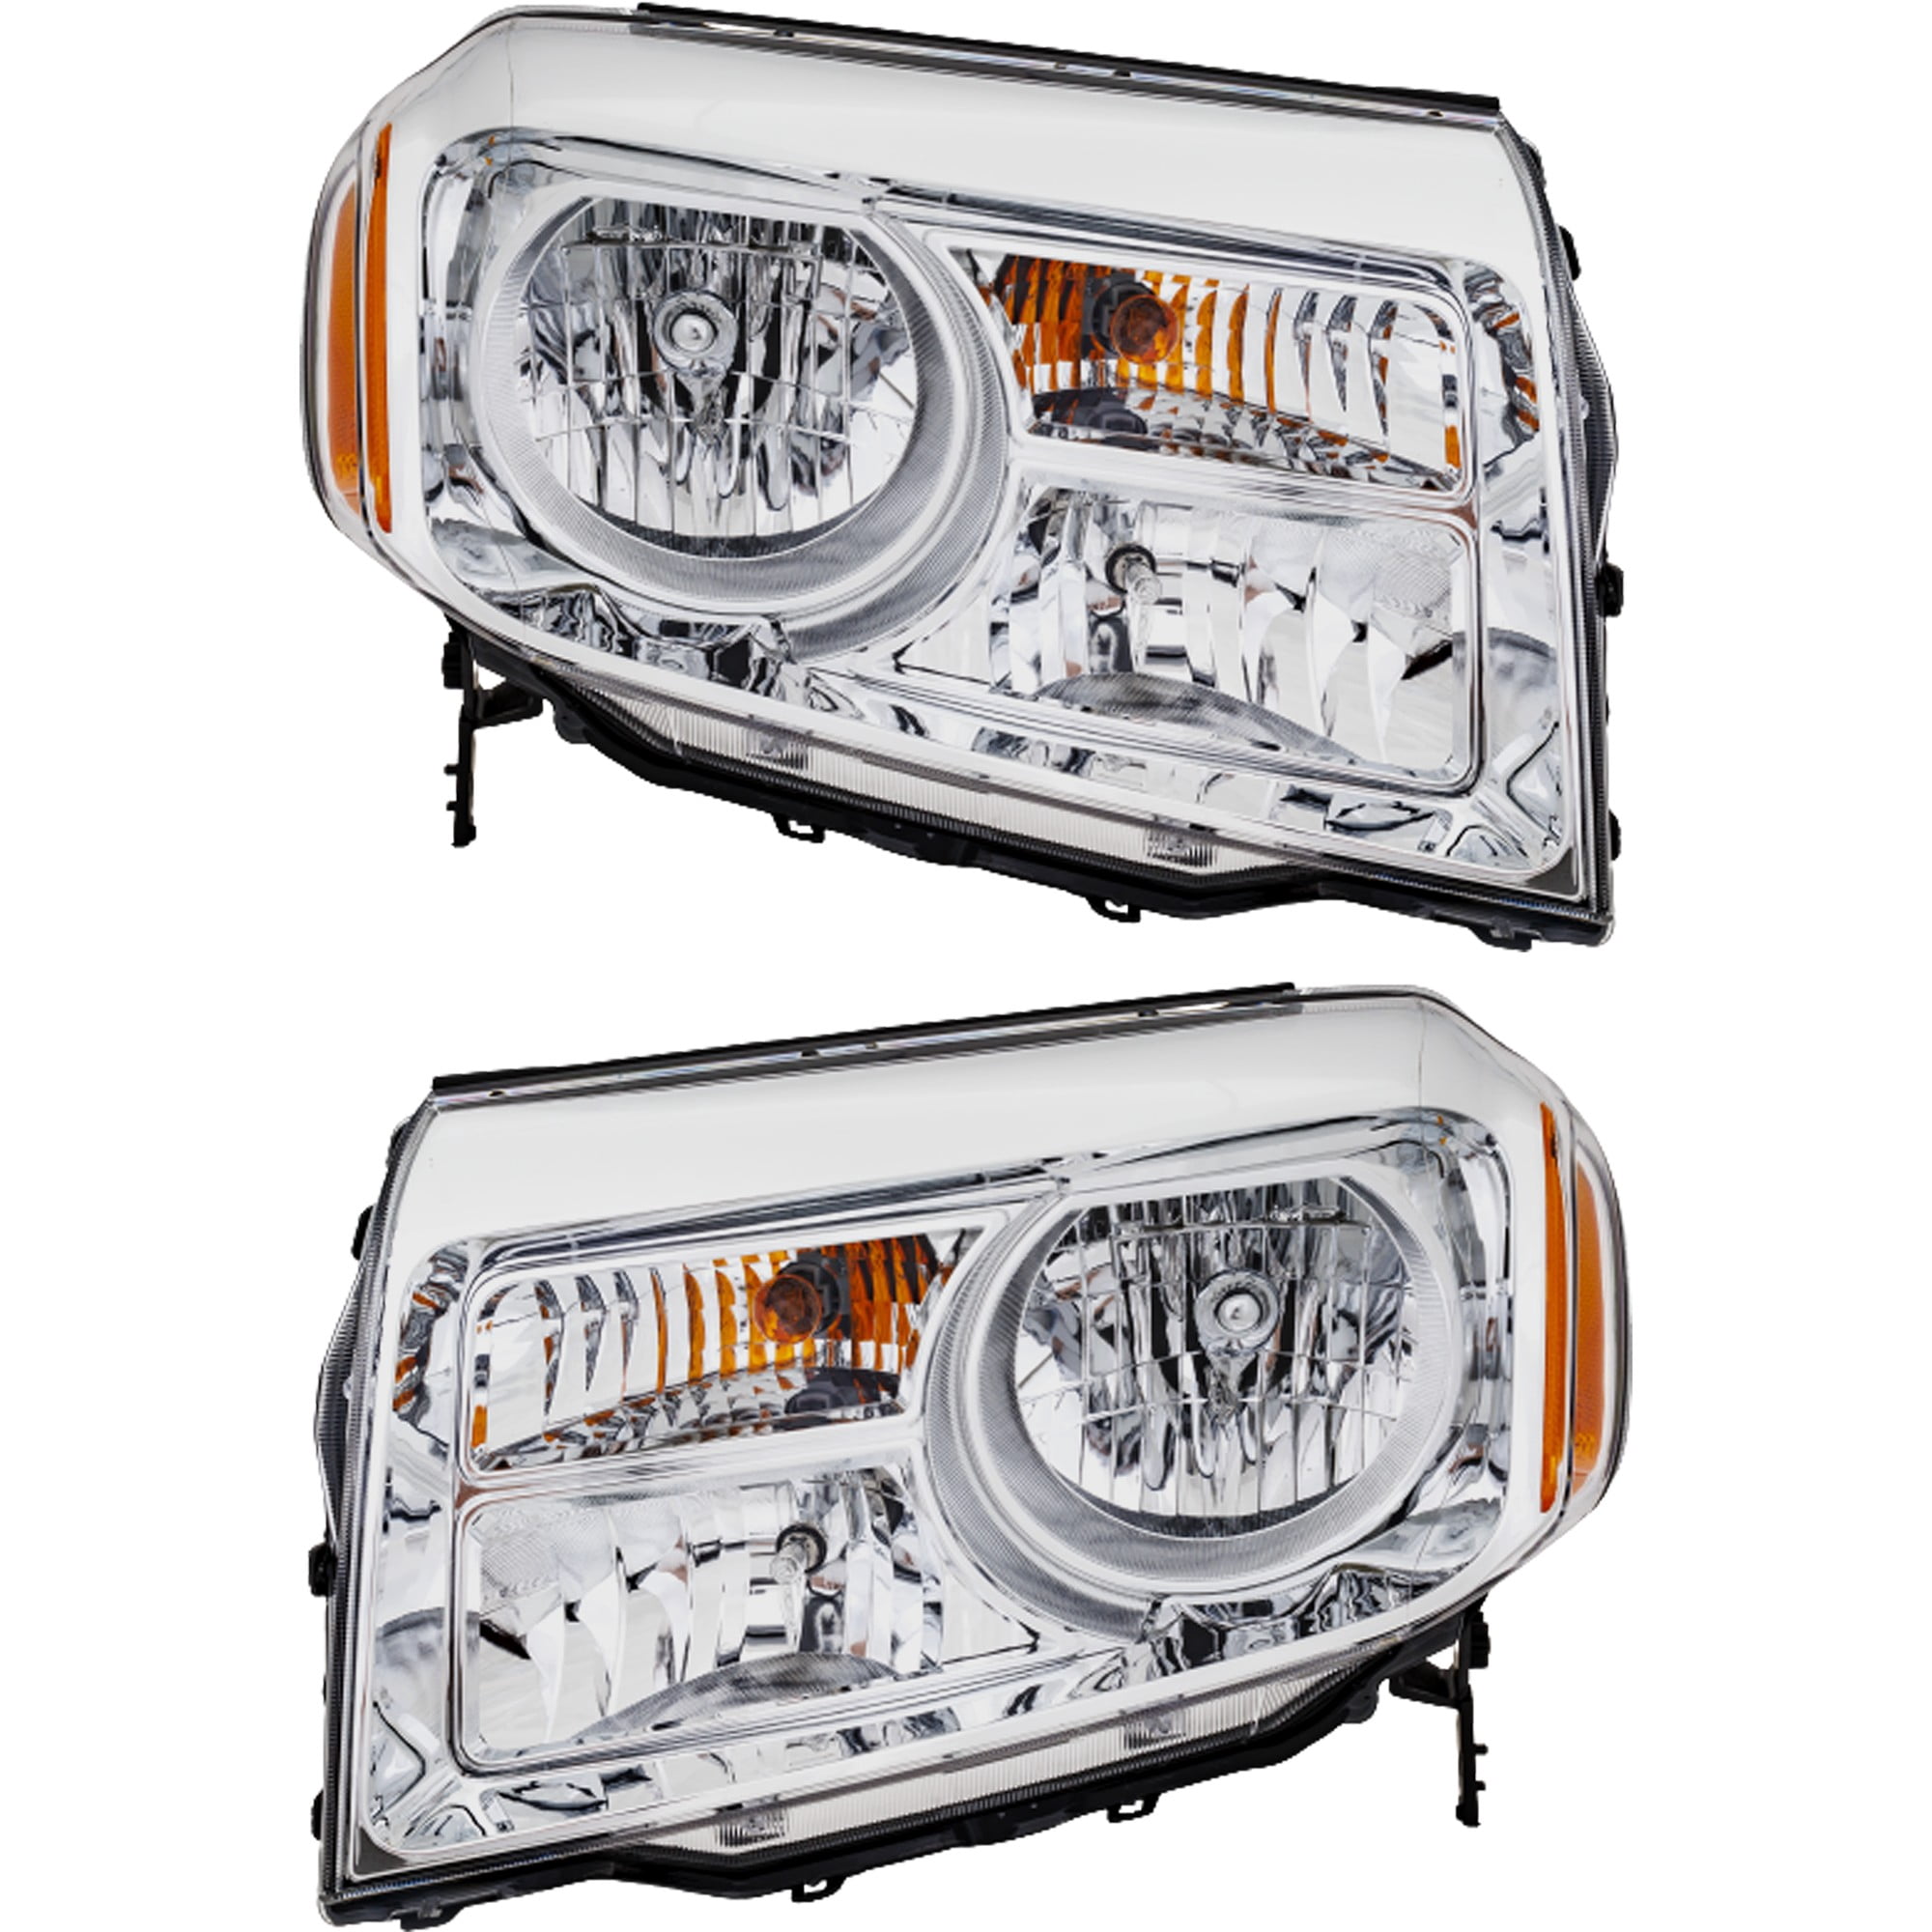
The 2015 Honda Pilot represents the final model year of the vehicle's second generation (2009–2015), featuring a rugged, boxy styling and a dual-halogen headlamp configuration. Unlike modern luxury vehicles or newer trims that utilize complex High-Intensity Discharge (HID) or Light Emitting Diode (LED) projector assemblies, the 2015 Pilot relies on standard halogen capsules for both its low and high beams across all trim levels (LX, EX, EX-L, SE, and Touring).
Halogen bulbs generate light by passing an electric current through a tungsten filament housed inside a quartz capsule filled with halogen gas. Over time, these filaments weaken due to thermal stress and vehicular vibrations until they eventually snap. When working on a 2015 Honda Pilot headlight bulb replacement, it is crucial to identify the correct bulb size for each specific beam position to avoid purchasing incorrect parts or attempting improper installations.
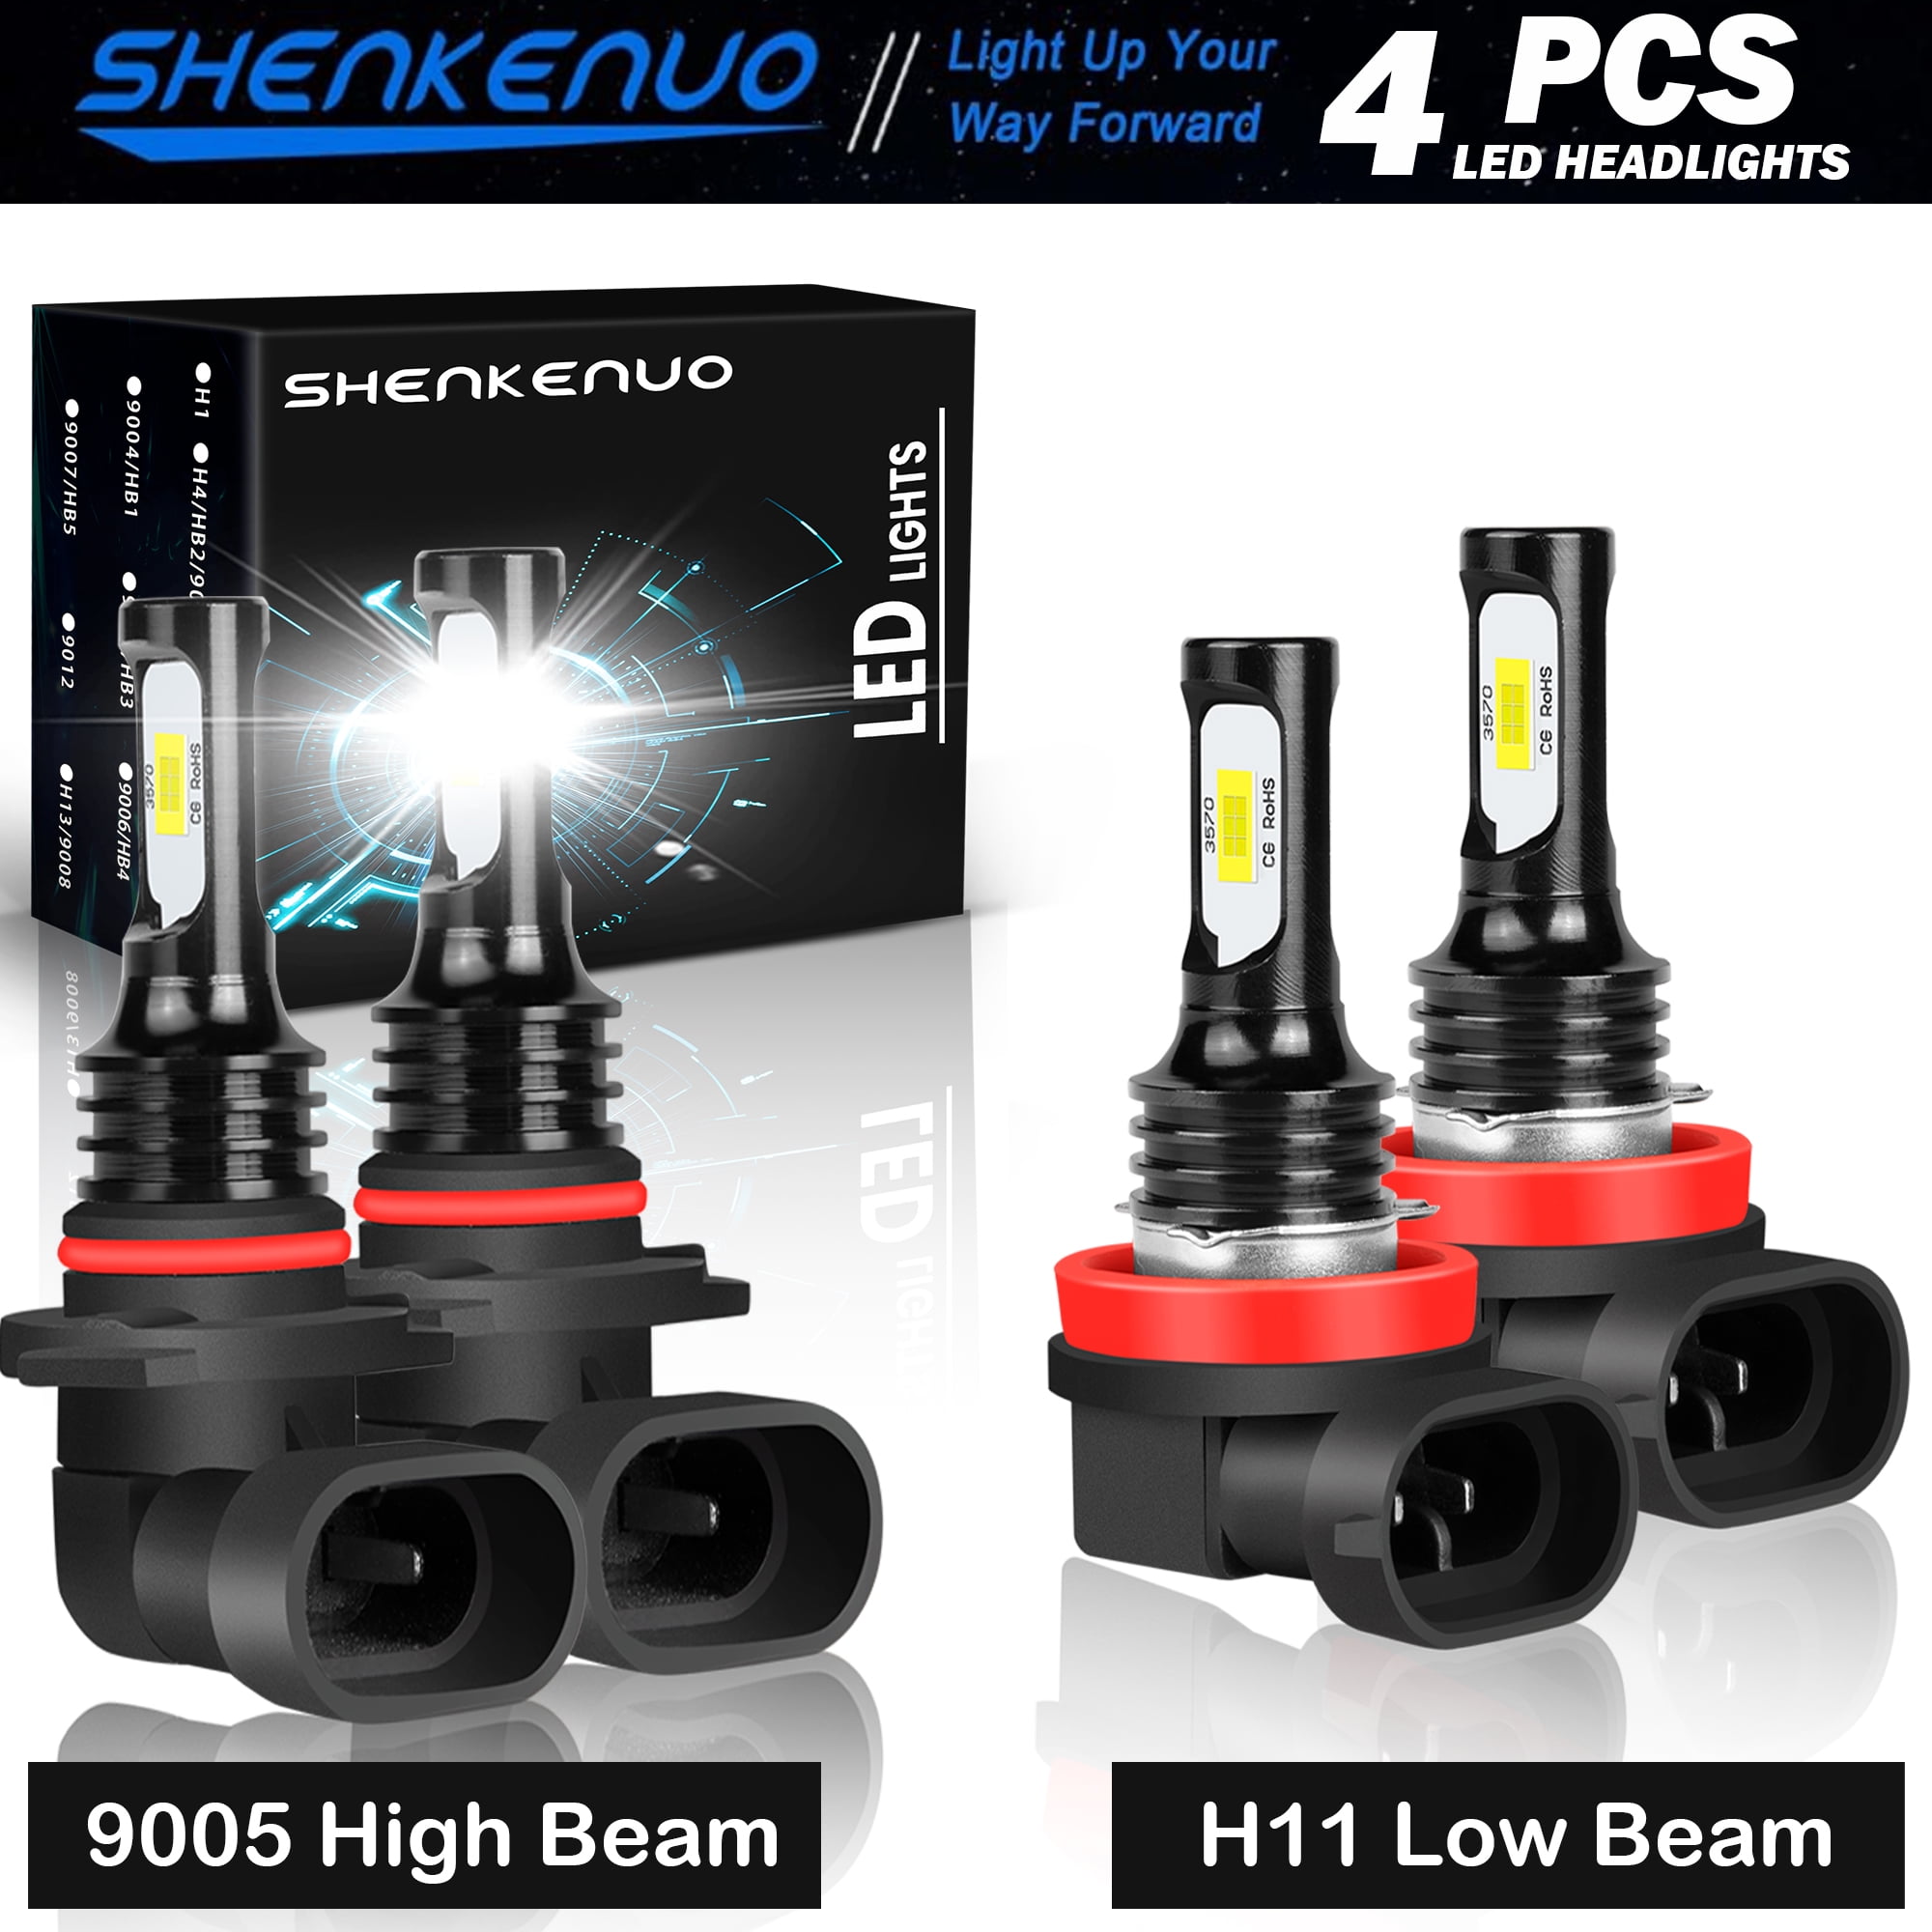
The low beam headlights on the 2015 Honda Pilot utilize an H11 halogen bulb. These bulbs feature an angled, three-tab plastic base and an integrated rubber O-ring seal designed to lock securely into the projector housing while keeping moisture and dust out. The high beam headlights utilize a 9005 (also known as HB3) halogen bulb. These feature a straight, two-tab plastic base with a similar sealing gasket. Understanding these distinctions is the first step toward a successful installation.
Required Tools, Materials, and Safety Precautions
Before opening the hood of your Honda Pilot, gathering the correct tools and supplies will streamline the process and prevent mid-project trips to the auto parts store. While the driver-side and passenger-side low beam bulbs can often be accessed directly from under the hood, having the right personal protective gear and auxiliary equipment is essential.
Tool and Material Checklist
- Replacement Bulbs: One pair of H11 (low beam) or 9005 (high beam) halogen bulbs. It is always recommended to replace headlight bulbs in pairs because if one has failed due to age-related wear, the other is likely nearing the end of its lifespan.
- Clean Nitrile or Microfiber Gloves: Crucial for handling halogen bulbs.
- Flathead Screwdriver or Trim Removal Tool: Occasionally needed to gently release stubborn electrical connector locking tabs or plastic clips.
- Flashlight or Drop Light: Essential for illuminating the tight spaces behind the headlight assembly, especially when working on the driver side.
Critical Safety Precautions
- Never Touch the Glass: Halogen bulbs burn at extremely high temperatures. If you touch the quartz glass envelope with your bare hands, microscopic oils from your skin will transfer onto the surface. When the bulb turns on, these oils create a localized hot spot on the glass, causing the quartz to weaken, warp, or rupture prematurely. Always wear clean gloves or handle the bulb exclusively by its plastic base.
- Allow the Engine to Cool: The headlight housing sits immediately adjacent to the engine bay components and radiator support. If the vehicle has been driven recently, allow the engine to cool for at least 30 minutes to prevent burns from hot metal surfaces or coolant hoses.
- Disconnect the Negative Battery Terminal (Optional): While not strictly mandatory for a simple bulb swap, disconnecting the battery prevents accidental short circuits or electrical sparks if a tool slips against live wiring harnesses.
Bulb Specifications and Comparison
Choosing the right replacement bulb involves balancing longevity, light output, and color temperature. The market offers standard OEM-style replacement bulbs as well as high-performance halogen and LED alternatives.
| Bulb Position | Industry Standard Size | Typical Application | Factory Wattage | Color Temperature Range |
|---|---|---|---|---|
| Low Beam | H11 | Primary nighttime driving, projector housing | 55W | 3200K – 3500K (Warm White) |
| High Beam | 9005 (HB3) | Long-range illumination, reflector housing | 65W | 3200K – 3500K (Warm White) |
| Fog Light | H11 | Low-level inclement weather visibility | 55W | 3200K – 3500K (Warm White) |
When shopping for replacement bulbs, you will encounter several tiers of products. Standard long-life bulbs prioritize durability, often lasting several years, but offer modest illumination. Performance halogen bulbs utilize modified gas mixtures and tighter filament positioning to project up to 50% to 100% more light onto the road, though their lifespan is typically shorter.
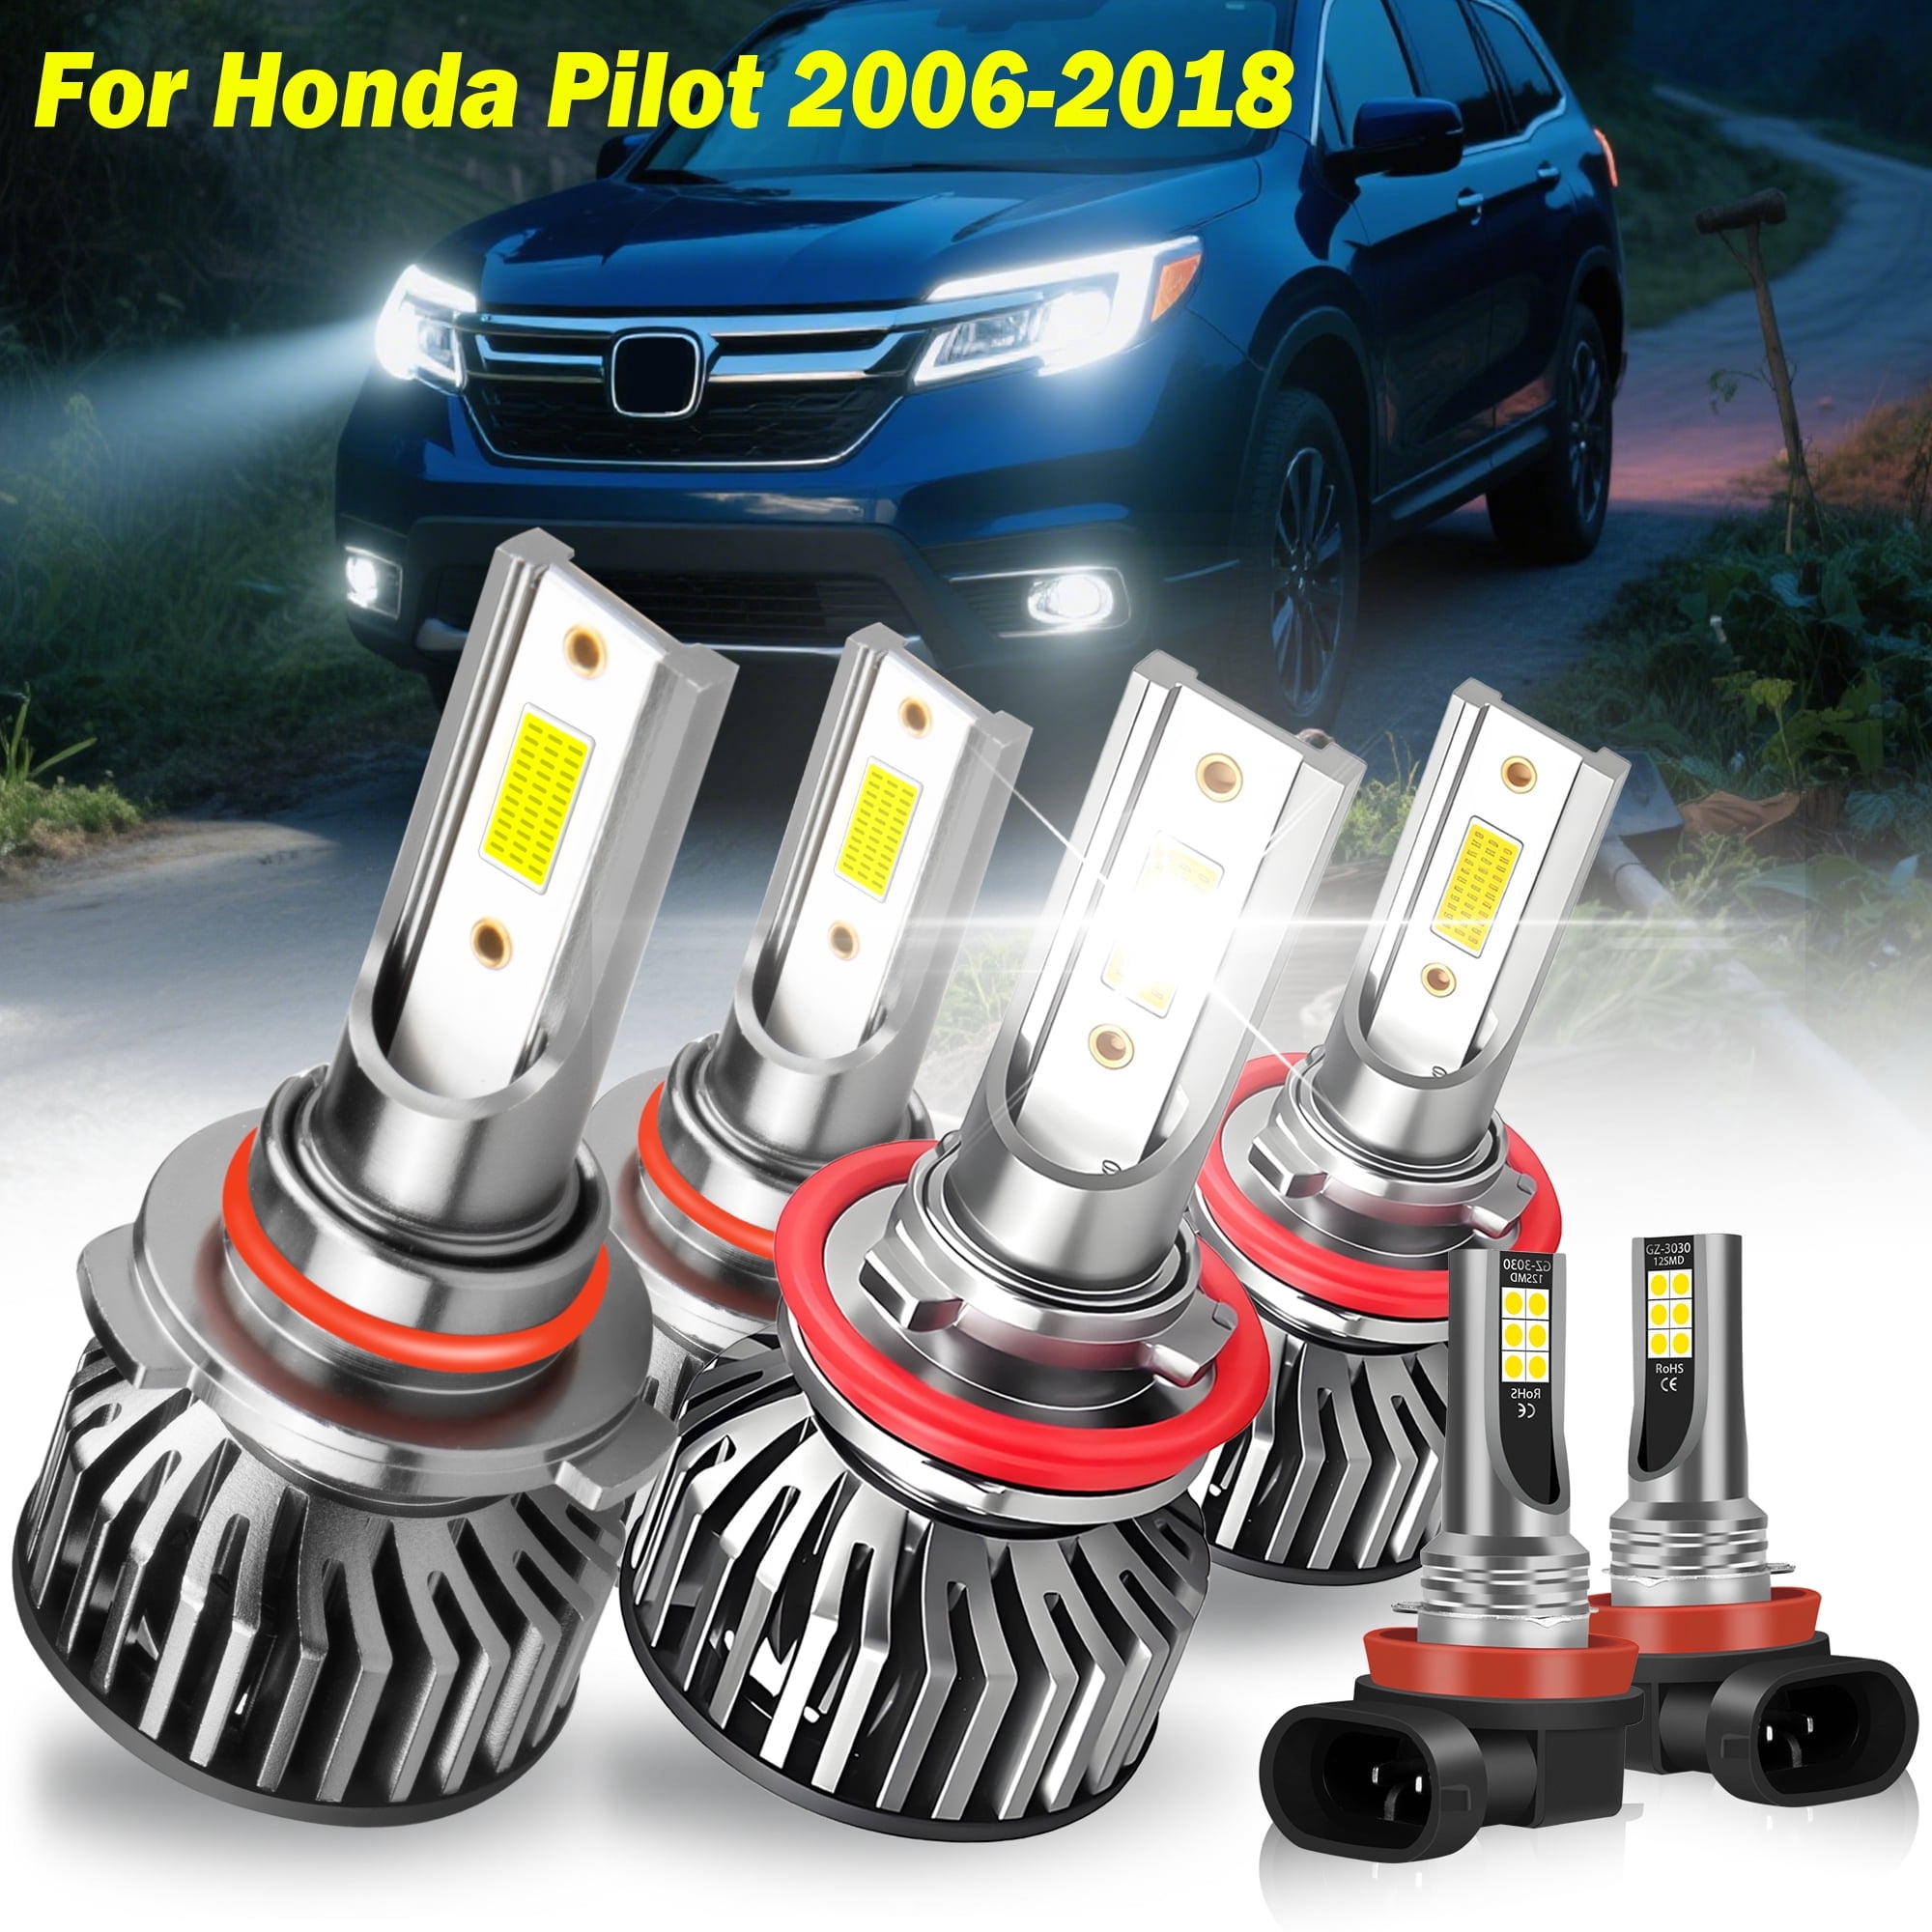
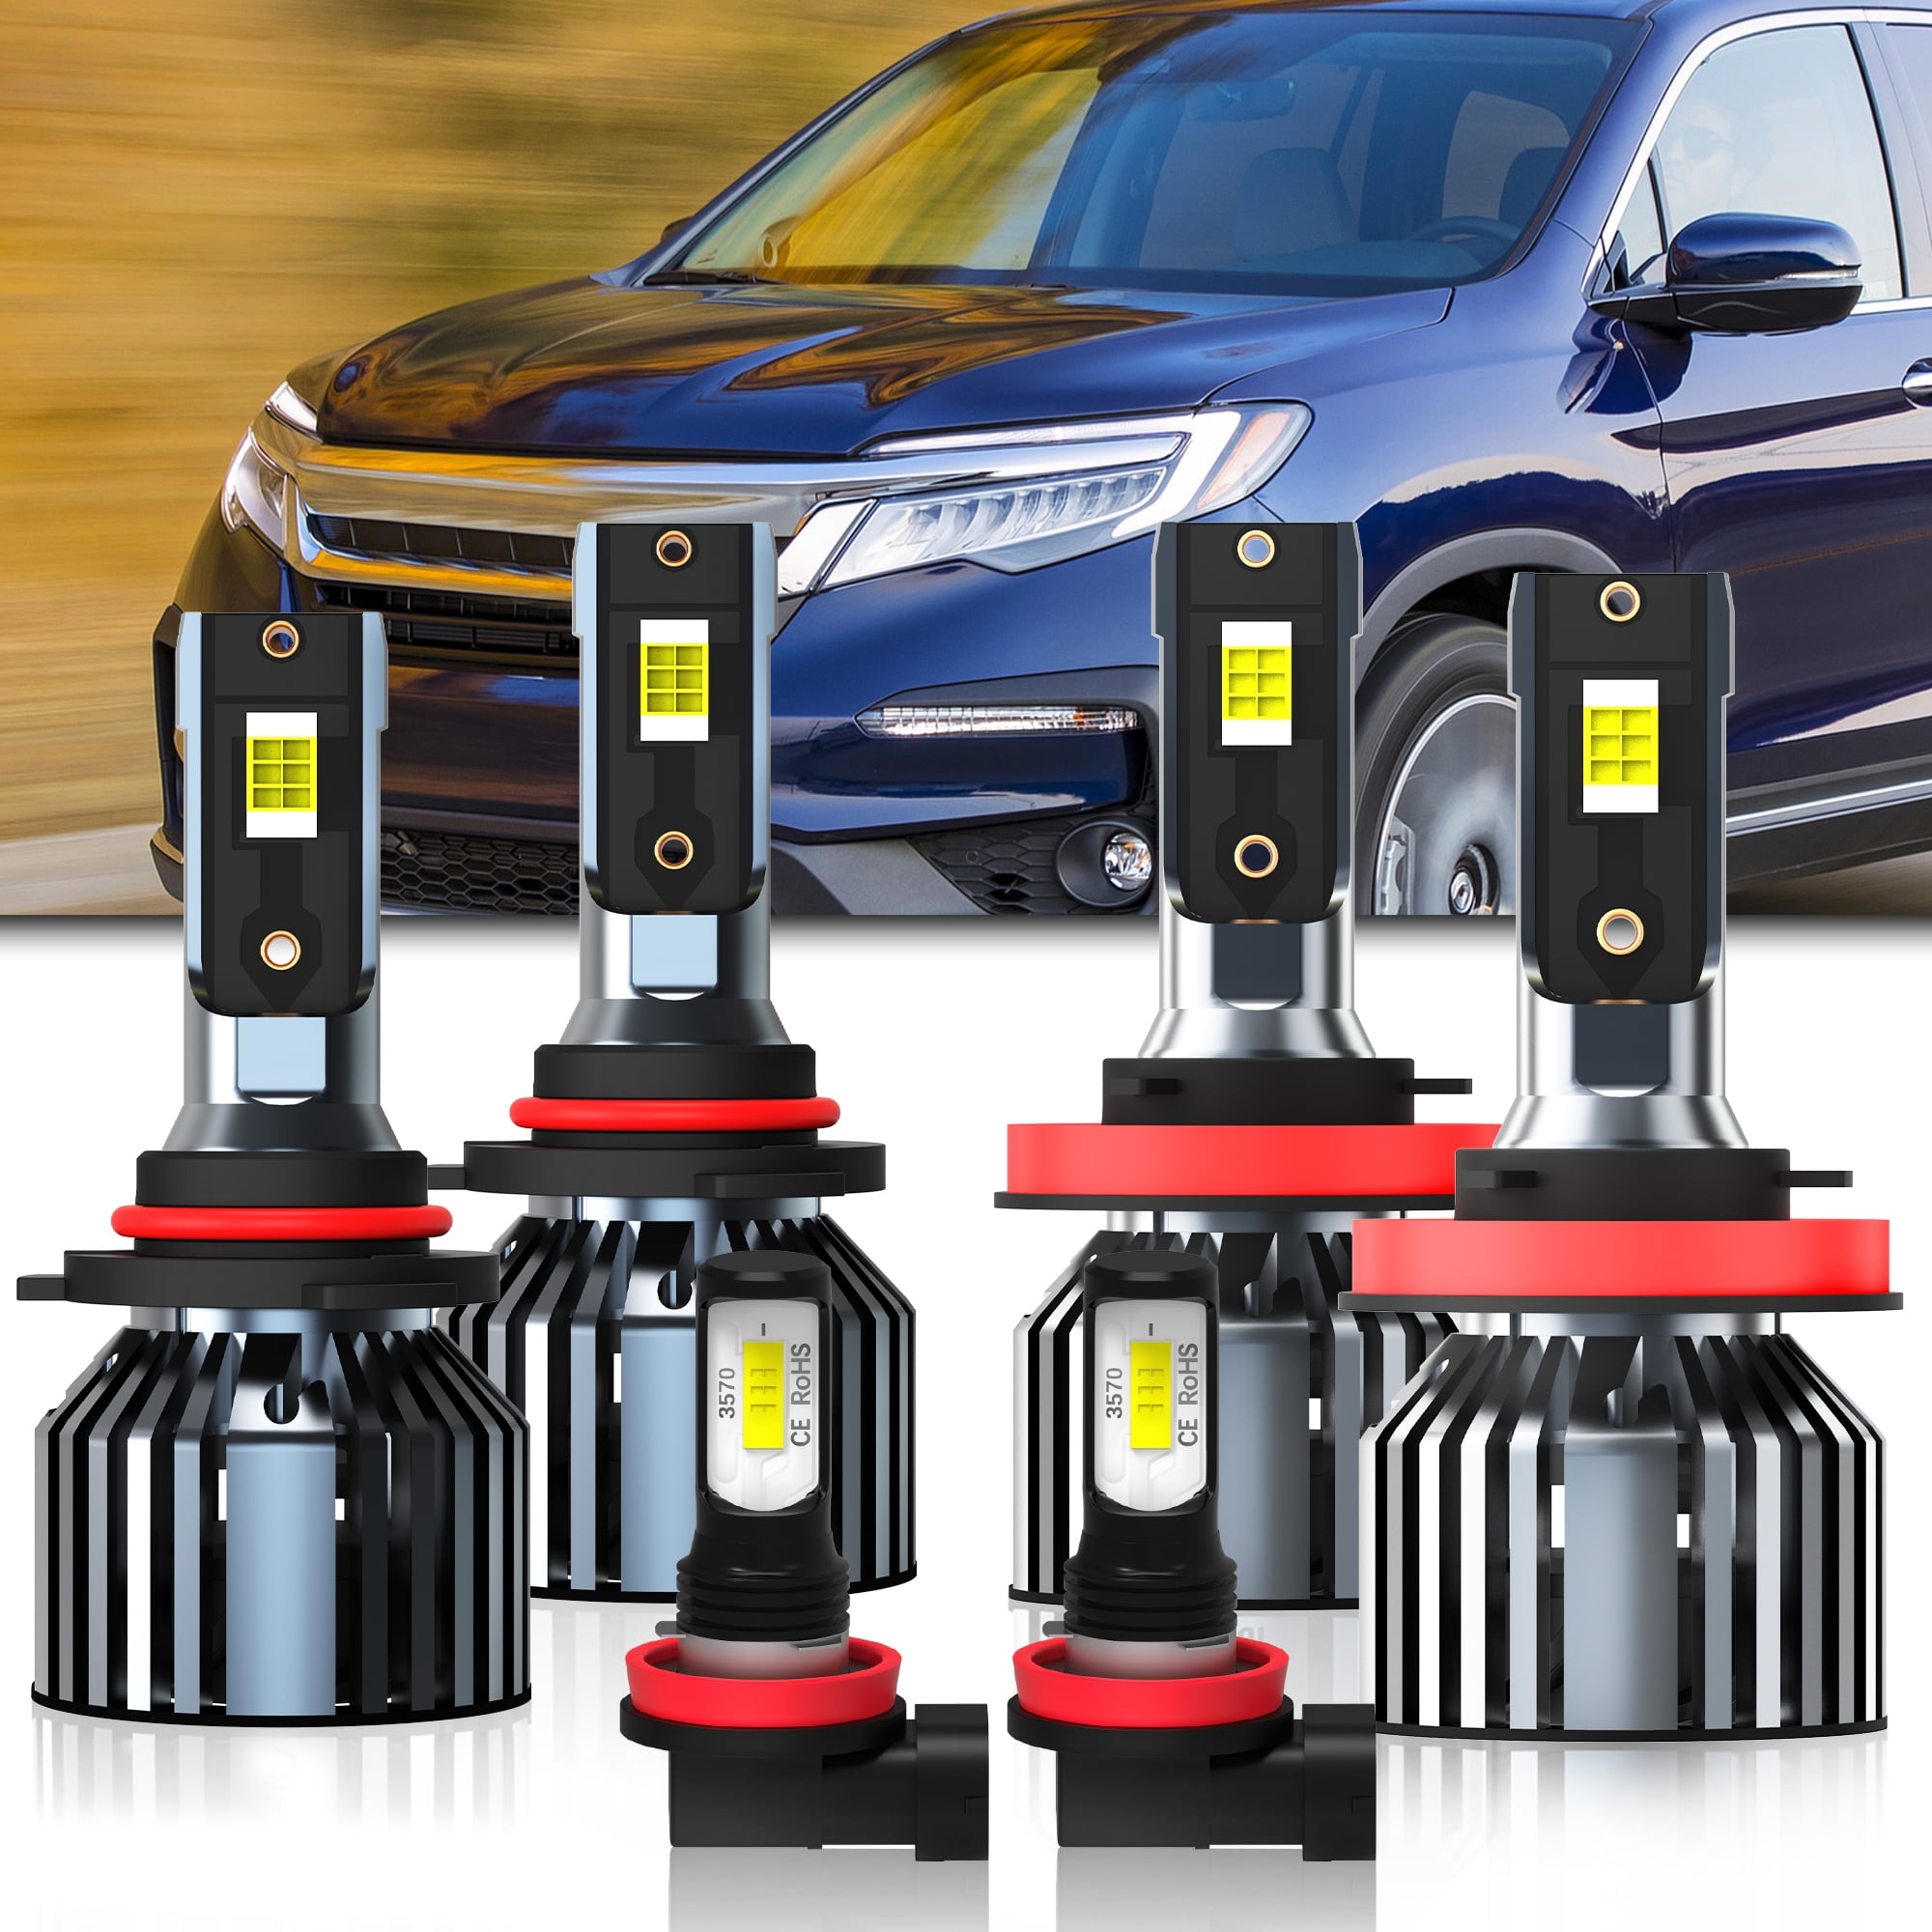
While aftermarket LED replacement bulbs are widely marketed, verify that any LED capsule designed to replace an H11 or 9005 halogen maintains a proper beam pattern and fits within the dust cap clearance of the 2015 Honda Pilot housing. Improperly designed LEDs can scatter light uncontrollably, blinding oncoming traffic and reducing forward visibility in foggy or rainy conditions.
Step-by-Step Replacement Procedure for Low Beam (H11) and High Beam (9005)
The physical replacement process for the 2015 Honda Pilot requires working within the confines of the engine bay. Because the front bumper fascia and inner fender liners block direct front access, all bulb replacements are performed from behind the headlight housing under the hood.
Step 1: Accessing the Rear of the Headlight Assembly
- Park your vehicle on a flat, level surface, engage the parking brake, turn off the ignition, and open the hood. Secure the hood with its prop rod.
- Locate the back of the headlight housing corresponding to the burned-out bulb.
- On the passenger side, access is generally wide open. You may need to remove the plastic engine cover clip or gently push aside a flexible windshield washer fluid fill neck to gain unobstructed hand clearance.
- On the driver side, space is more restricted due to the battery, fuse box, and air intake snorkel. If you have larger hands, you may need to temporarily loosen or remove the air intake duct or shift the coolant overflow reservoir out of its mounting bracket to create adequate workspace.
Step 2: Unplugging the Electrical Wiring Harness
- Locate the plastic electrical connector plugged into the base of the headlight bulb.
- Press down firmly on the small plastic release tab located on the side of the connector.
- While depressing the tab, gently pull the wiring harness straight back away from the bulb base. Do not pull or yank on the wires themselves, as this can pull pins out of the connector or damage the thin copper wiring. If the connector is stuck due to accumulated road grime, wiggle it gently from side to side while applying pulling pressure.
Step 3: Removing the Old Bulb from the Housing
- Grasp the plastic base of the bulb firmly with your hand.
- Rotate the bulb counter-clockwise (typically about a quarter-turn, roughly 45 to 90 degrees) until it stops.
- Pull the bulb straight back and out of the headlight assembly housing. Be mindful not to strike the internal reflector bowl or projector lens with the glass tip of the bulb as you extract it.
Step 4: Installing the New Headlight Bulb
- Put on your clean nitrile or microfiber gloves to ensure the quartz glass remains free of skin oils.
- Take the new H11 or 9005 bulb out of its packaging, taking care not to touch the glass envelope.
- Align the mounting tabs on the plastic bulb base with the corresponding slots in the 2015 Honda Pilot headlight housing. The tabs are keyed in specific sizes to ensure the bulb seats in the correct rotational orientation.
- Push the bulb straight into the housing until the flange sits flush against the sealing surface.
- Rotate the bulb clockwise by a quarter-turn until it locks securely into place. You should feel a distinct stop, indicating the locking tabs are engaged and the rubber O-ring is compressed.
Step 5: Reconnecting the Electrical Harness and Testing
- Push the vehicle's electrical connector firmly onto the base of the new bulb until you hear or feel the locking tab click into place.
- Turn on your vehicle's headlights to test the new installation before closing the hood or putting away your tools. Verify that both low beams (or high beams) illuminate correctly and project a stable beam pattern.
- If a bulb fails to illuminate, turn off the lights, unplug the connector, check for corrosion or bent pins, and ensure the electrical plug is pushed all the way onto the bulb terminals.
Troubleshooting Common Installation Issues
Even though a 2015 Honda Pilot headlight bulb replacement is a routine service procedure, minor complications can occasionally arise. Recognizing these issues and knowing how to resolve them quickly prevents frustration.
Condensation Inside the Headlight Lens
If you notice moisture or fogging inside the headlight housing a few days after replacing a bulb, it usually indicates that the bulb's rubber O-ring gasket did not seat correctly, or the rear rubber dust cover was not pushed completely flush. To fix this, remove the bulb, inspect the rubber gasket for twists or tears, reinstall the bulb ensuring a tight twist-lock seal, and ensure any protective dust caps are sealed. If moisture persists, leave the high beam bulbs turned on for 15 minutes with the hood open to allow engine heat to evaporate trapped humidity.
Headlight Fails to Illuminate After Replacement
If a brand-new bulb refuses to light up, isolate the fault using a systematic approach:
- Check the Fuse: Consult your owner's manual to locate the interior and under-hood fuse boxes. A blown fuse for the left or right low beam will prevent power from reaching the socket. Replace any blown fuses with one of the exact same amperage rating.
- Inspect the Relay: While less common, a faulty headlamp relay can cut power to the entire circuit.
- Test for Voltage: Use a digital multimeter or a 12V test light to check for power at the electrical connector pins when the headlight switch is turned on. If power is present, the issue lies with the bulb installation or a defective bulb filament. If no power is present, trace the wiring harness backward toward the fuse panel.
Maintenance Tips and Longevity Practices
Maximizing the lifespan of your new headlight bulbs and maintaining optimal nighttime visibility requires ongoing care. Over time, the clear polycarbonate outer lenses of the 2015 Honda Pilot headlight assemblies oxidize, turning yellow or hazy due to ultraviolet (UV) radiation from the sun and sandblasting from road debris. Even with brand-new bulbs, hazy lenses will severely scatter light output. If your lenses show signs of cloudiness, apply a dedicated headlight restoration kit using abrasive polishing pads and a UV-blocking clear sealant coat to restore optical clarity.
Additionally, avoid turning on your headlights while the engine is actively cranking during a difficult start. Voltage spikes during heavy starter motor draws can put unnecessary thermal and electrical stress on delicate halogen filaments, accelerating burnout. By keeping your electrical system in top shape and handling replacement bulbs with care, your new headlight bulbs will provide reliable illumination for years of safe driving.