The 2019 Honda Ridgeline requires exactly 5.7 quarts (5.4 liters) of engine oil when replacing both the oil and the oil filter. This specification applies to all 2019 Ridgeline models equipped with the 3.5L V6 engine, regardless of whether the vehicle is configured with front-wheel drive or all-wheel drive.
Maintaining the correct oil level is a fundamental aspect of vehicle longevity. For the 2019 Honda Ridgeline, understanding the precise capacity is only the first step in a successful maintenance routine. Because this vehicle utilizes a sophisticated variable cylinder management system, using the correct oil specifications and following established procedures is essential to ensure the engine operates within factory parameters for years to come.
The Importance of Engine Oil in the 3.5L V6
The 2019 Honda Ridgeline is powered by a 3.5-liter i-VTEC V6 engine. This power plant is designed for efficiency and durability, but it relies heavily on high-quality synthetic oil to manage internal friction and thermal regulation. The oil does more than just lubricate; it serves as a cooling agent, a cleaning detergent, and a hydraulic fluid for the variable valve timing components.
Using the wrong amount of oil can be as detrimental as using the wrong type. An underfilled engine faces increased friction, causing localized heat spikes that can degrade internal components. Conversely, overfilling an engine can cause the oil to churn and foam due to contact with the rotating crankshaft. This aerated oil loses its lubricating properties and can lead to pressure drops, potentially damaging engine seals or sensors. By adhering strictly to the 5.7-quart capacity, you ensure that the engine operates exactly as the engineers intended.
Selecting the Correct Oil Specification
Capacity is one half of the equation; oil classification is the other. Honda mandates the use of OW-20 synthetic motor oil for the 2019 Ridgeline. This specific viscosity is engineered to flow rapidly at start-up, which is critical for reducing wear during the first few seconds of engine operation when most internal damage occurs.
It is highly recommended to use oil that displays the "API Certified" starburst symbol, which indicates it meets the latest standards for engine protection and fuel economy set by the American Petroleum Institute. While "full synthetic" is not strictly required by the manual, it is widely considered the industry standard for modern engines like the 3.5L V6, as synthetic oils offer superior resistance to thermal breakdown compared to conventional or synthetic-blend alternatives.
Essential Tools and Prerequisites
Before beginning an oil change, ensure you have the proper environment and tools. A level surface is non-negotiable; if the vehicle is parked on an incline, you will not be able to obtain an accurate reading on the dipstick, which may lead you to incorrectly judge the oil level.
- Jack and Jack Stands: Never rely solely on a hydraulic jack to hold the weight of the truck. Use high-quality jack stands rated for the vehicle's weight.
- Drain Pan: Ensure the pan has a capacity of at least 7 quarts to prevent spills.
- Oil Filter Wrench: The filter location on the 2019 Ridgeline can be tight; a dedicated wrench or socket-style tool is significantly more efficient than manual removal.
- Socket Set: You will need a 17mm socket or wrench for the oil drain plug.
- Funnel: A long-neck funnel prevents oil from spilling onto the engine components during the refill process.
- Replacement Washer: Always replace the aluminum crush washer on the drain plug. This is a common failure point that leads to minor, persistent oil leaks.
Step-by-Step Oil Change Procedure
Executing an oil change correctly involves a systematic approach to prevent contamination and ensure the integrity of the engine's seals.
- Preparation: Warm the engine for two to three minutes. This thins the oil slightly, allowing it to drain more thoroughly and carry away suspended contaminants. Do not overheat the engine, as the oil will be hot enough to cause burns.
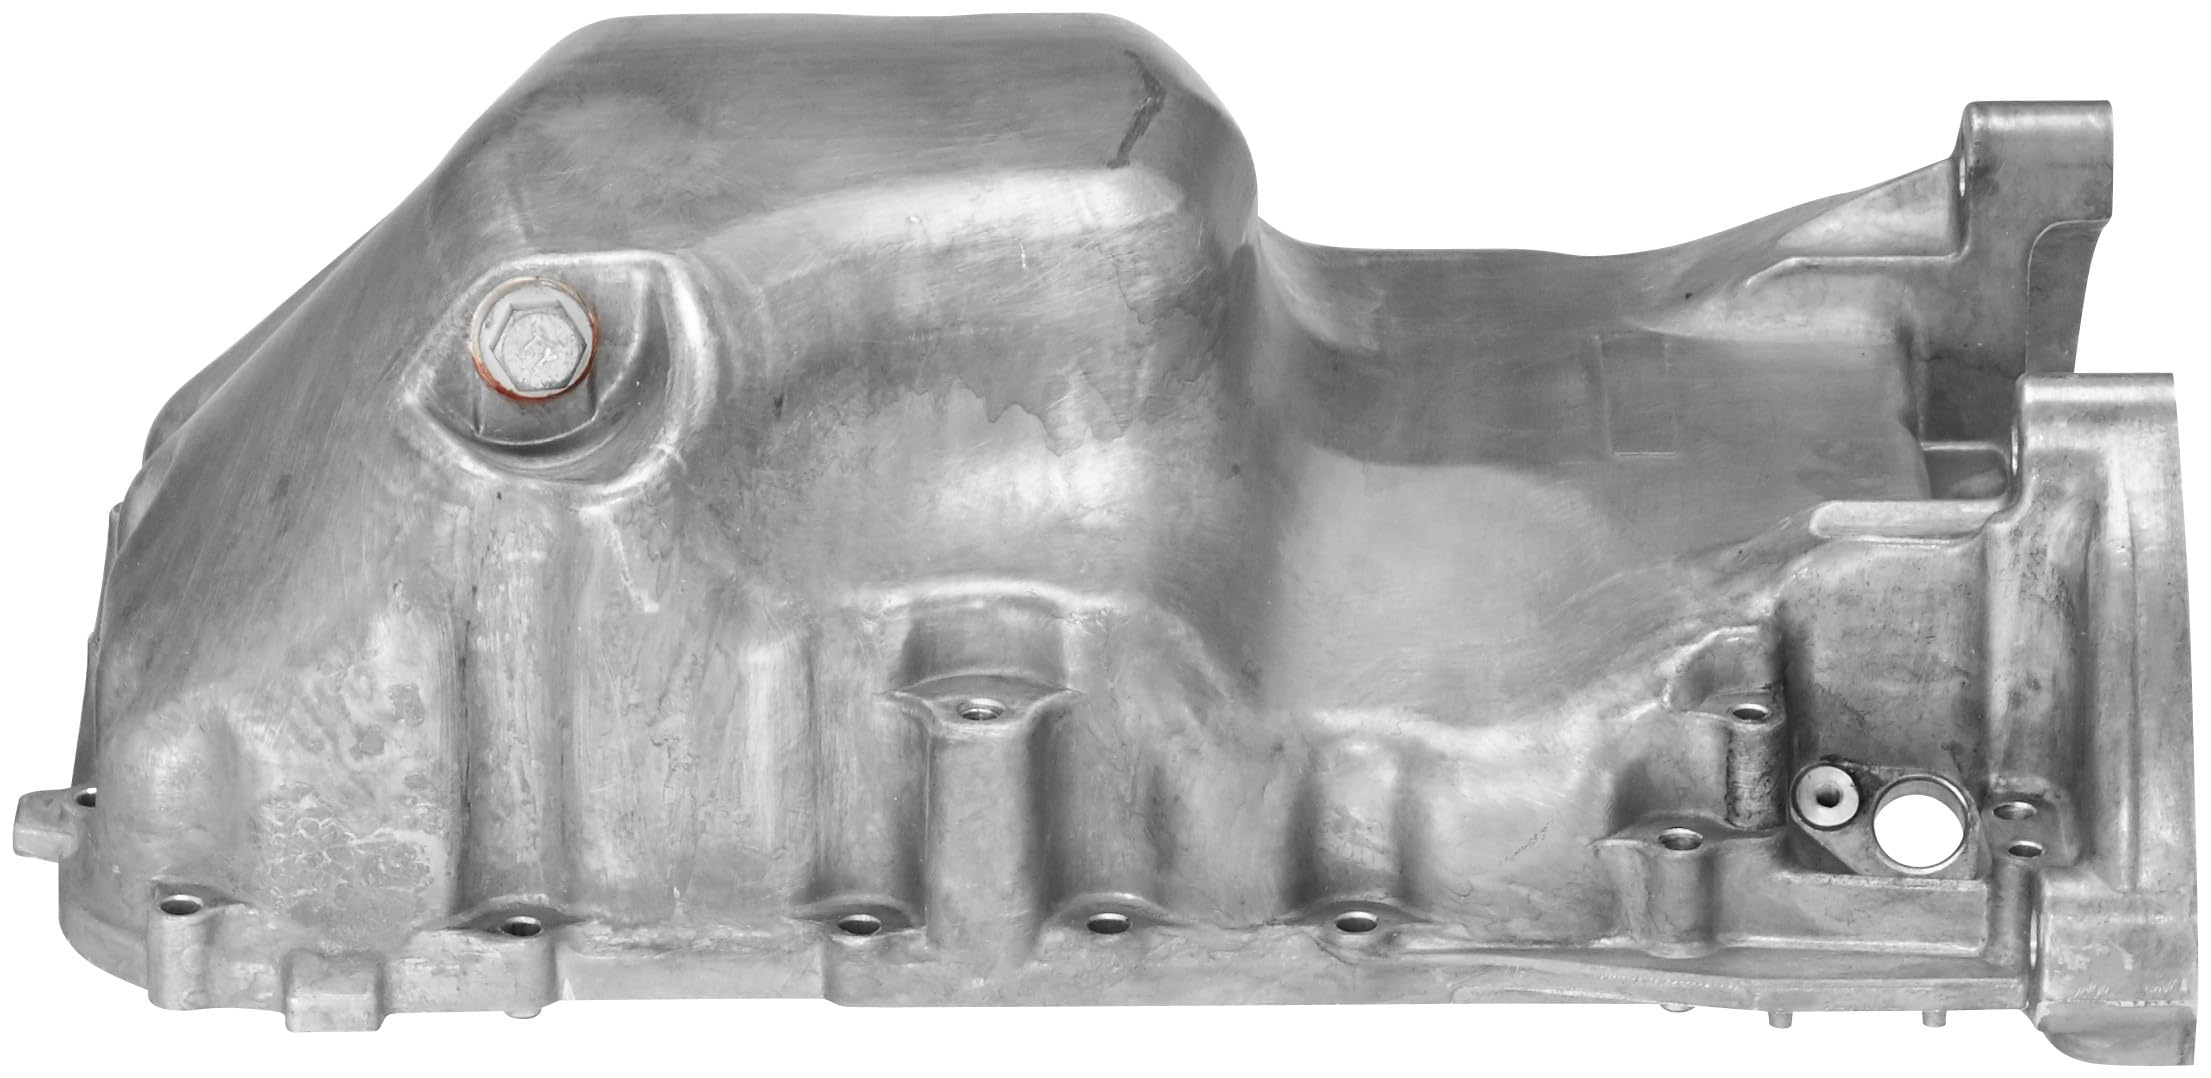
- Draining: Locate the oil pan drain bolt. Position your catch pan underneath. Remove the bolt carefully—be prepared for the flow of oil. Once drained, wipe the area clean and install the new crush washer on the drain plug before tightening it to the manufacturer’s torque specification, which is typically 30 lb-ft.
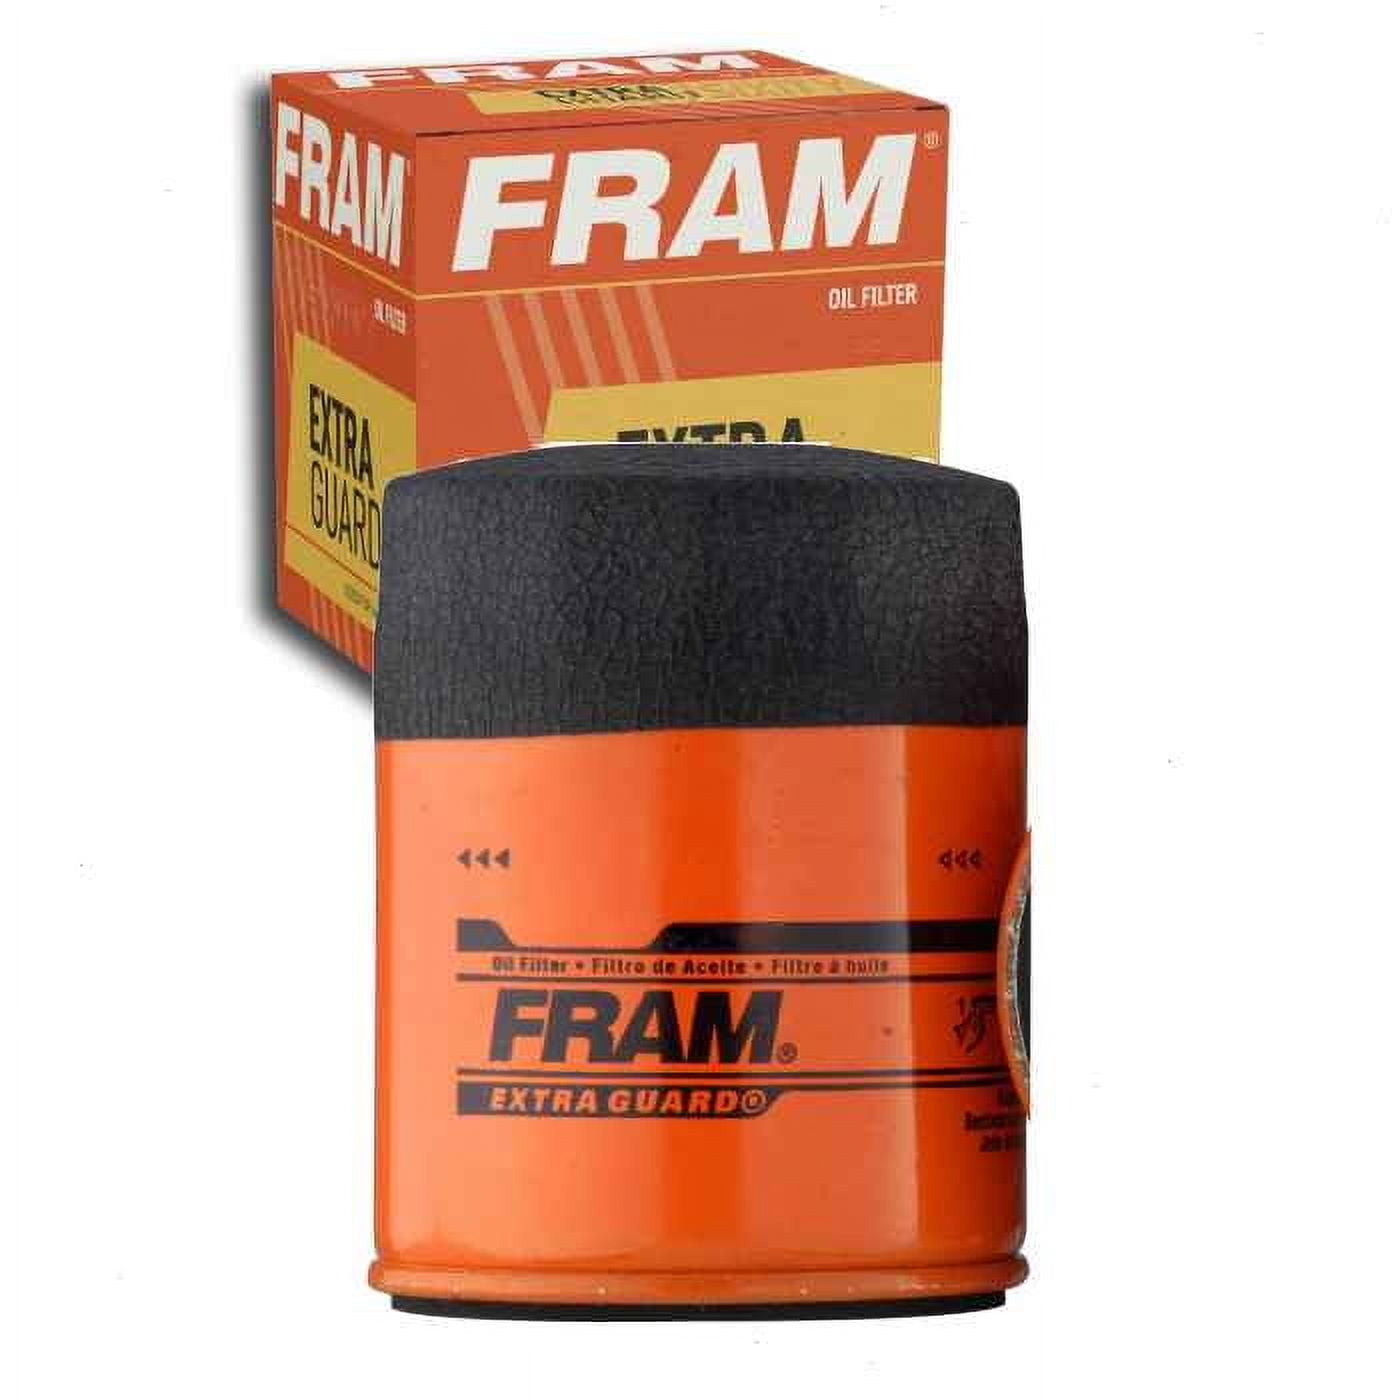
- Filter Removal: Locate the oil filter. It is positioned near the front of the engine block. Place your pan beneath it and remove it. Ensure the old rubber gasket from the old filter has come off with the unit; if it remains stuck to the engine, the new filter will not seal properly, causing a catastrophic oil loss.
- Filter Installation: Lightly lubricate the gasket of the new filter with a thin film of clean oil. Screw the filter on by hand until it makes contact, then tighten it an additional three-quarters of a turn. Do not over-tighten, as this can damage the gasket and make future removal difficult.
- Refilling: Add 5.7 quarts of 0W-20 oil through the filler hole on the top of the engine. Use a funnel to ensure the oil enters the valve cover without spilling onto the exhaust manifold.
- Verification: Start the engine and let it run for about a minute. Check underneath the truck for any signs of leakage. Shut the engine off, wait three minutes for the oil to settle, and check the dipstick. The level should be between the upper and lower marks.
Comparing Oil Change Methods
Many owners choose between performing their own service and utilizing professional facilities. Below is a comparison to help you determine the best path for your needs.
| Method | Cost Consideration | Primary Benefit | Potential Downside |
|---|---|---|---|
| DIY Maintenance | Low (Parts only) | Total control over fluids | Time-consuming; disposal logistics |
| Independent Shop | Moderate | Professional verification | Variable quality of parts used |
| Dealership | Higher | Documented service history | Scheduling and wait times |
Monitoring Your Oil Quality
Modern Hondas, including the 2019 Ridgeline, are equipped with the Maintenance Minder system. This system calculates the remaining oil life based on your specific driving habits, idle time, and operating temperatures. Do not rely solely on the mileage interval; if the Maintenance Minder indicates it is time for service, you should proceed, even if you feel the oil still looks clean.
If you find that you need to add oil between intervals, add it in small increments—no more than 1/4 quart at a time—and wait for it to settle into the pan before re-checking the dipstick. Adding too much oil is a common mistake that can result in internal engine pressure issues.
Troubleshooting Common Issues
- Persistent Leaking: If you notice spots on your driveway after an oil change, the most common culprit is the crush washer. If it was reused or improperly seated, it will weep oil.
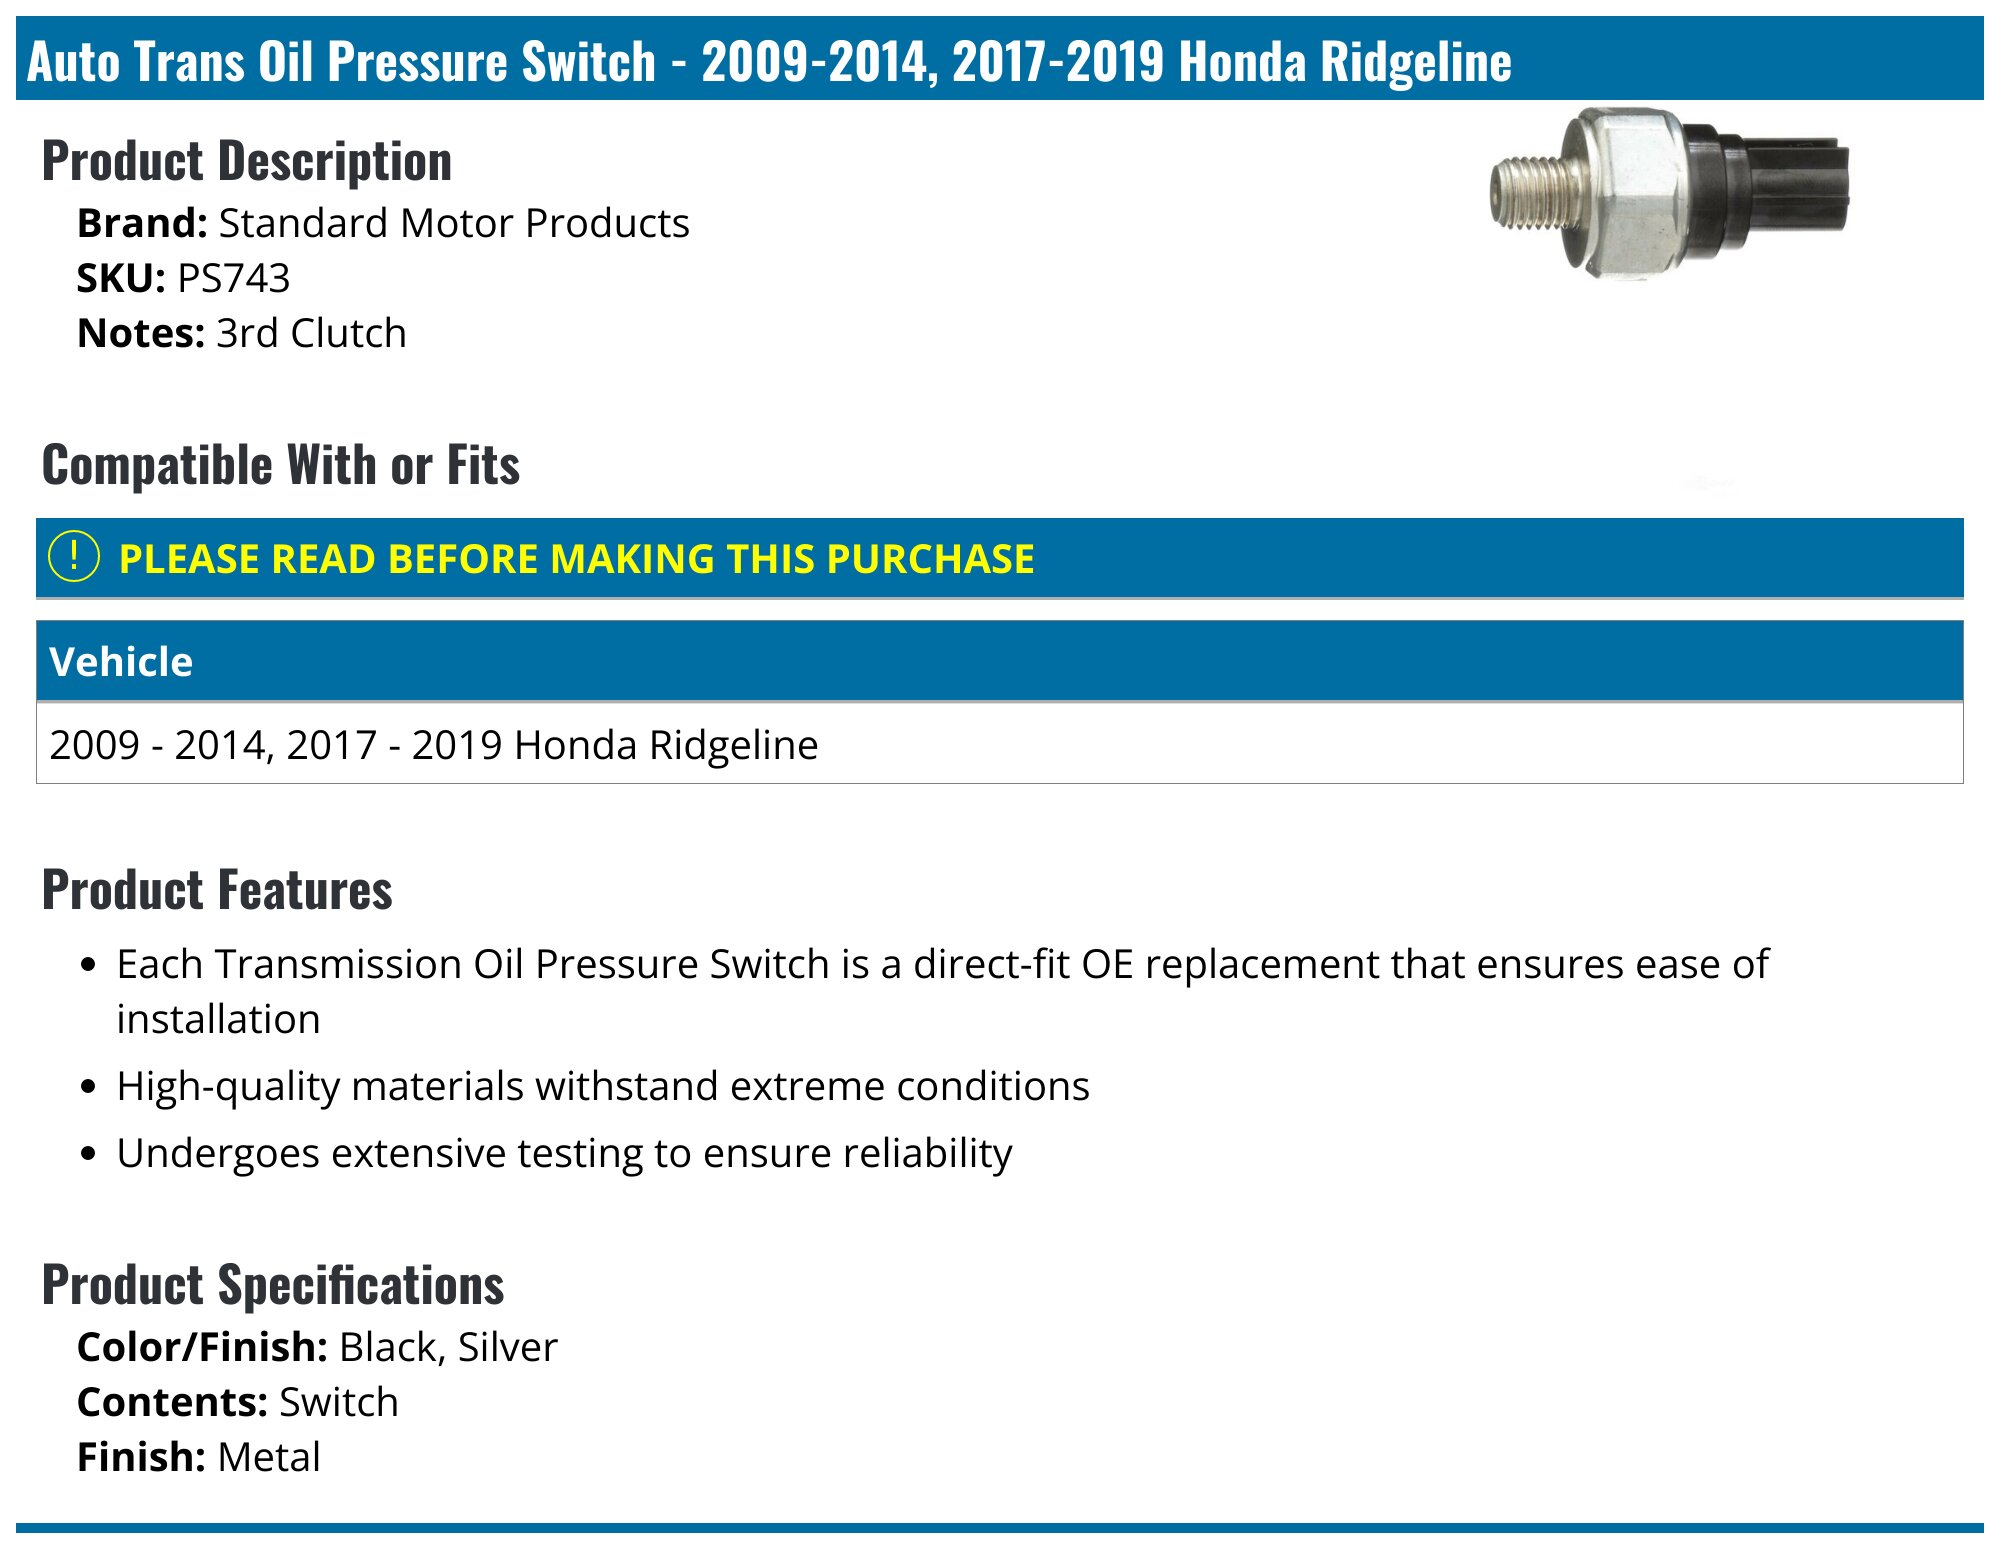
- "Check Oil" Light: If the light persists after a change, check the connection to the oil pressure sensor, which may have been bumped during the filter swap.
- Dark Oil Color: Do not be alarmed if the oil appears dark shortly after a change. Detergent additives in modern synthetic oils are designed to capture microscopic carbon deposits, which turns the oil dark quickly. This is actually a sign the oil is working as intended.
Frequently Asked Questions
Does the 2019 Ridgeline take a different amount of oil if it is AWD? No. All 2019 Honda Ridgeline models use the same 3.5L engine architecture, requiring 5.7 quarts regardless of the drivetrain configuration.
What happens if I accidentally use 5W-30 instead of 0W-20? Using 5W-30 is generally not recommended. It is thicker than the required oil, which can negatively impact the performance of the variable valve timing system and slightly decrease fuel economy. Stick to the 0W-20 specification to ensure the VTEC system operates correctly.
How often should I check the oil level? Even with a reliable vehicle, it is best practice to check your oil level at every other fuel stop. This allows you to catch minor consumption issues before they lead to low-pressure warnings.
Is it necessary to use a Honda-branded oil filter? While original equipment manufacturer (OEM) filters are designed to meet Honda's specific bypass valve pressure requirements, many high-quality aftermarket filters meet or exceed these specifications. If using aftermarket, ensure the part number specifically lists compatibility for the 3.5L Honda V6.
Can I reset the maintenance light myself? Yes. You can reset the Maintenance Minder through the steering wheel controls on the instrument cluster by navigating to the "Maintenance" menu and holding the "Enter" button until the system resets to 100%.
Final Recommendations
For the best results, document every oil change you perform, including the date, mileage, and the brand of oil and filter used. This record-keeping is invaluable if you ever decide to sell the vehicle, as it proves that you maintained the engine according to factory specifications. If you are uncomfortable performing the task yourself, ensure your chosen technician uses high-quality synthetic oil and a proper replacement crush washer to protect the longevity of your 2019 Ridgeline.